
This project is one of my favorites that I have ever done!
The students all felt super successful and it is a really fun process. I wish I had done a better job of documenting the first few steps but I'll explain it anyhow.
You can get a copy of a similar lesson plan of mine by clicking here.
We began this by doing observational drawings of a bunch of different plants. I borrowed houseplants from my fellow teachers classrooms for this. The students did multiple large contour line drawings of the plants, mostly focusing on the leaves.
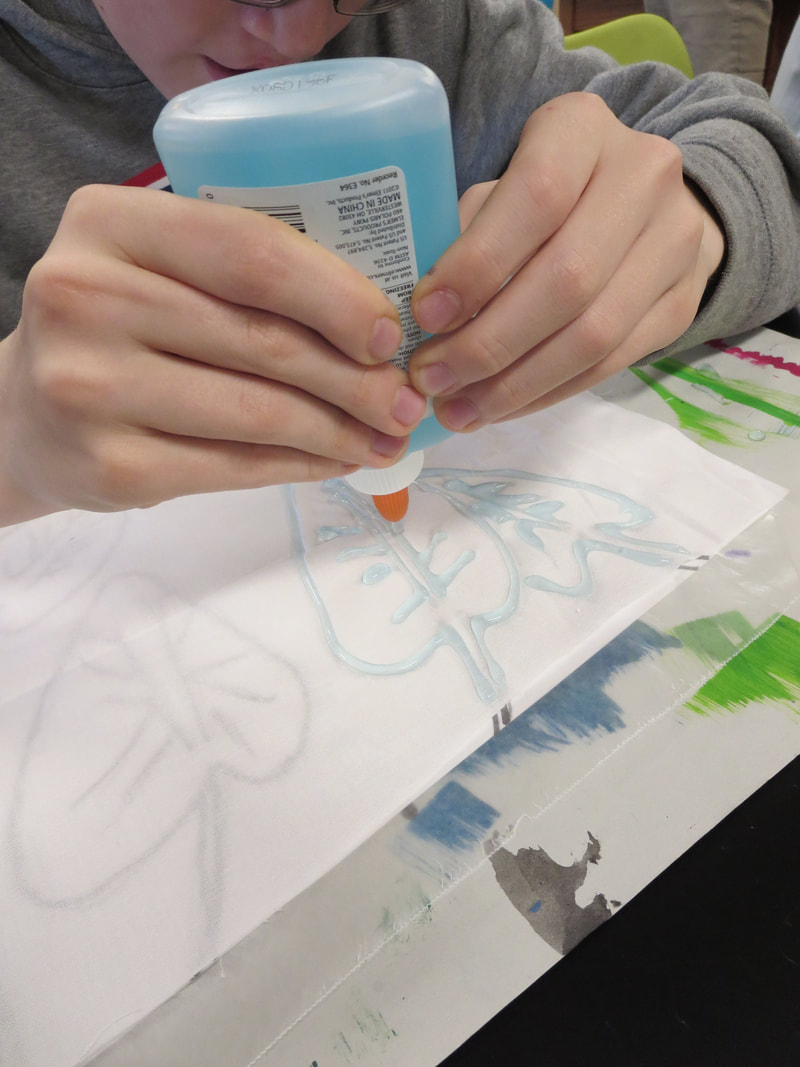
The next step is to trace the drawing with Sharpie and then put the drawing underneath a piece of wax paper and a piece of white fabric over that. The wax paper is crucial so that the glue doesn't go to the fabric and stick to the drawing or to the table. Tape it all to a table of board so that it doesn't move. After taping it down, you will be able to see the drawing through the fabric. Use blue gel glue to trace over the drawing onto the fabric. I've tried other glues as well and others work but the blue gel glue is absolutely the best.
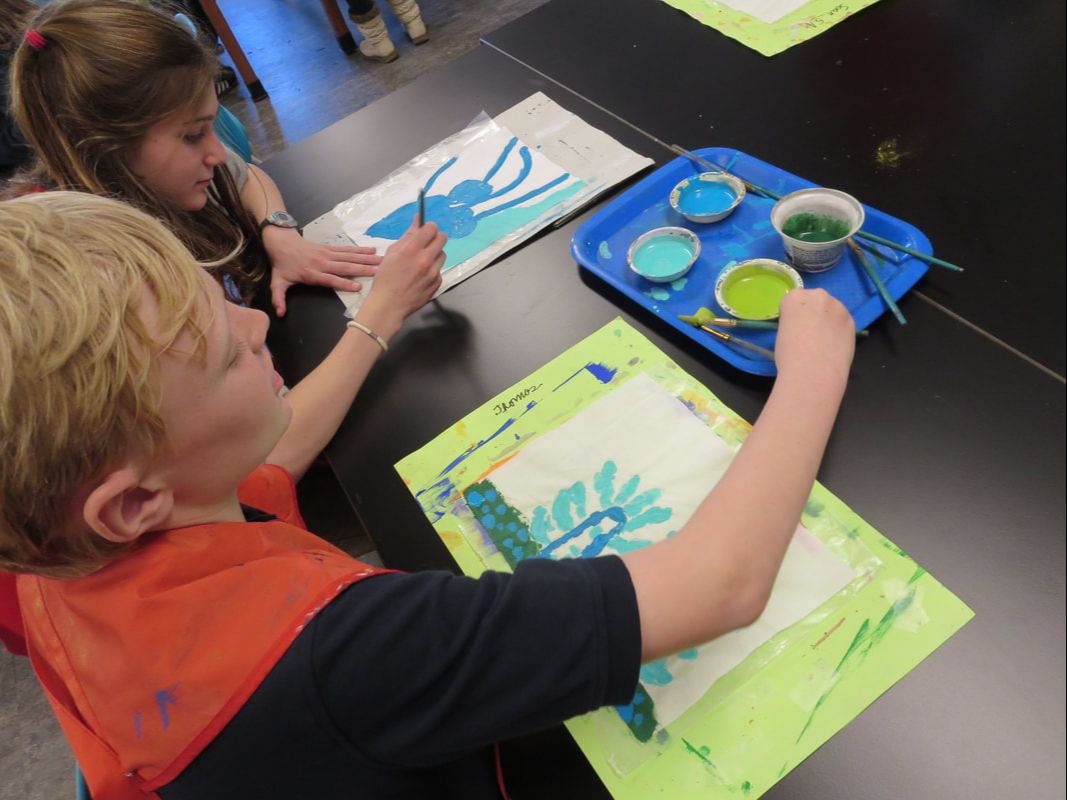
Let the glue dry completely. Overnight is the best. Once it is totally dried, use watered down acrylic (or fabric) paints to paint over the entire fabric. Be sure to cover the glue with paint too. This assures that you have a great batik effect with strong white lines.
The students all felt super successful and it is a really fun process. I wish I had done a better job of documenting the first few steps but I'll explain it anyhow.
You can get a copy of a similar lesson plan of mine by clicking here.
We began this by doing observational drawings of a bunch of different plants. I borrowed houseplants from my fellow teachers classrooms for this. The students did multiple large contour line drawings of the plants, mostly focusing on the leaves.
The next step is to trace the drawing with Sharpie and then put the drawing underneath a piece of wax paper and a piece of white fabric over that. The wax paper is crucial so that the glue doesn't go to the fabric and stick to the drawing or to the table. Tape it all to a table of board so that it doesn't move. After taping it down, you will be able to see the drawing through the fabric. Use blue gel glue to trace over the drawing onto the fabric. I've tried other glues as well and others work but the blue gel glue is absolutely the best.
Let the glue dry completely. Overnight is the best. Once it is totally dried, use watered down acrylic (or fabric) paints to paint over the entire fabric. Be sure to cover the glue with paint too. This assures that you have a great batik effect with strong white lines.
Again, let it dry completely.
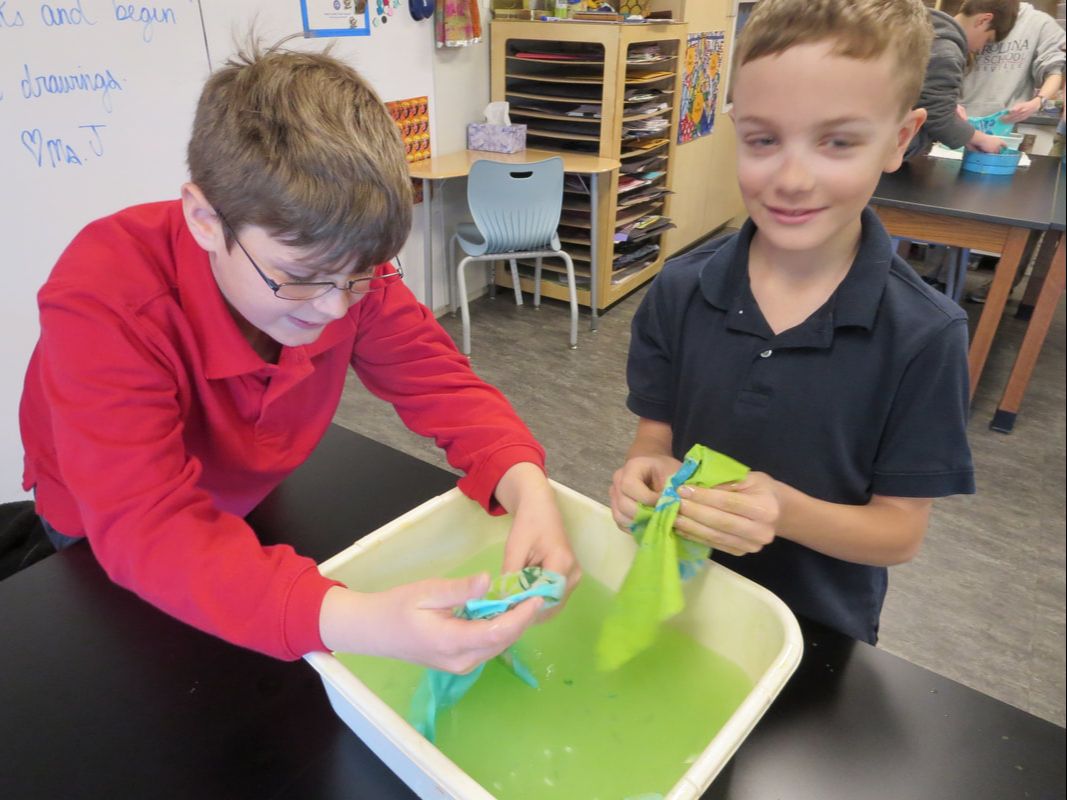
The next step is to run warm/hot water and fill a bin. Separate the fabric from the wax paper and drawing. Soak the fabric for at least 10 minutes. After about 10-20 minutes, use hands to rub all of the excess glue.
Once the glue is completely removed from the fabric, rinse it in warm water and hang it to dry.
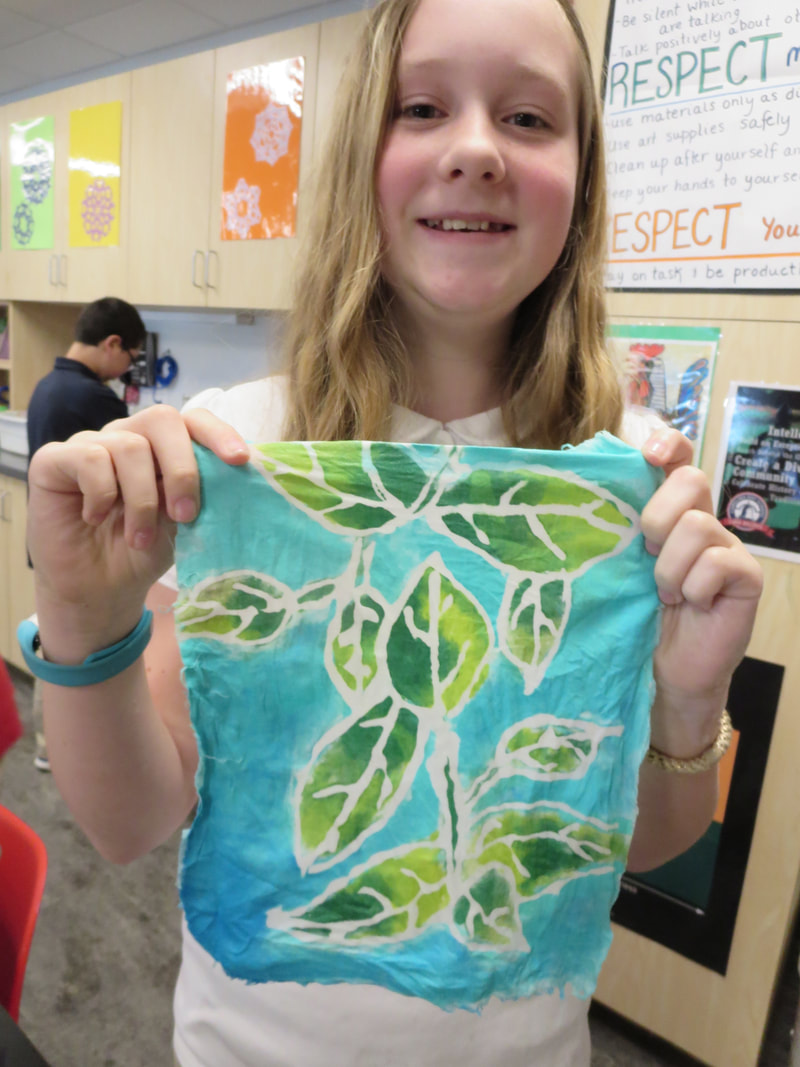
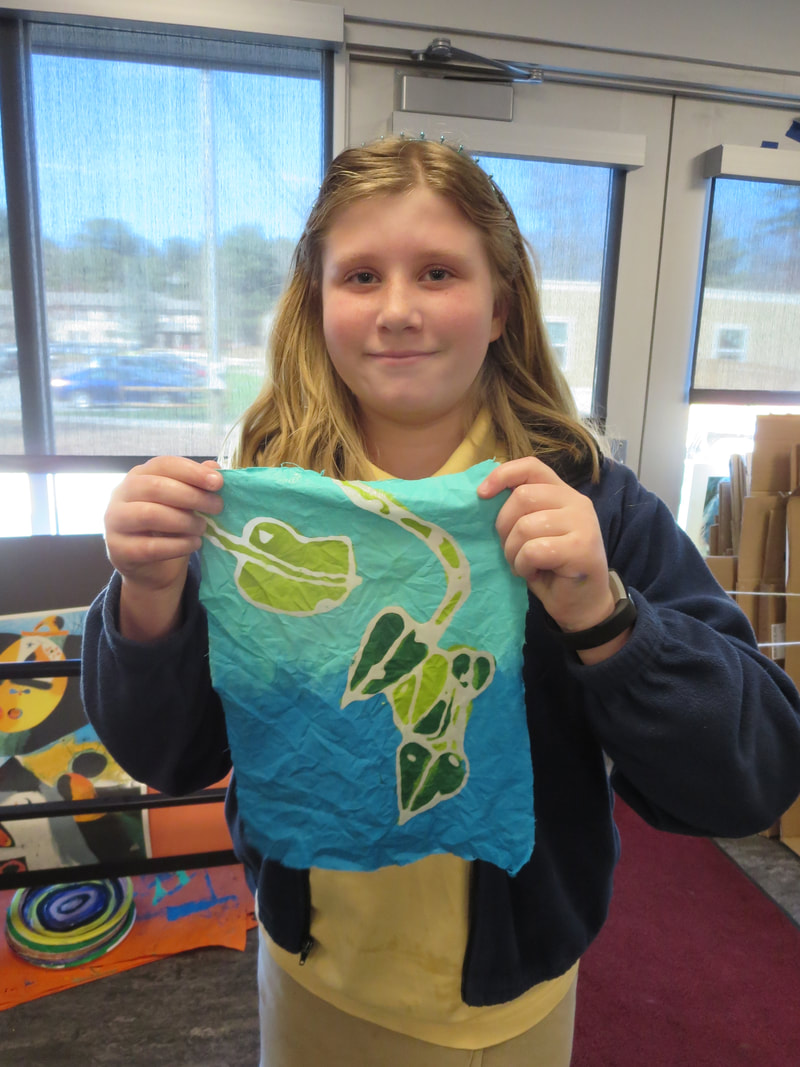
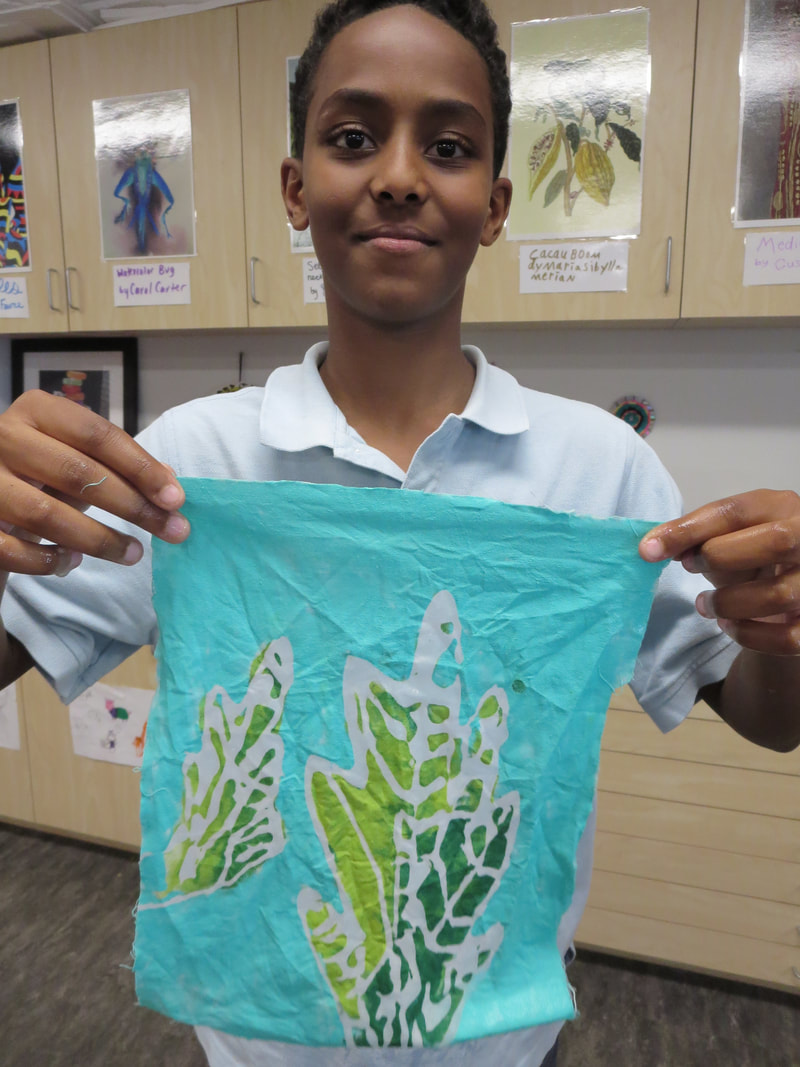
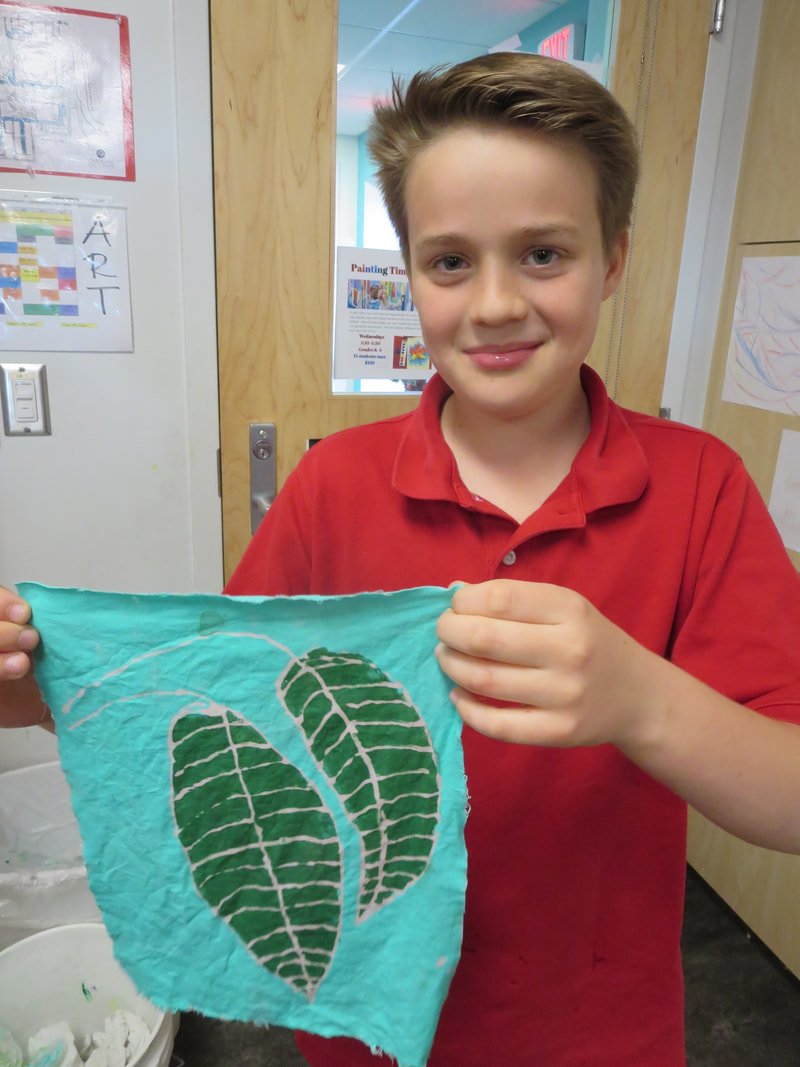
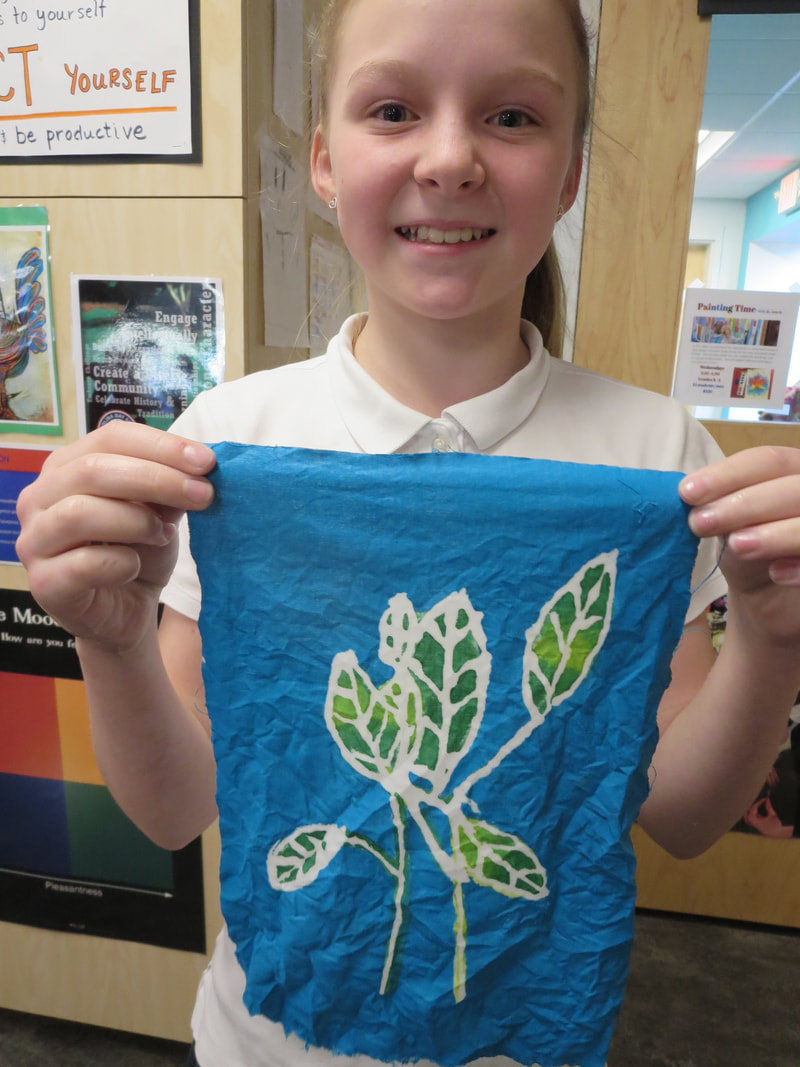
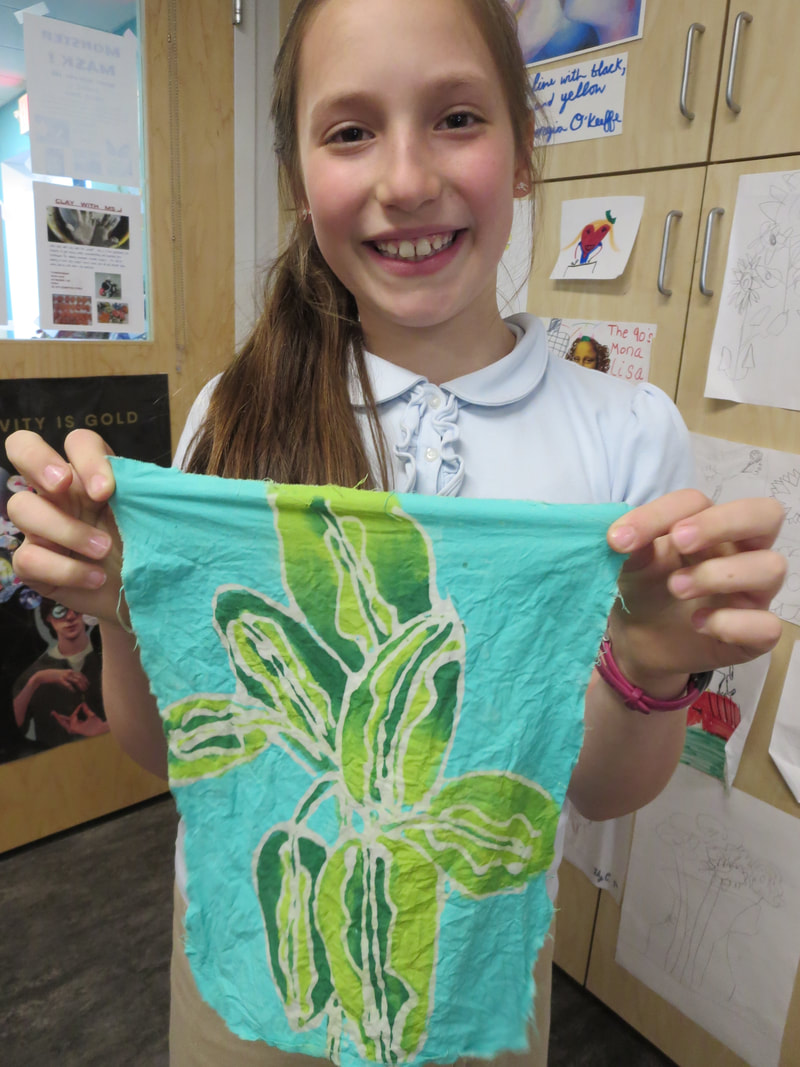
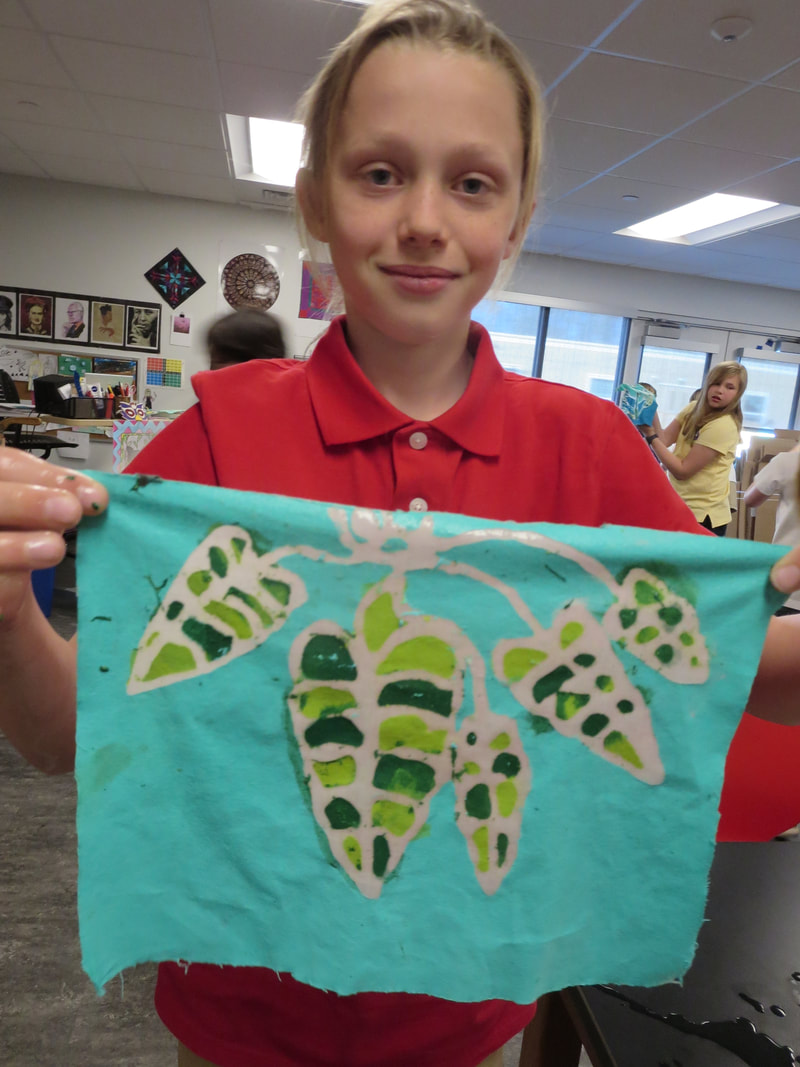
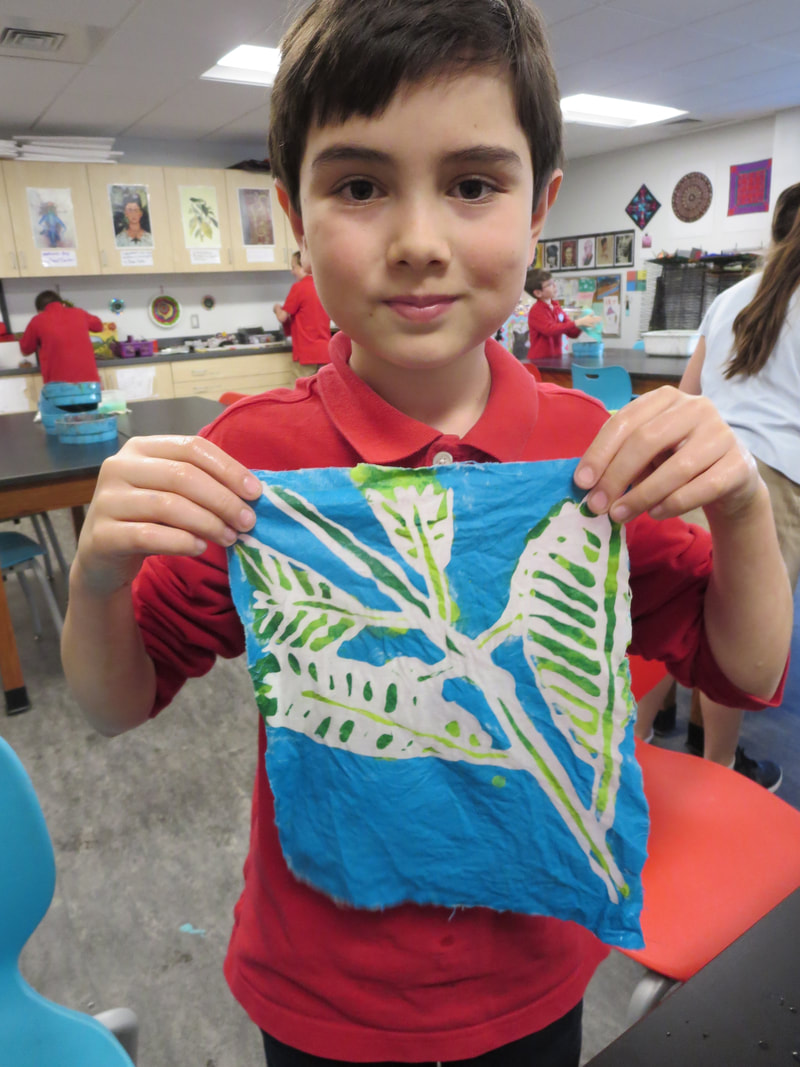
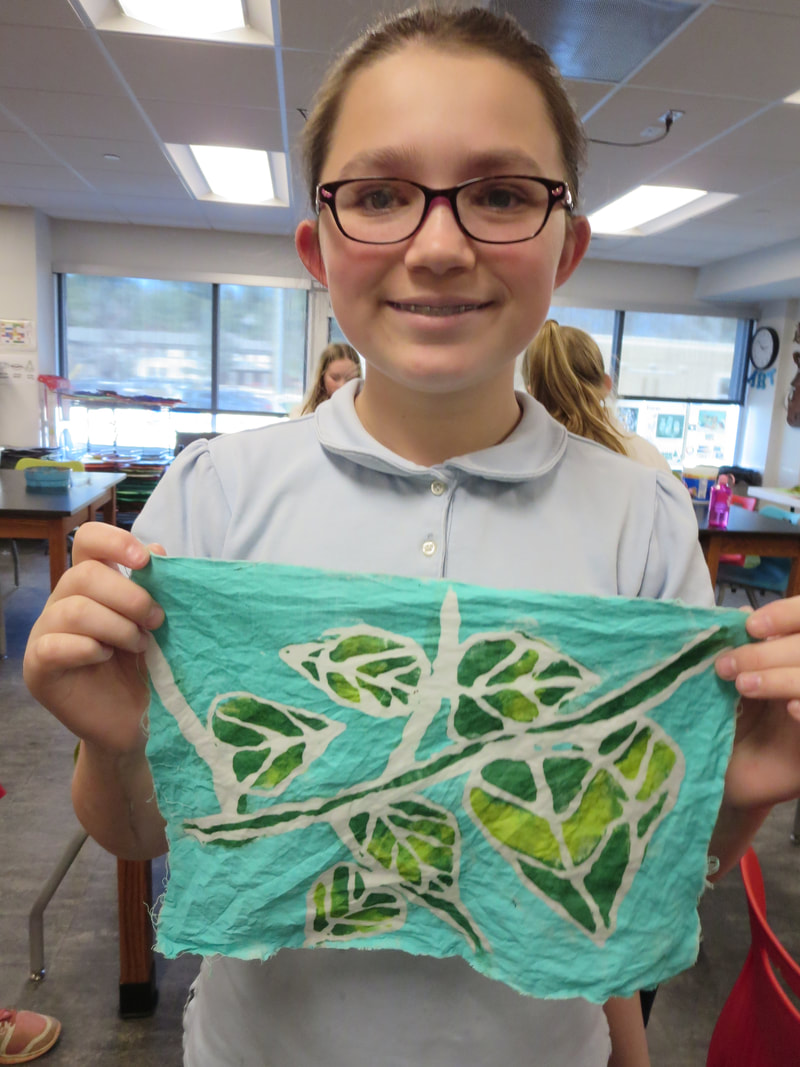
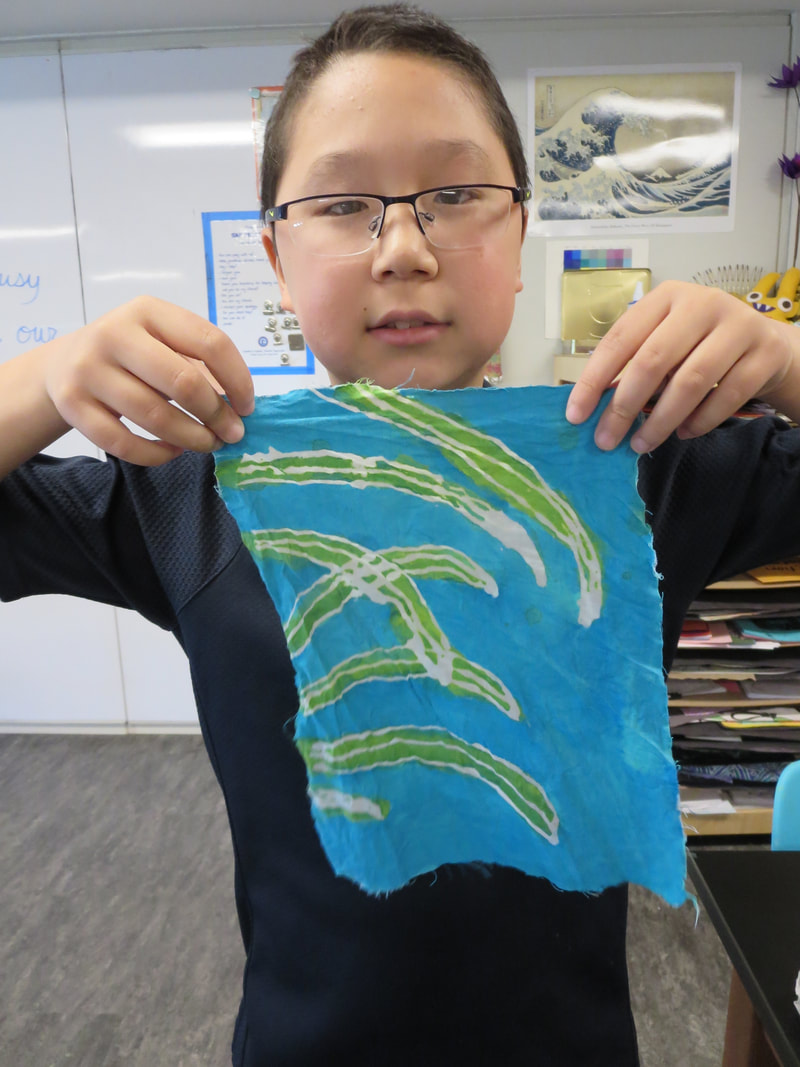
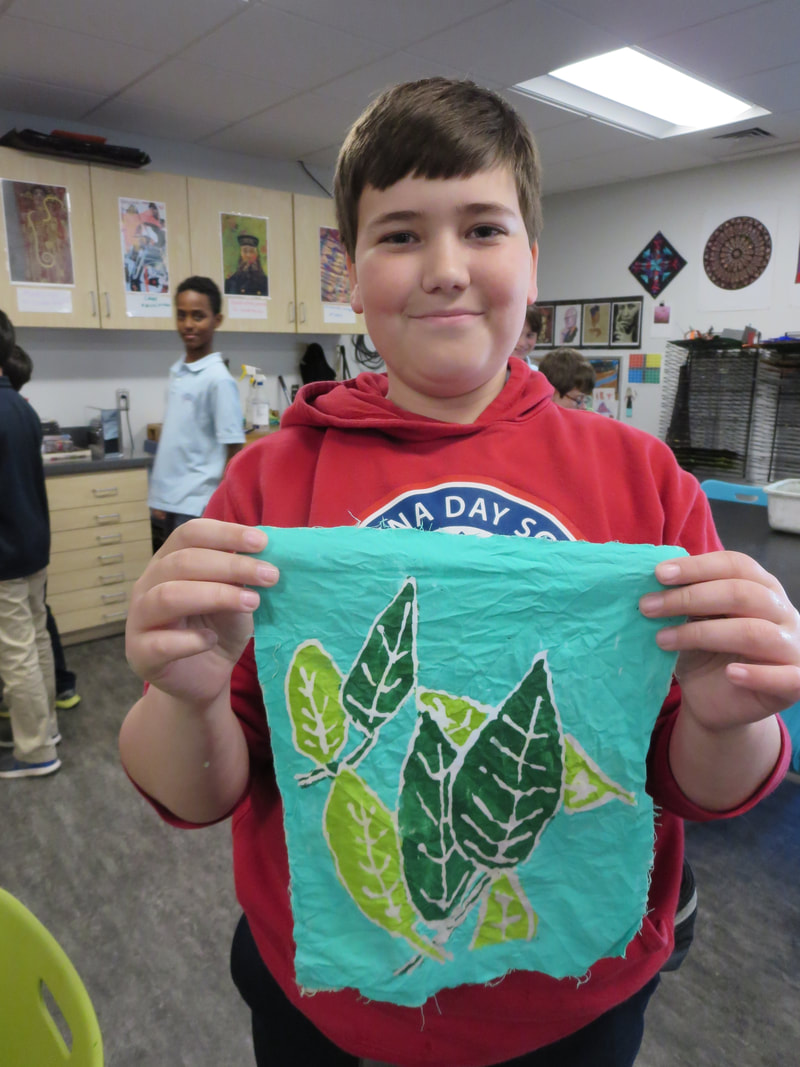
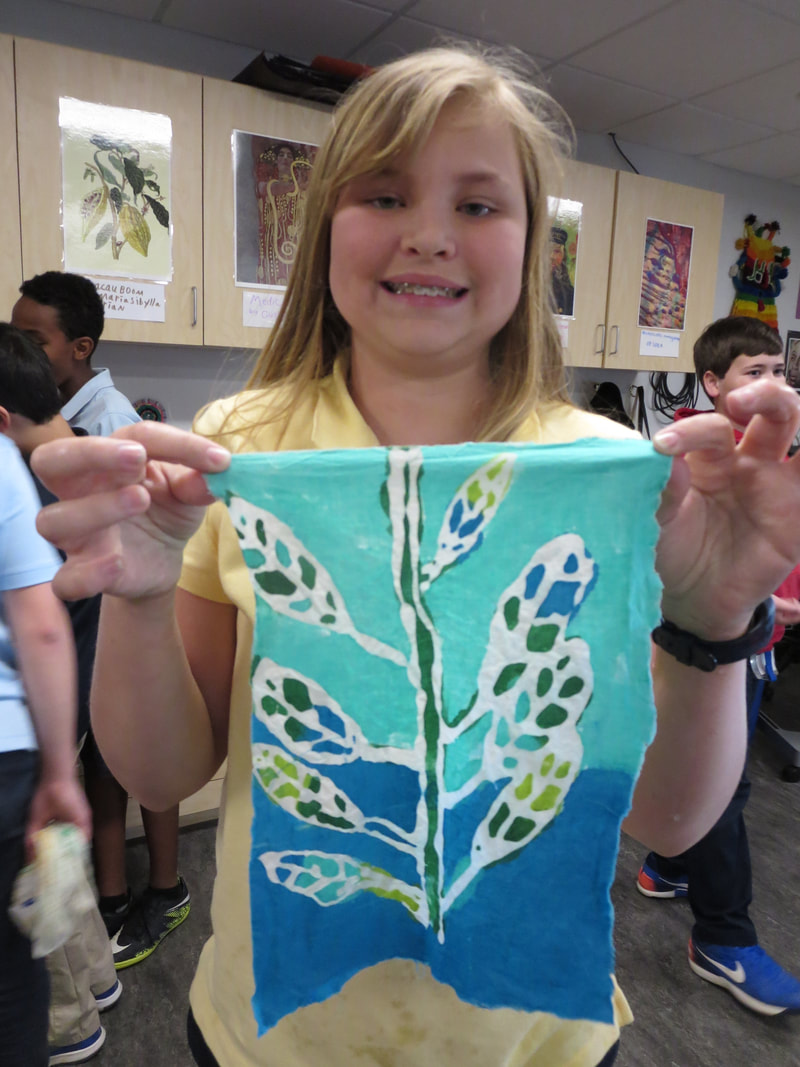
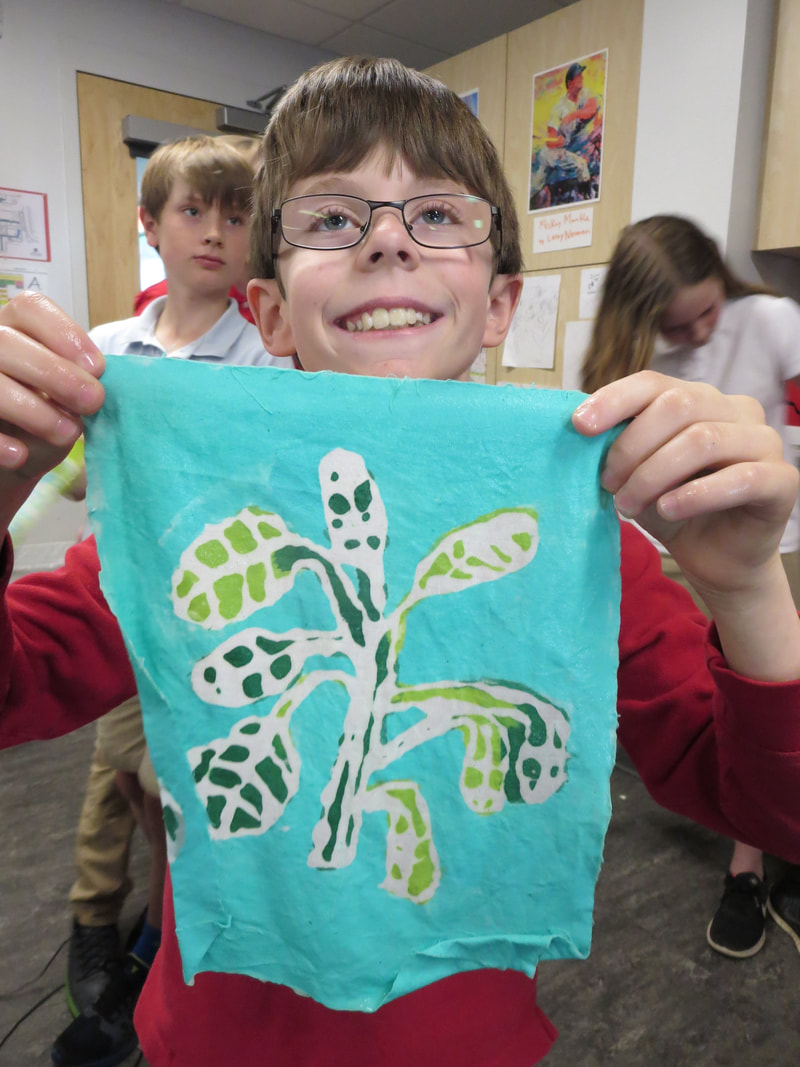
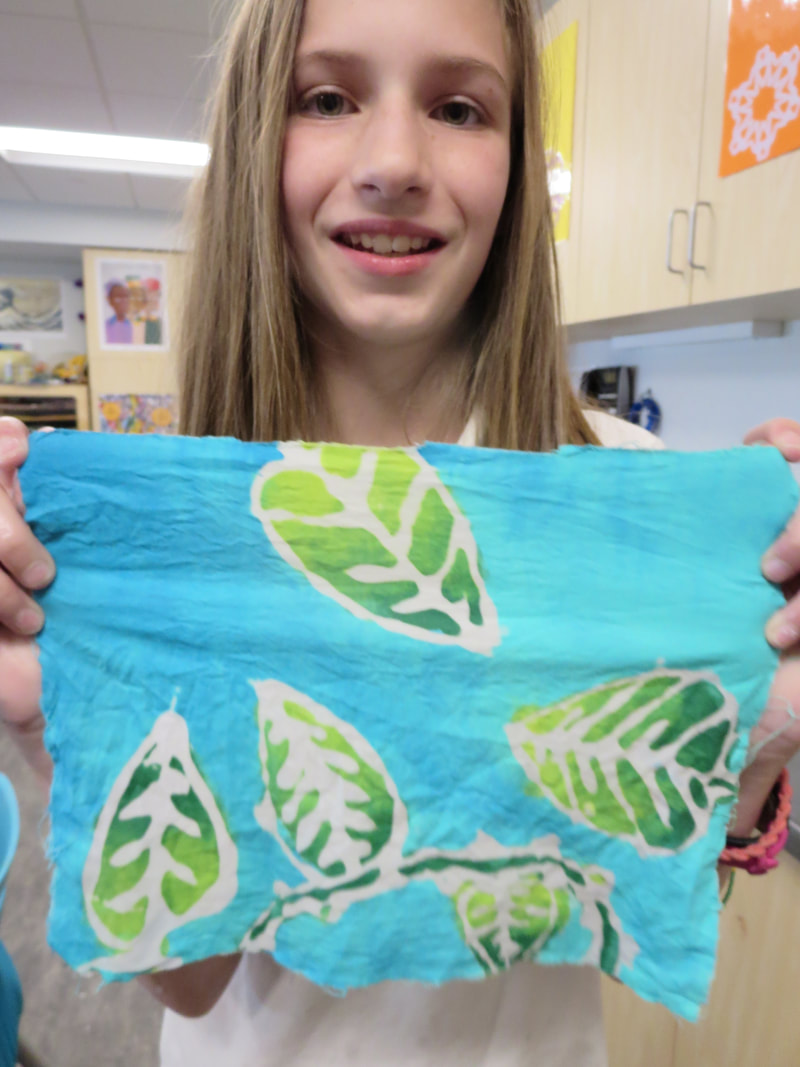
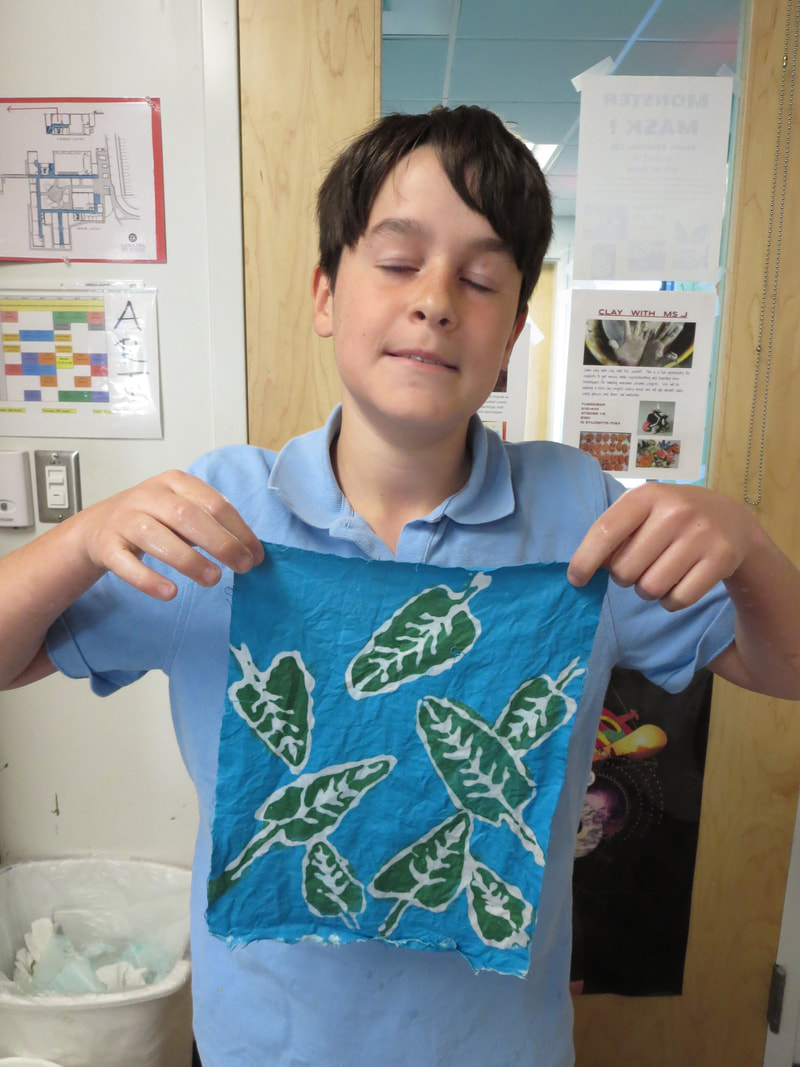
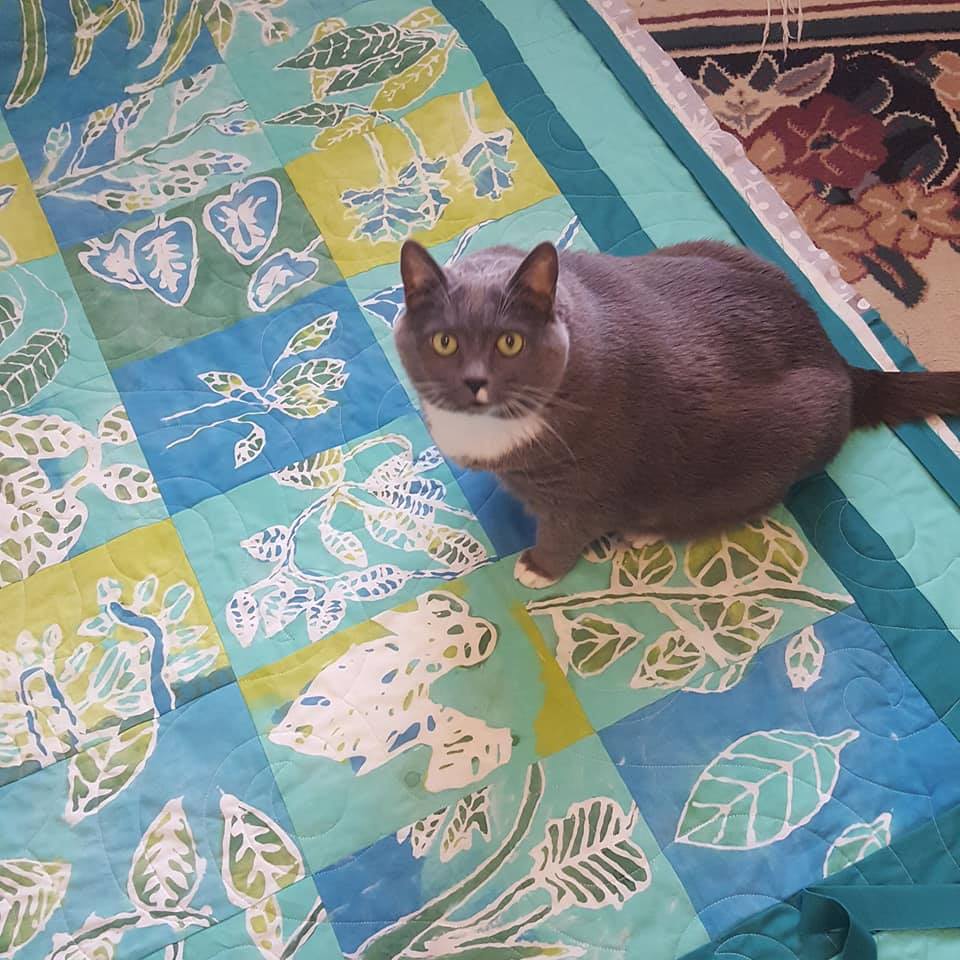
The images turn our very vivid and colorful! You can see how each students design turned out very different. I gave them a limited color palette to work with since they will be used to make a quilt.


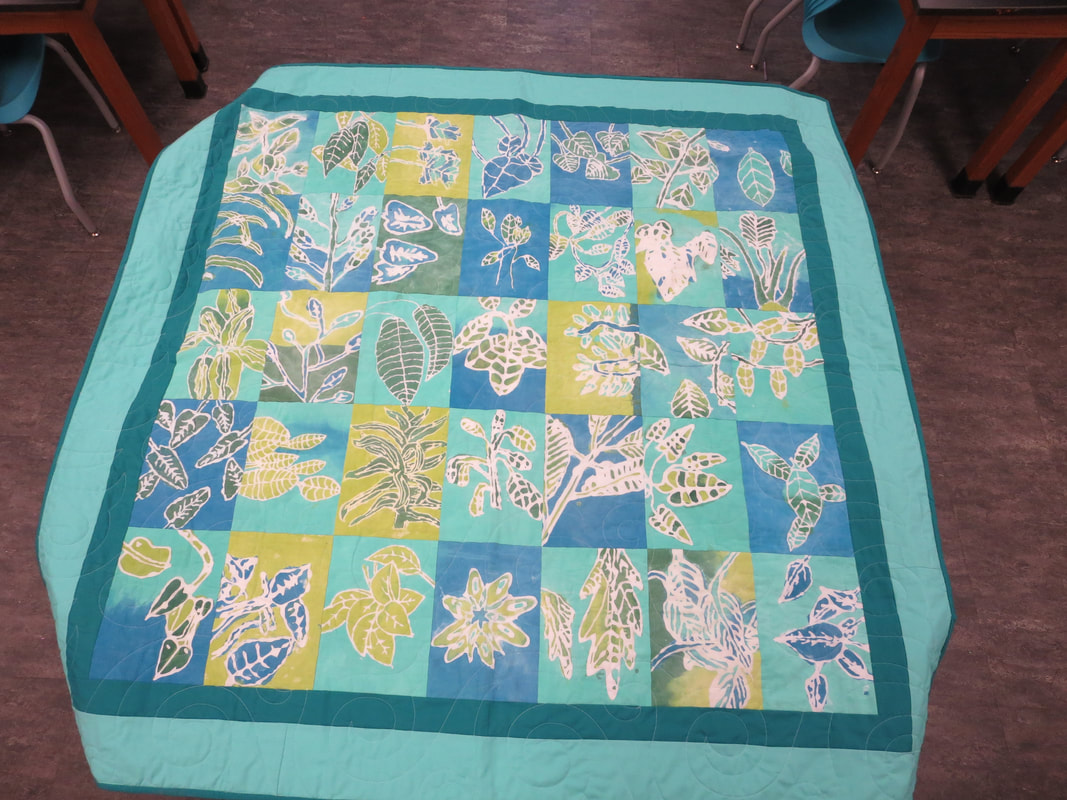
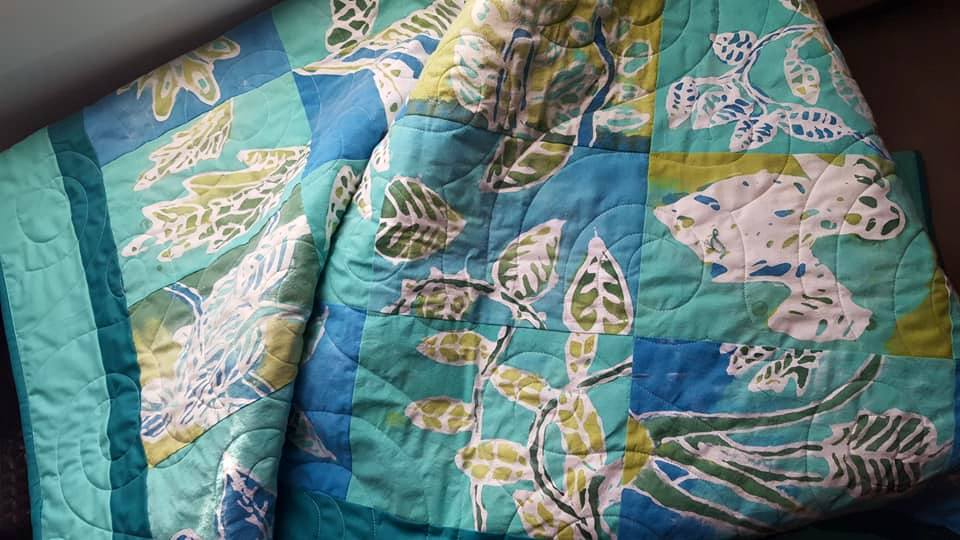
I wish I could take credit for the next step but I passed the batiks over to my friend and she took care of the rest. She sewed it all into this fabulous quilt. I love it sooooo much and wish I could keep it forever....but we sold it at the school auction.
 RSS Feed
