|
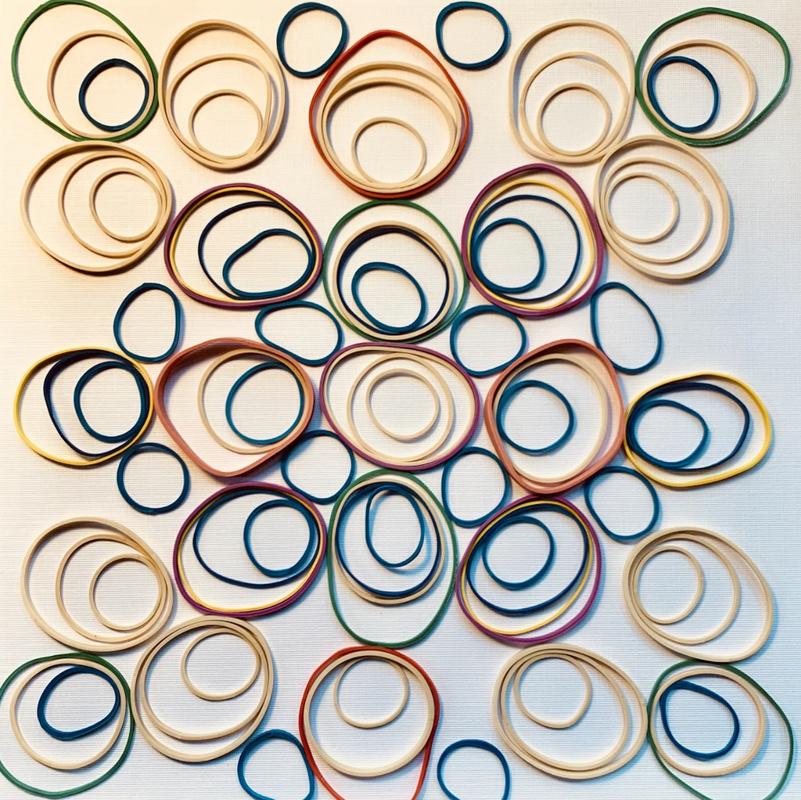
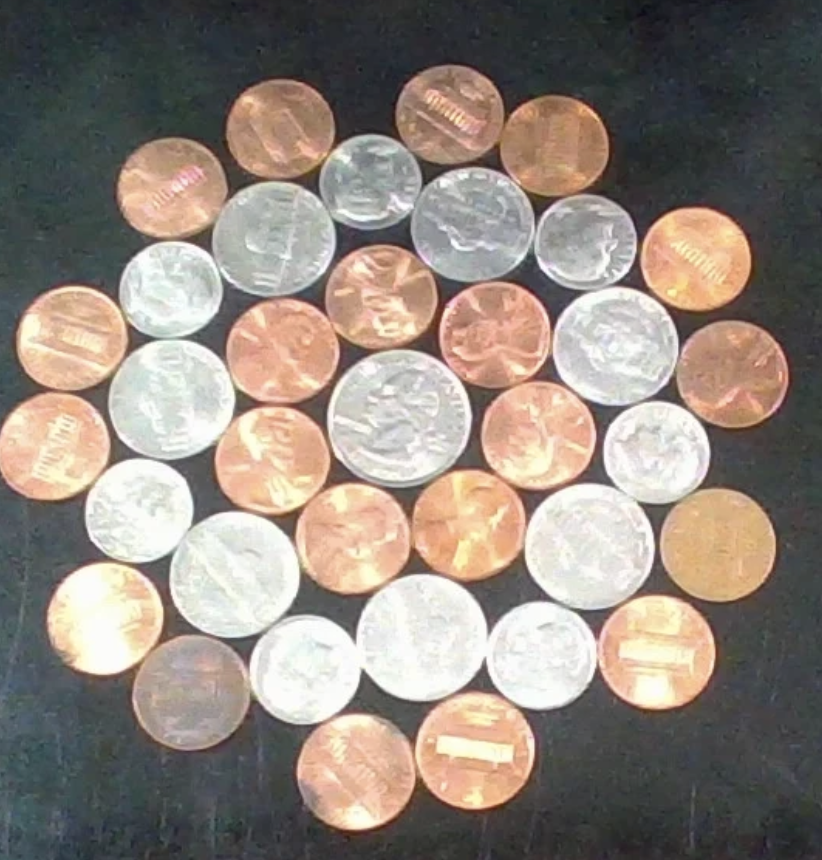
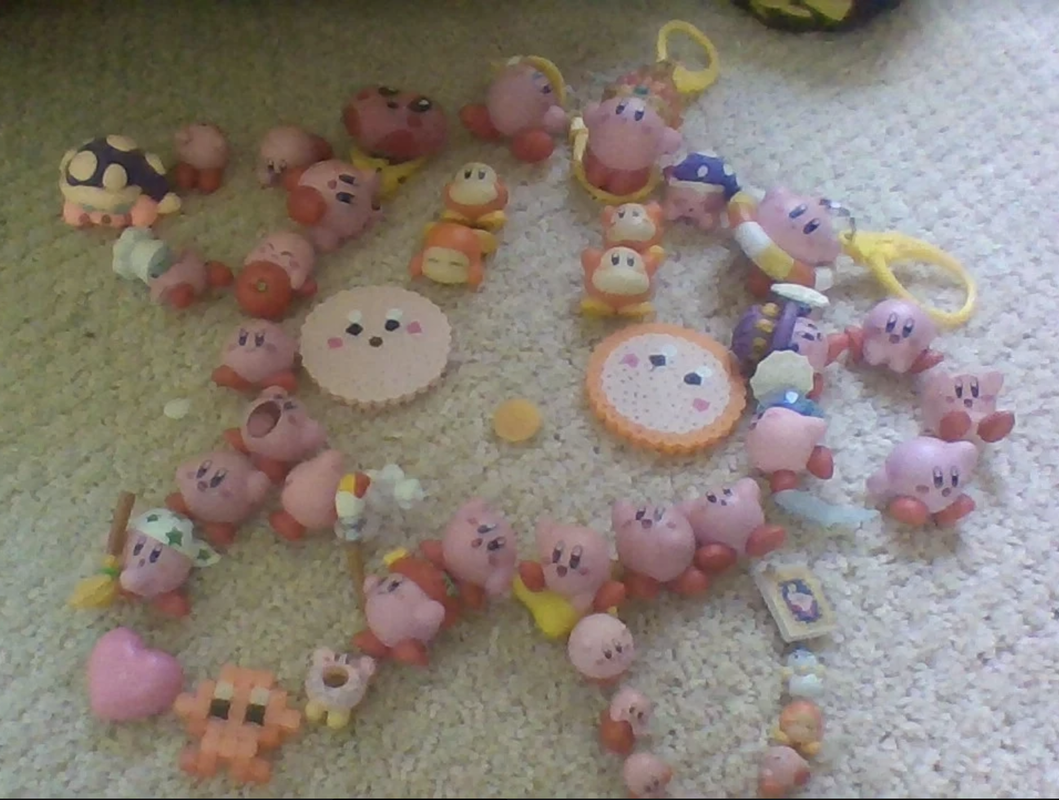
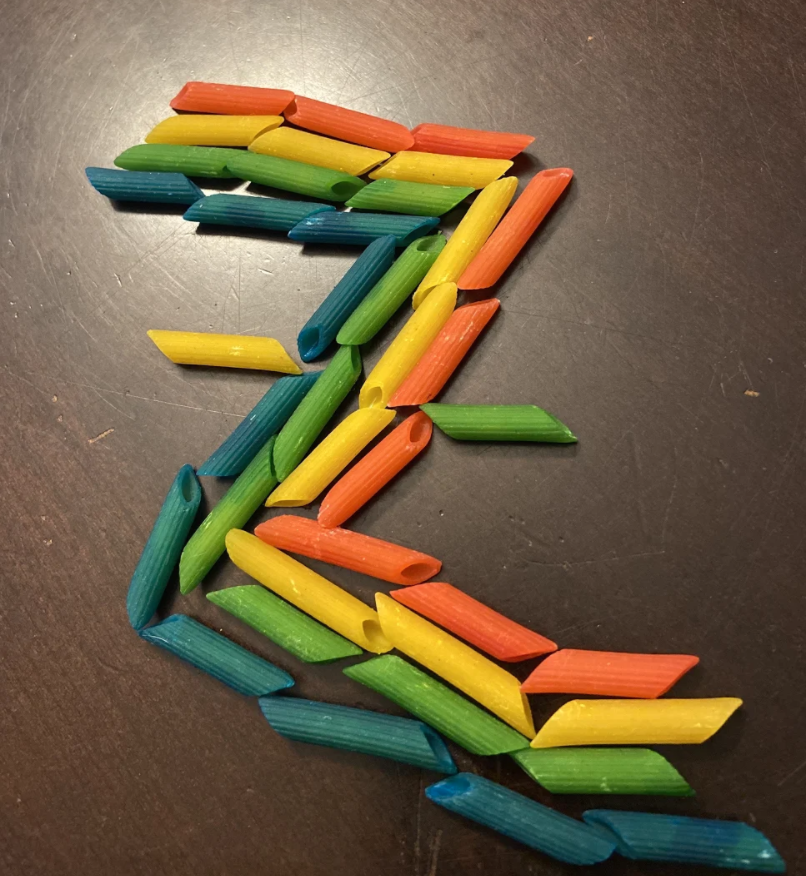
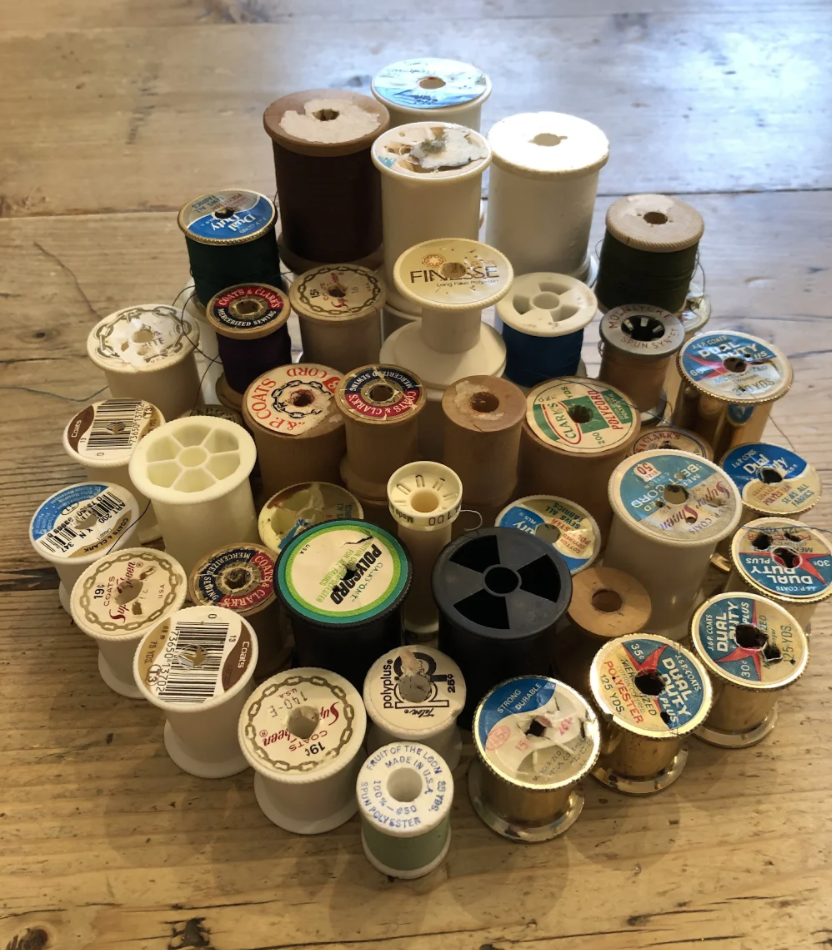
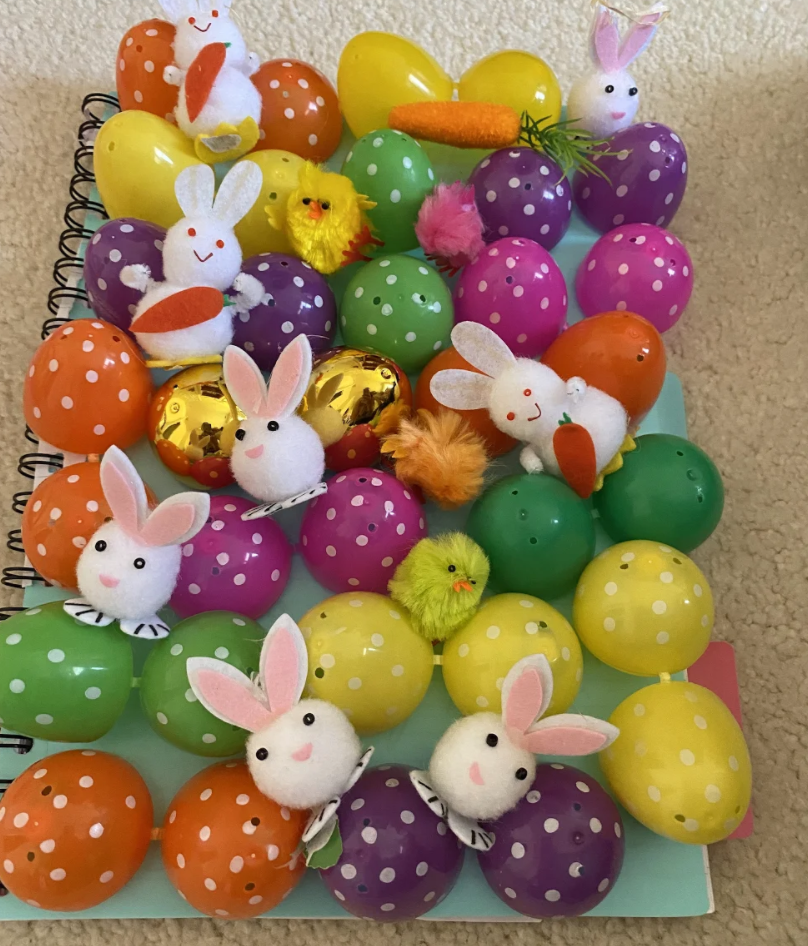
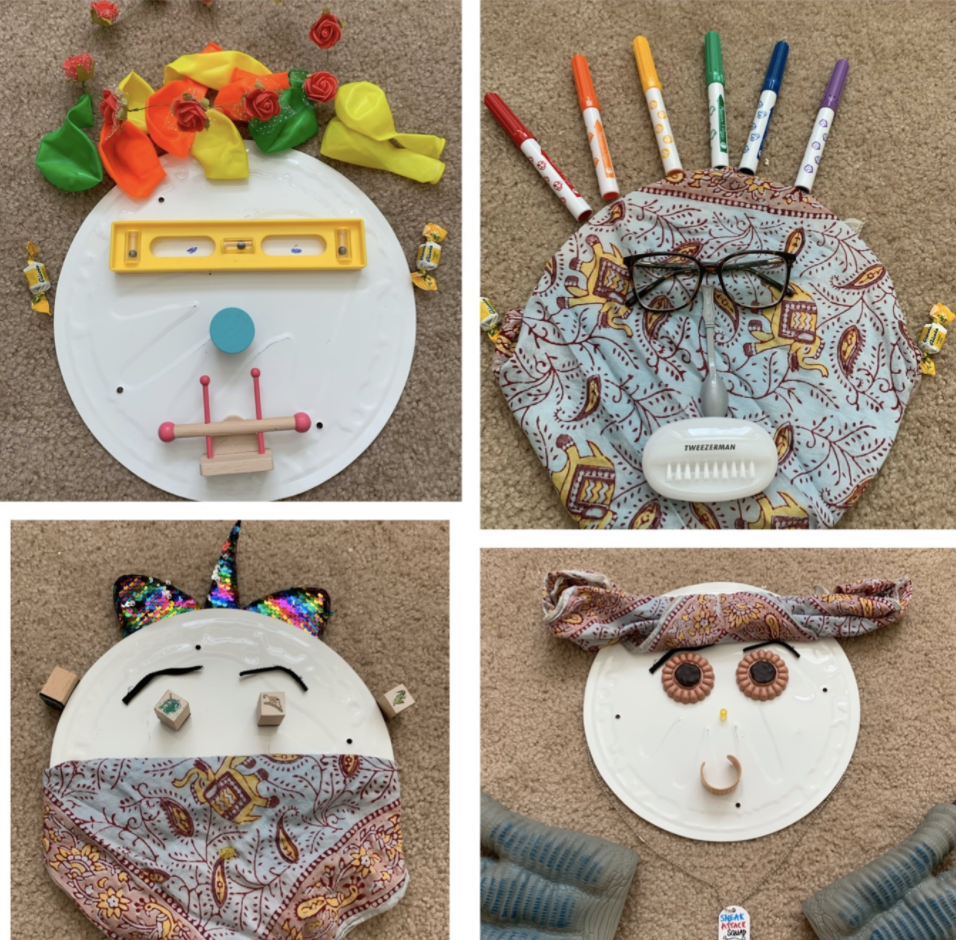
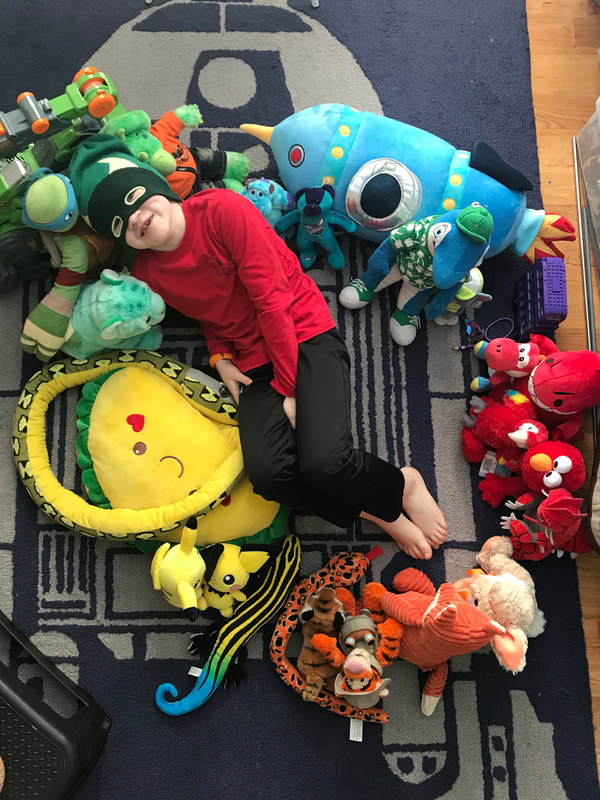
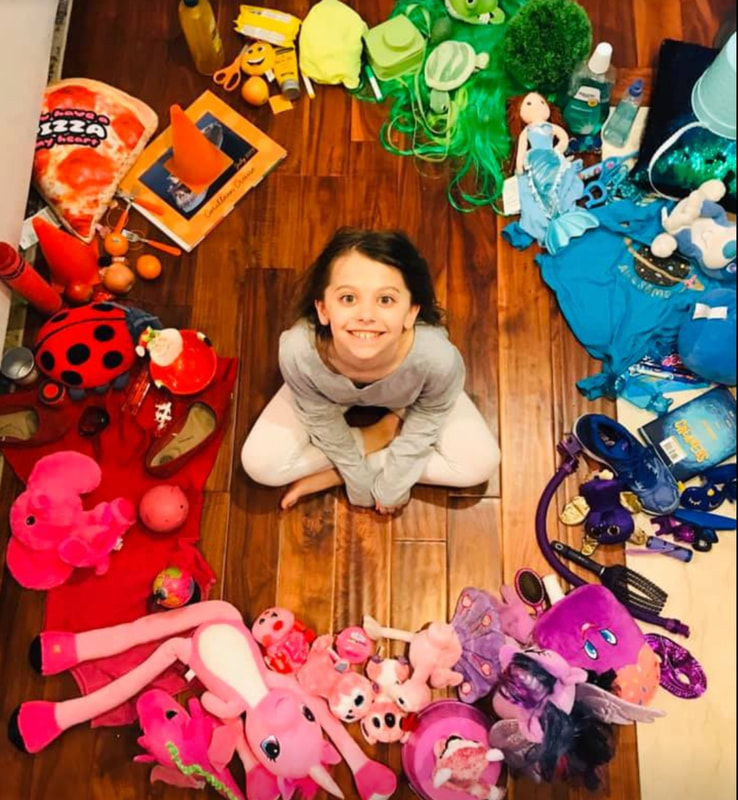
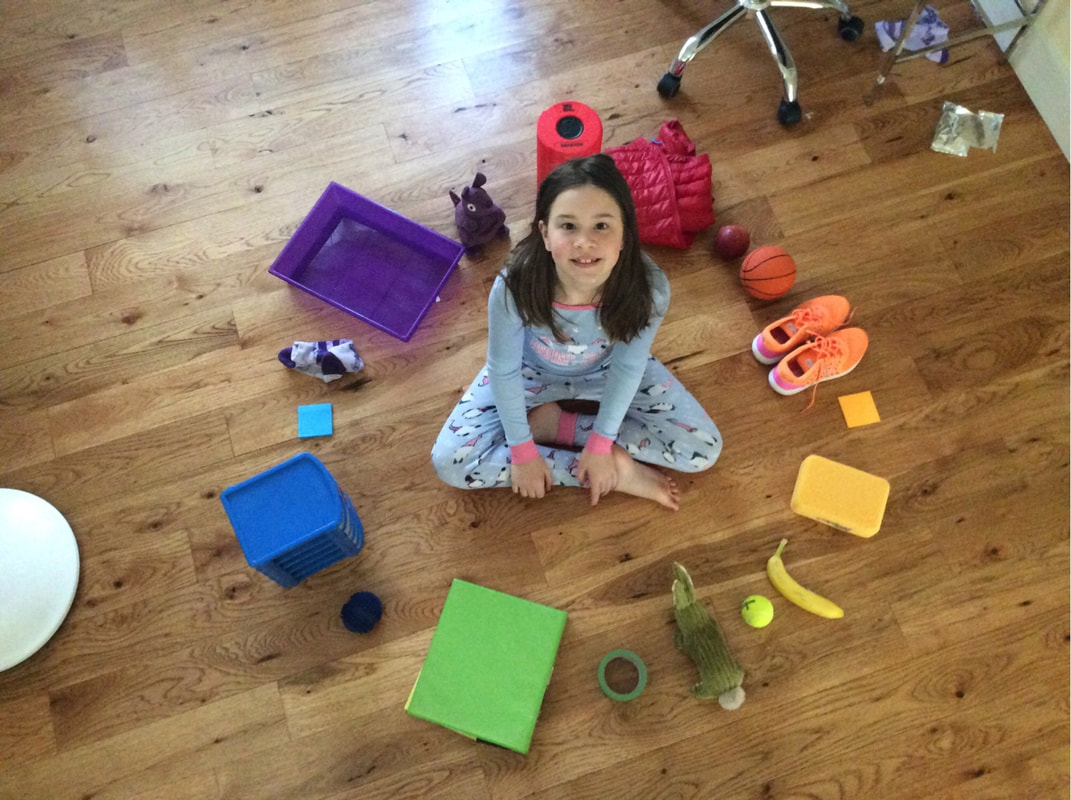
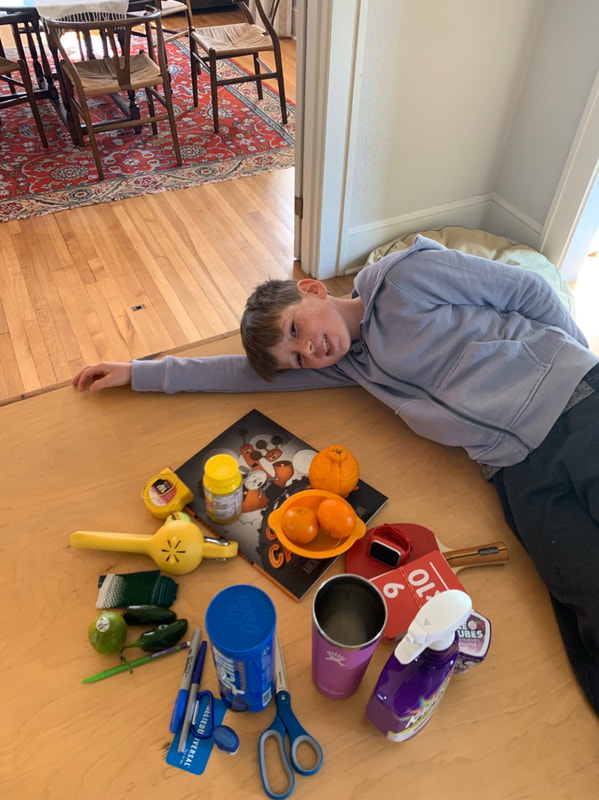
To inspire the 4th graders this week, I had them look at the artwork of Adam Hillman HERE. For their assignment, I asked them to collect at least 20 items around their home and arrange them in an artful composition. The feedback that I got from the students is that they loved looking at Hillman's artwork and had fun creating their own. These are a few of the photos that I received of the 4th graders artwork:
0 Comments
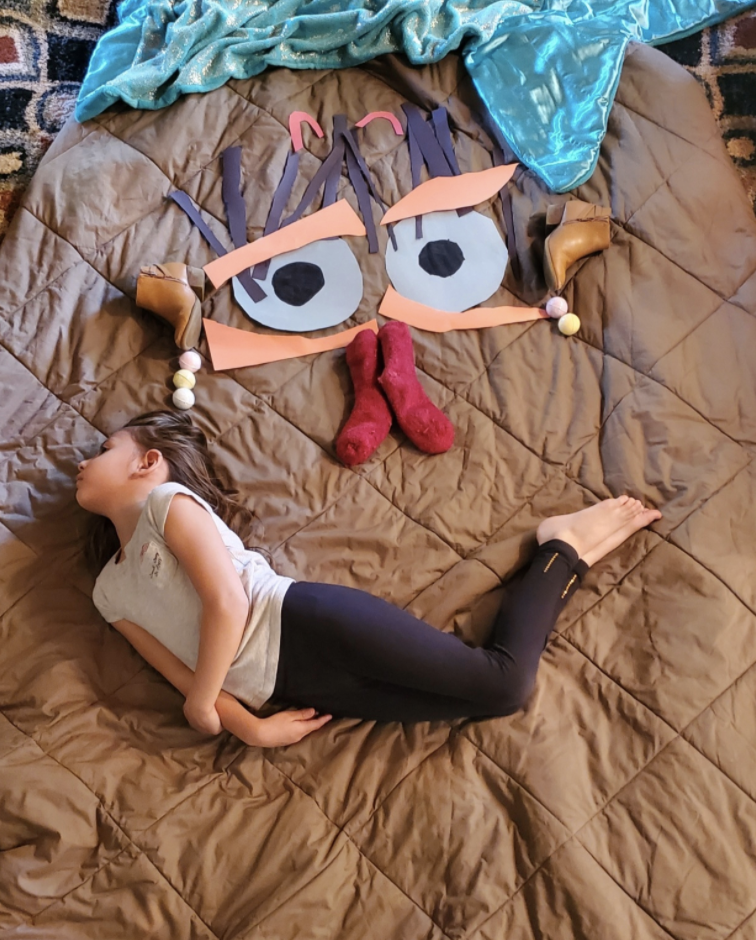
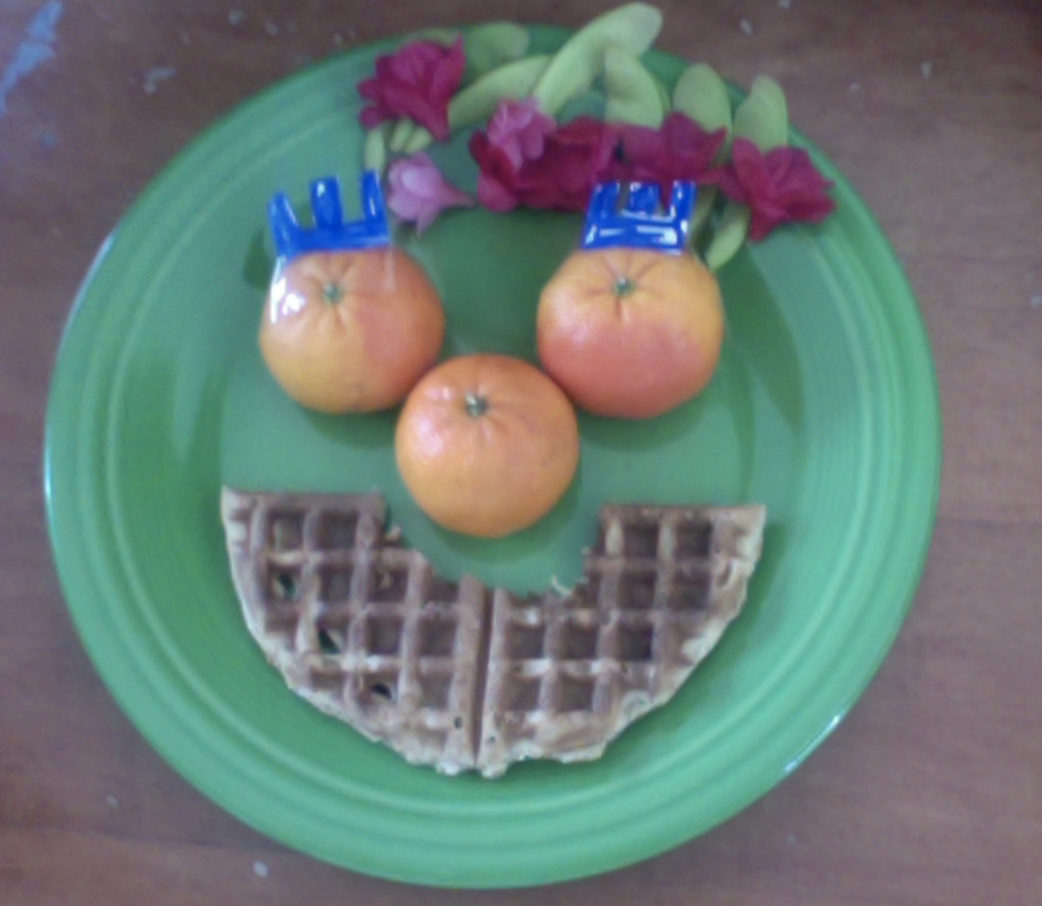
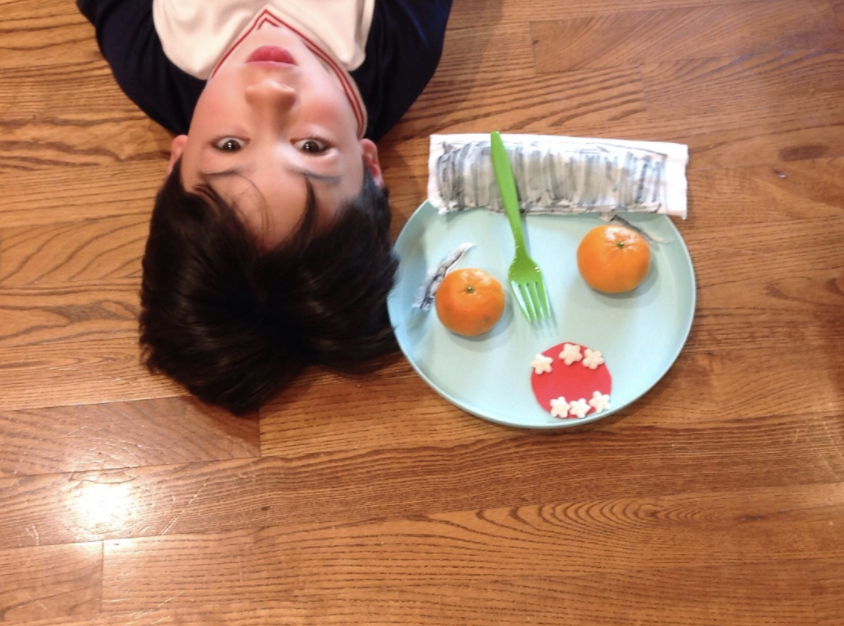
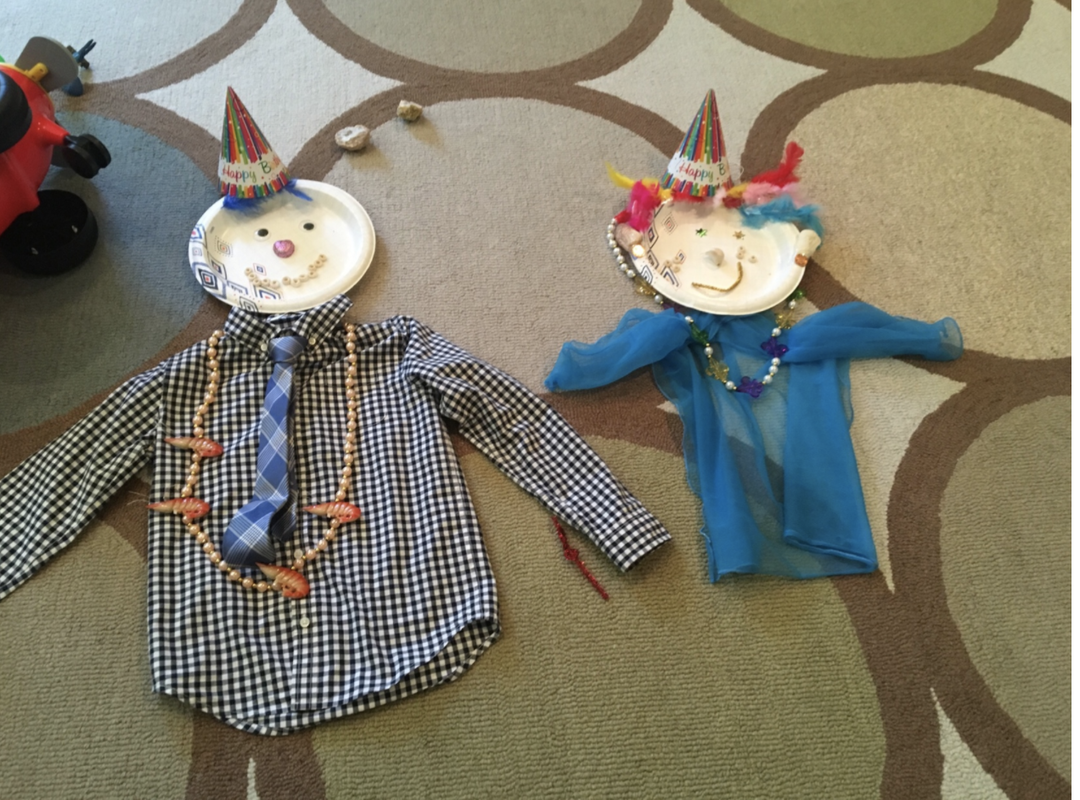
This was such a fun and successful remote learning project with Kindergarten! They simply had to go around their home, collect items and make them into a face!
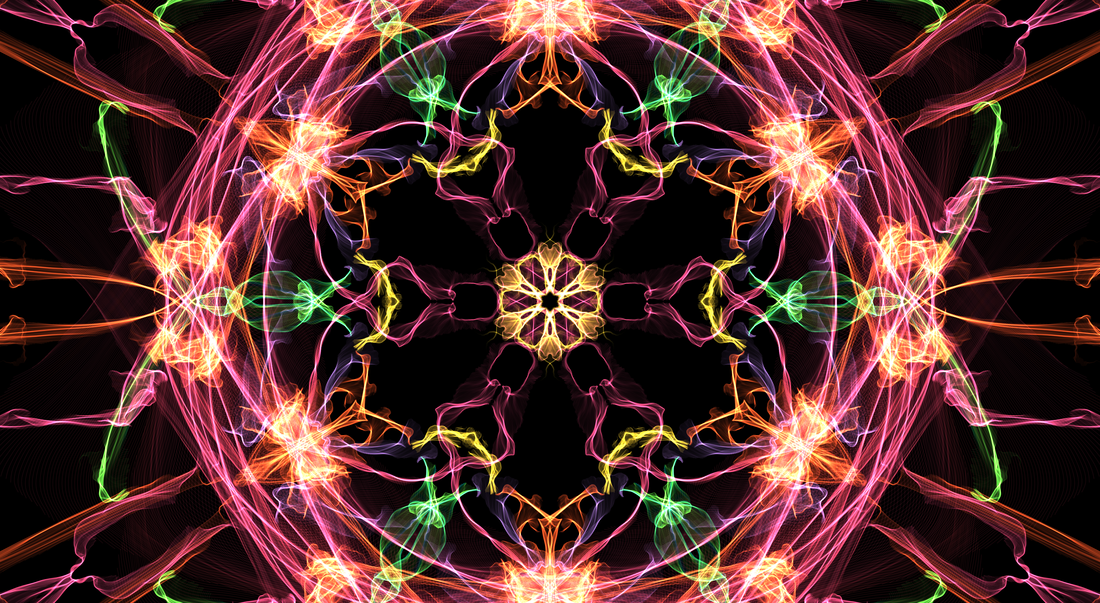
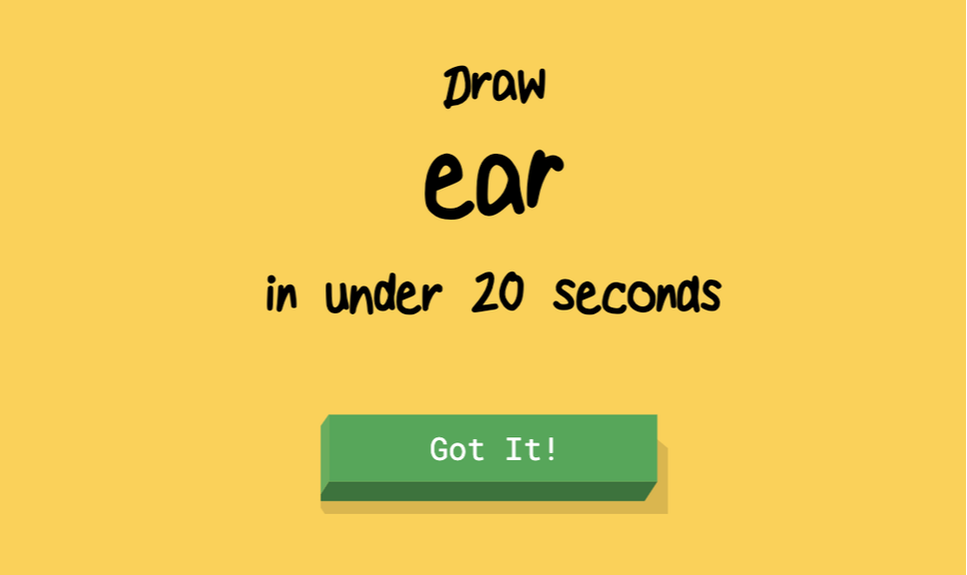
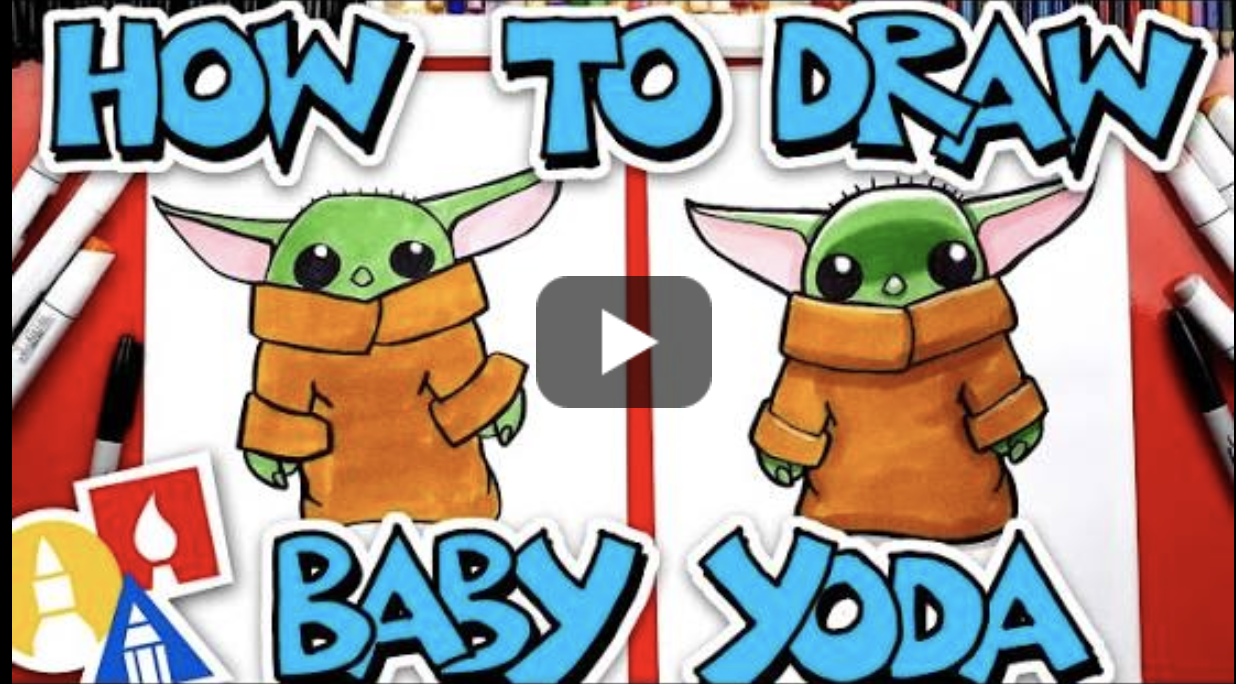
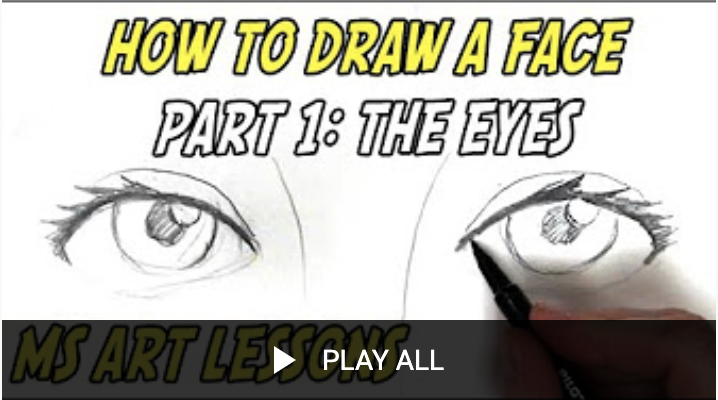
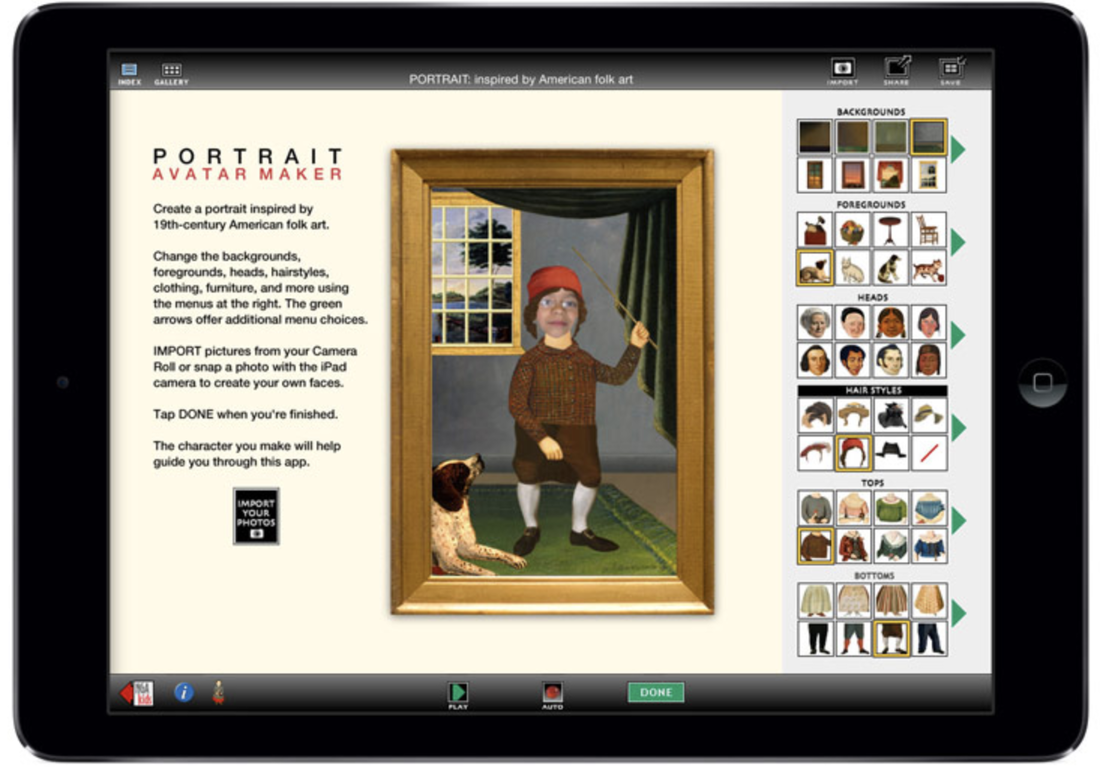
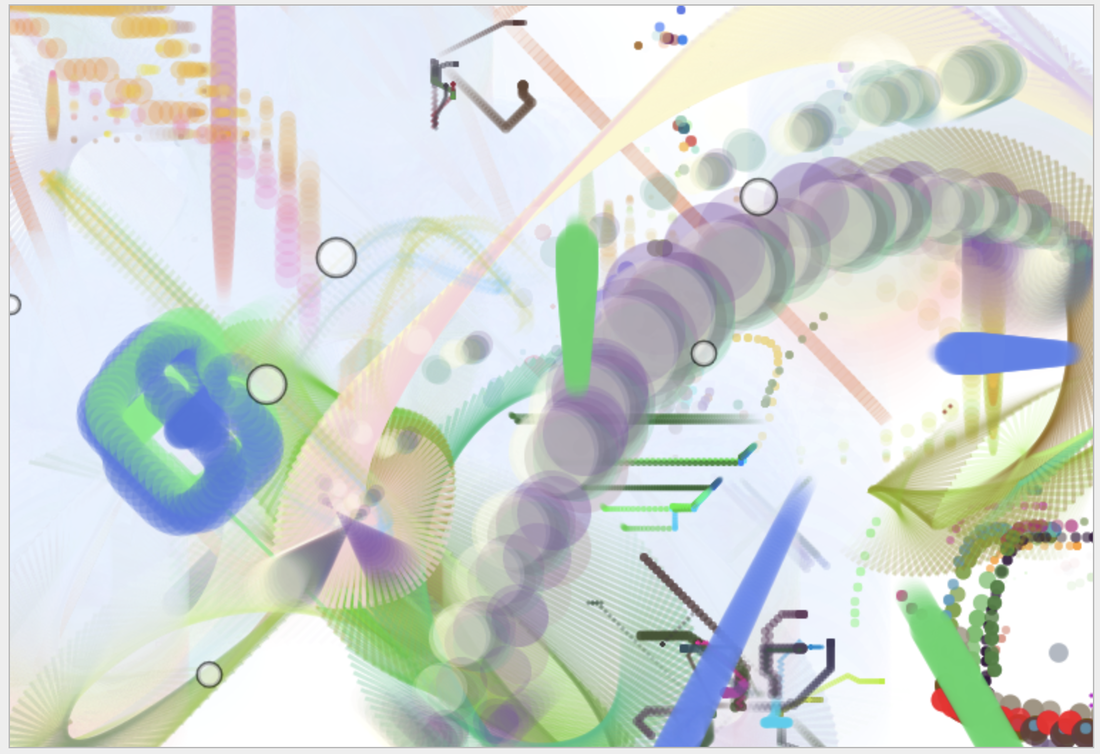
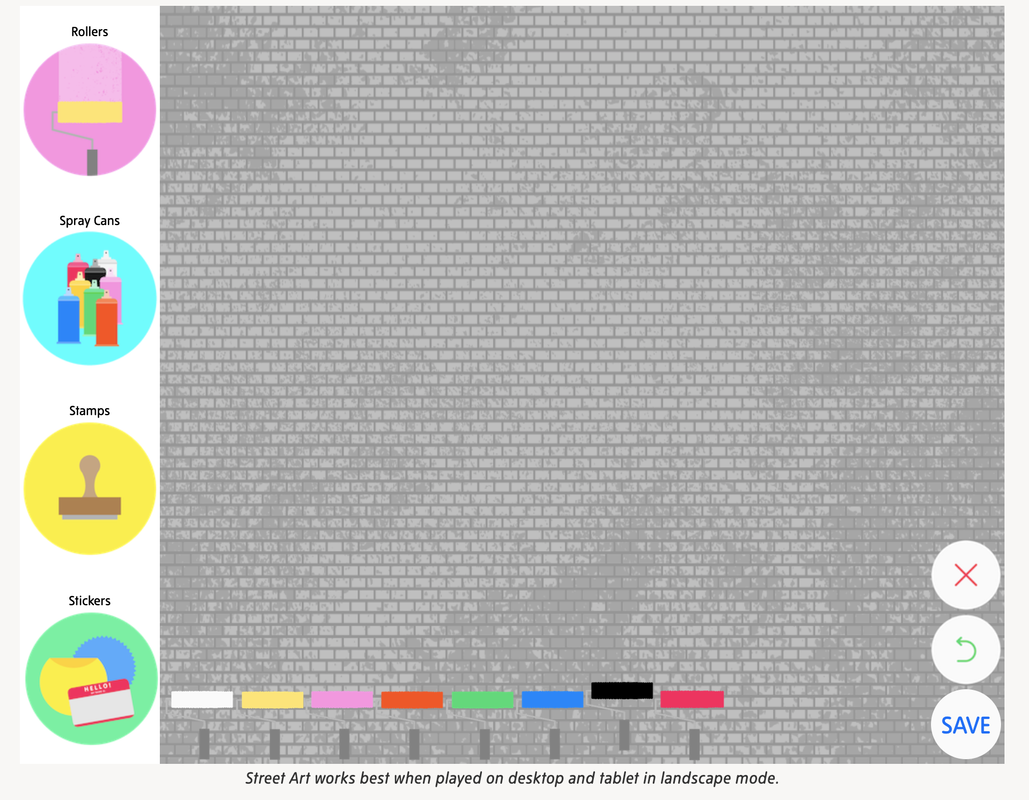
Well this school year has taken an unexpected 180° as we all transition to remote learning. I'll admit that this is something that I've never considered or planned for and it has been a whirlwind. It has been really amazing seeing all of the hardworking, dedicated, passionate teachers helping each other out to create fun, and sometimes deep and meaningful art projects for our beloved students whom we miss dearly. I am posting some fun websites and resources for teachers to utilize or use for inspiration as they create remote learning activities. 1. http://weavesilk.com/ This website is a super fun platform to create symmetrical digital images. Begin by pushing "draw something" and then selecting the dot in the top left corner. This gives a bunch of options such as color, points of symmetry, and mirror across center. This is appropriate for most age groups and is really fun to experiment with! 2. https://quickdraw.withgoogle.com/ This is basically a speed Pictionary game, the website assigns the player an image to draw and the computer guesses what the drawing is. It only gives you 20 seconds to do the drawings. It's silly and fun. 3. https://www.youtube.com/user/ArtforKidsHub Art for Kids Hub is a super popular drawing Youtube channel. These are all step-by-step how to draw videos featuring fun characters, animals and seasonal images. These are a blast and are appropriate for most elementary age students. 4.https://www.youtube.com/playlist?list=PLD4p_ts4ZyQjJhbJvx7giocqmZU3q4qFC This Youtube playlist is full of more advanced step-by-step drawings focusing on drawing human faces and perspective. These are appropriate for some 4th graders and up through Middle School age. 5. https://www.nga.gov/education/kids.html The National Gallery of Art Kid Zone program is for iPads and explores the Art world of portraits, still life, landscape, color field and more. This is created for kids aged 9-11 and is interactive but can be used by younger and older learners and artists as well. 6. http://bomomo.com/ Create abstract artwork using this digital platform. There are a bunch of different options for brushstrokes and painting styles but the used doesn't have a ton of control over the design. It is fun to experiment with but there is no option to delete your last addition which is frustrating. 7. https://www.tate.org.uk/kids/games-quizzes/street-art Create your own graffiti/mural art with this program. Murals are such a popular form of art right now and this is a fun way to play with digital spray cans and stamps to create your own art. This would be a fun way to have students create a mural using their name or a specific subject matter. 8. https://www.youtube.com/channel/UCxcWYE_GFpLKyRFi_dzlkhQ Babble Dabble Do is full of exciting projects that merge art and science. Some of the projects need printed images and a variety of materials so they're not doable for all families. But these are great activities for those who have printers at home and lots of materials. Super cool stuff happening on this website! 9. https://www.creativebug.com/classes?category=Kids
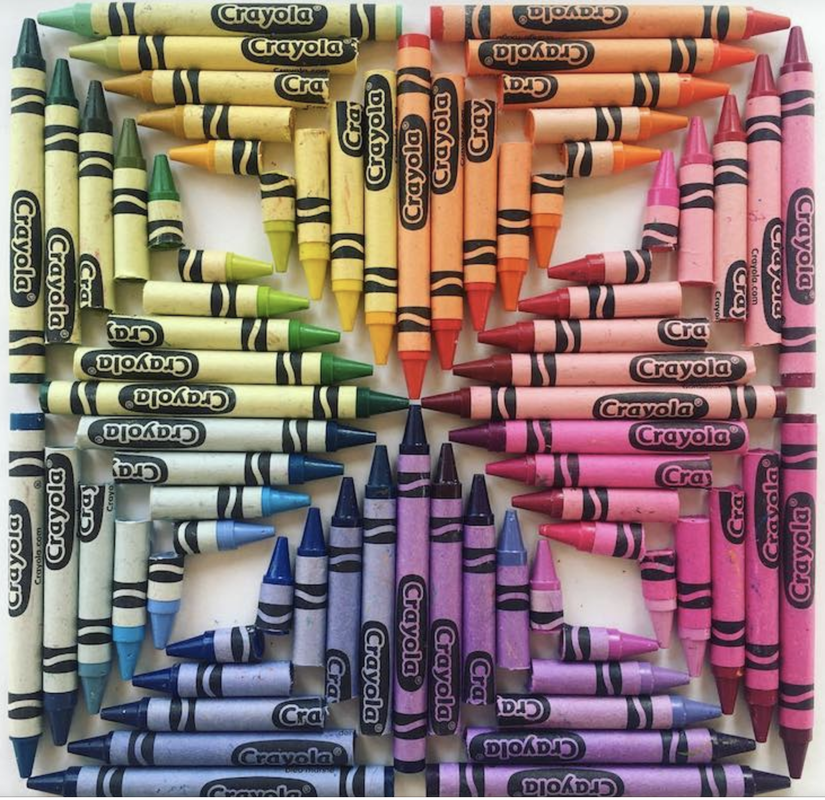
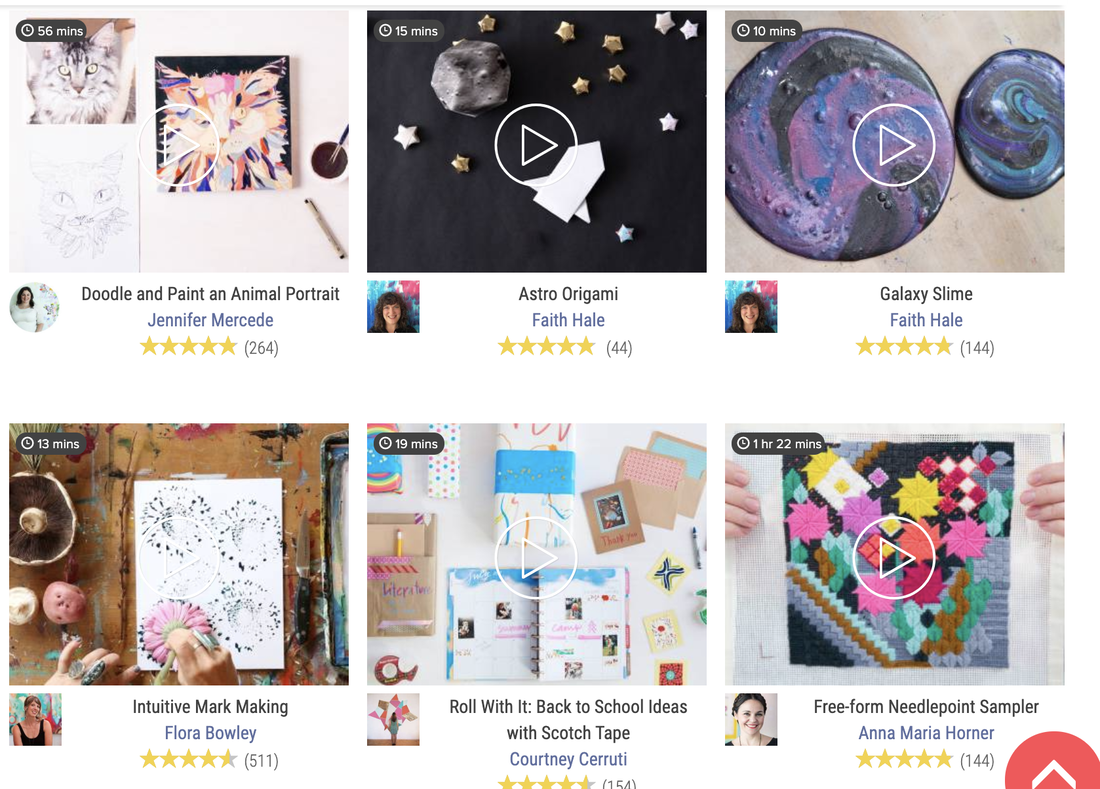
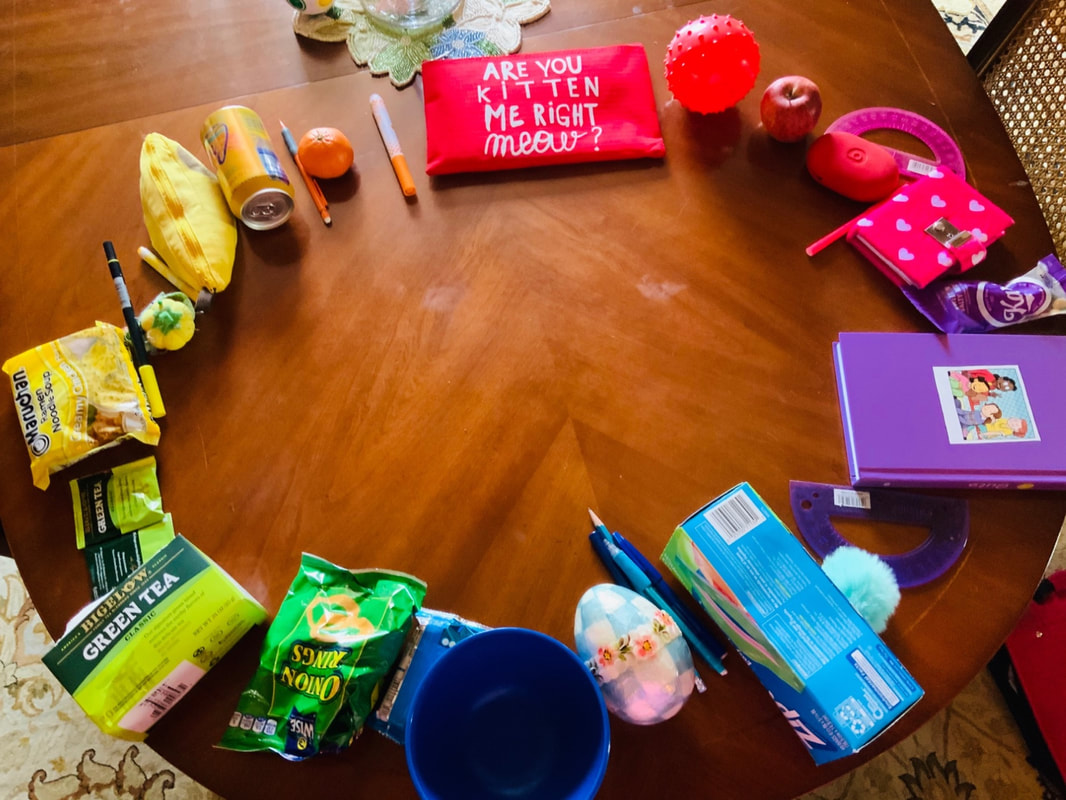
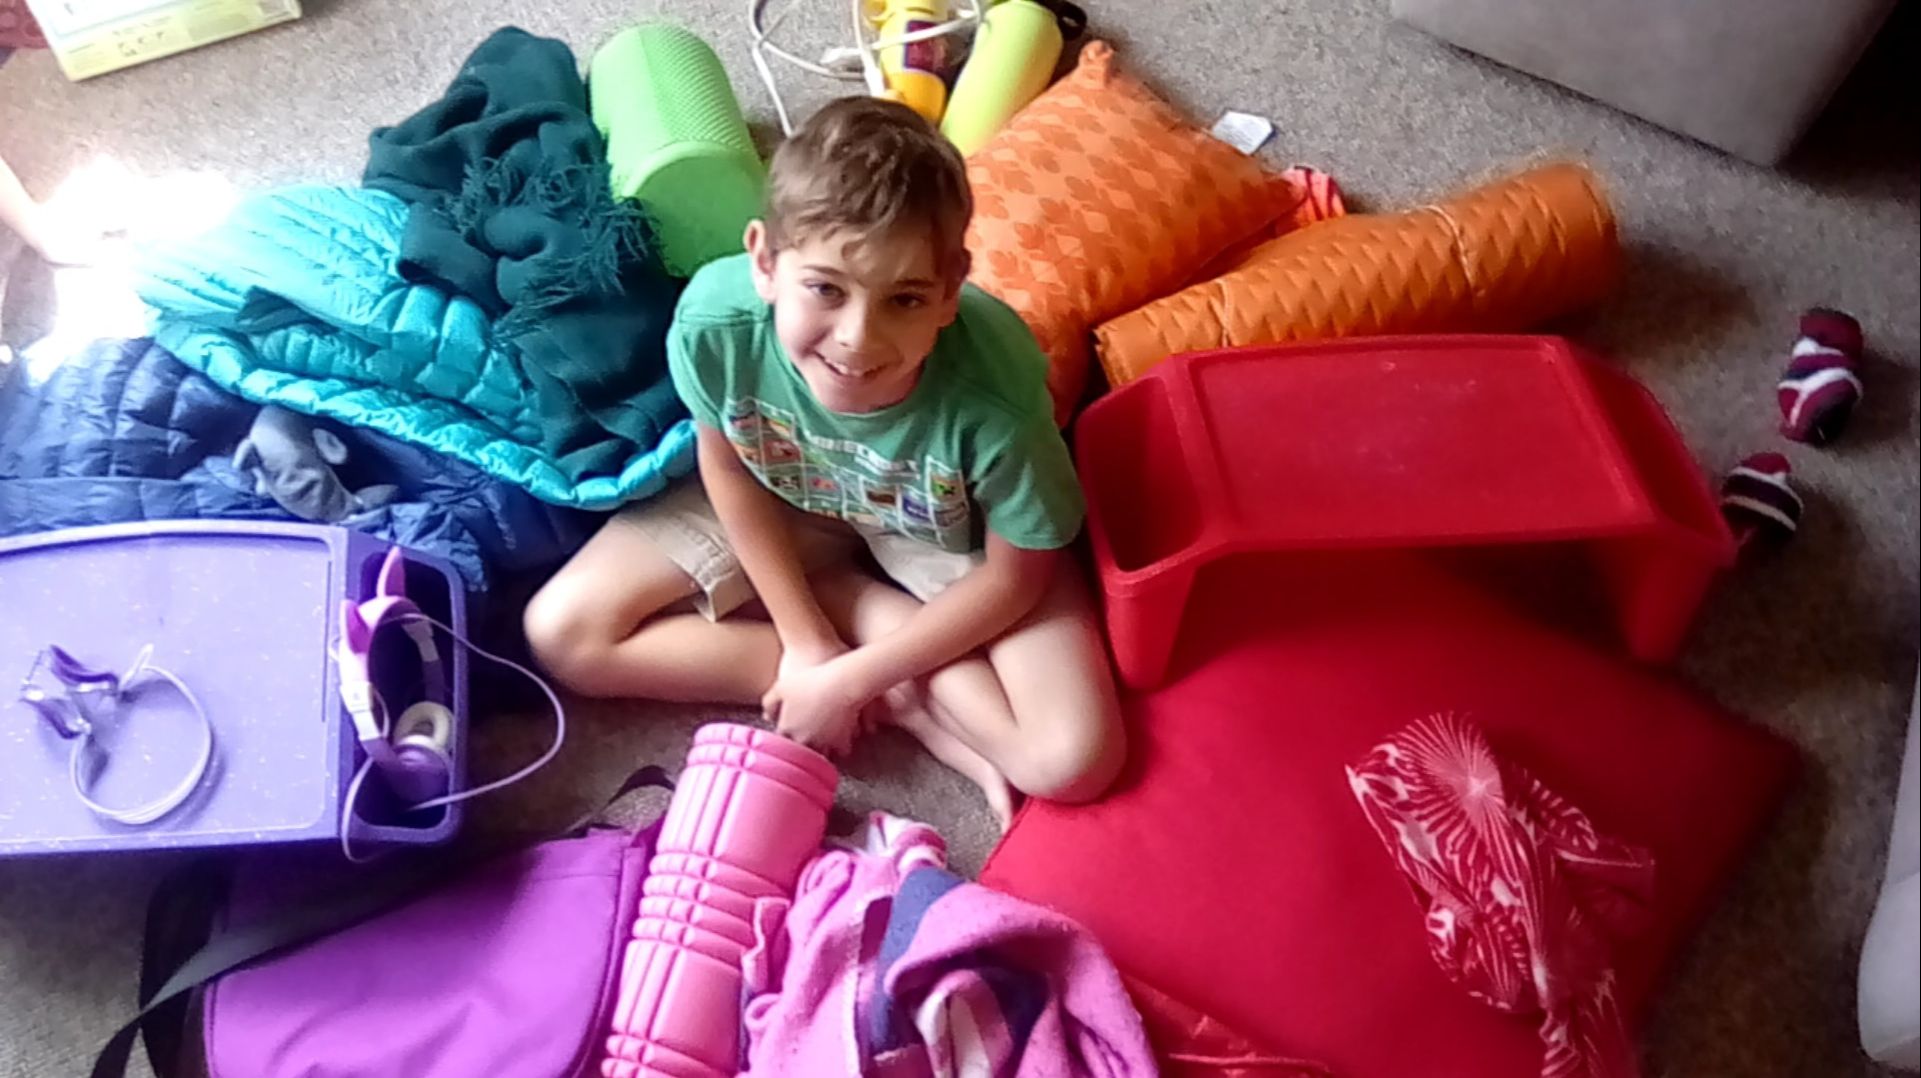
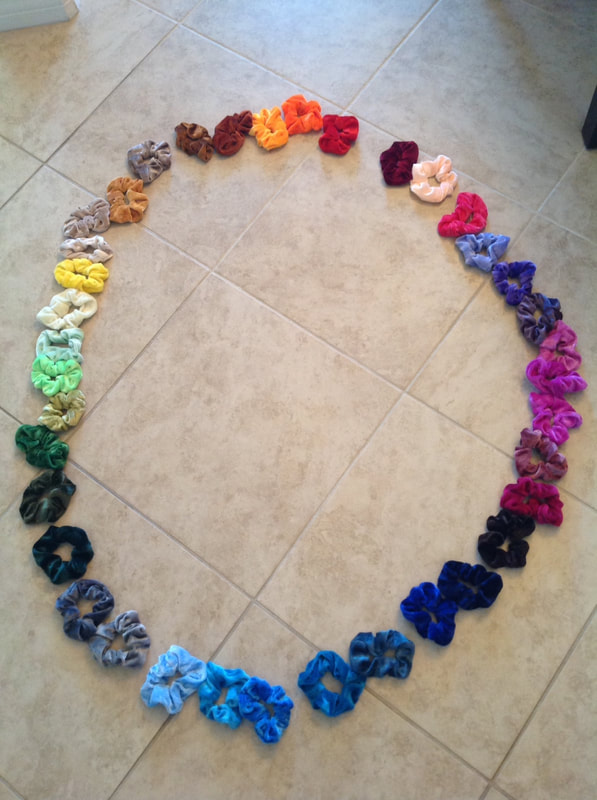
Creative Bug is one of my favorite art websites ever and they have an entire section of videos for kids. This website does have a monthly fee, but I think it's just $5. This would be a great purchase for any students who really want to challenge themselves and push themselves as an artist. The videos are usually around 15 minutes to 2 hours long and are a craftspersons dream! There are origami, stitching, manga drawing, holiday crafts, printmaking, painting videos and sop much more! Although I can't take credit for designing this fun art project idea, I'll say that it has been super fun seeing the kiddos creations! I first saw this idea online with the photo below and was immediately inspired. The goal of this activity is to have students collect a bunch of items from all over their home and to organize them into a color wheel. I'm super happy to see students getting pumped about this activity and seeing their thoughtful color wheel creations. Nice job, 3rd grade artists!
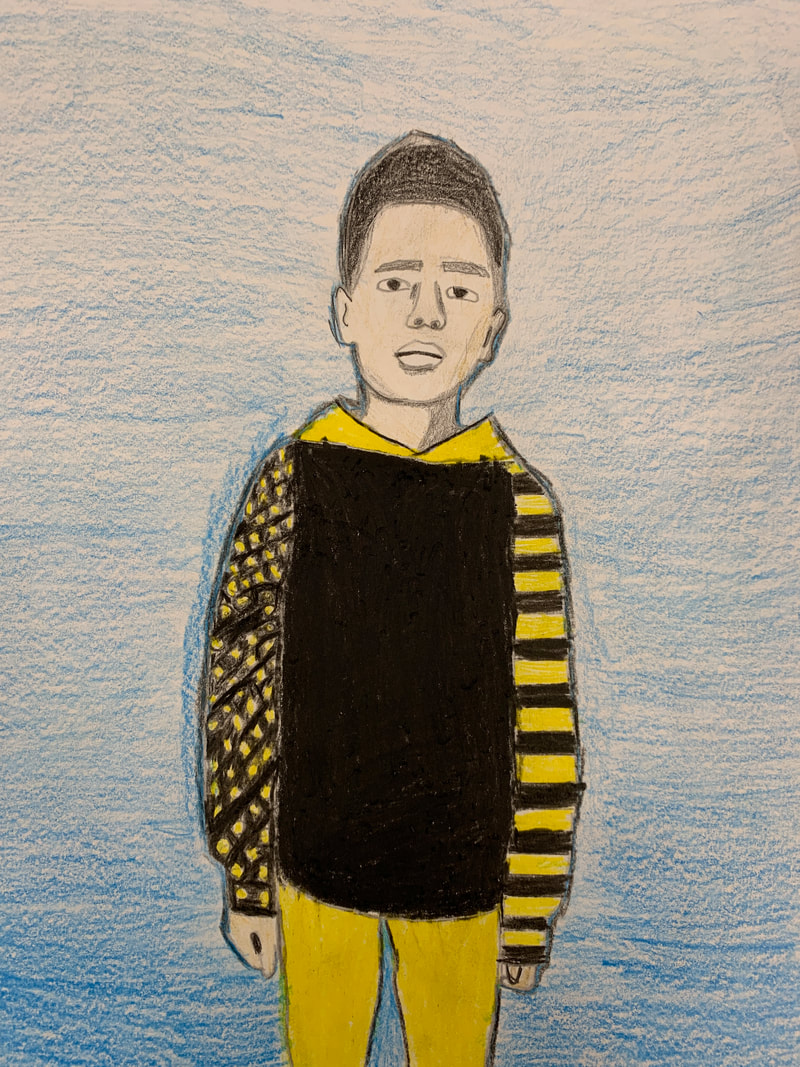
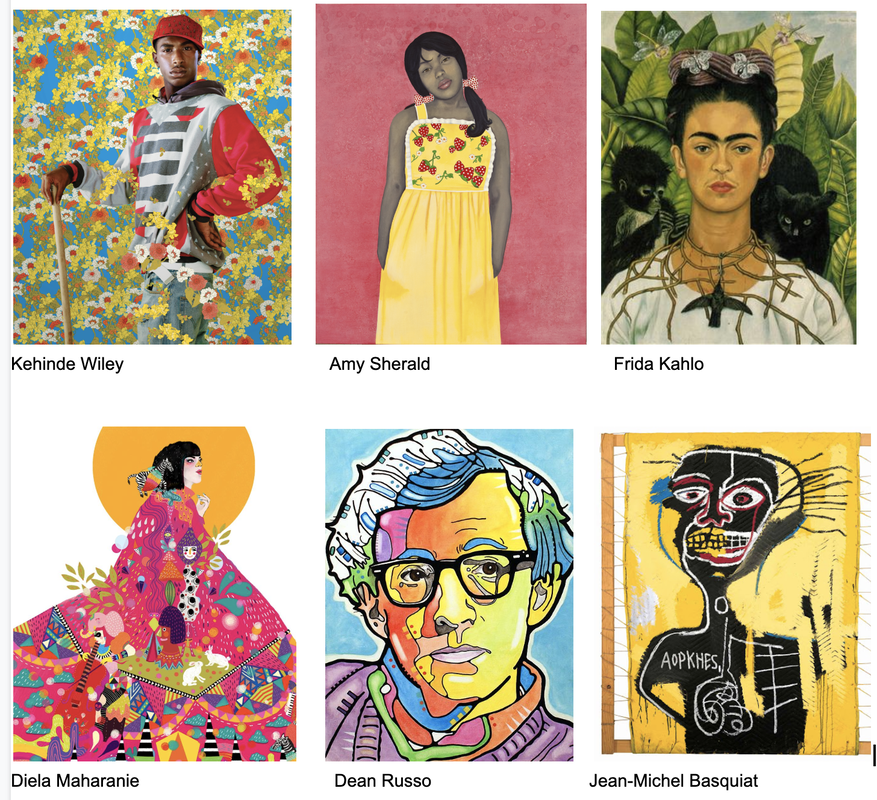
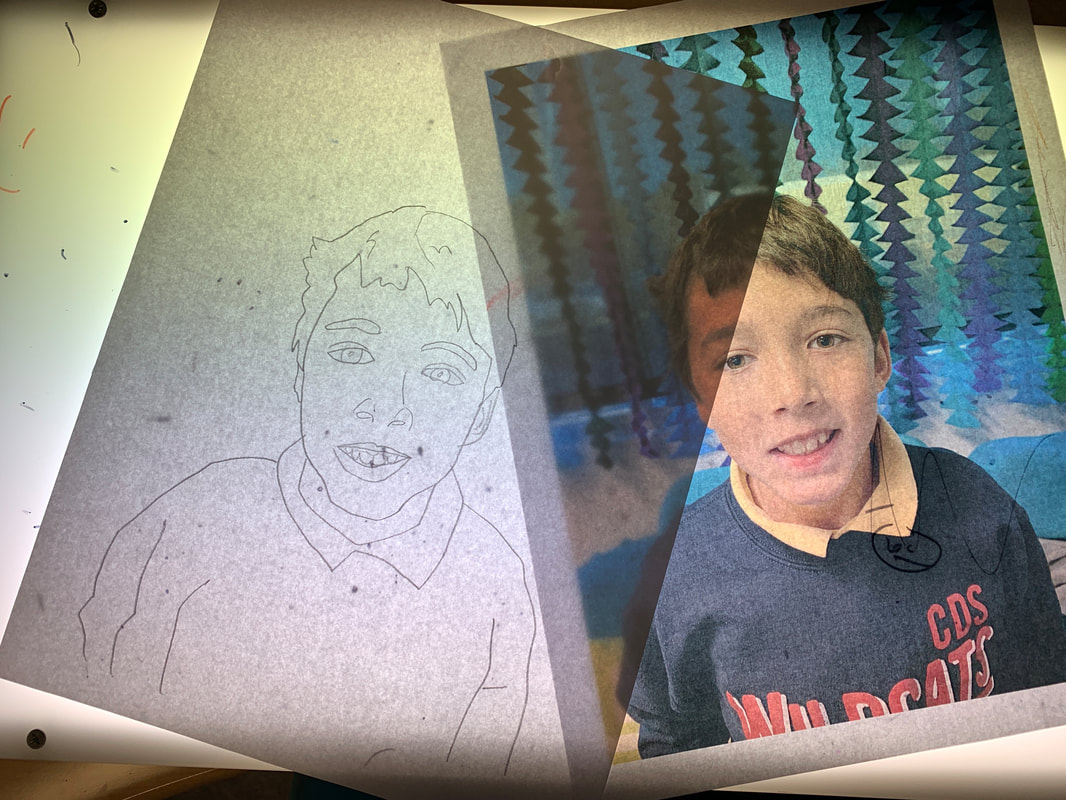
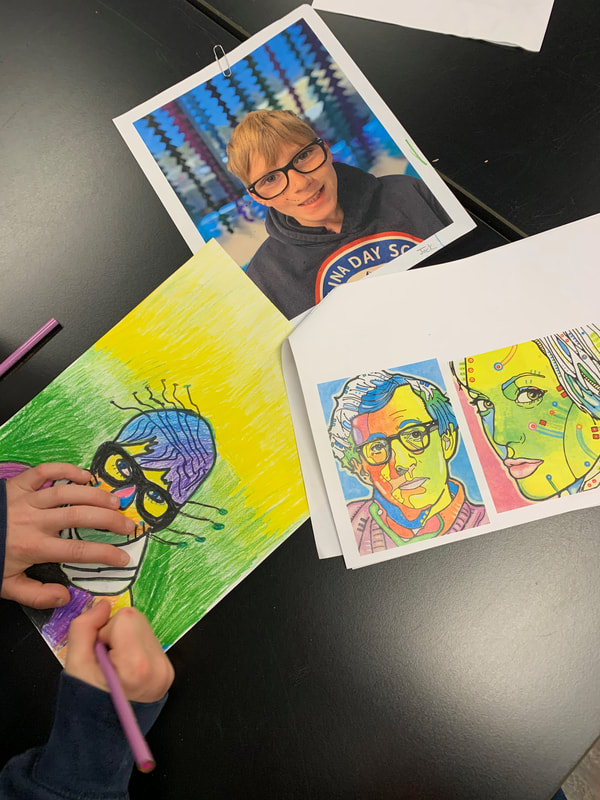
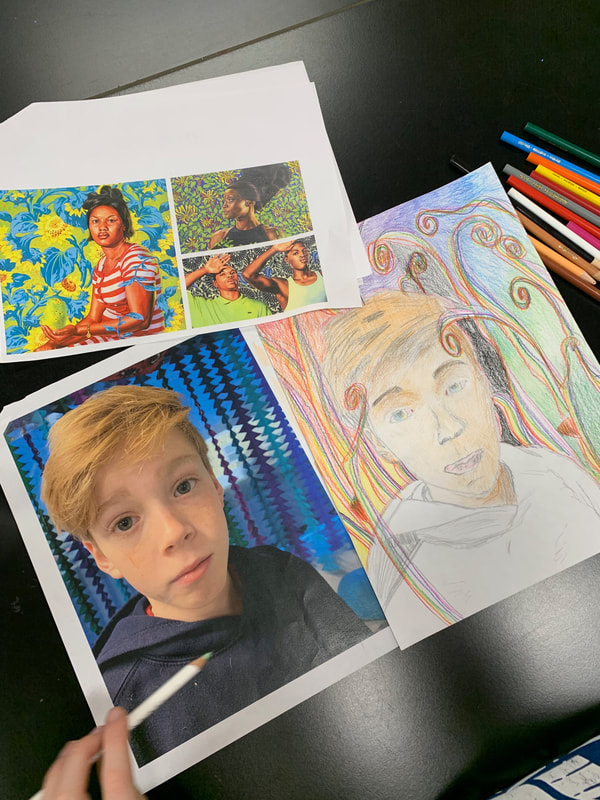
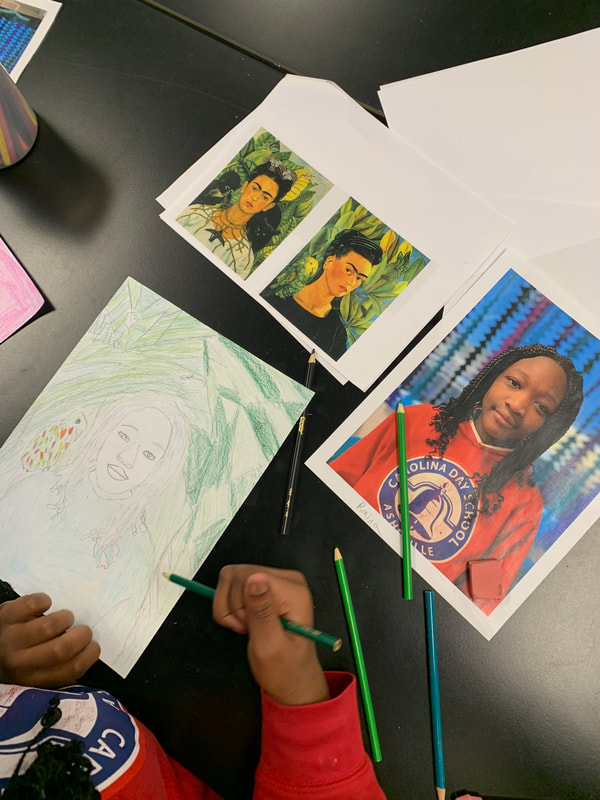
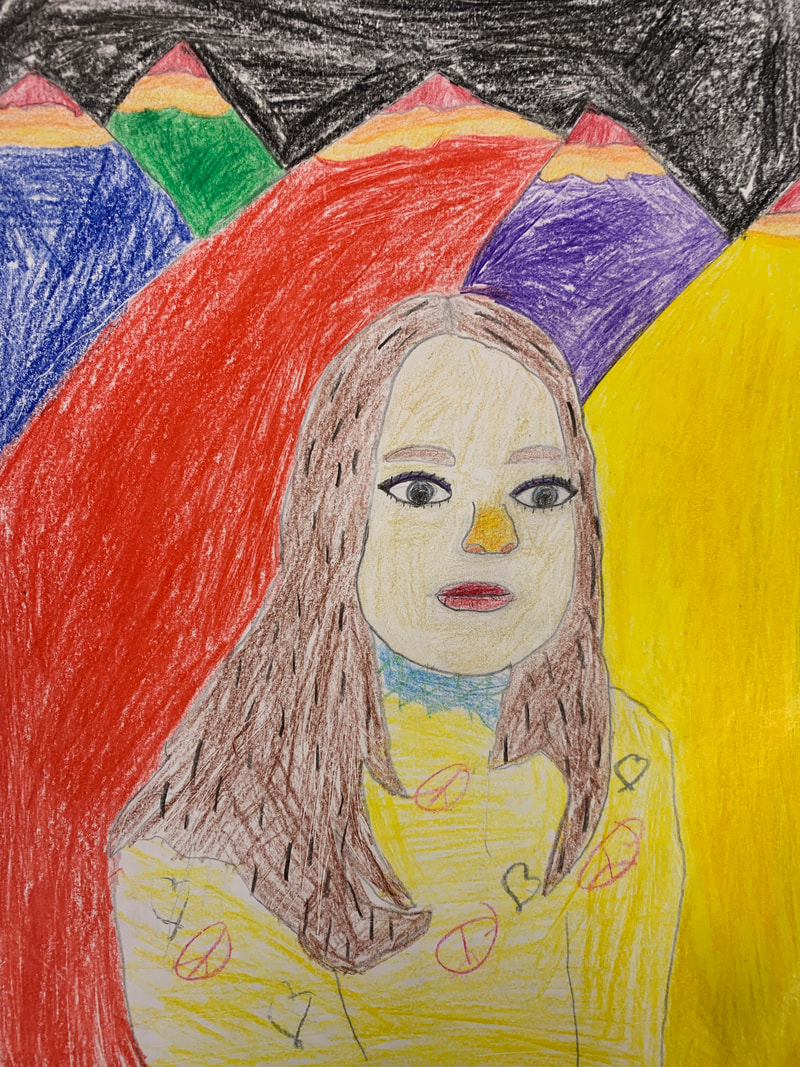
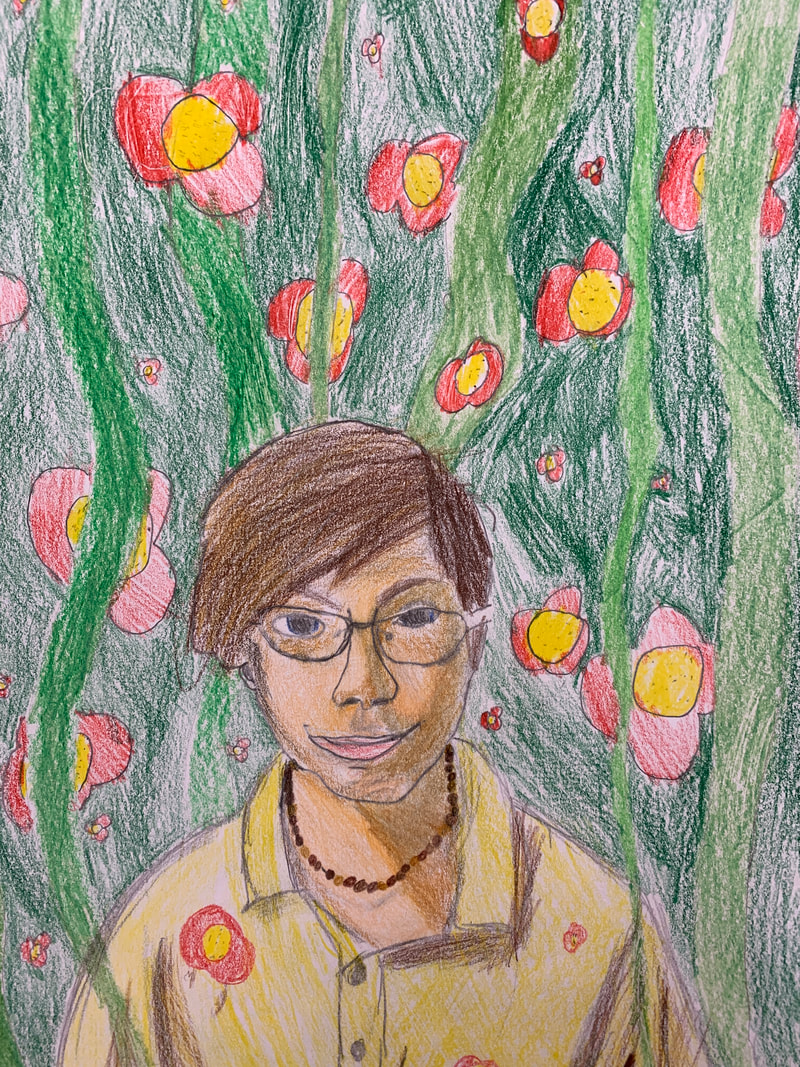
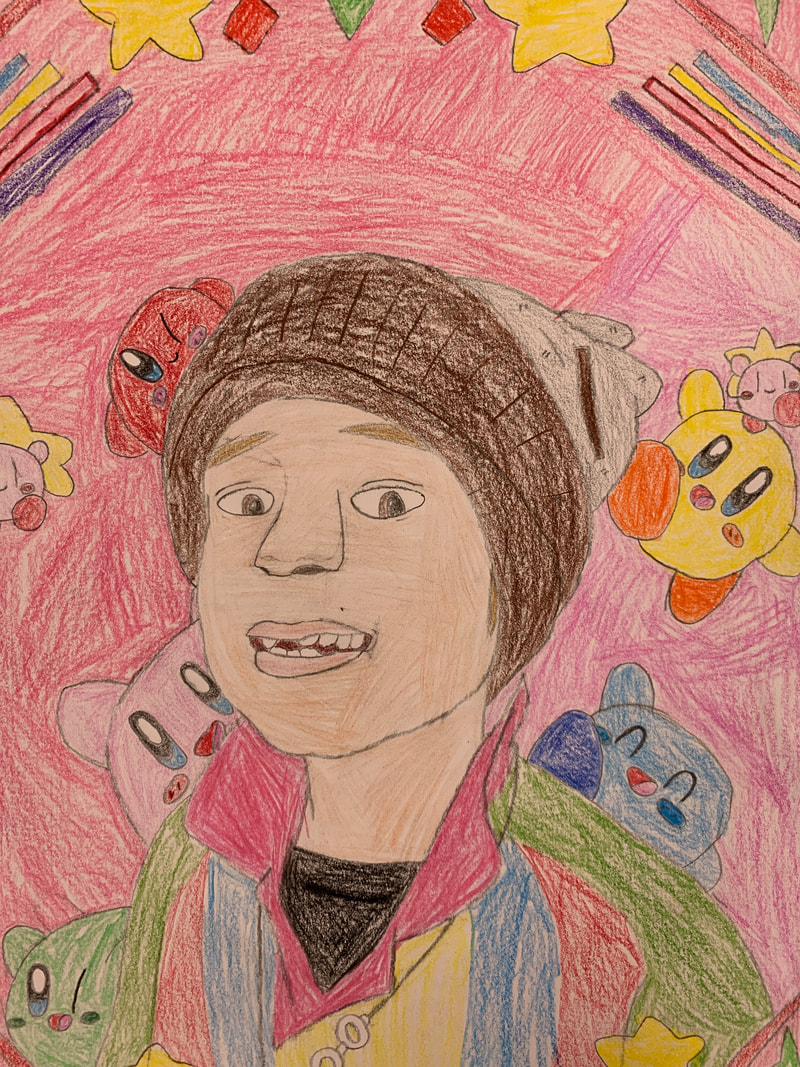
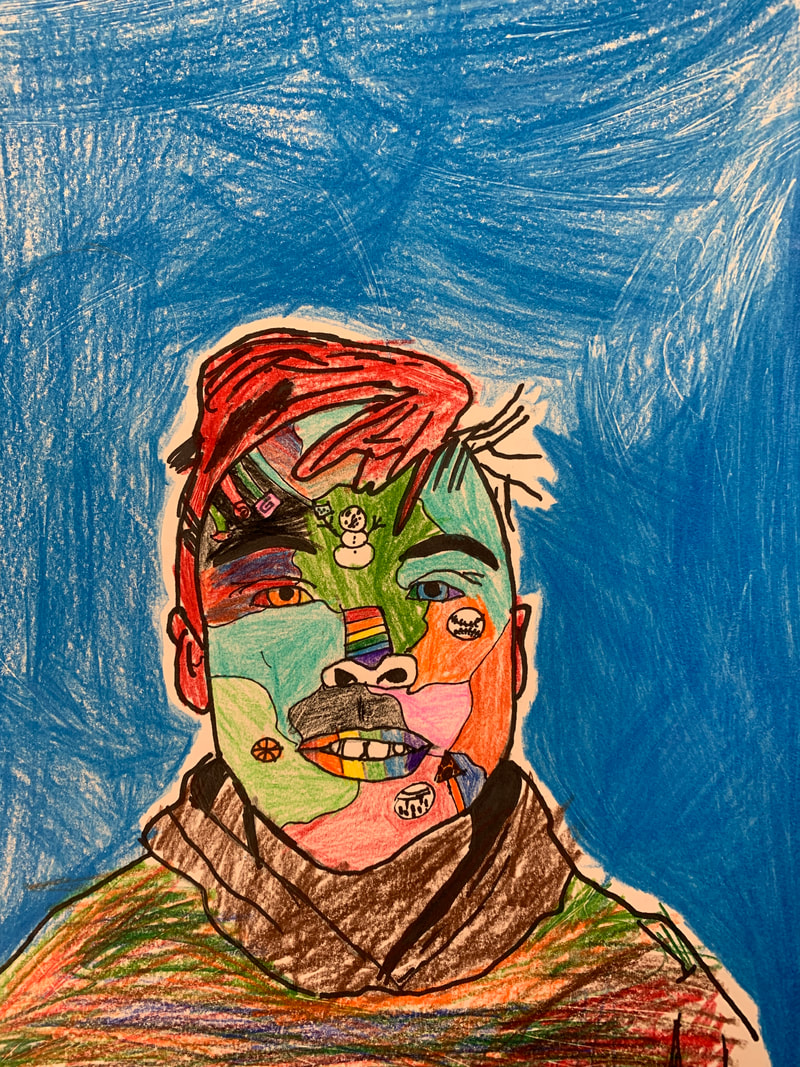
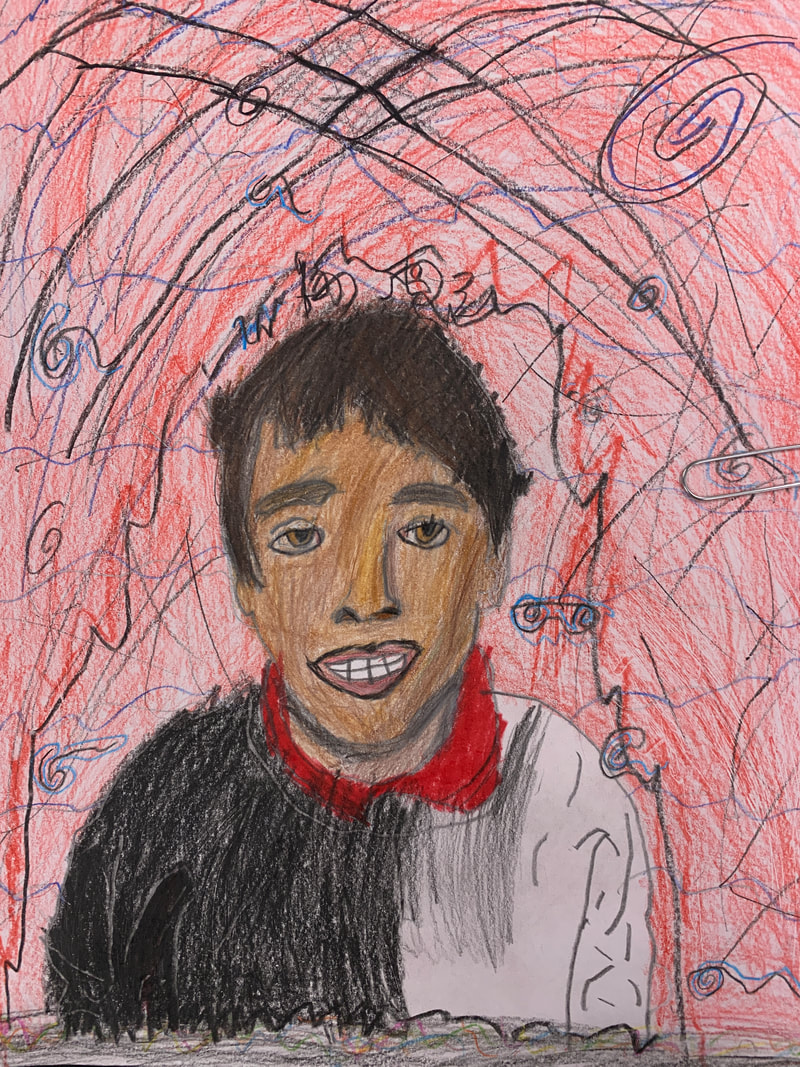
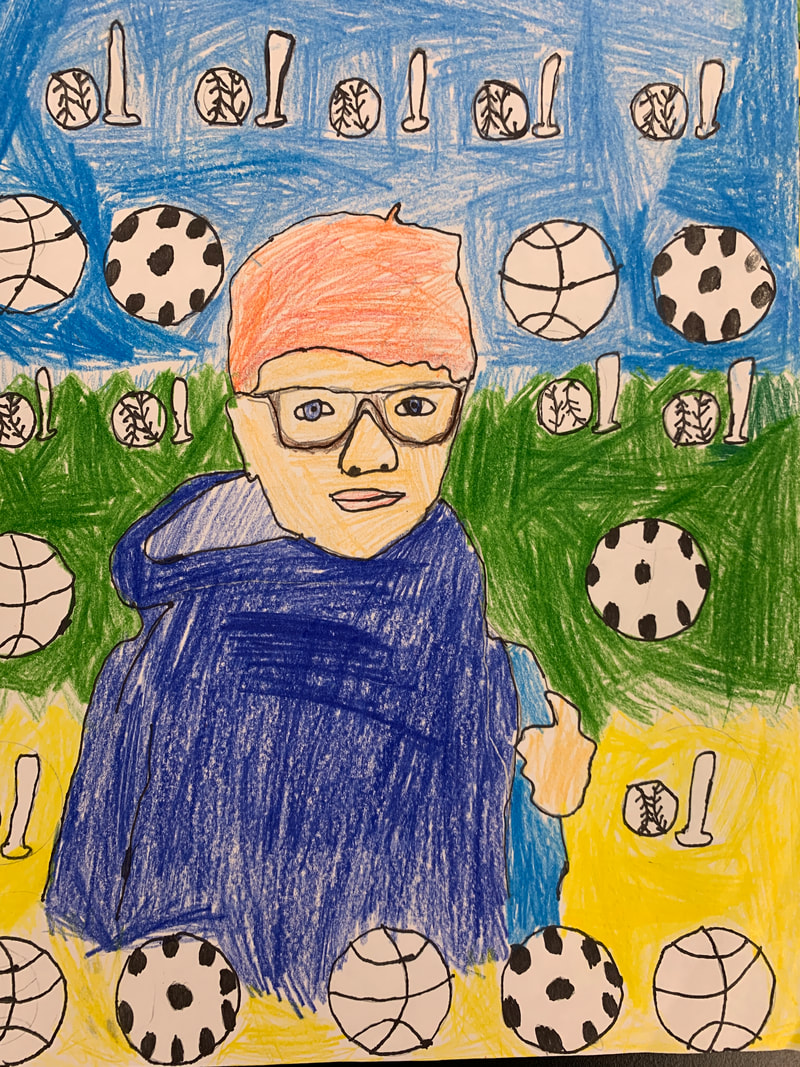
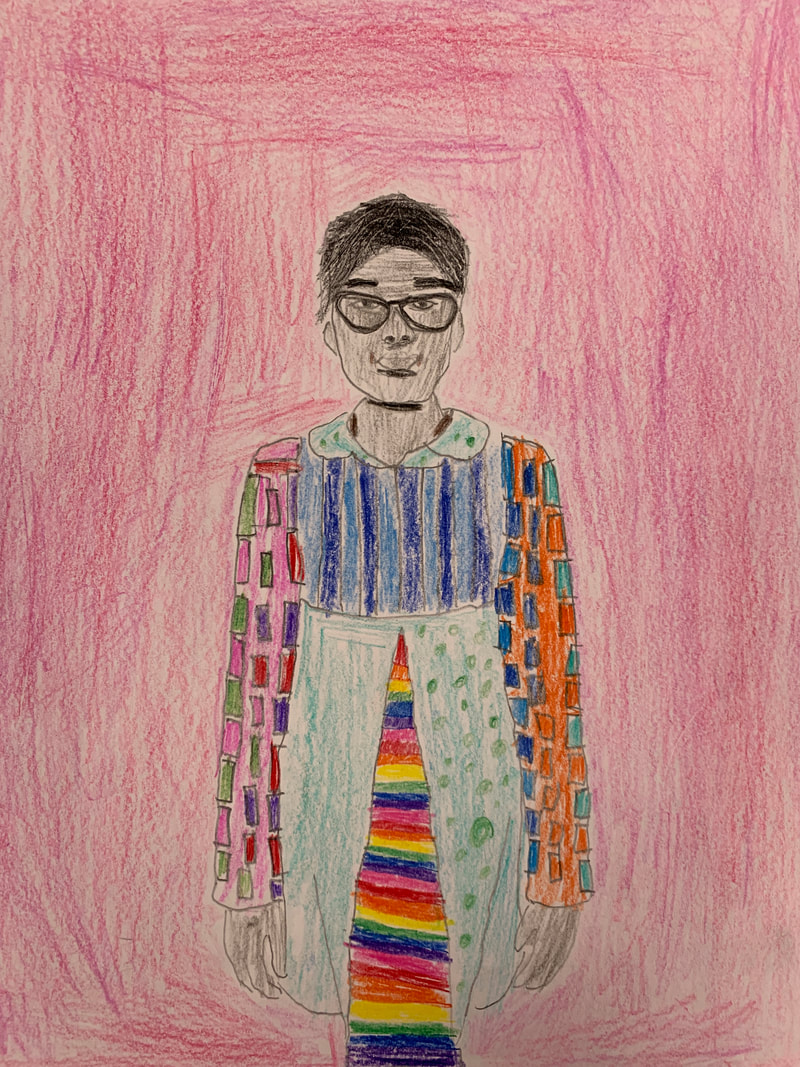
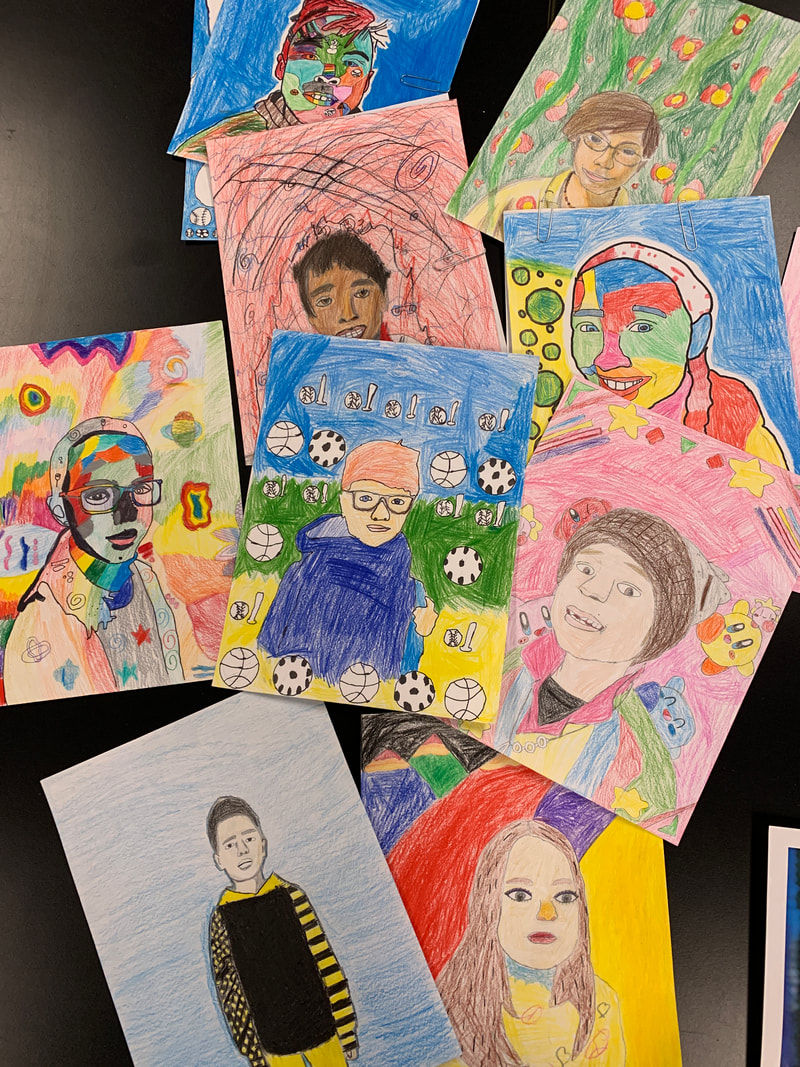
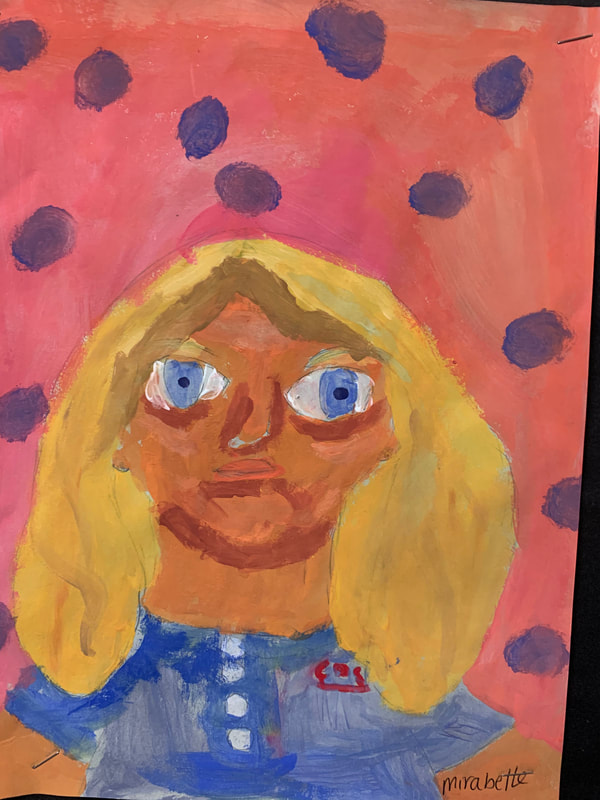
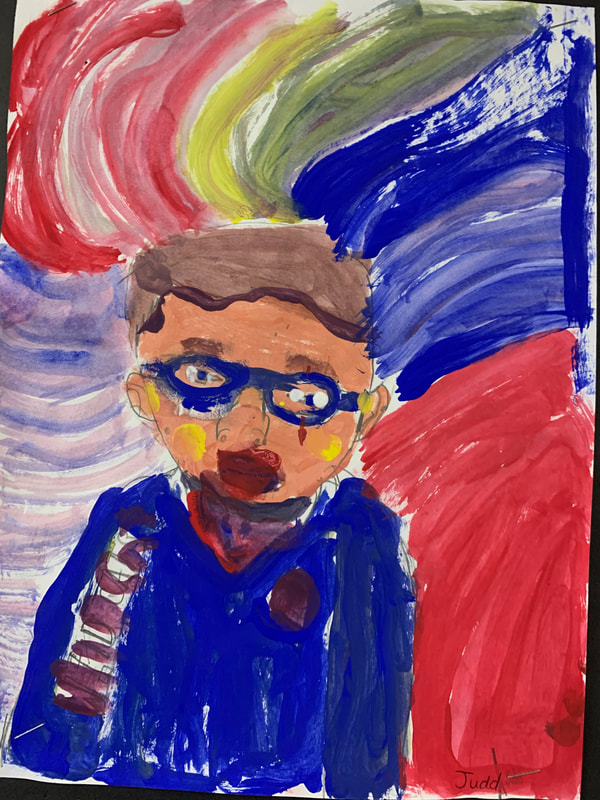
As a teacher, there are few things as awesome as hearing your students saying "I love this project" and "this is my favorite project we've ever done in art class." This self-portrait unit went super well this year and the 4th grade artists were really excited about it and proud of themselves. I consider that a teacher win! Before diving into the actual art portion of this project, I introduced them to six contemporary portrait/self-portrait artists. We looked at the art of Kehinde Wiley, Amy Sherald, Frida Kahlo, Diela Maharanie, Dean Russo and Jen-Michel Basquiat and discussed their distinctive styles. Each student then selected one of these artists to do their self-portrait in the style of. I photographed each of the 4th graders and provided them with the photo of themselves. To take the pressure off of them for the actual drawing of the portrait, they used light tables and traced the contour lines of their photo onto paper before beginning. Once they had their base drawing down, they continued to look at the artwork by their selected artist and their photos of themselves for reference. They carefully drew a background and colored their skin/hair etc inspired by their selected artist.
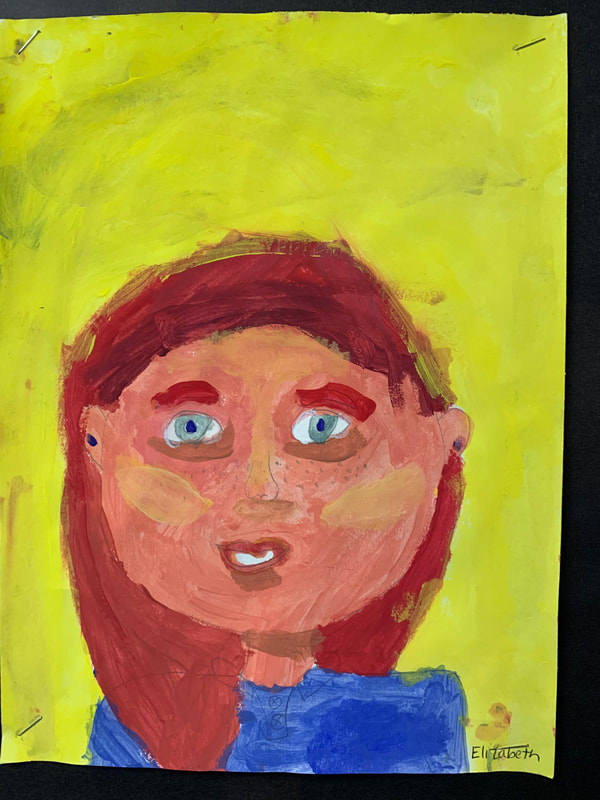
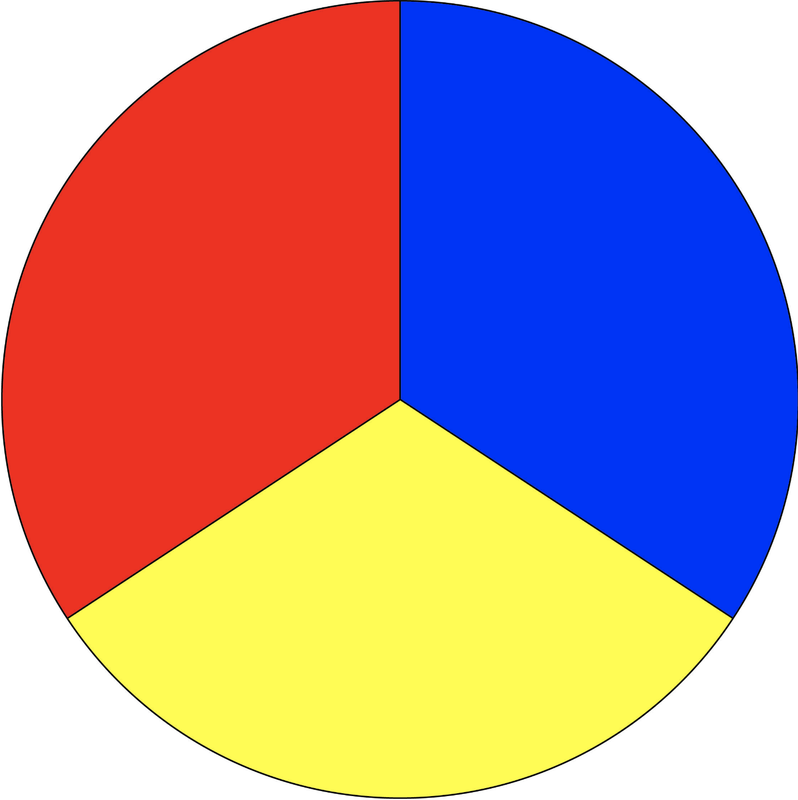
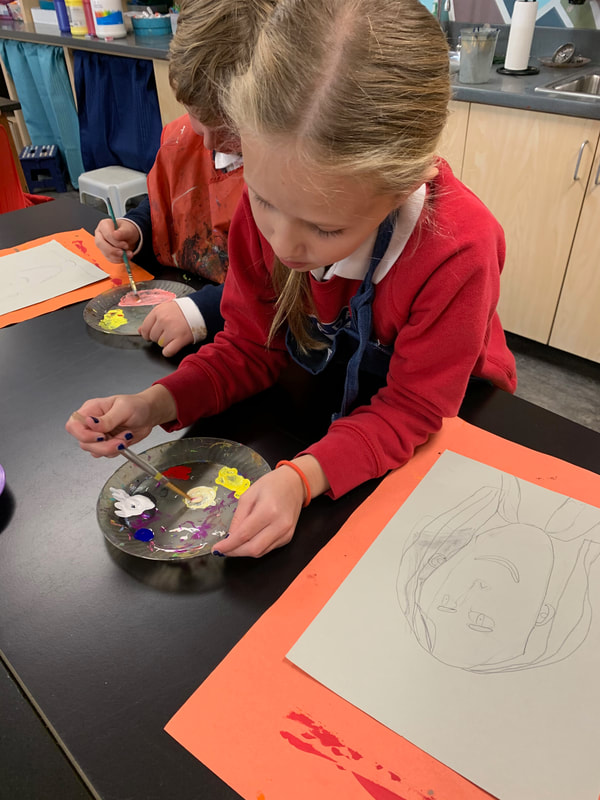
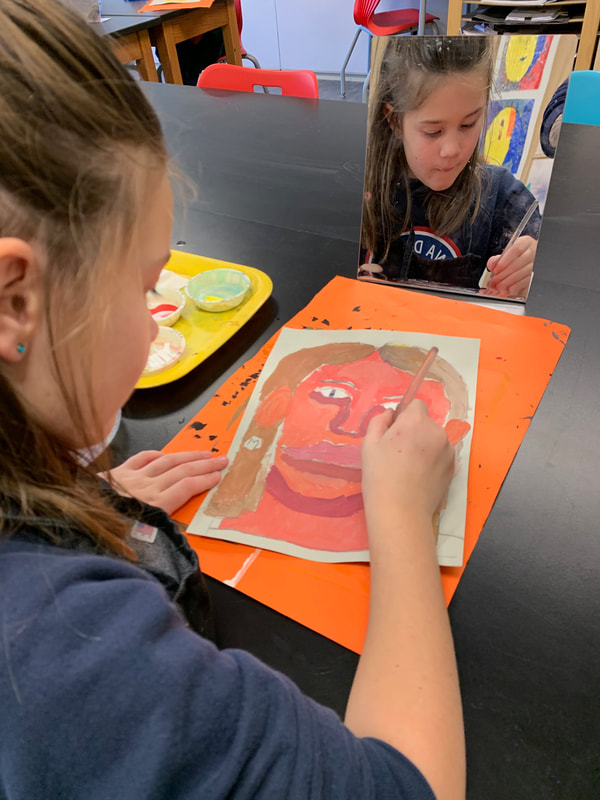
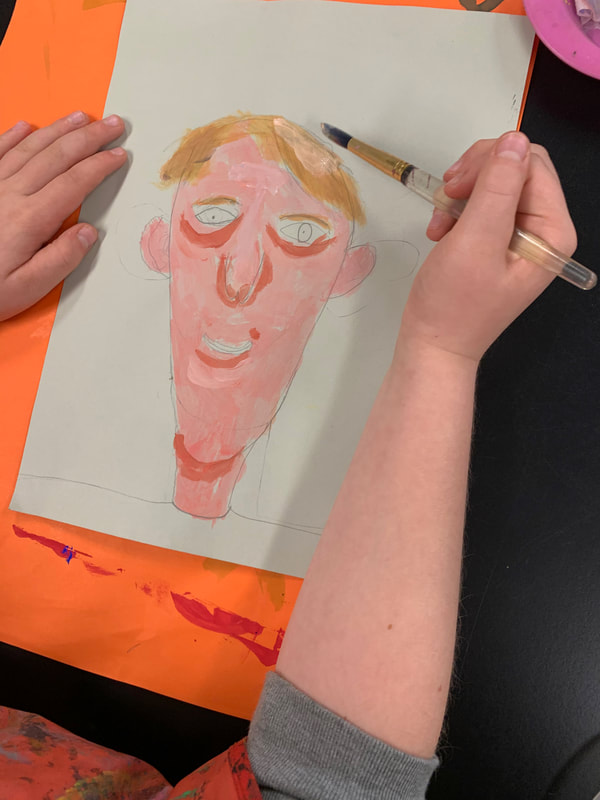
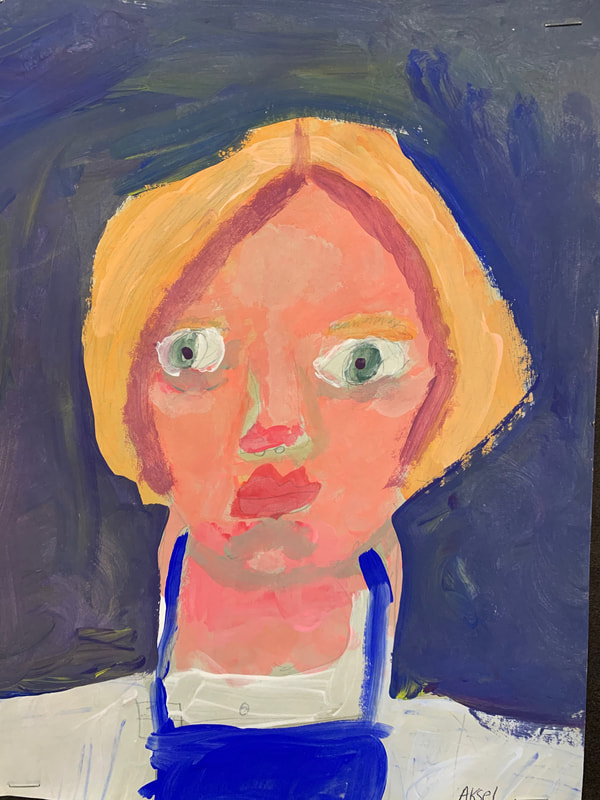
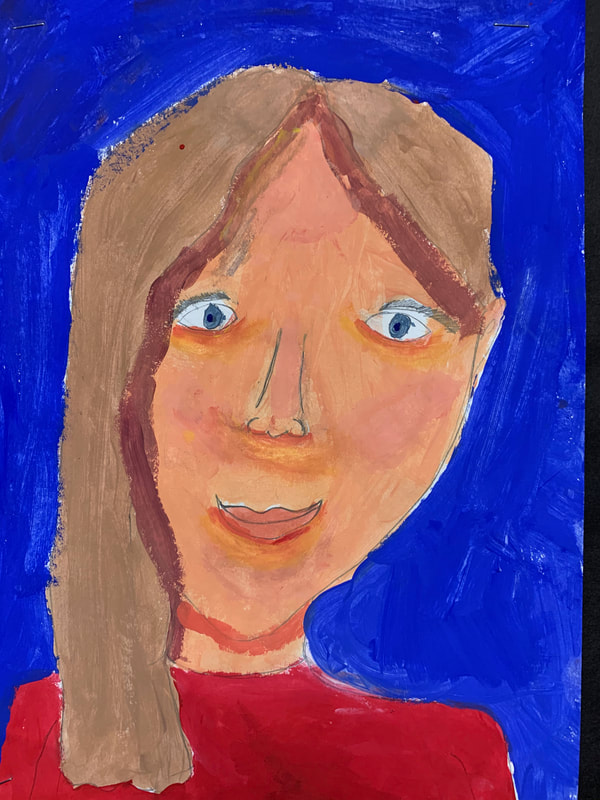
This allowed a lot of freedom of color use, patterns, etc but still gave them guidelines. The students absolutely loved this project this year and many chose Dean Russo and Kehinde Wiley as their inspirations. They turned out amazing!!! Wow! This was truly one of those art projects, you know, THOSE ones. The kind of project that was top notch and students all learned so much through the process. I honestly have chills just thinking about it. This was one of the most successful art projects that I've taught in a while because each student challenged themselves and grew as an artist during the entire creation process. I got the inspiration for this when a High School art teacher that I know posted photos of her High School students doing a similar project and I felt confident that I could adapt the project for my current 3rd grade artists. The goal of this project was to only use primary colors (red, blue and yellow) and white and black for this project. That means that the skin color, shadows and highlights, hair colors, etc etc were all mixed using only primary colors! This took some trial and error and lots of mistakes before students created the correct colors. We started this project with mirrors in front of us. Each student studied themselves in the mirror and drew their bust (head and shoulders) onto their papers.
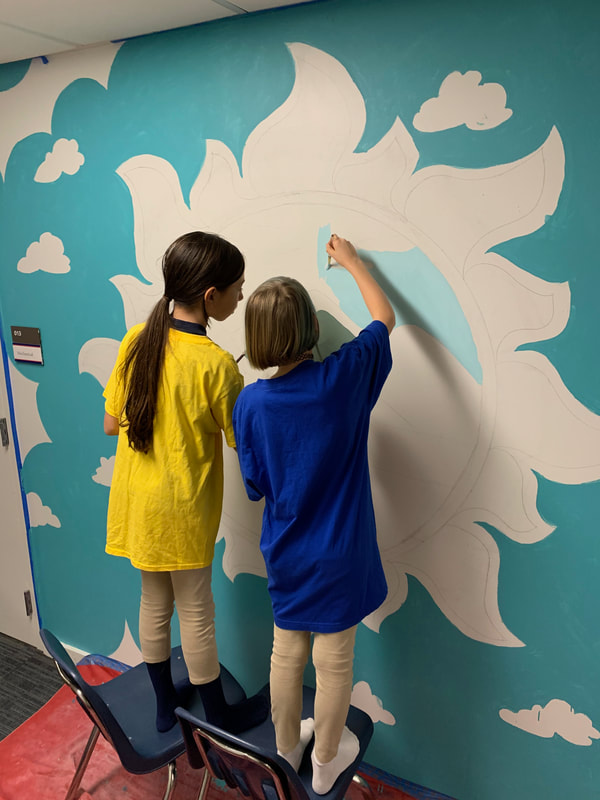
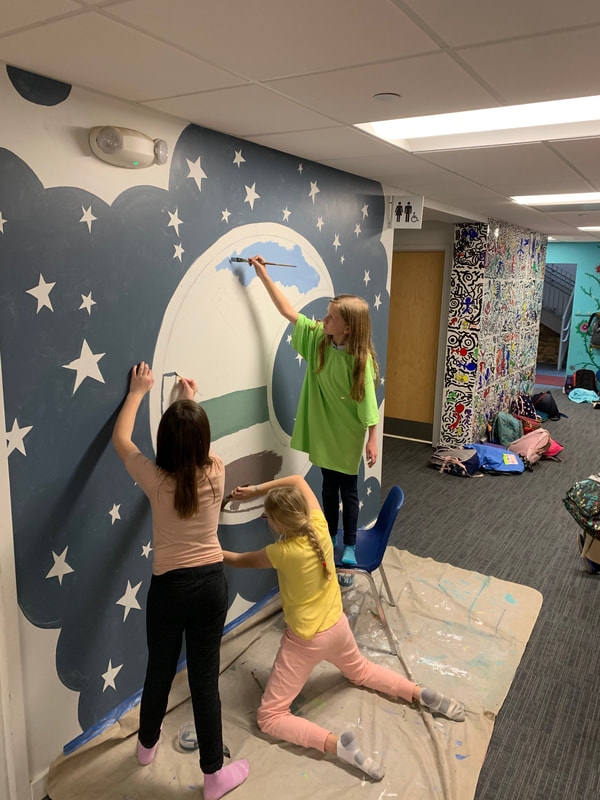
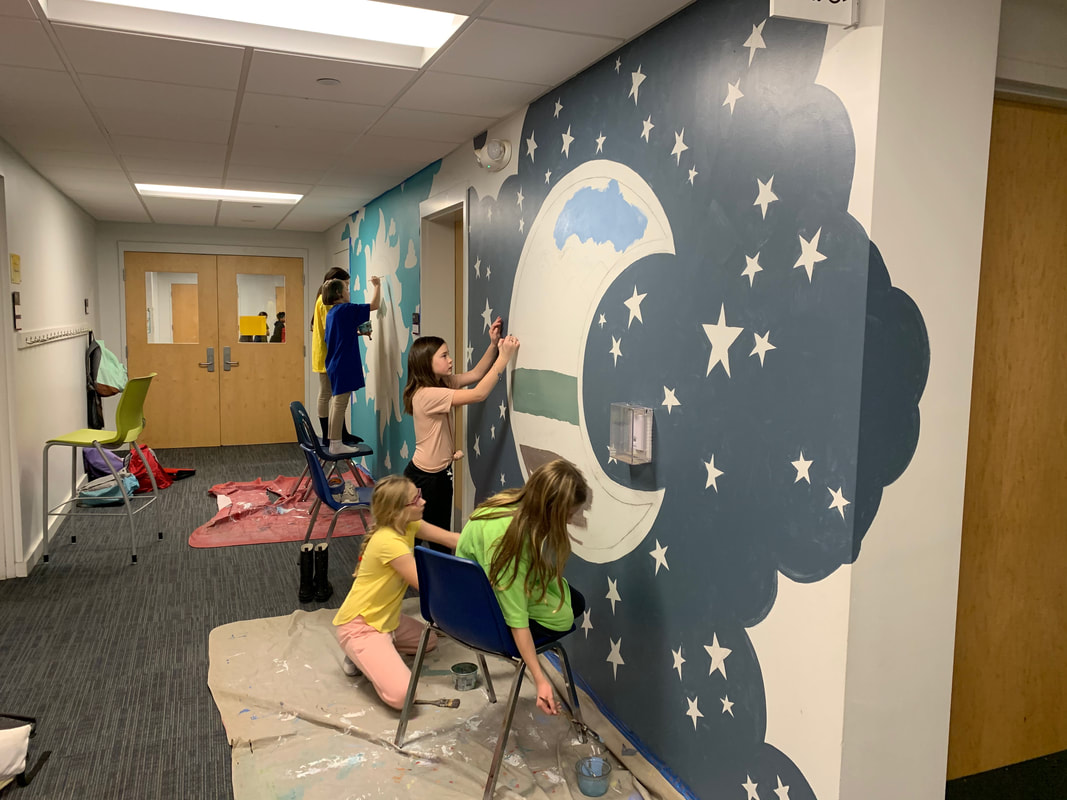
Once we started painting, students started with their skin colors. After mixing and finding a color that worked, they painted all of their skin on the drawing. To add highlights and shadows, they used their skin color and added blue and/or black to create shadows and added white and/or yellow for the highlights. They used this same technique on their hair and shirt as well. For the background, they had freedom to do whatever they wanted. The students worked so hard on this project and were so proud of the outcomes. When teachers and parents walk by the art display in the hallway, they are shocked that the students mixed all of the colors themselves. What amazing artists I get to teach! Mural Painting after-school Club for 3rd-5th graders is going great so far. We've met three times now. The first was to discuss our plan and design and the other two we have spent painting. There are 7 students in the club and they are loving getting to paint on such a large scale and knowing that the mural could be on the walls forever!
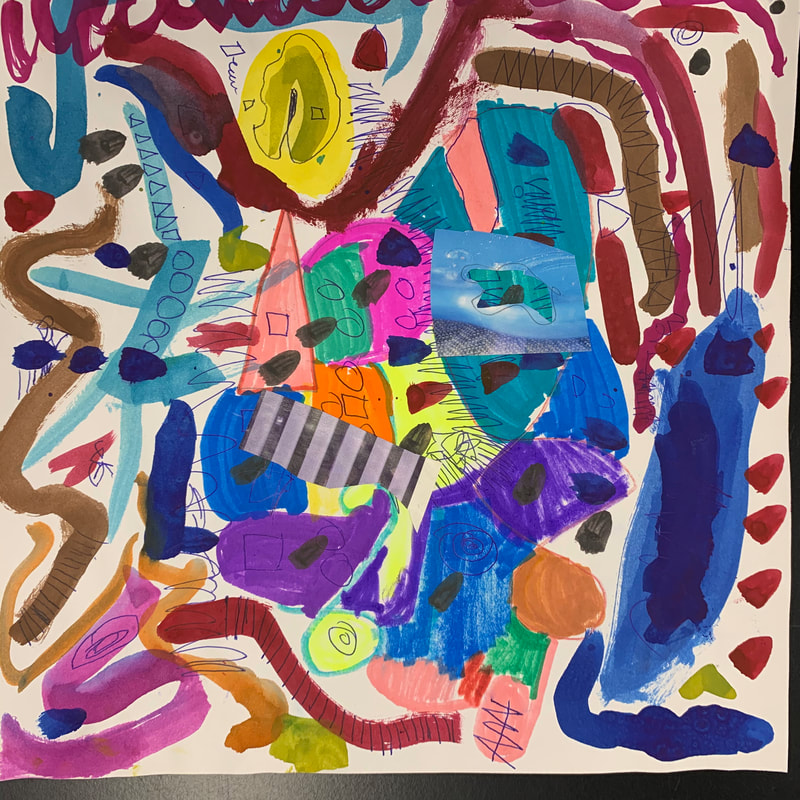
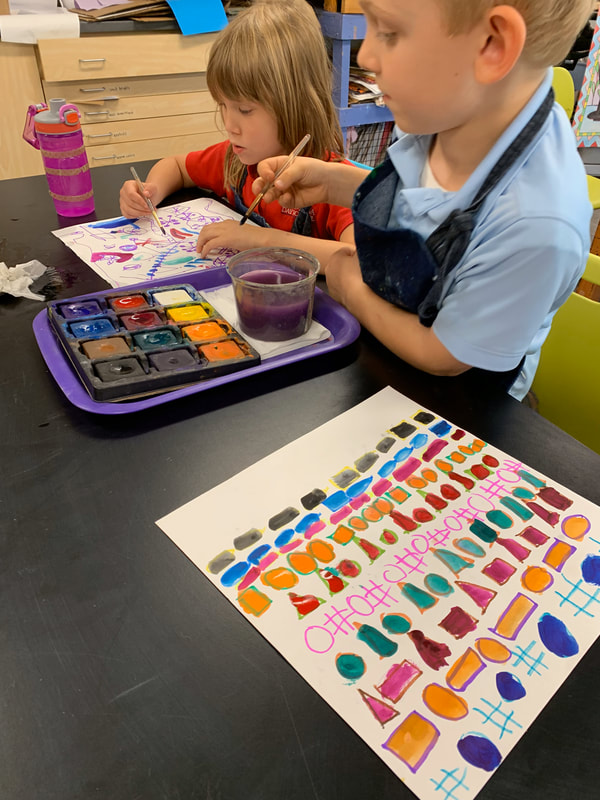
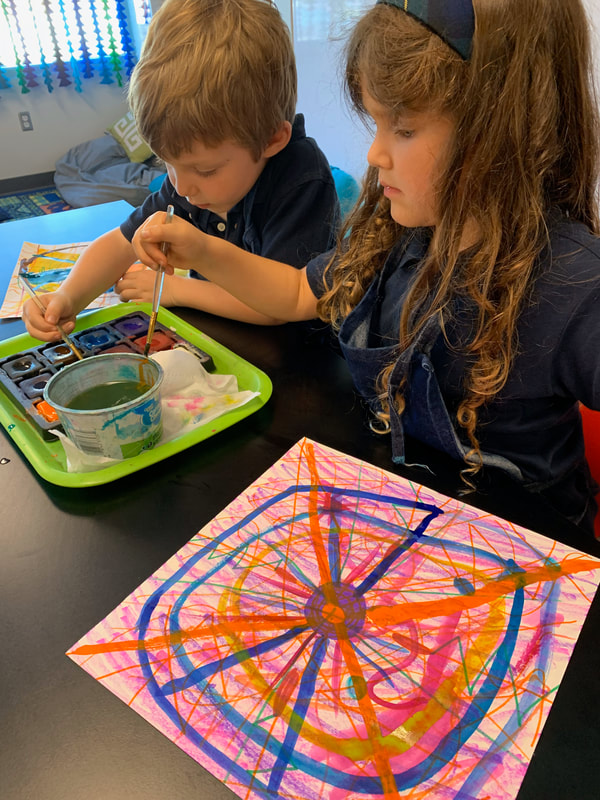
I'll continue to post more photos as we continue. It's so much fun watching the process of this mural come alive! I'll be honest and say that when I was growing up and even through my college career as an art major, I never used to appreciate abstract art. I always thought it was kinda pointless and silly. Over the last few years though, I've really learned to love it. The more I learn about it, the more I appreciate it and I've found that it's a style of artwork that is super fun and expressive to make and kids love it too. It's a great way to be free and uncritical of oneself while creating!
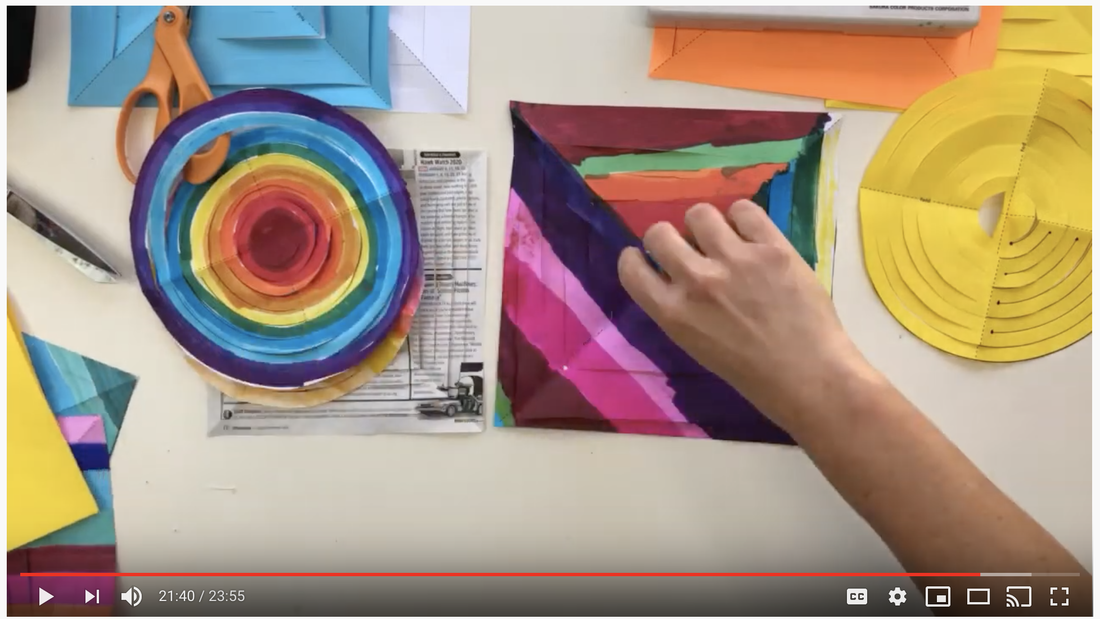
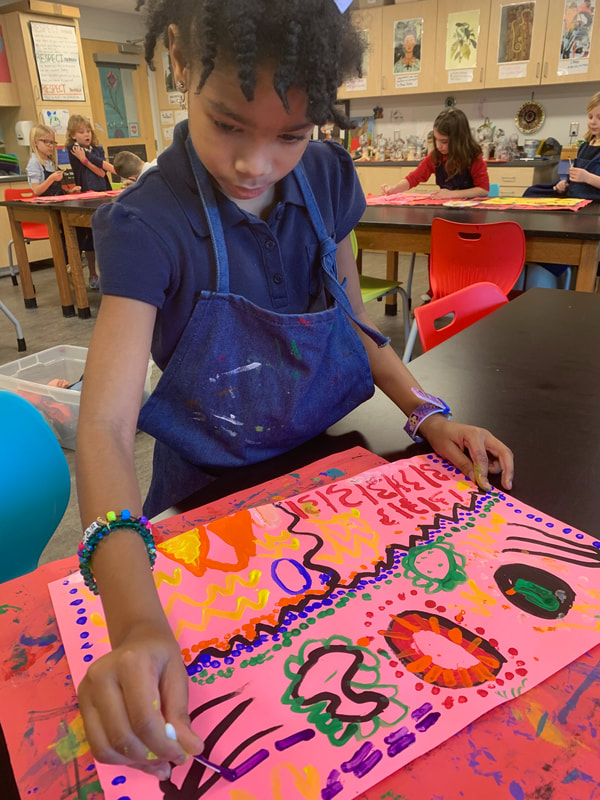
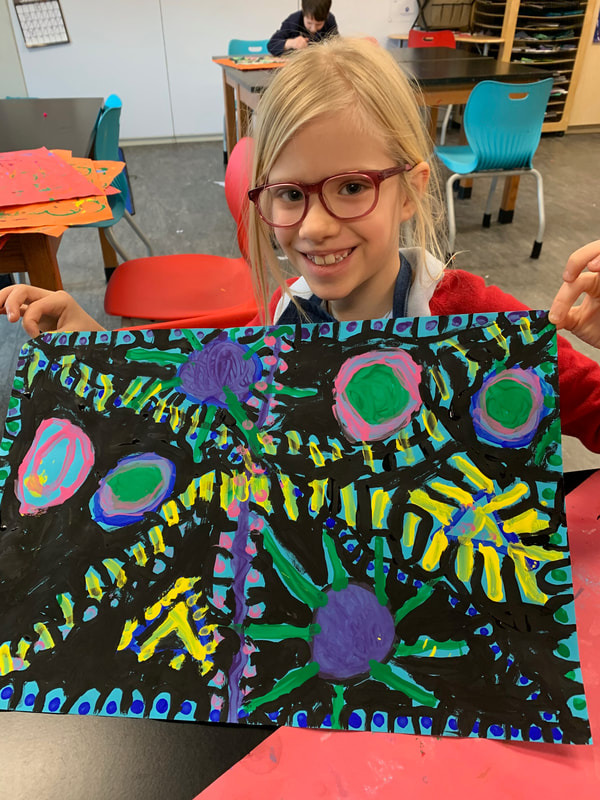
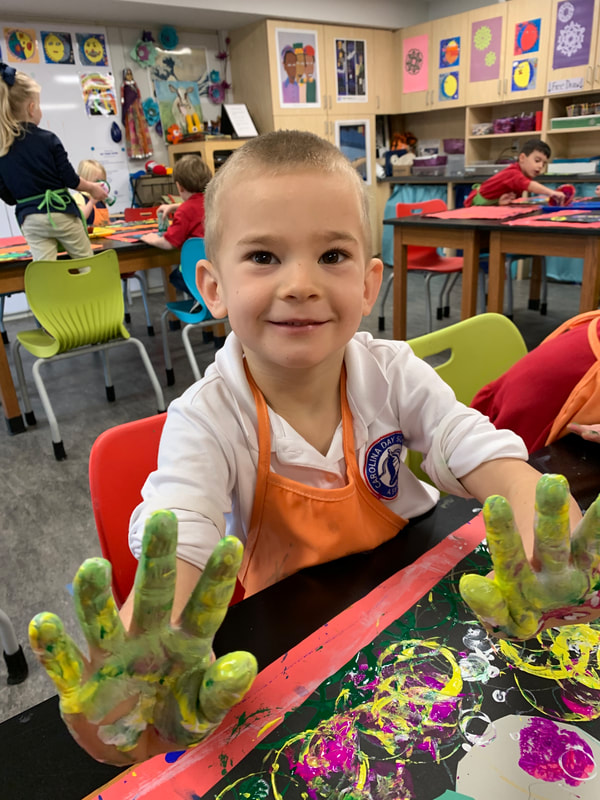
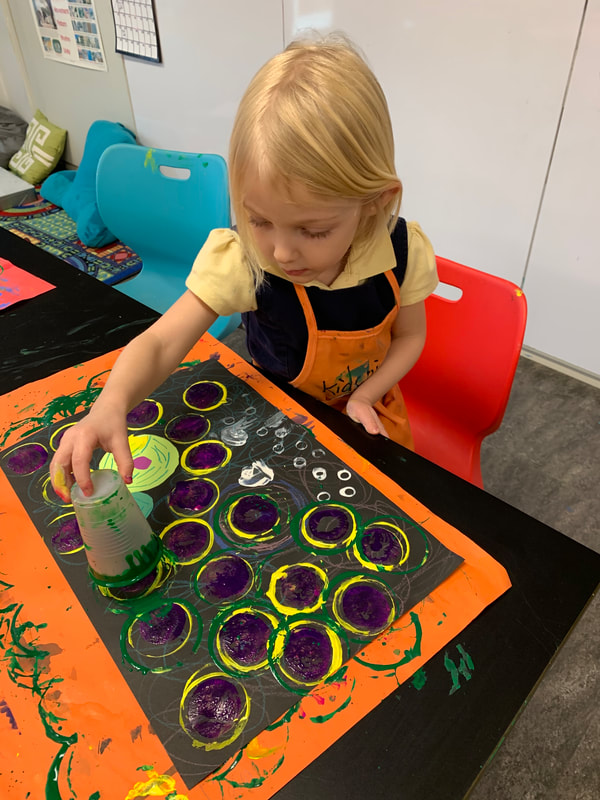
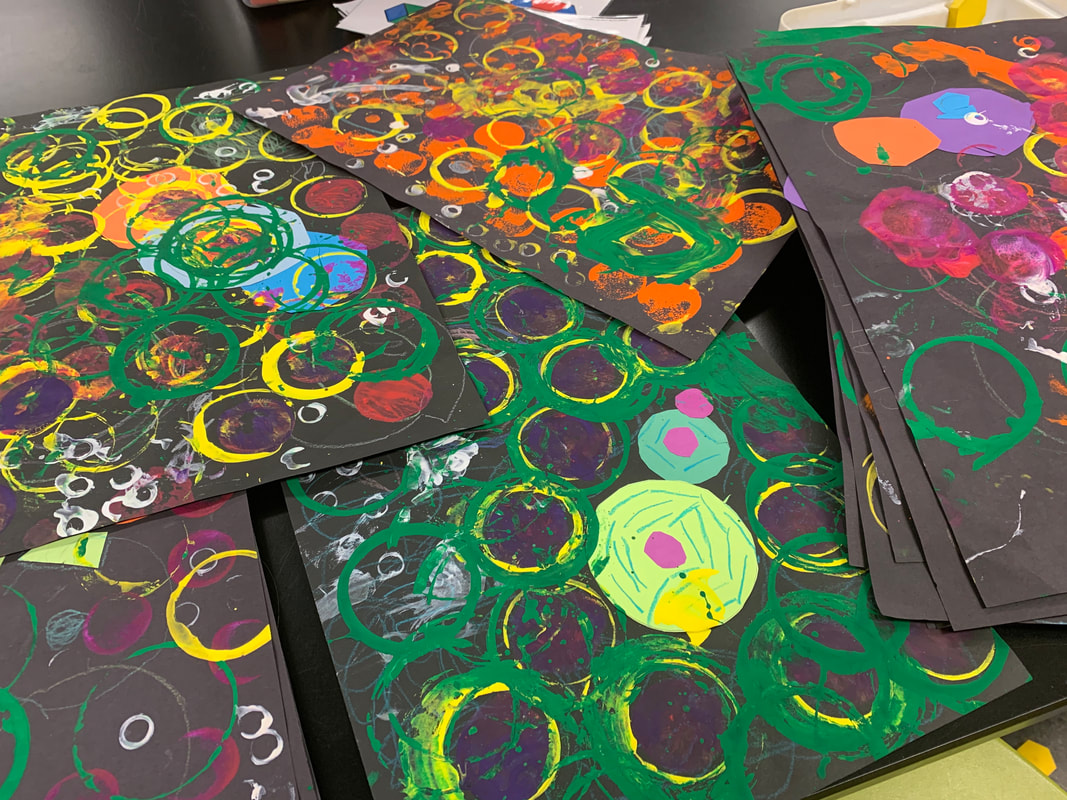
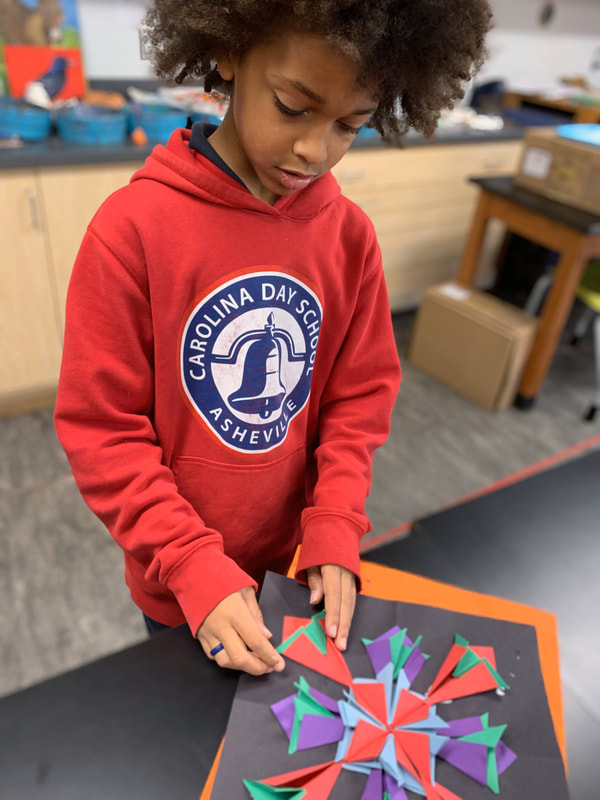
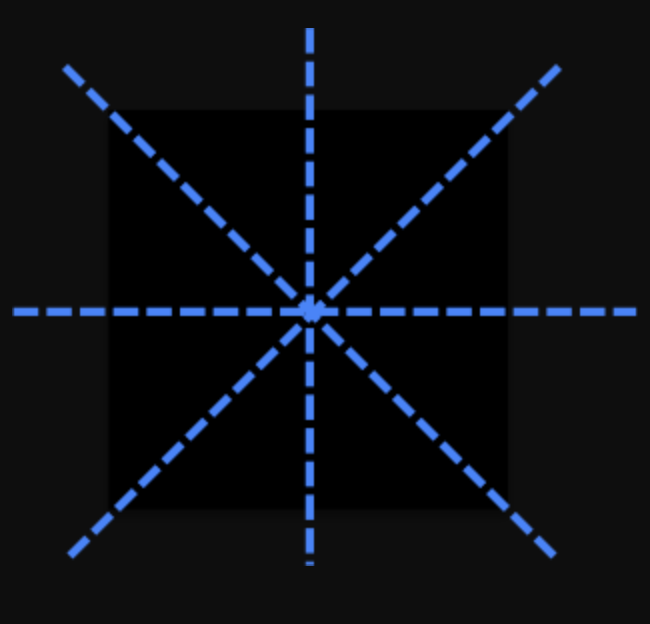
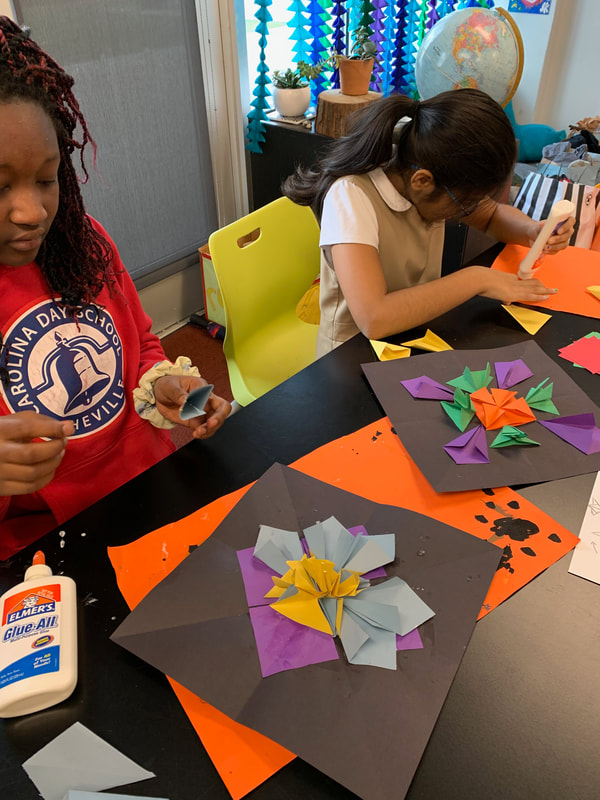
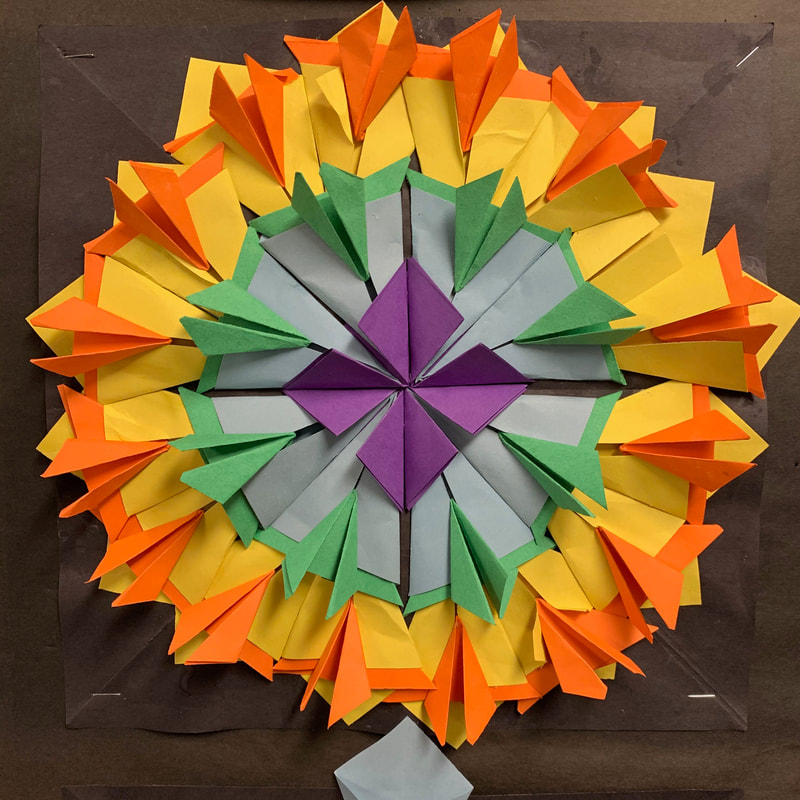
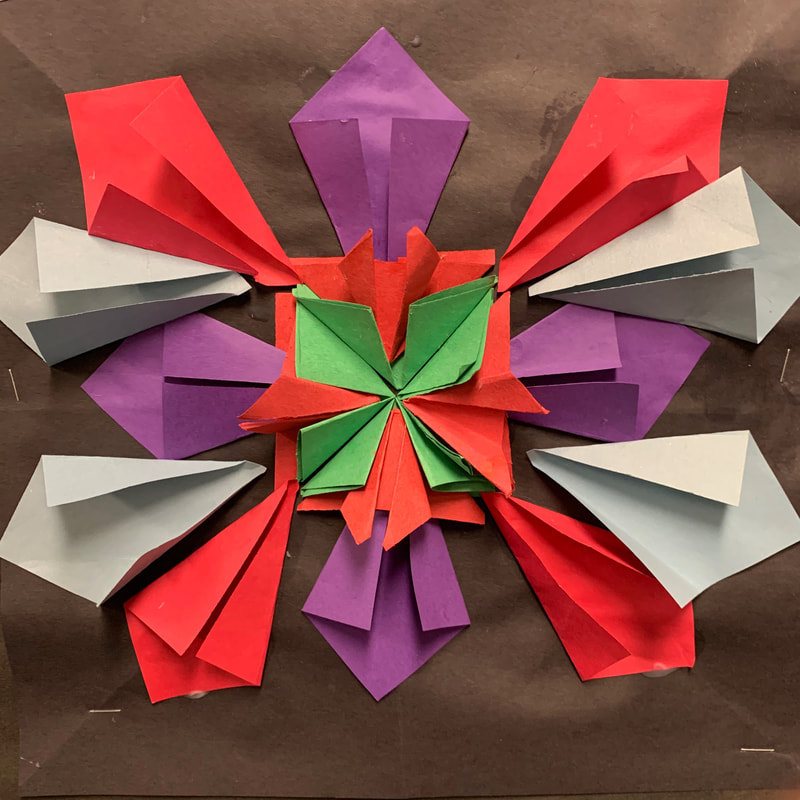
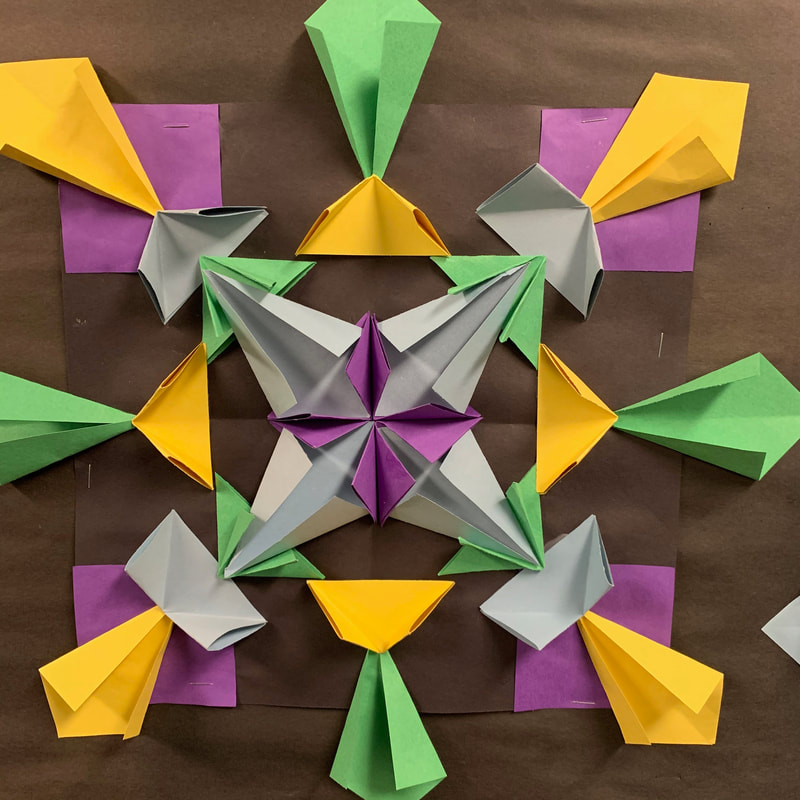
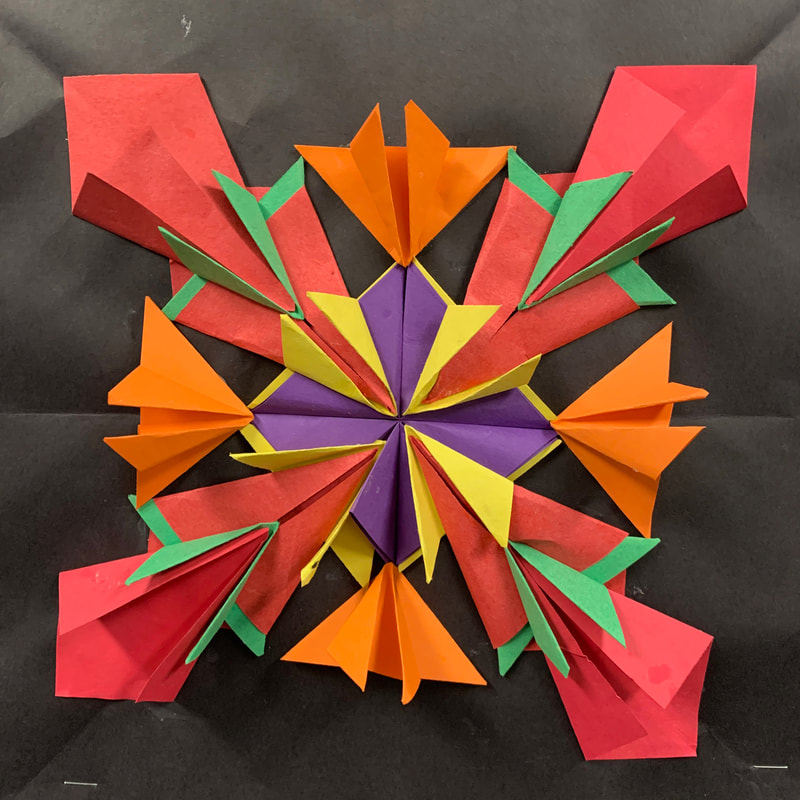
I've been doing abstract artwork with Pre-K, Kindergarten,1st and 2nd graders and just having the best time teaching it. Each grade has used a different process and different materials. The basic goal is to do lots of layers of lines, shapes, and colors to build up an aesthetically pleasing piece of artwork that was super fun to make. Enjoy these photos of the process and final work. This is a very successful project and one of the few projects that I actually teach every single year. The kids love doing it and they always turn out gorgeous. Plus, it's a great math and art connection! Before beginning, we do a little lesson on radial symmetry (symmetrical in many ways from the center). I help them remember the name because it radiates out from the center. Radiate-radial. Knowing that, the students will create their paper designs in a repeating patter, radiating from the center. We also learn about relief sculptures. A relief sculpture is a type of sculpture that is flat on one side and generally hangs on the wall. So to set themselves up for success, they begin with a 12" x 12" squad pieces of black paper and fold it as shown below. Doing so creates creases where it was folded. These become the guideline to help create a symmetrical piece of artwork. Now, before beginning the really fun part, I usually spend about 30 minutes or so prepping the small colored paper squares for the project. I use a cutting board to cut a ton of 3" x 3" squares of all different colors. This way they are prepped and ready to go and I don't have to think about it again. To teach the students the folds, I actually like to show them the video I posted below. This allows me to pause, rewind, restart as much as possible and it's awesome because it is a large image for the kiddos to see and learn from. After learning the basic folds, the artists have a great time creating their designs. They overlap the paper, insert them into each other and glue them down to create unique and colorful designs. This year when I taught this project, I had them stick to a color palette of 3 or 4 colors. I love how they turned out with a limited color palette and so did the artists.
A winning project for sure and one that the kids always love the process and the end result! I like to spend most of my time with Pre-K artists doing stations where they move around the room spending around 5 minutes at each table. When we do this, the students practice things like cutting, glueing, building, drawings, etc. Although the art stations are very age-appropriate and engaging for them, I like to mix it up sometimes and do some more concrete art projects that they can take home once in a while!
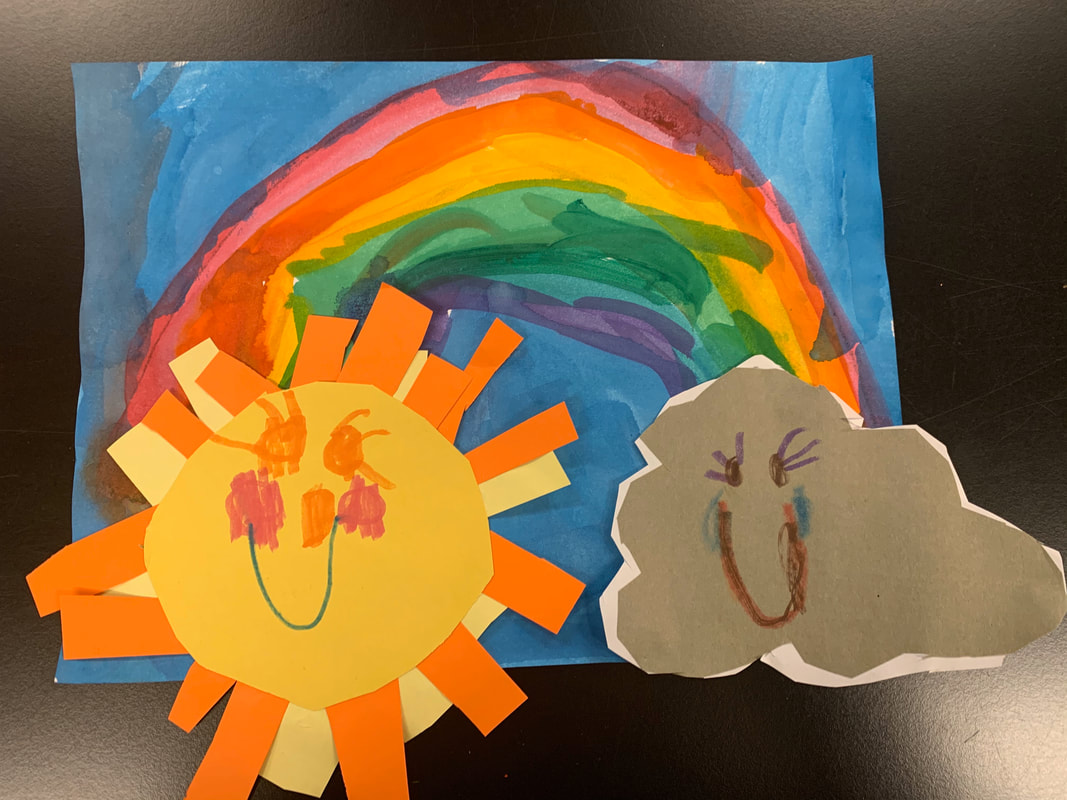
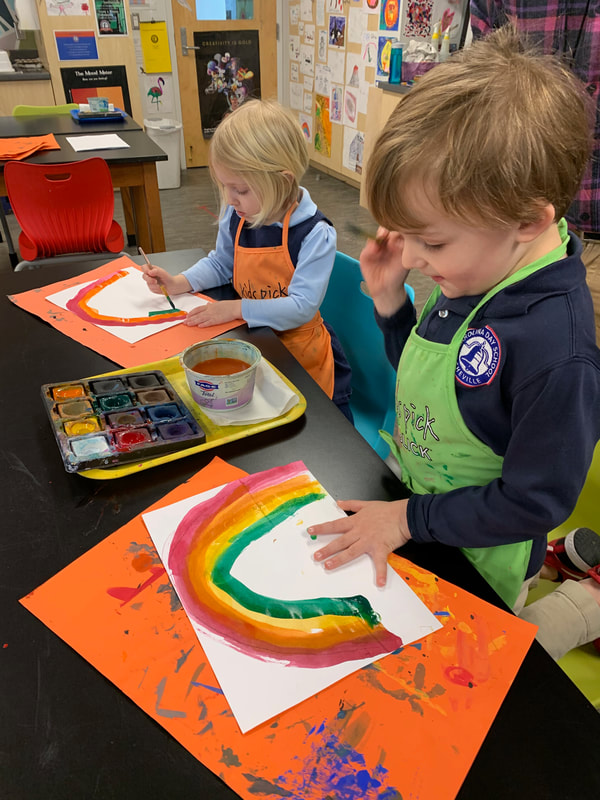
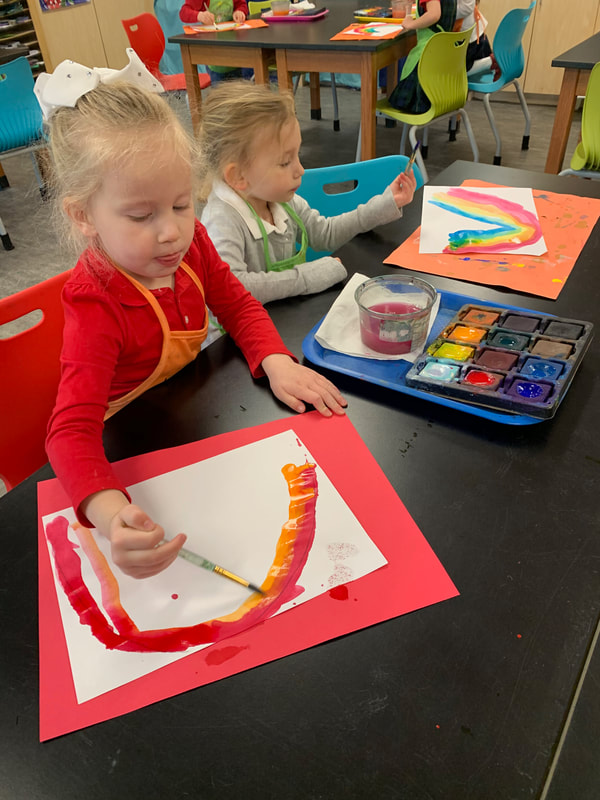
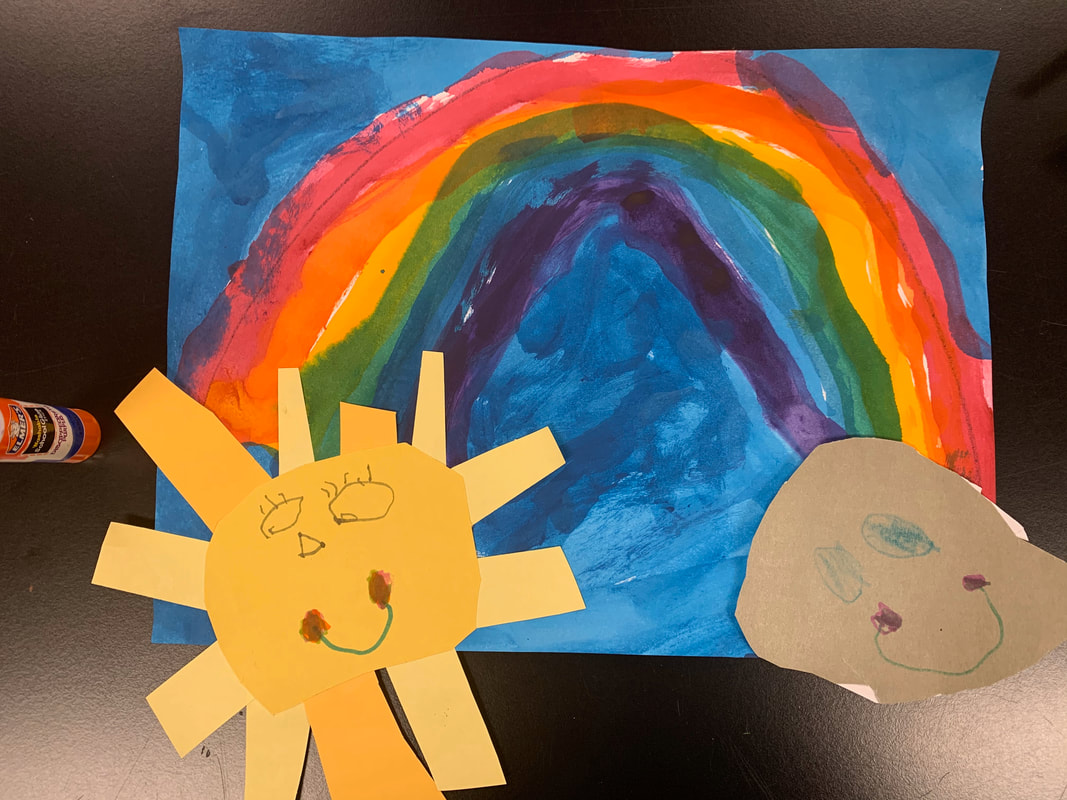
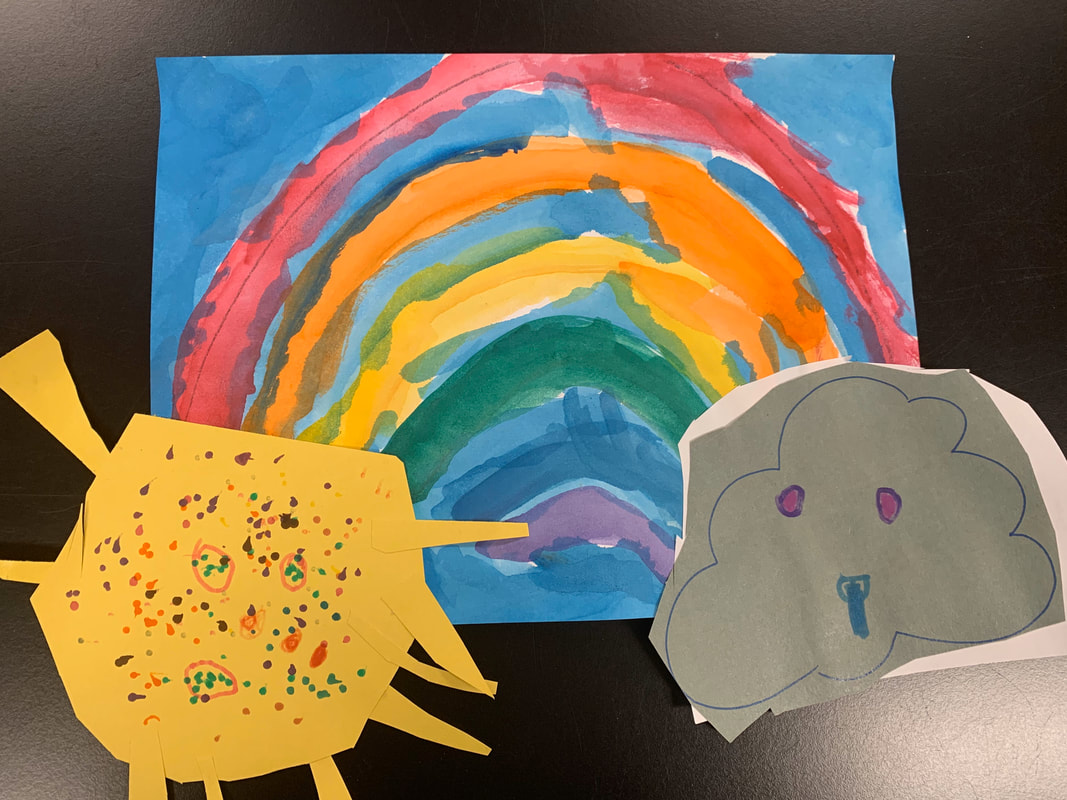
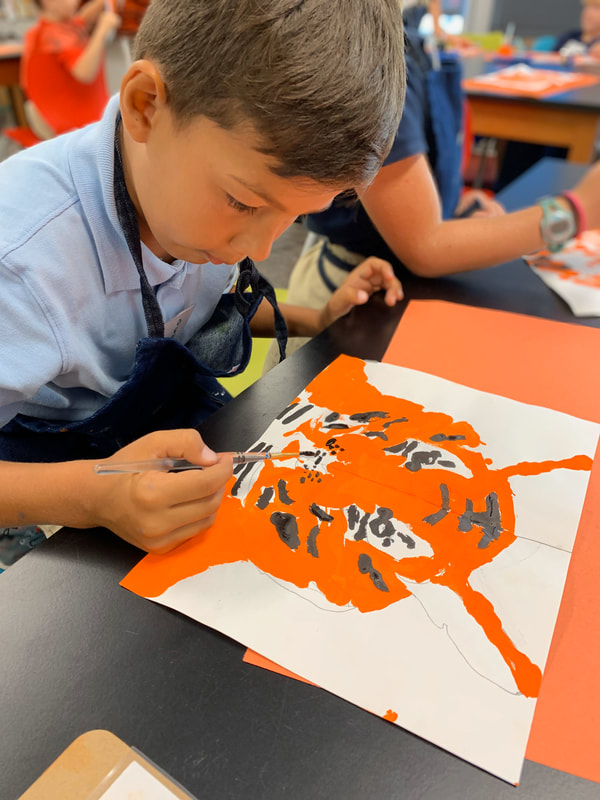
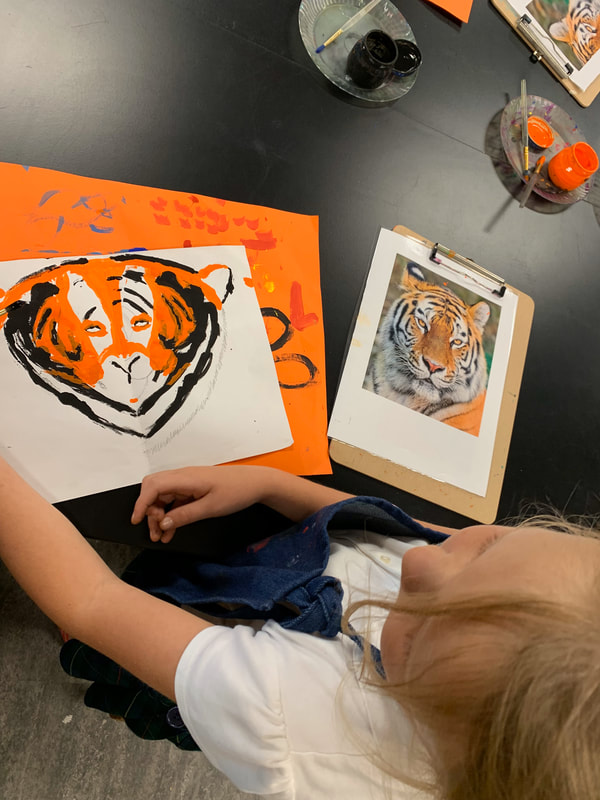
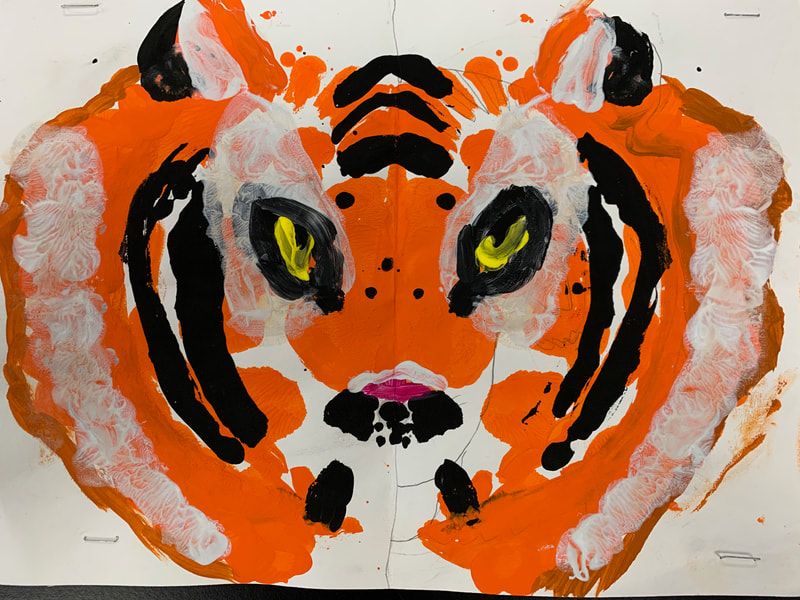
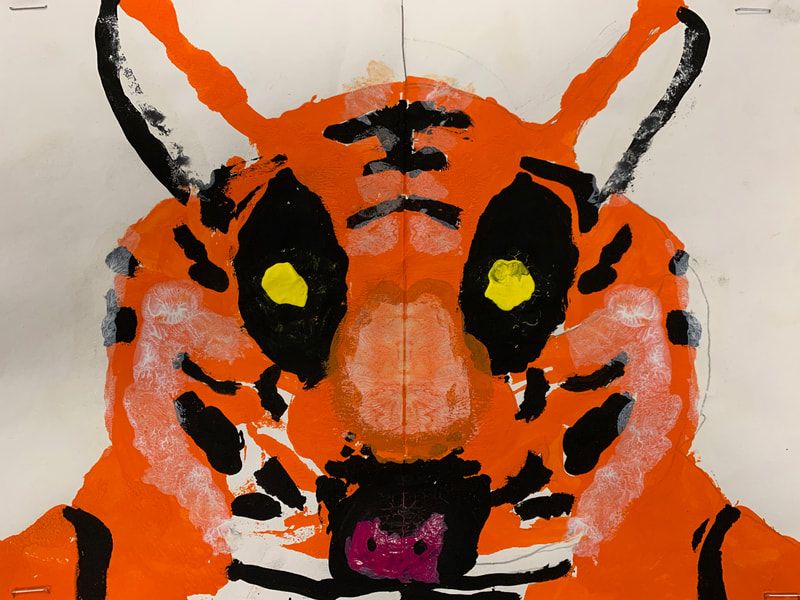
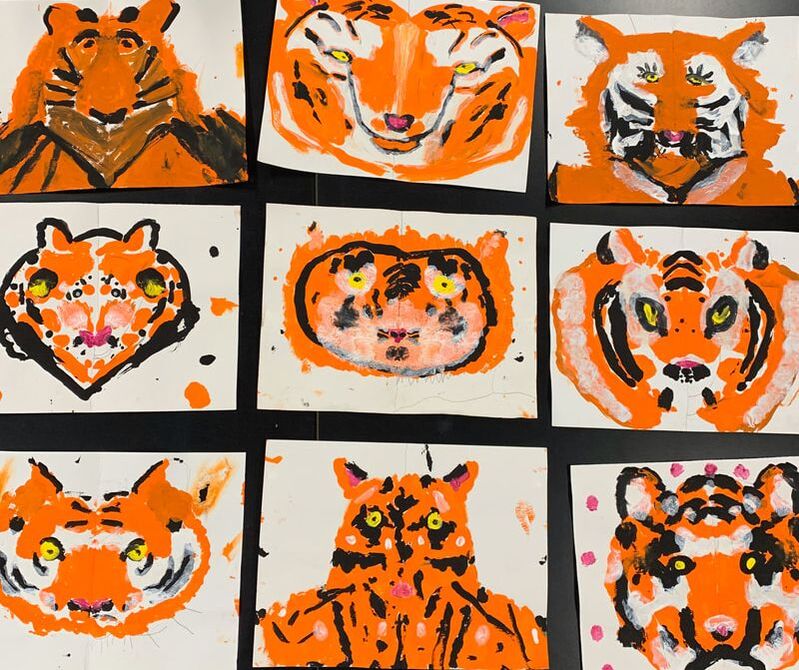
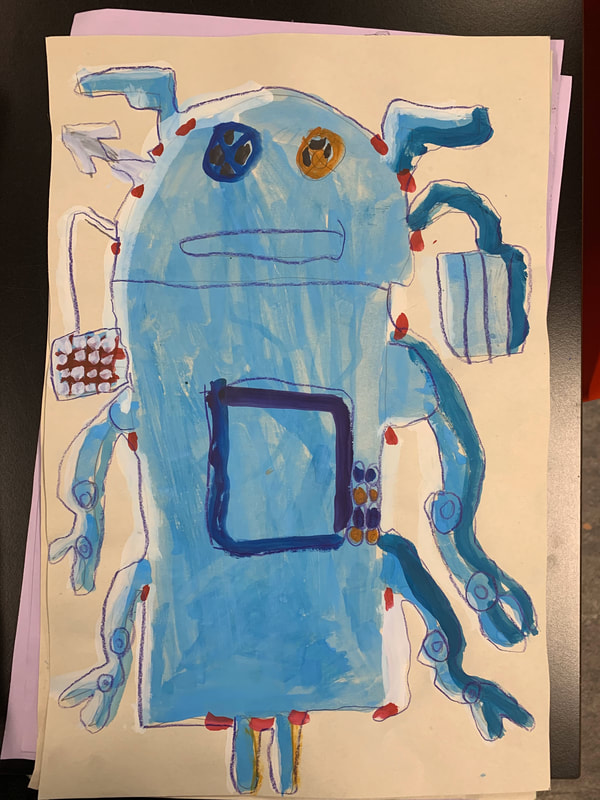
We had a great time doing these lovely rainbow paintings. It was great for their Pre-K art curriculum too because we got to learn about the color wheel/rainbow colors and connected it to science by learning that the sky needs both sunshine and rain to create a rainbow. How fun! We used tempera cakes to paint their rainbows and then did collages of the sun and cloud using cut paper and glue. They have been practicing a lot of cutting and glueing this year and are showing so much progress! These turned out so adorable and took us three class periods to complete. 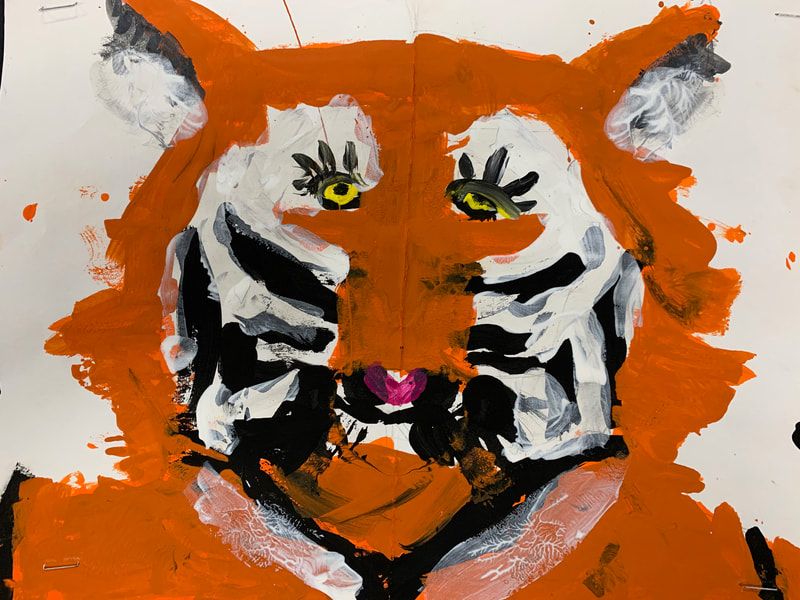 Second grade artists had a great time learning about bilateral symmetry while creating tiger paintings. I've seen projects similar to this online many times and have always wanted to give it a try. I'm glad that I finally did. There are many ways to teach symmetry, and I've taught many of them but have never tried any sort of rubbing technique before now. I chose the subject matter of tigers because they are bold and have dynamic black, orange and white patterns. We began by folding a piece of 9" x 12" paper in half and while looking at photos of tigers heads, we drew half of it on one half of the paper. Once our drawings were done, the fun began. Starting with orange paint, students painted a small portion of the painting on one side of the paper, then folded it in half and rubbed the paper together to mirror the image on the other side of the paper. Students continued doing this for at least three classes using orange first and eventually, black and white. They finished it off with pink and yellow. This is a process of art that takes patience because it takes a while but it is really fun watching the art come to live. There's something about creating their own robots that child artists just can't get enough of. The freedom of creating whatever imaginary functions on a human-like machines just makes kids super excited and creative! As you can imagine, I love using robots to teach elements and principles of art and design.
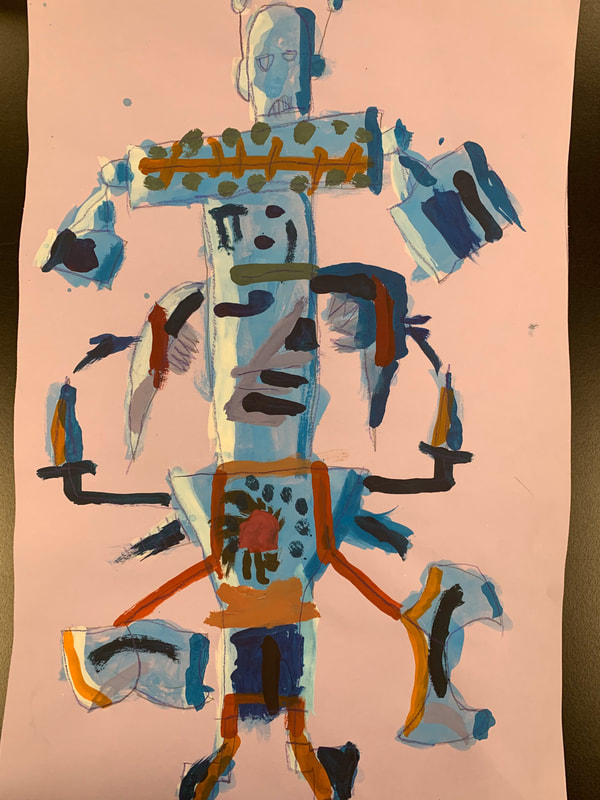
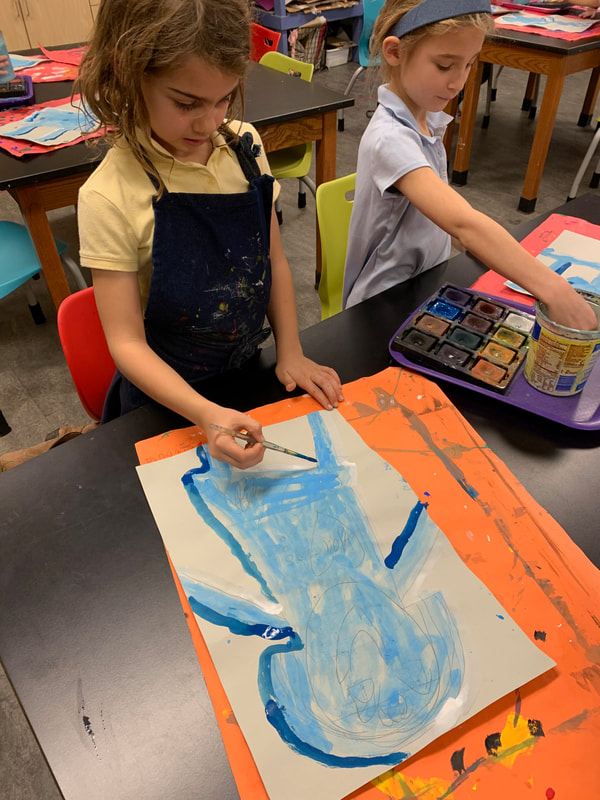
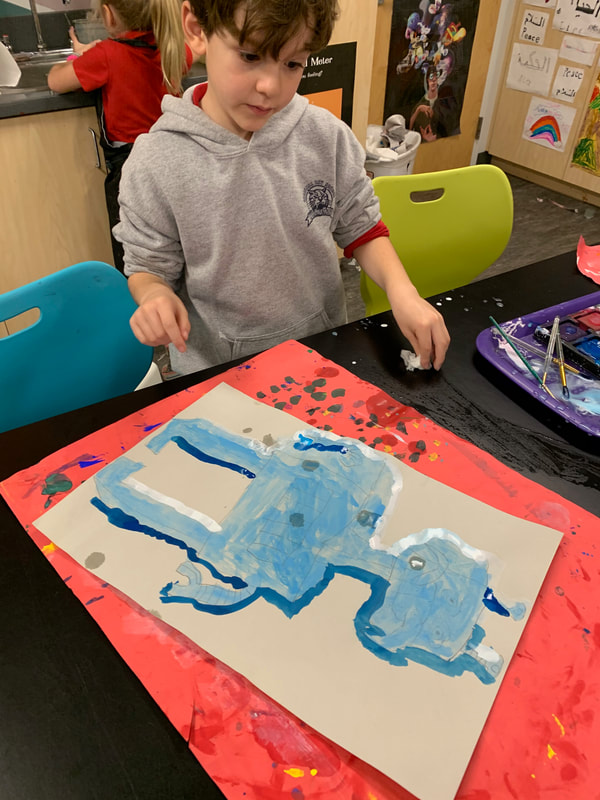
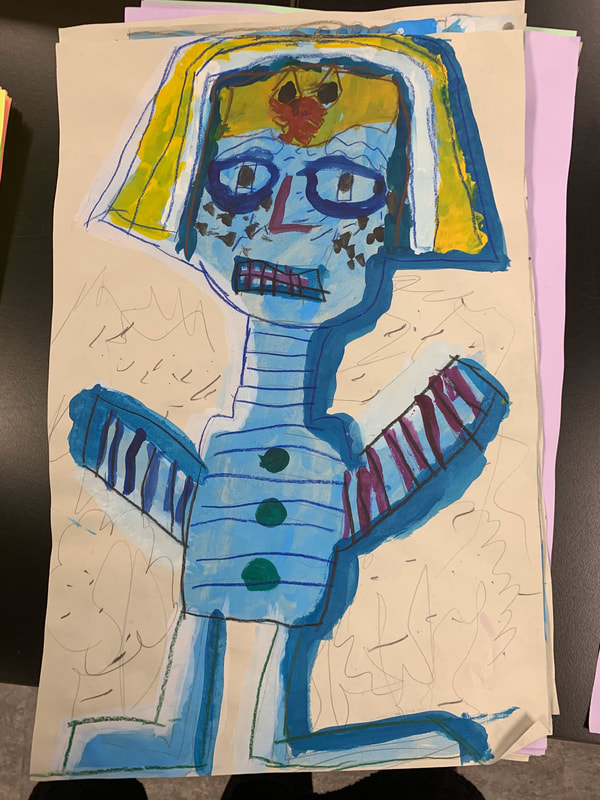
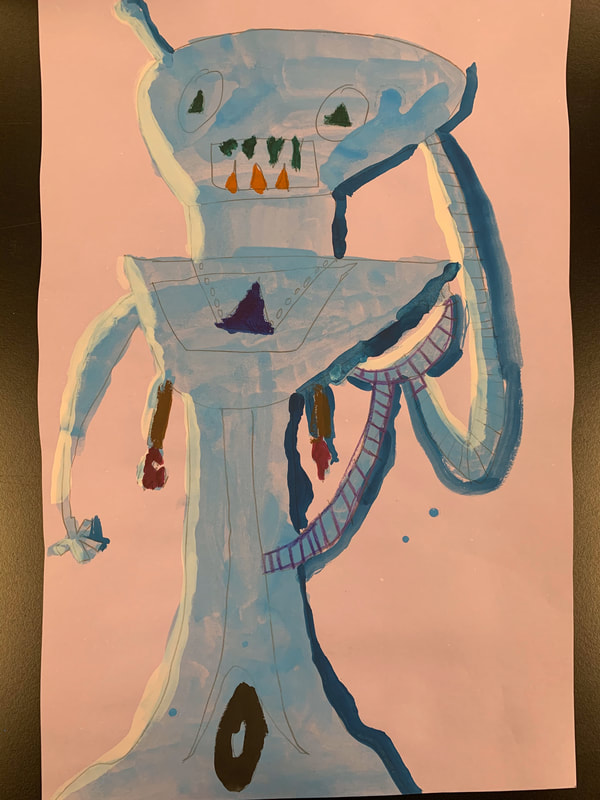
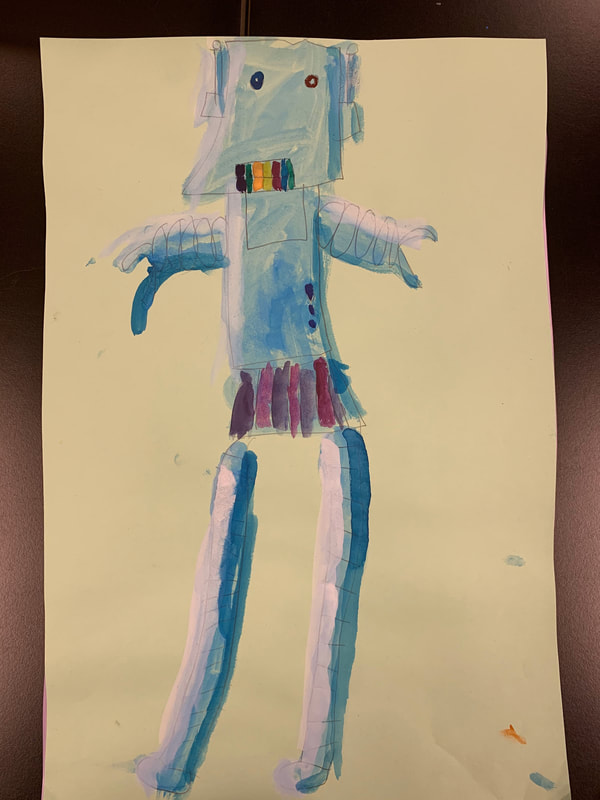
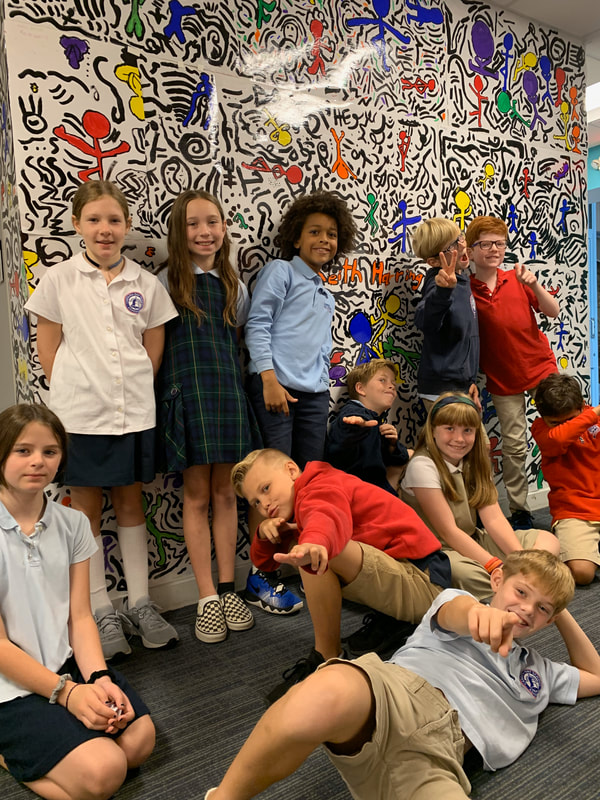
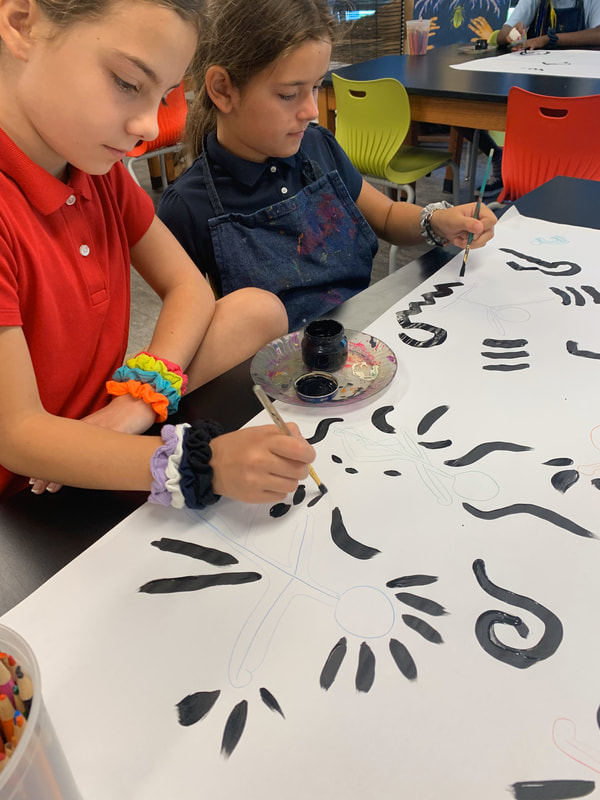
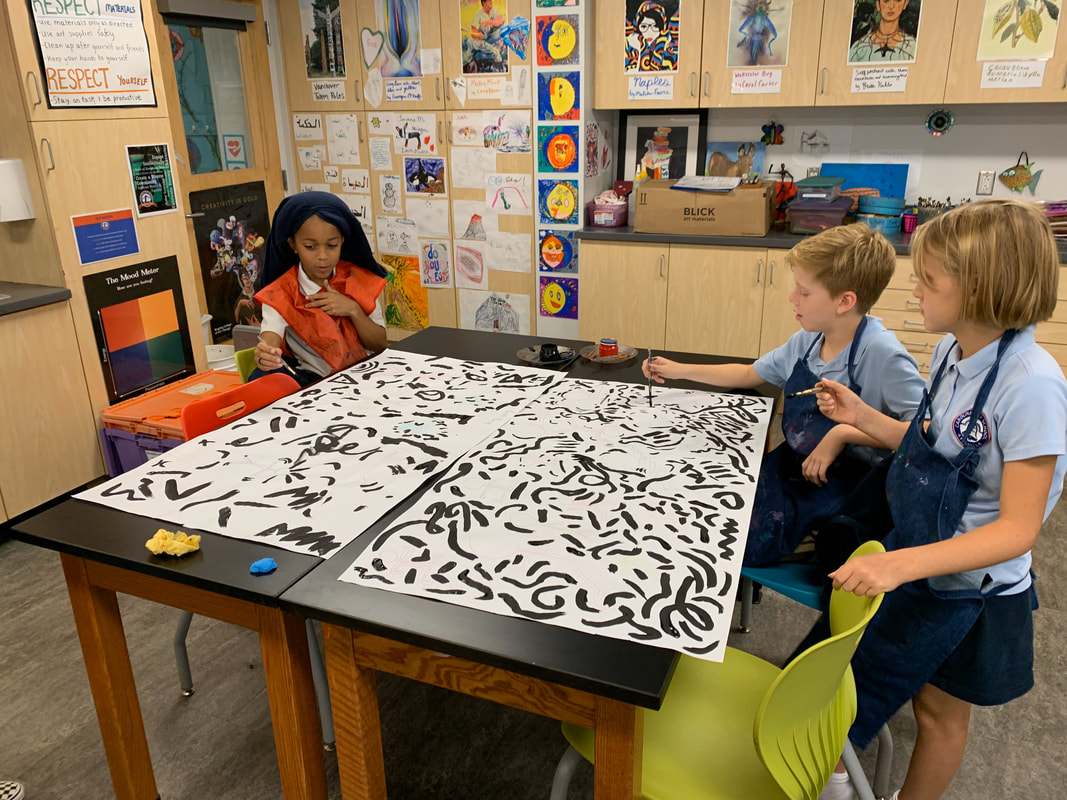
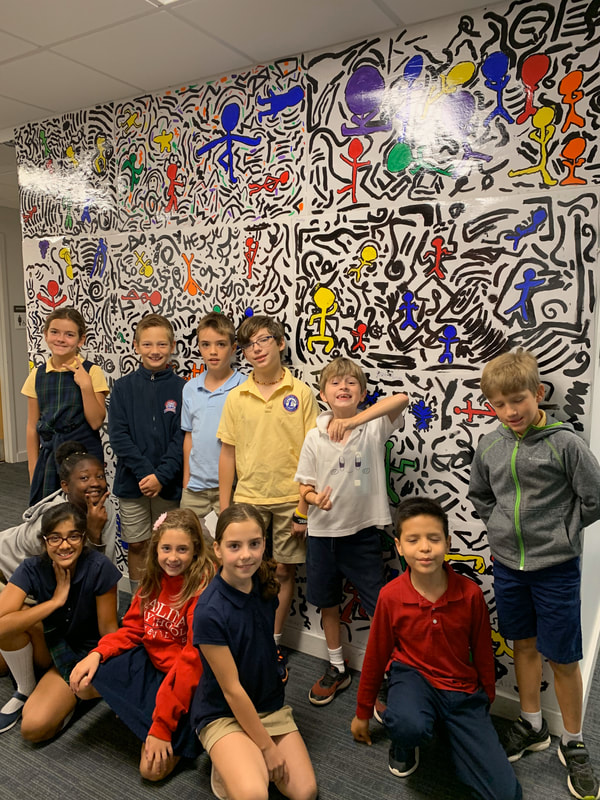
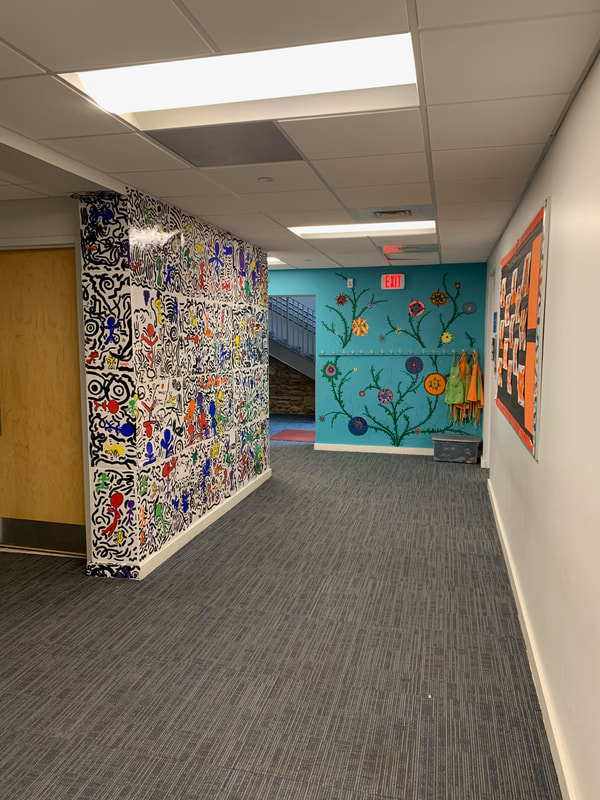
This project was cross-curricular as 1st grade scholars were learning about lightness and darkness in their science unit. It was awesome seeing students lightbulbs go off as they made connections to their science learning and using highlights and shadows in art class. To begin this project, students each drew their own large robot design on a piece of 12" x 18" paper. They had to use lots of different shapes and be creative and silly with their designs. Once their drawings were done, they used a light blue tempera cake to color their entire robot. The "oooooh, ahhhhh" moment was when I demonstrated how to add a stripes of white along once side of their robot to show light reflection and a stripe of dark along the other side to show shadows. The students said that it suddenly made the robot look alive. Adding such a simple detail really made the robot go from looking 2-D to 3-D! After they added their highlights and shadows, they had fun adding lots of colors for the rest of their fun robot details. The students had such a great time making these. I overheard the students telling stories about their robots adventures, their powers, and their silly robot names. This is definitely another project that I wish I had taken more in-process photos of. Really though, we had so much fun making it that I forgot to take photos. The students enjoyed learning about Keith Haring and found his life-story and artwork very interesting. They had a lot of questions to ask about him and his artwork. They were especially intrigued by the idea of him creating art that was free and cheap for people to enjoy. I paired the students up with a partner and after looking at Keith Haring's artwork and talking about his 'stick figures' that show movement, they took turns posing for each other and drawing stick figure versions of each other onto their large white paper. Next they used black paints and added squiggly, curvy, curly lines to fill the background space. These were inspired by many of Haring's work that used these black lines to show movement and to add pattern. To finish their work, they painted the figures bright colors. The artwork was already beautiful but to make it more awe-inspiring and like Haring's wall paintings, we decided to hang these on the wall outside of the art classroom. We spent one class period hanging these up and getting them looking just right. They look amazing and bring so much life to the hallway! And I want to leave you with this cute video of the 2nd graders walking to lunch and discovering our new Keith Haring mural for the first time. haha, they were so excited! Yay! I love coming up with innovative ways to display artwork!
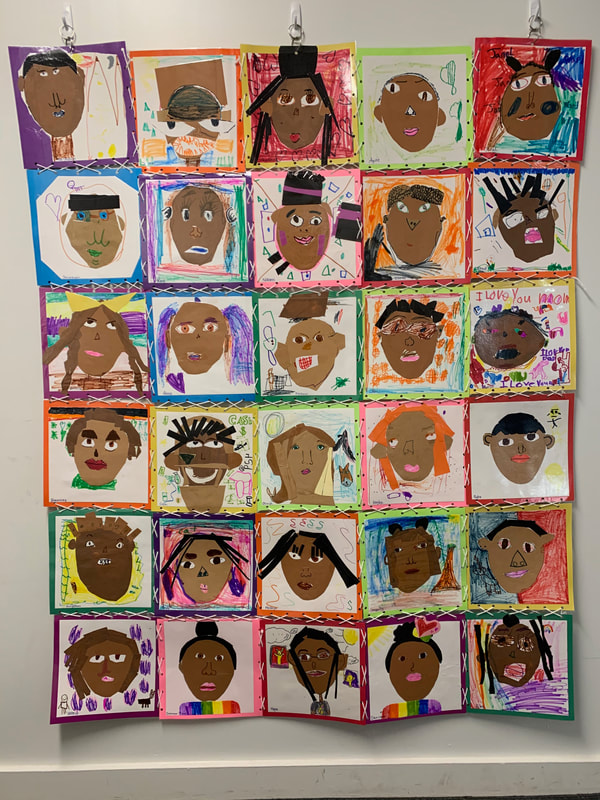
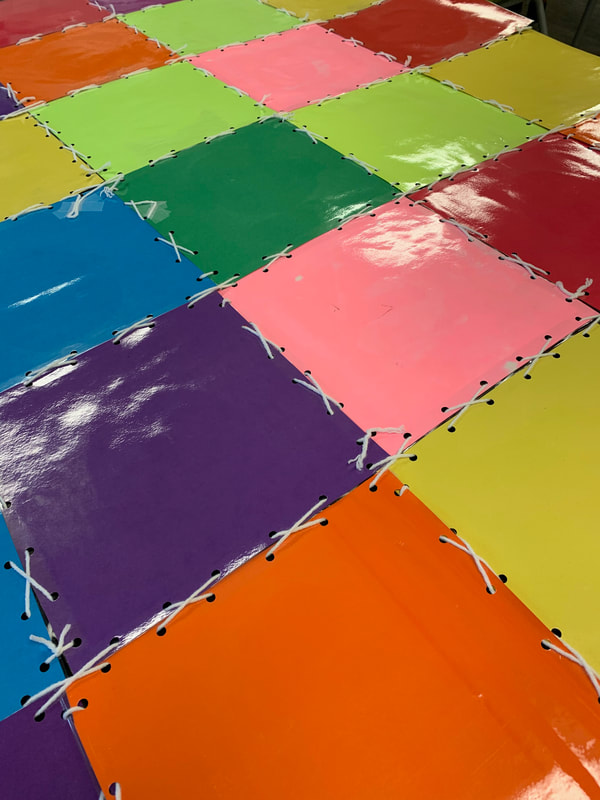
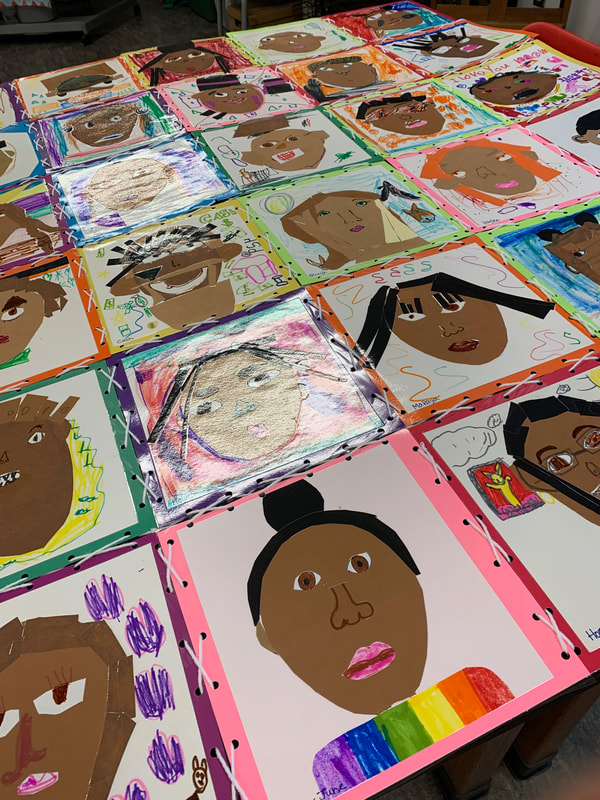
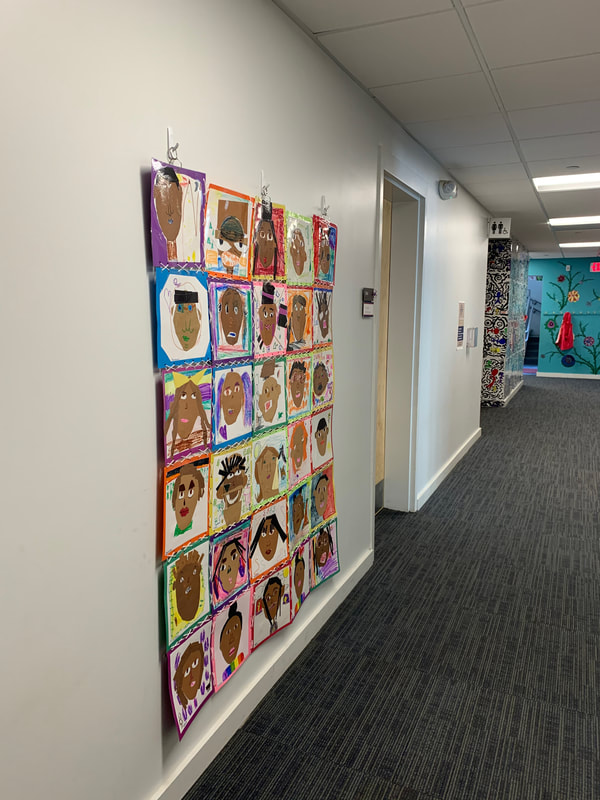
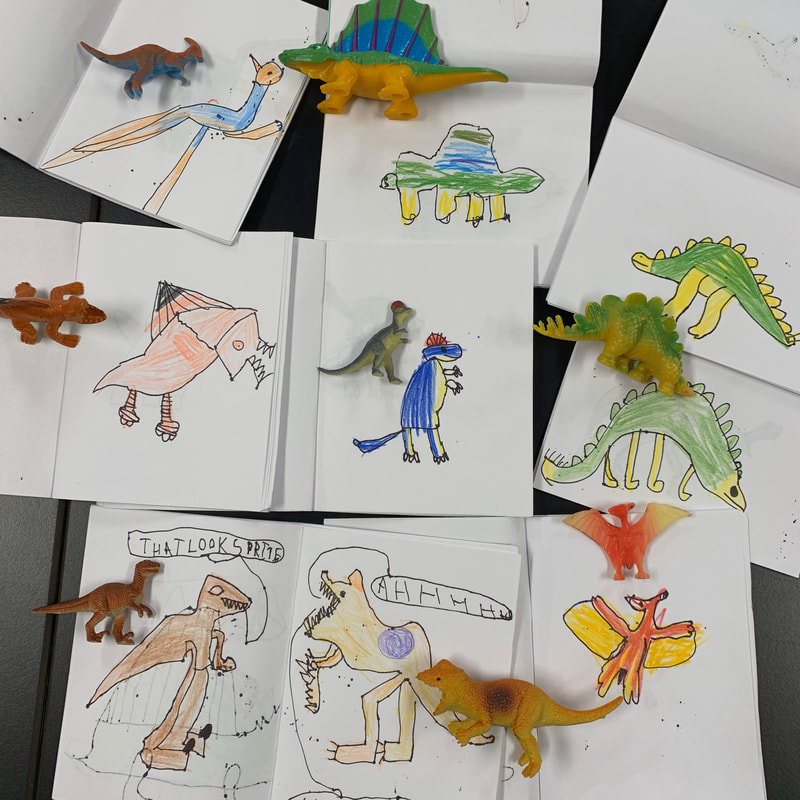
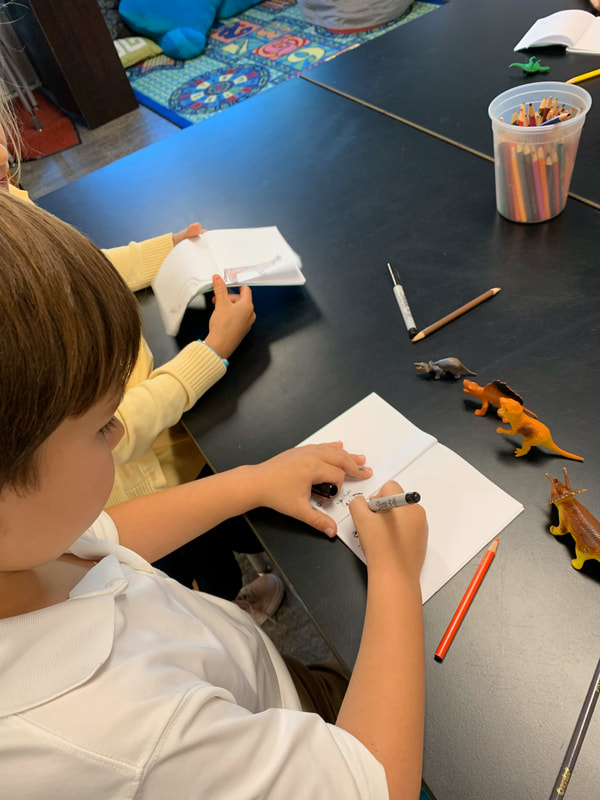
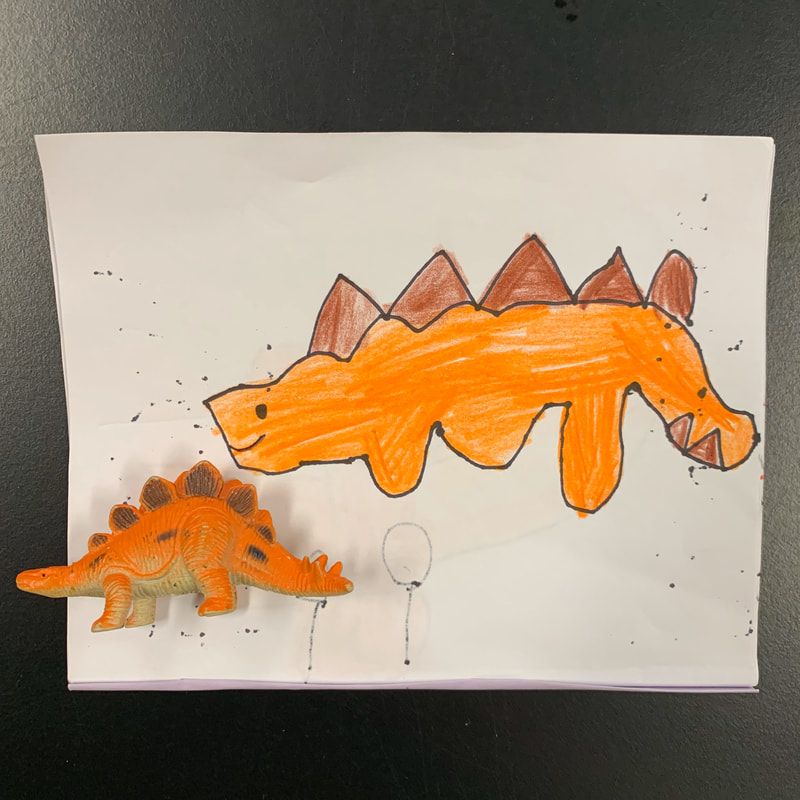
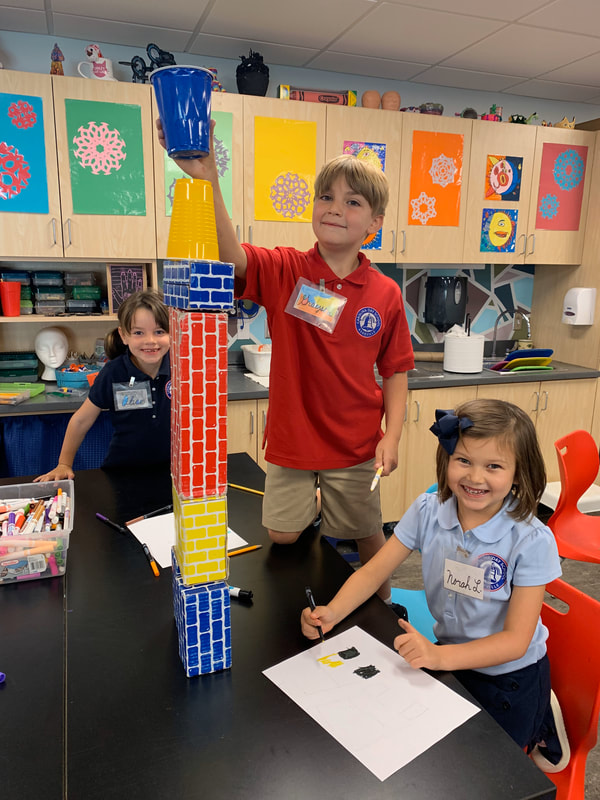
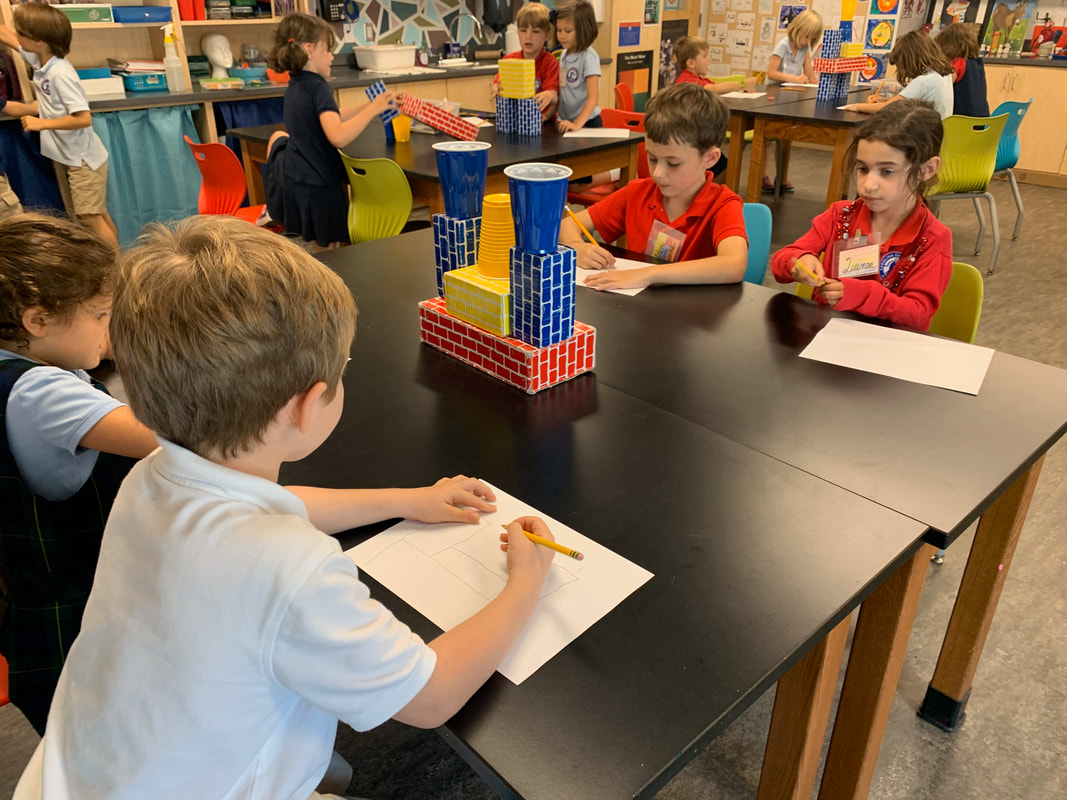
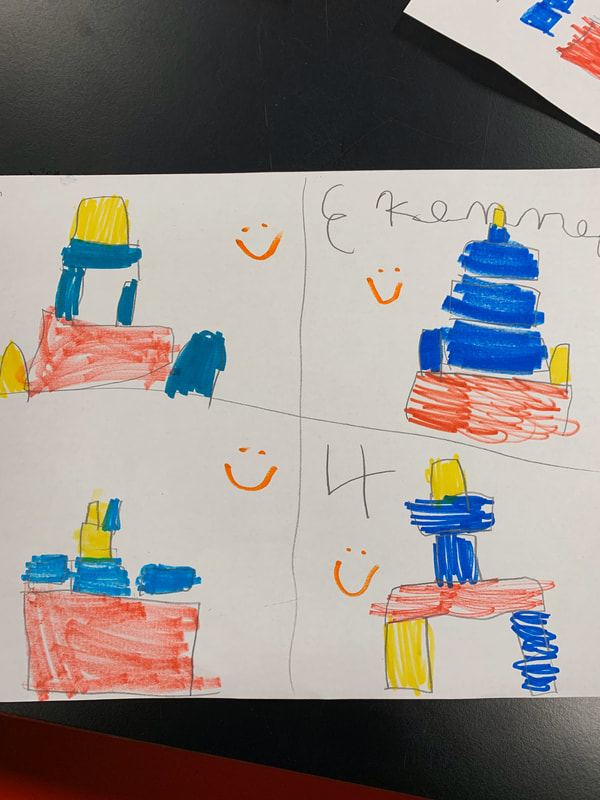
I am frustrated with myself for forgetting to take in-process photos of this project but you can see the finished piece here. I did this project with 1st and 2nd grade students in the Horizon's National program at CDS. Each student did a self-portrait collage of themselves. They considered skin and hair color, eye color, facial expression and backgrounds. These were super fun to make and you can really see each artist's personality shining through their work. Once they were completed, I laminated each piece, punched holes along the edges with a hole punch and used yarn to quilt them together. Such a lovely collaborative work of art! Do toy dinosaurs and building block towers sound fun to you? Well, ask any 1st graders and they would definitely answer "yes!" So, here's the thing. To be totally straight-forward, kids do not usually enjoy making still-life art. They say things like "this is boring" and "can we do something else?" As a teacher, it is my job to take these queues and make learning more exciting.
Over the years I've started teaching 1st graders how to draw still-life imagery by giving them colorful dinosaur toys to draw and letting them build towers out of colorful blocks and draw them. These activities are engaging and it teaches students to practice drawing what they see. Being and observational artist is important! |
AuthorAnnie Monaghan. Categories
All
|
 RSS Feed
