
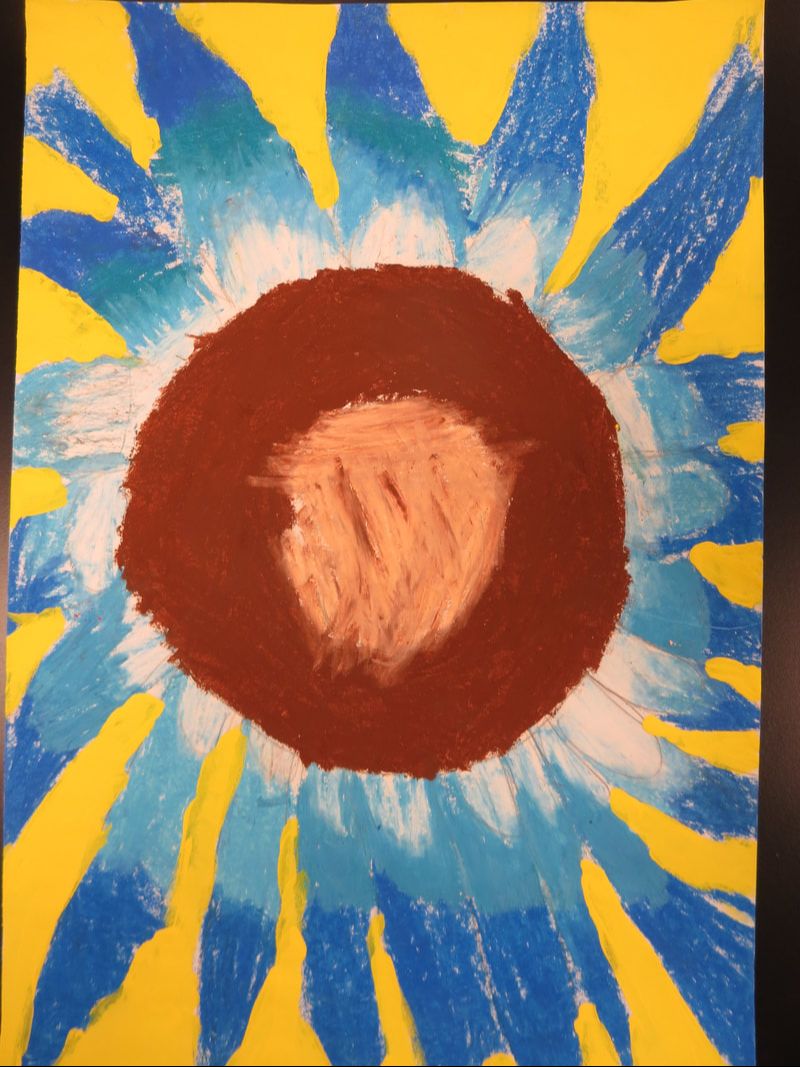
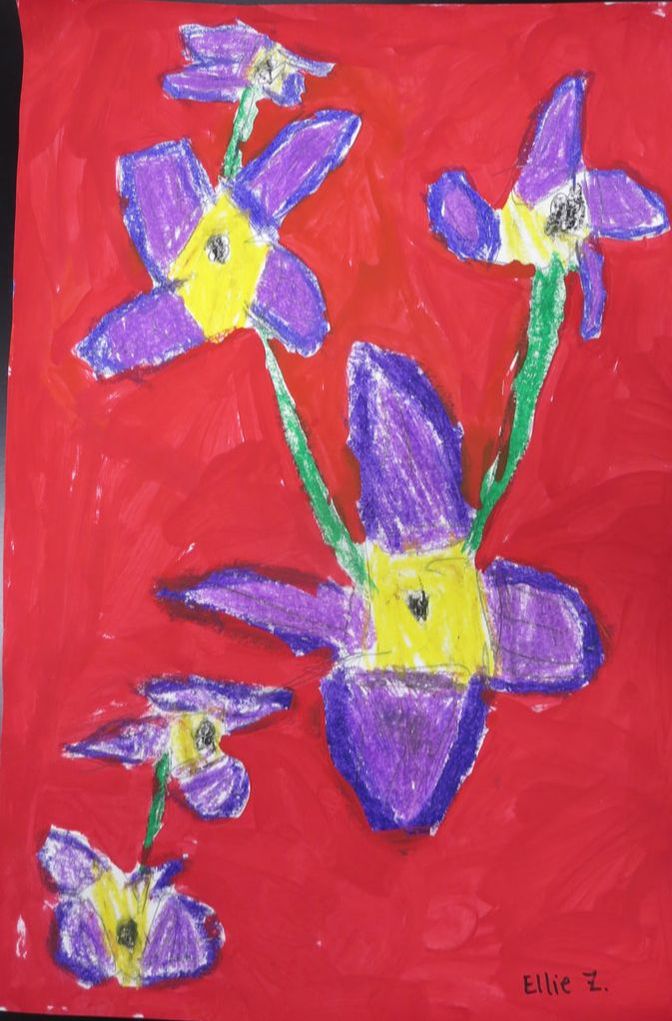
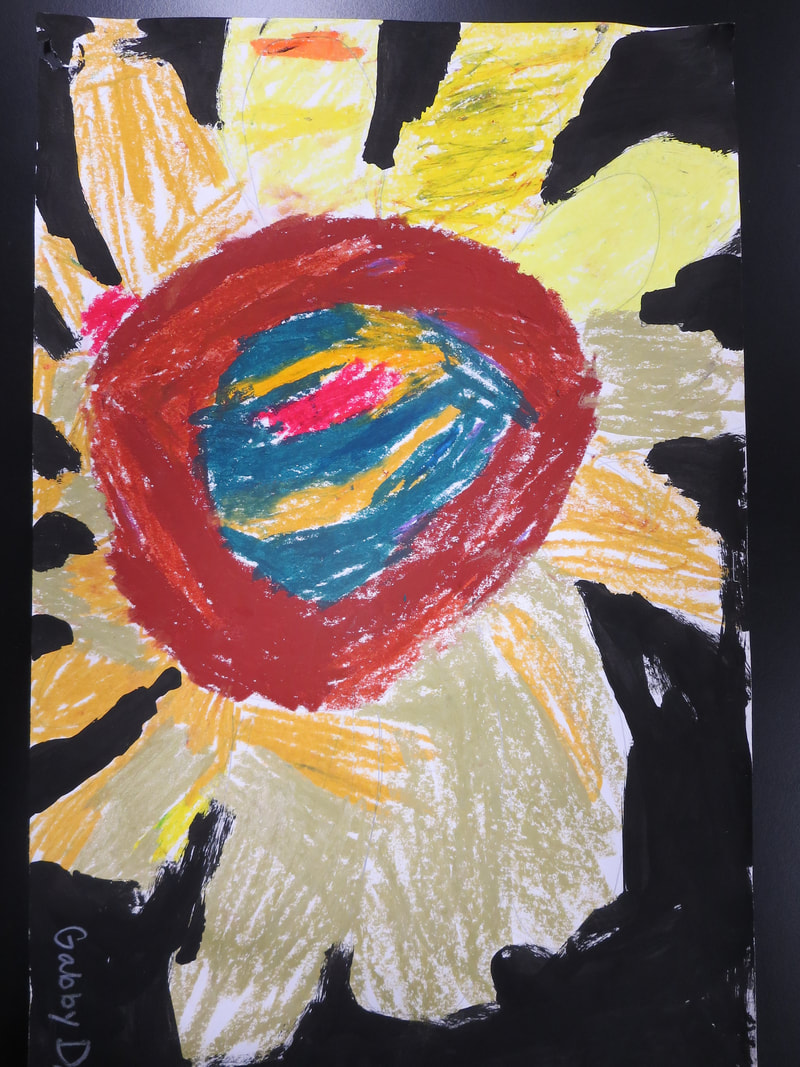
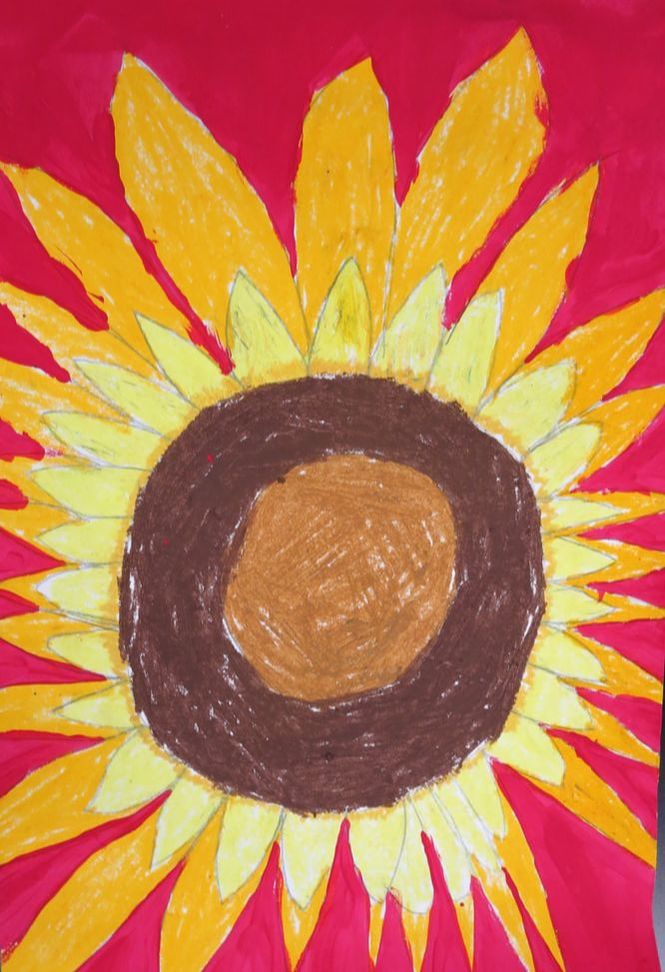
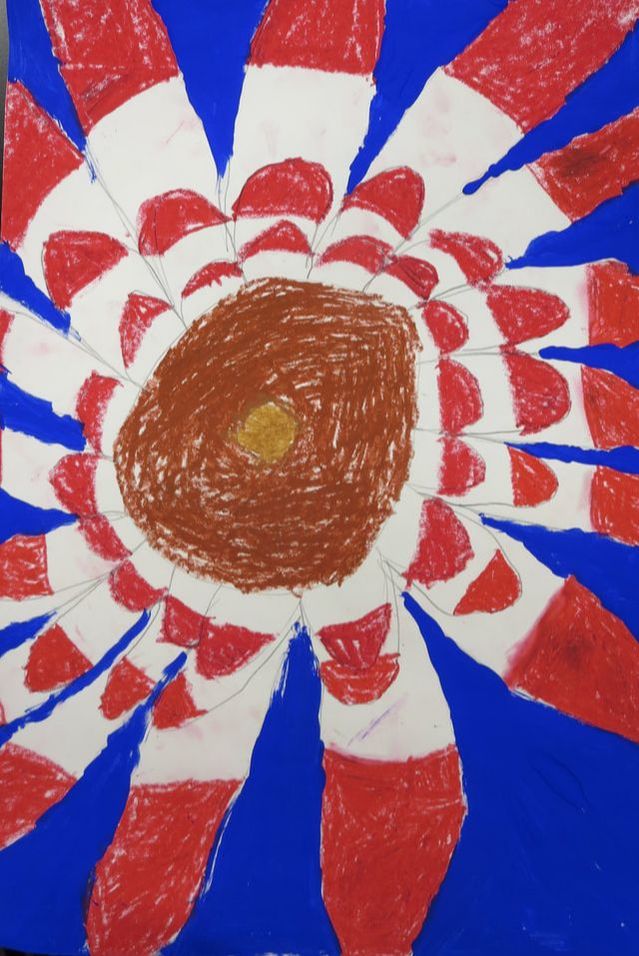
For more information about the process of creating these awesome Georgia O'keeffe-inspired flowers, see my blog post from a few years ago
http://anniesartroom.weebly.com/elementary-art/2nd-grade-georgia-okeefe-flowers

|
For more information about the process of creating these awesome Georgia O'keeffe-inspired flowers, see my blog post from a few years ago http://anniesartroom.weebly.com/elementary-art/2nd-grade-georgia-okeefe-flowers
0 Comments
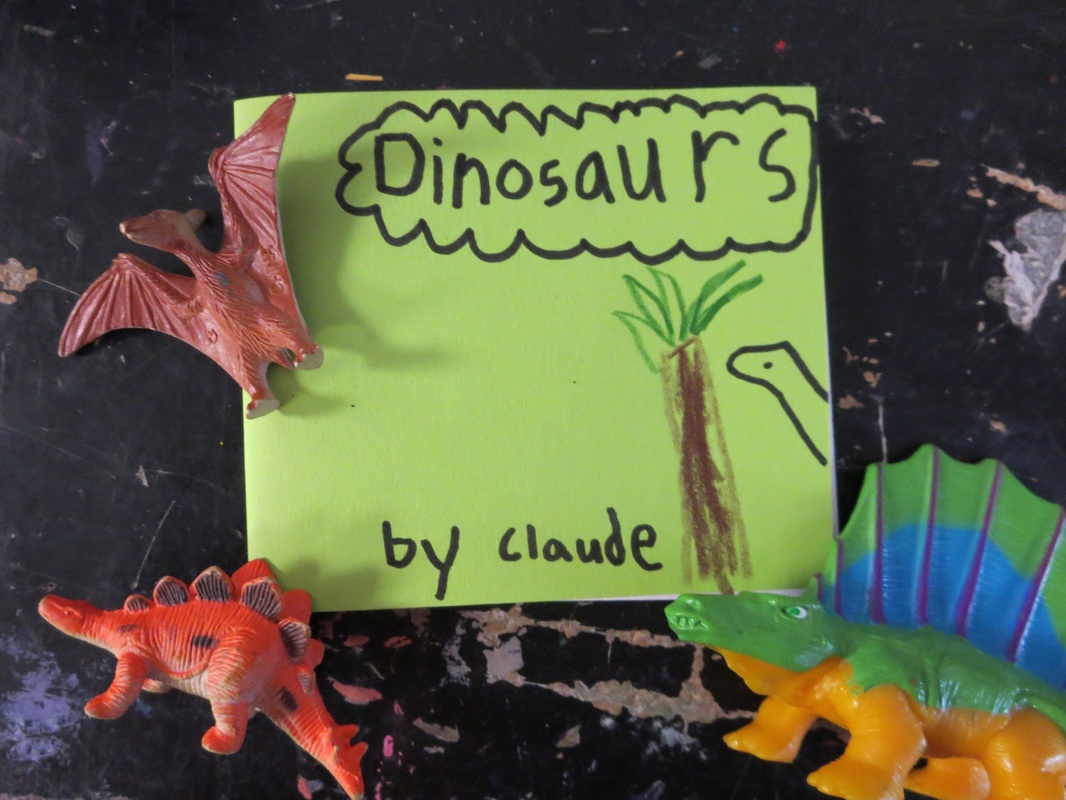 1st graders each created their own mini dinosaur book for this project. Before the students arrived, I assembled them each a tiny book with about 10 pages for drawing on. The books were about 4"x4". To begin this, each student carefully wrote the word "Dinosaurs" and wrote their names. Some kids chose to decorate the front. Over the next three classes, students passed around little dinosaur figurines taking turns to carefully observe and draw a bunch of different dinosaurs. Before starting the drawings, I read a book about dinosaurs so they had an idea of which dinosaurs were meat eaters, plant eaters, which ones flew and which walked. The 1st graders were very, very excited about this project. They drew the contour lines of the dinosaurs with fine tip Sharpies first. I instructed them to really focus on shapes and textures. Next they used colored pencils to color the dinosaurs the colors of the figurines. If the dinosaur was mostly blue but had a black belly and brown spots, they had to be sure to use all three of those colors. 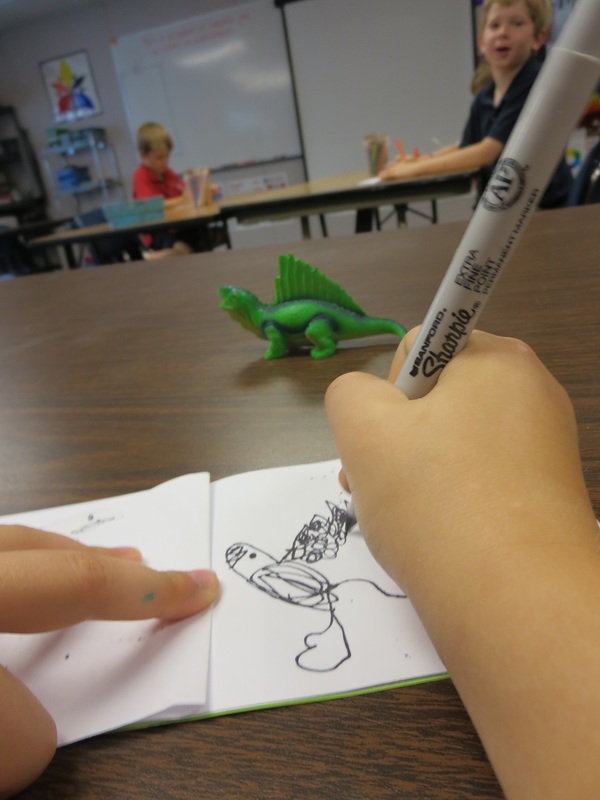 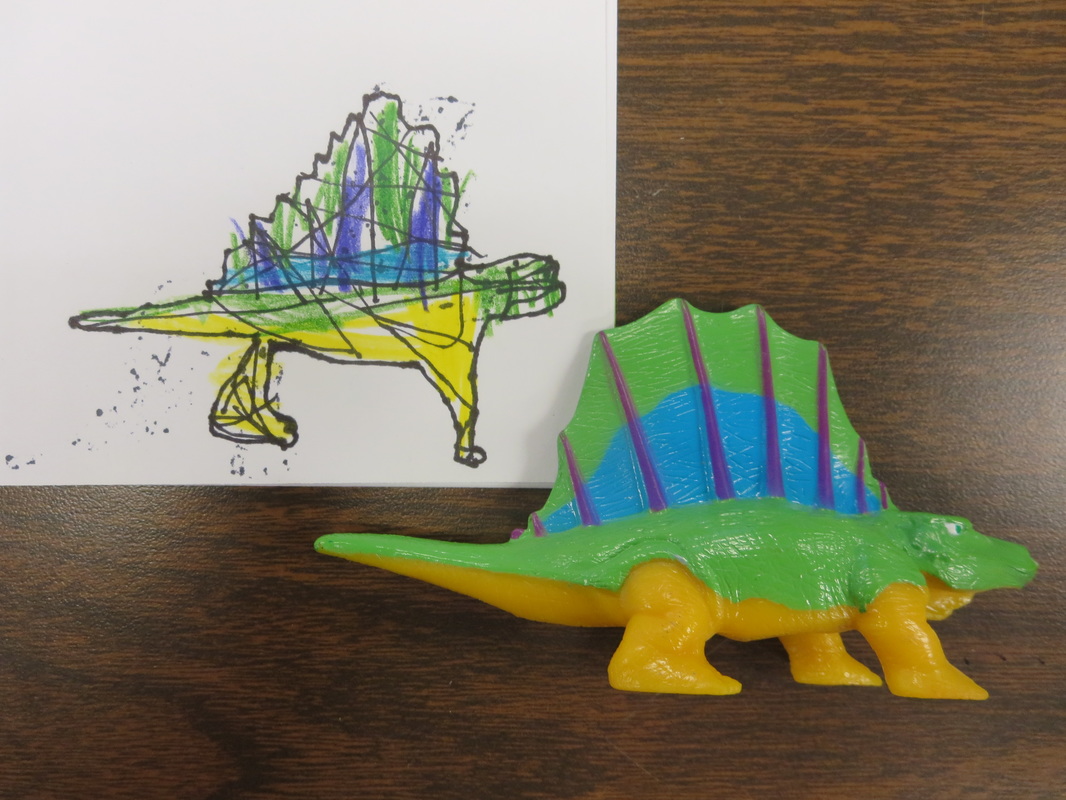 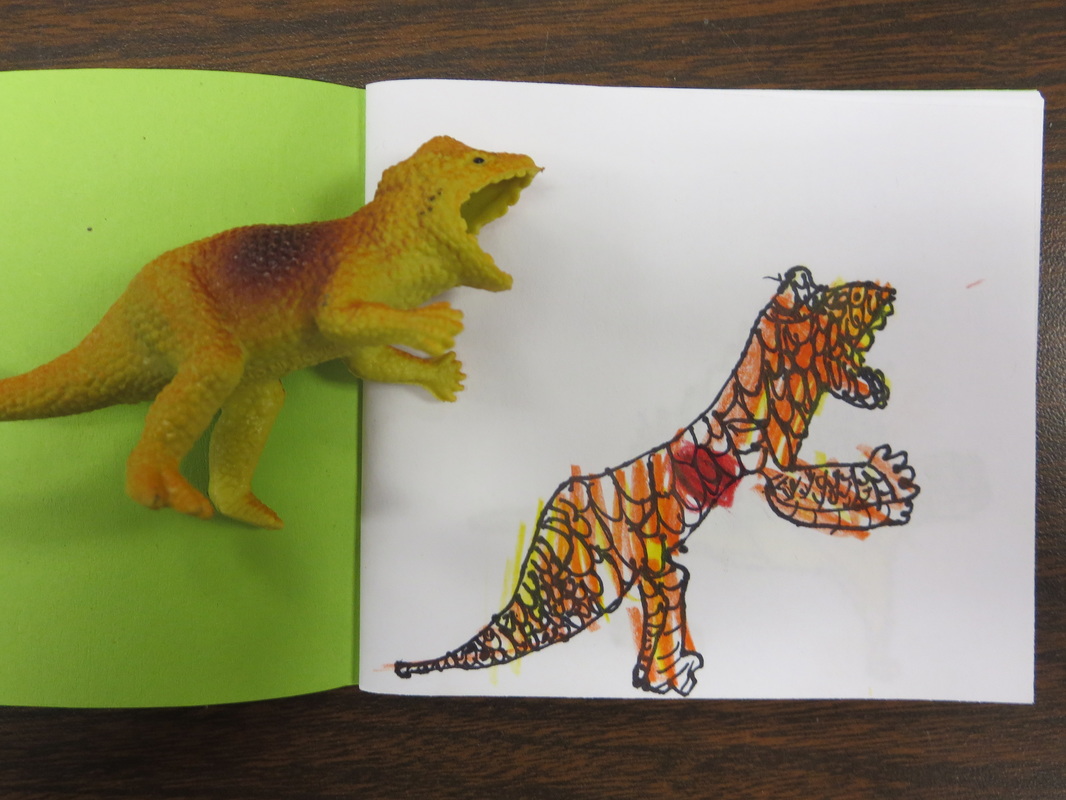 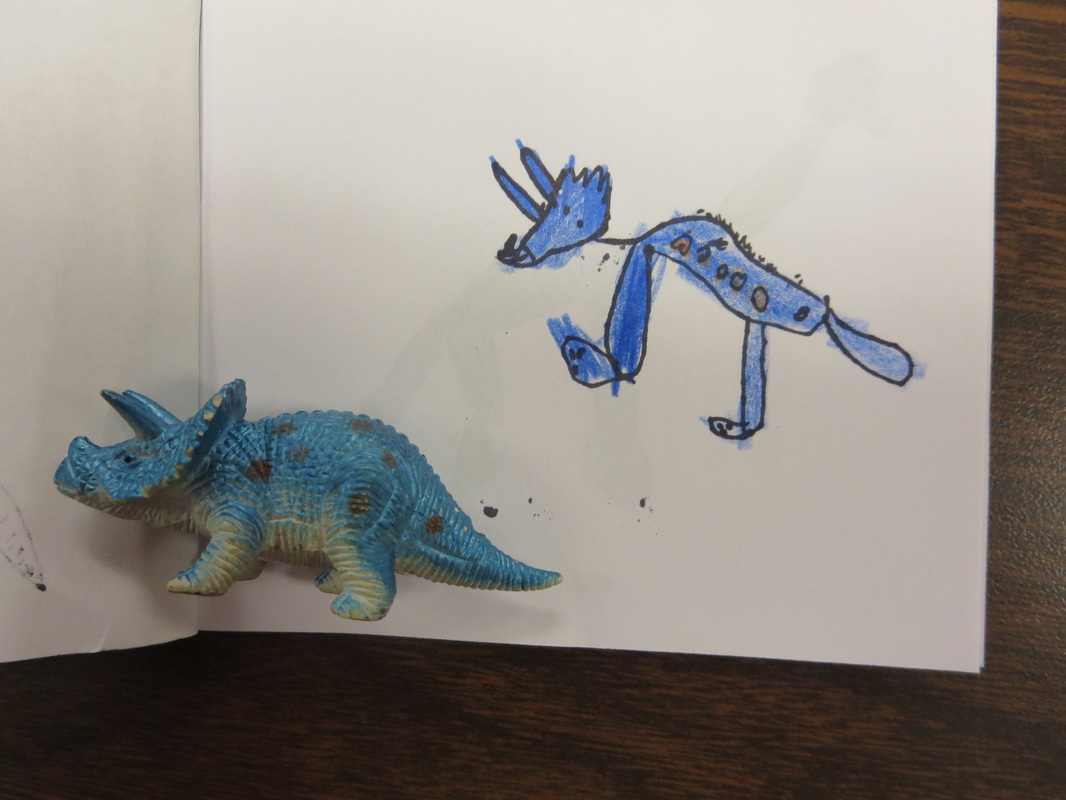 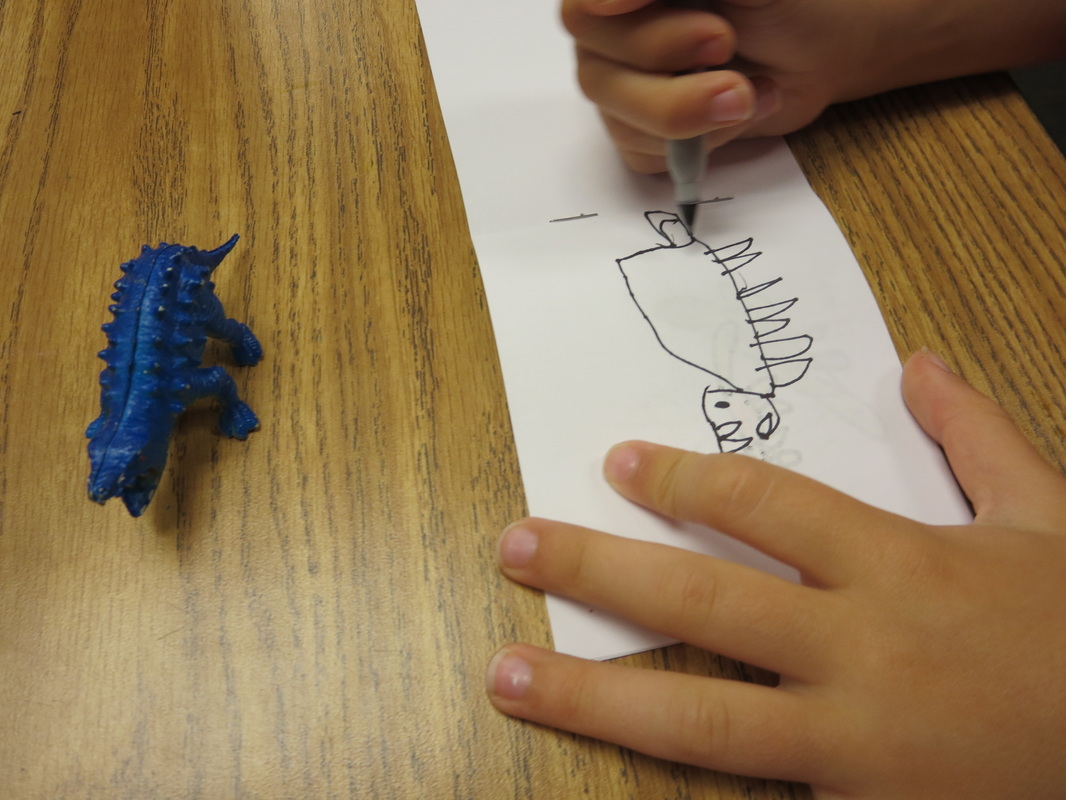 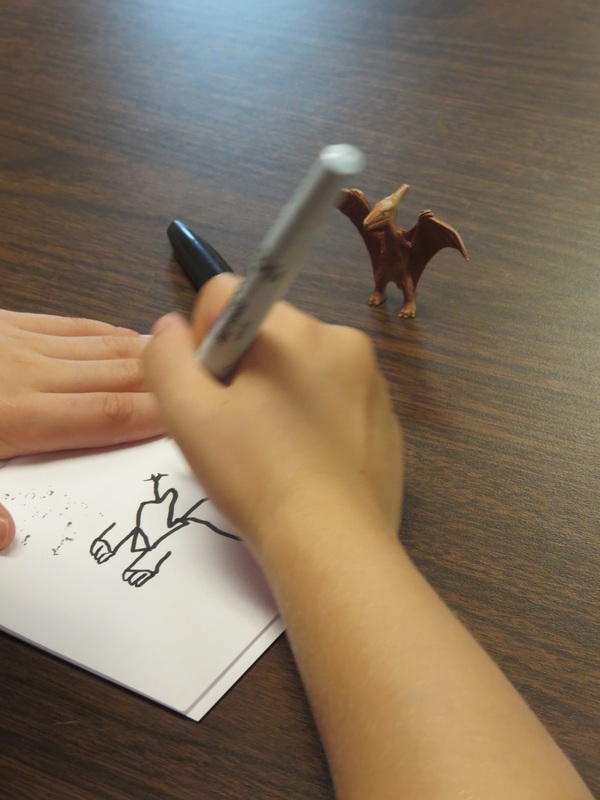 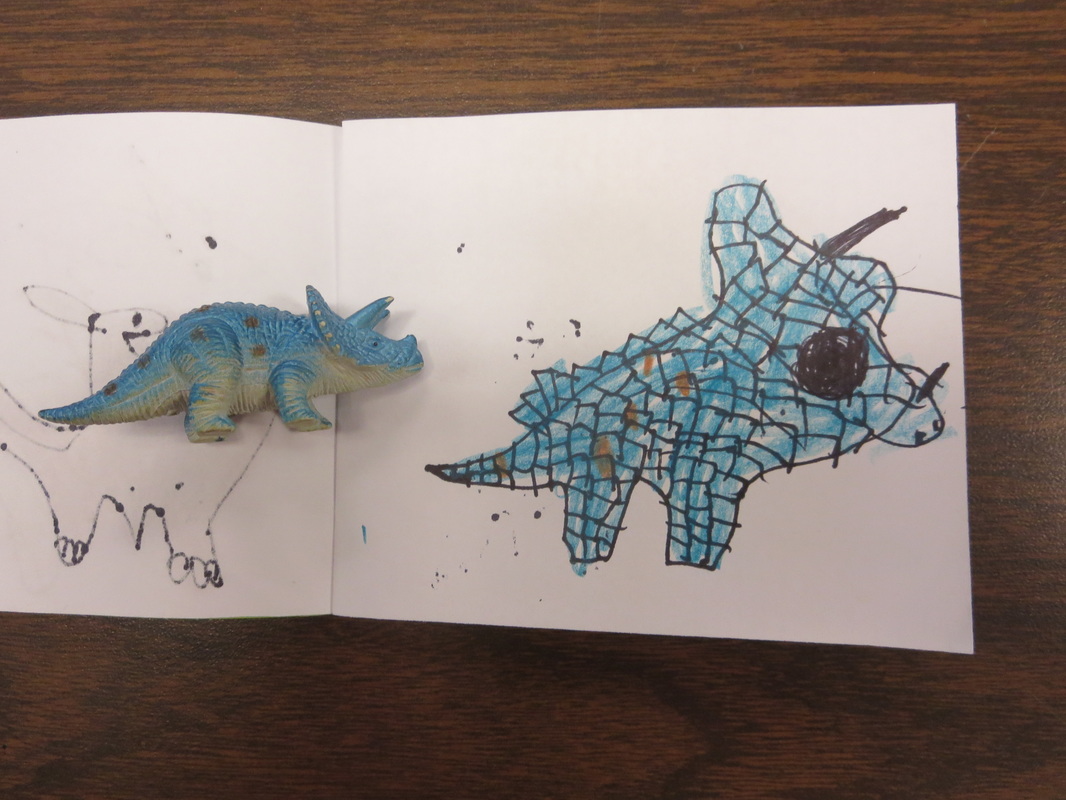 On the last day of this project, we looked at labeled images online of different dinosaurs and the students flipped through their books and added in the names of the different dinosaurs. Some students even knew all of the names without having to show them. At the end of this, each student had their own little dinosaur book to take home. Some students worked so meticulously that they only had three dinosaur drawings, while others filled both pages of their entire book. These 1st graders were extremely excited about proud about this project. I will definitely repeat it next year. I also love the idea of doing small books like this with other grades with different sorts of plants or animals too. 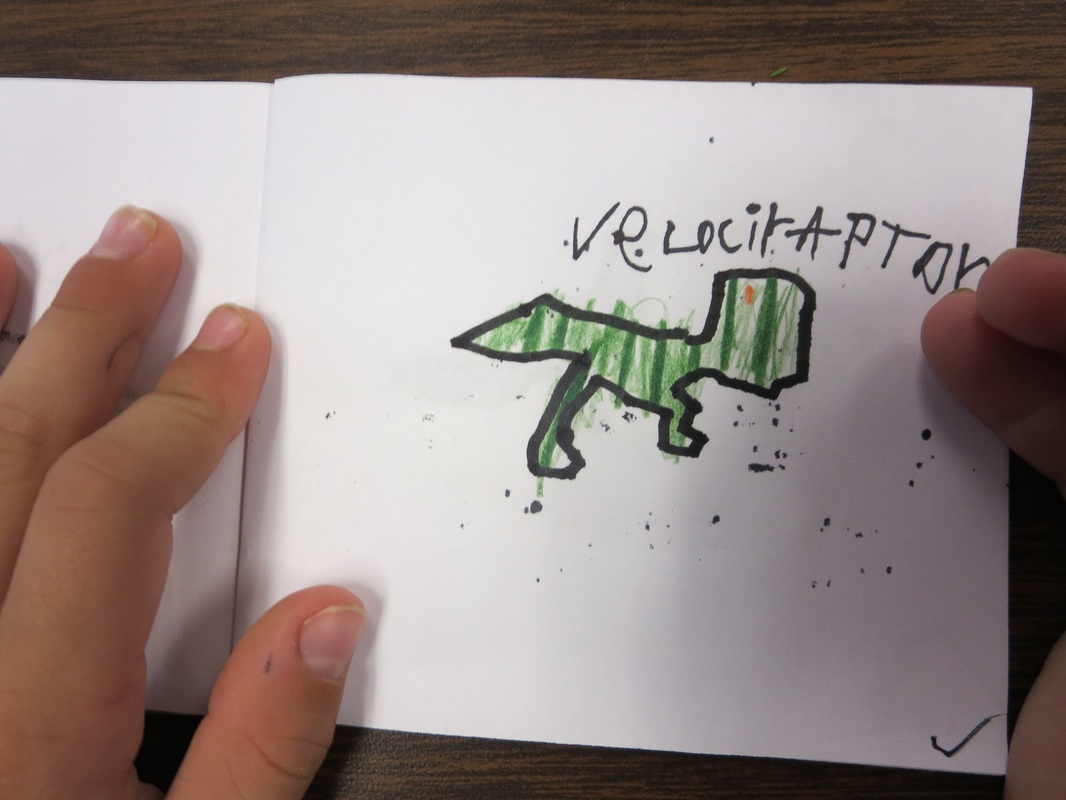 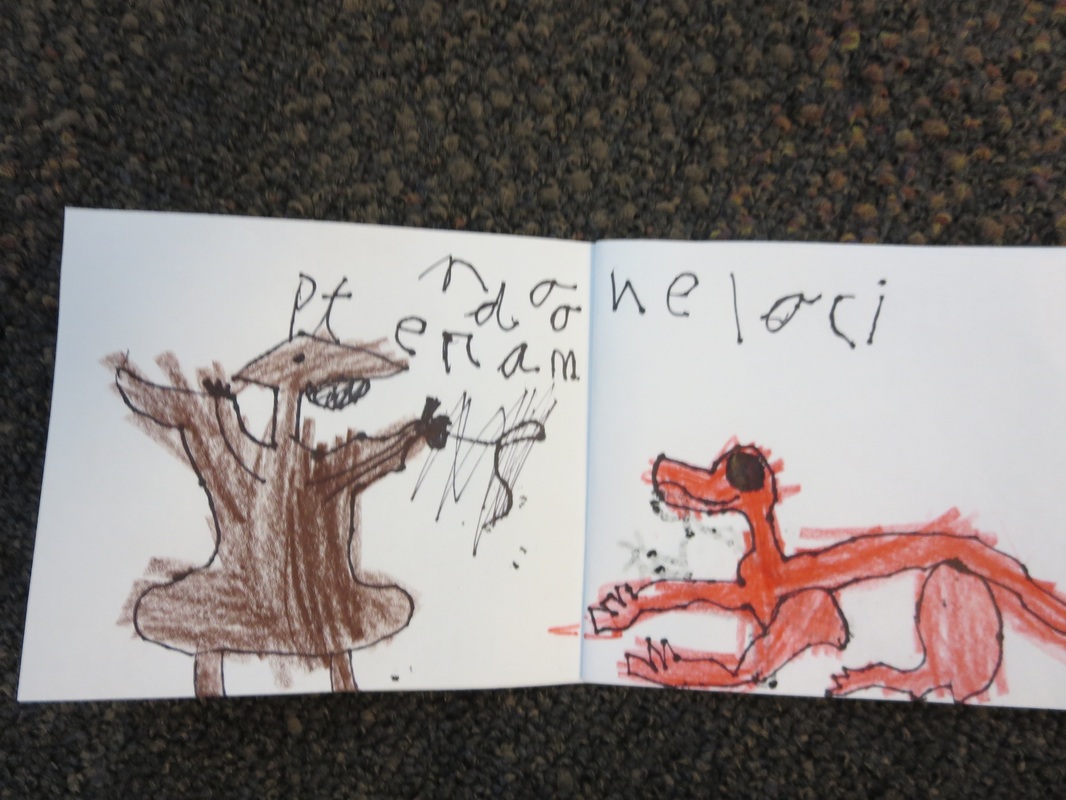  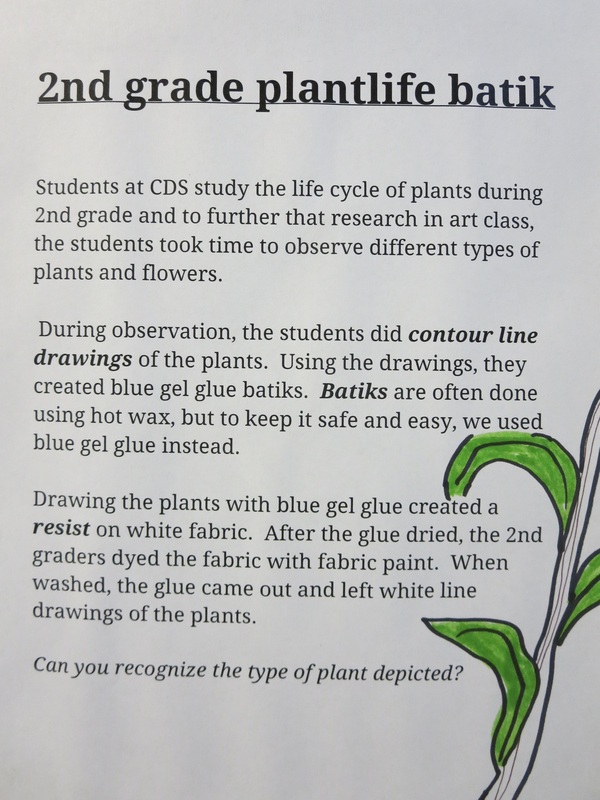 Process: 1. Students observe plants and do contour line drawings of the plant. 2. Trace over line drawing with a Sharpie to make a thick black line. 3. Layer cardboard, drawing, wax paper, white fabric. Tape together. 4. Use blue gel glue to trace over drawing onto fabric. 6. Let dry COMPLETELY (overnight at least) 7. Use watered down fabric paint to dye the fabric. 8. Let dry COMPLETELY. 9. Remove fabric and soak in warm water 30 minutes or more. 10. Use your hands to rub the fabric together to remove the glue. 11. Rinse well. 12. Hang to dry. VOILA!  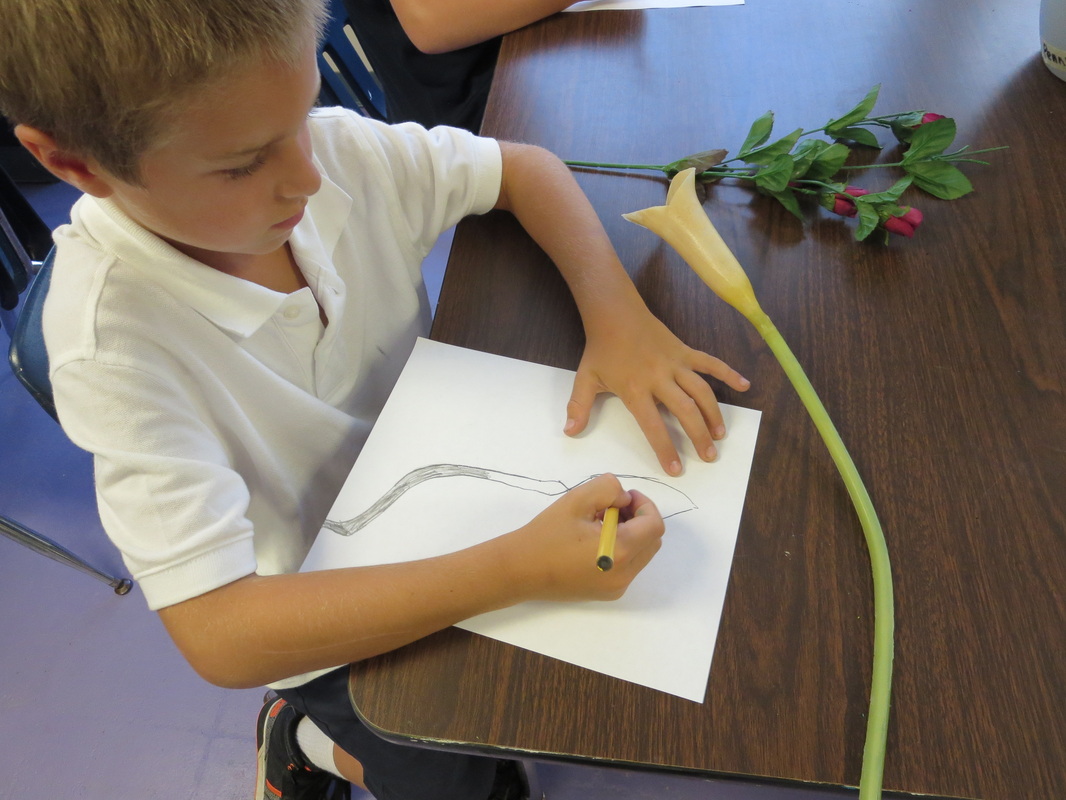 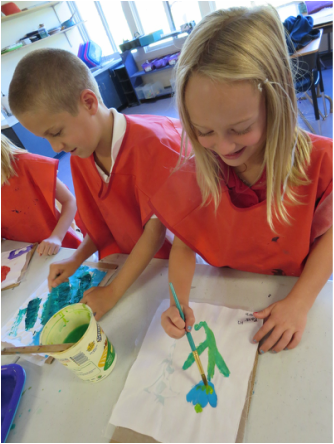 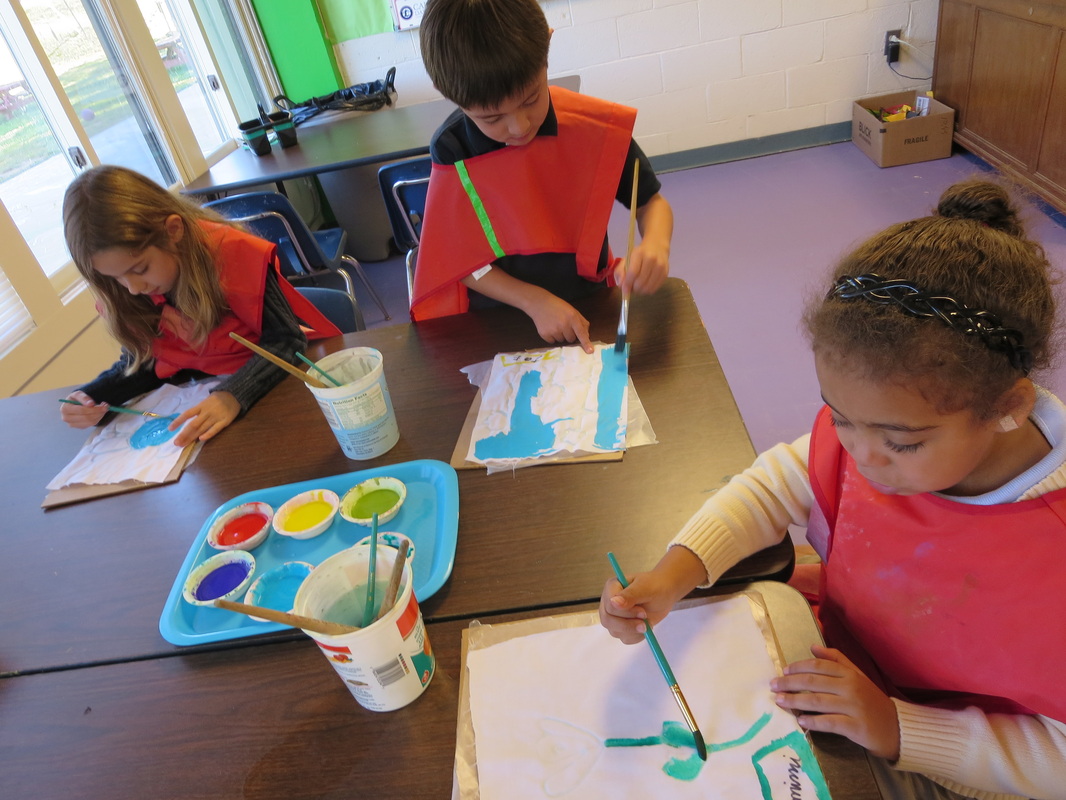 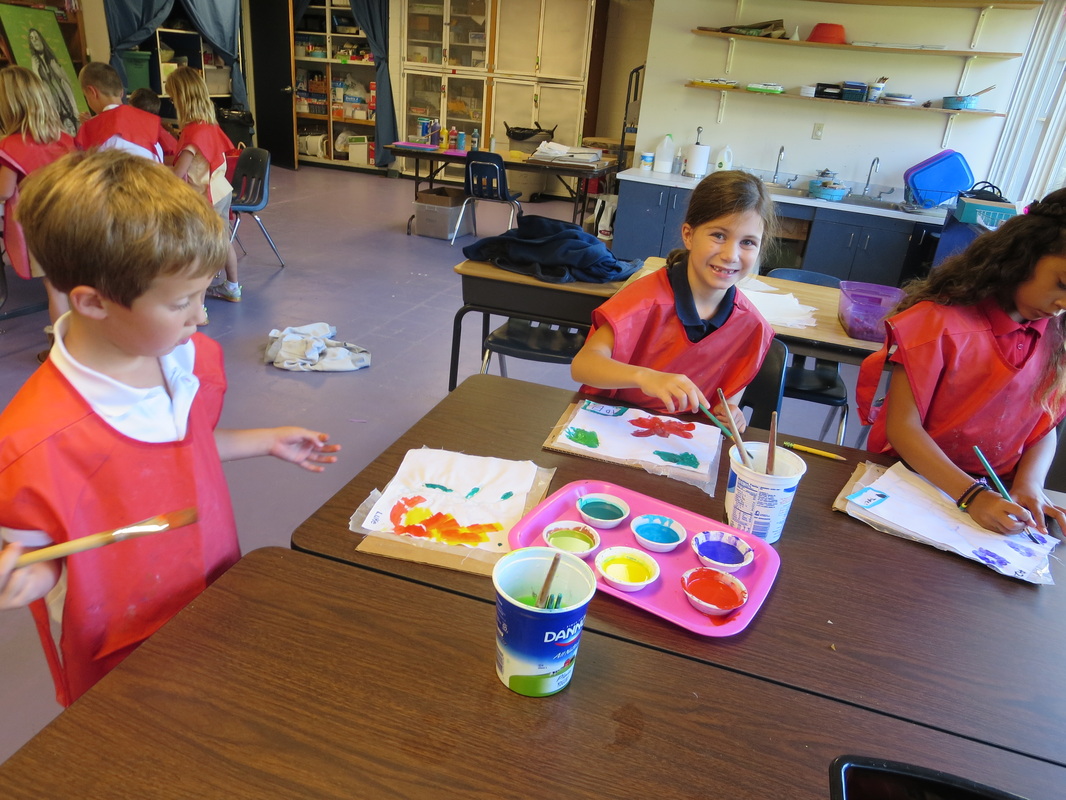 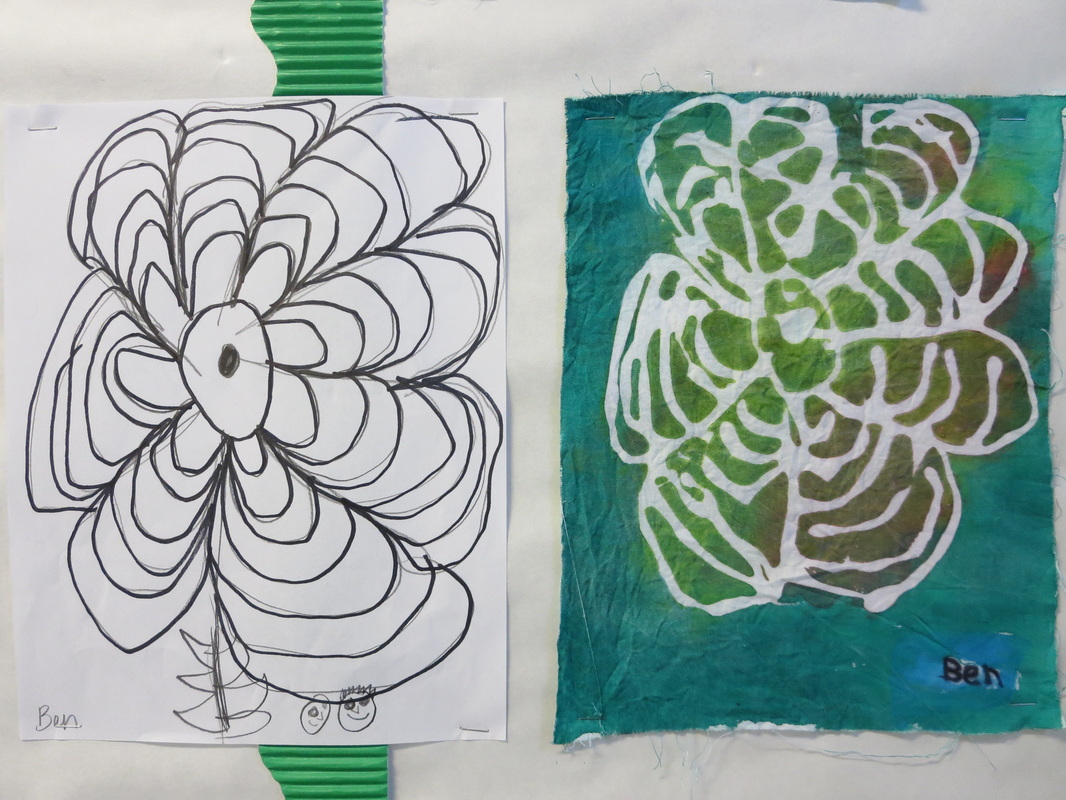 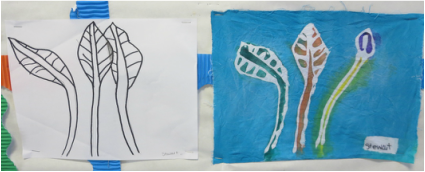 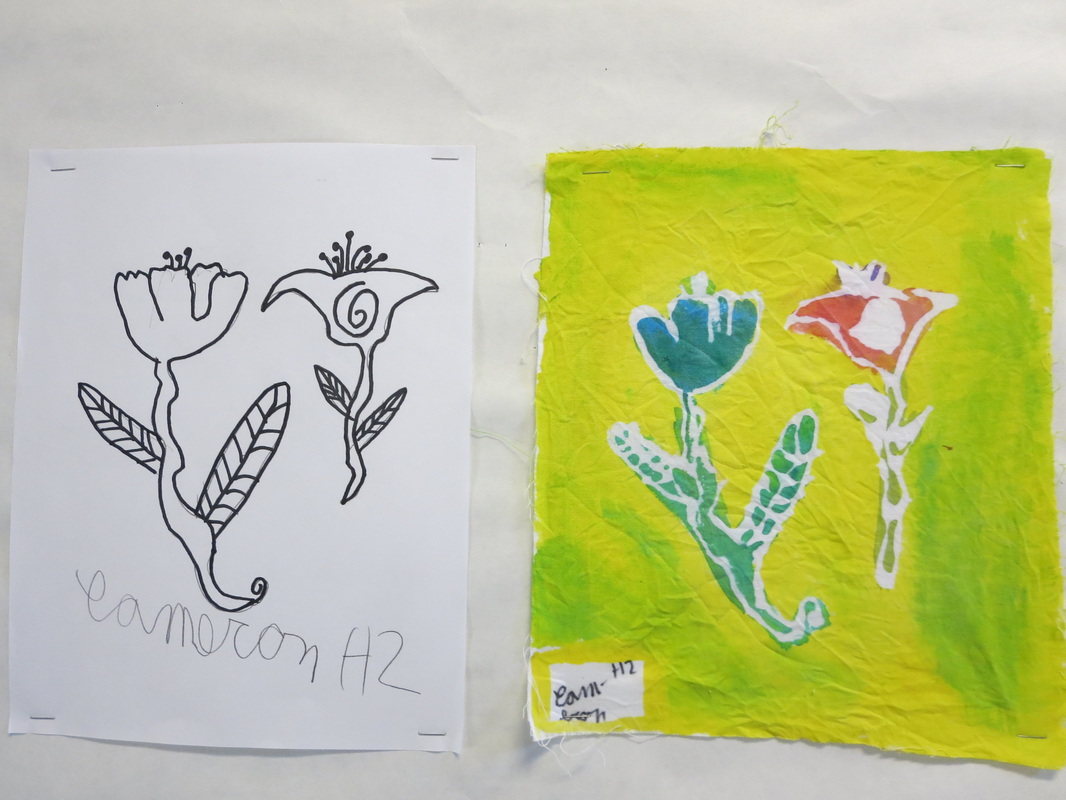 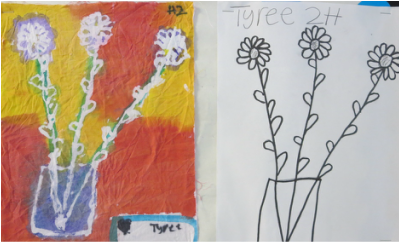 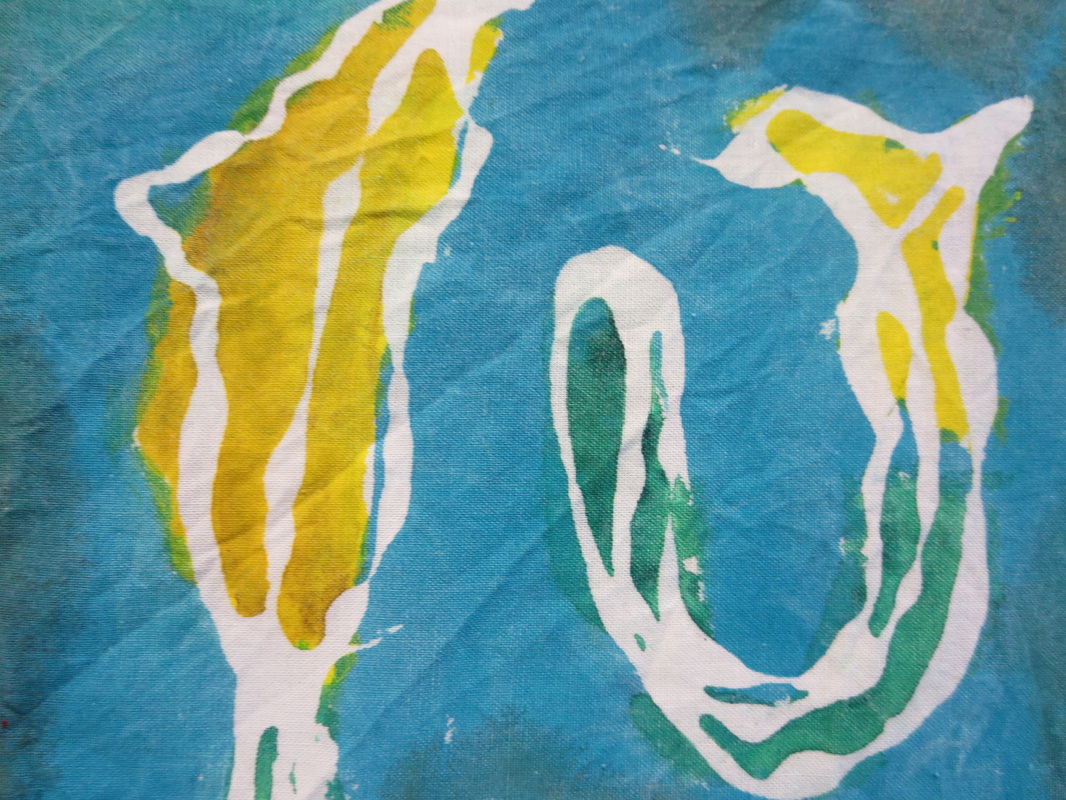 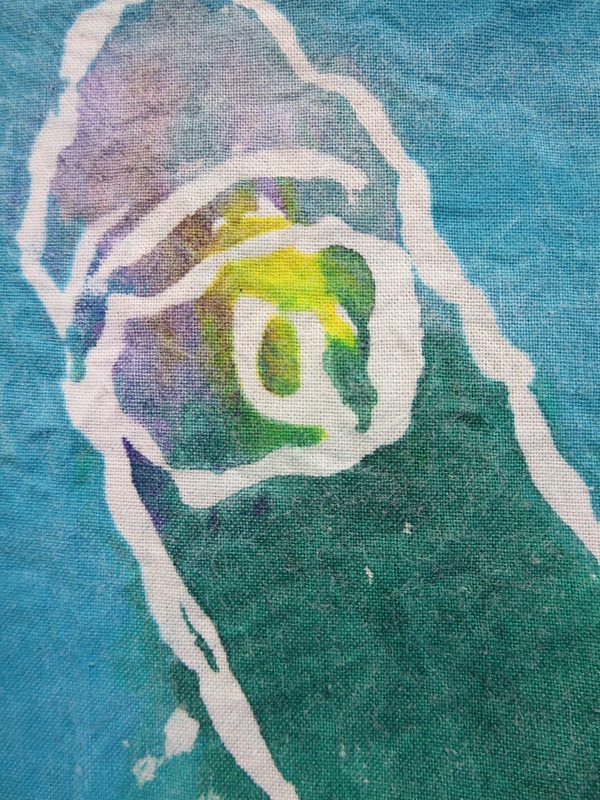 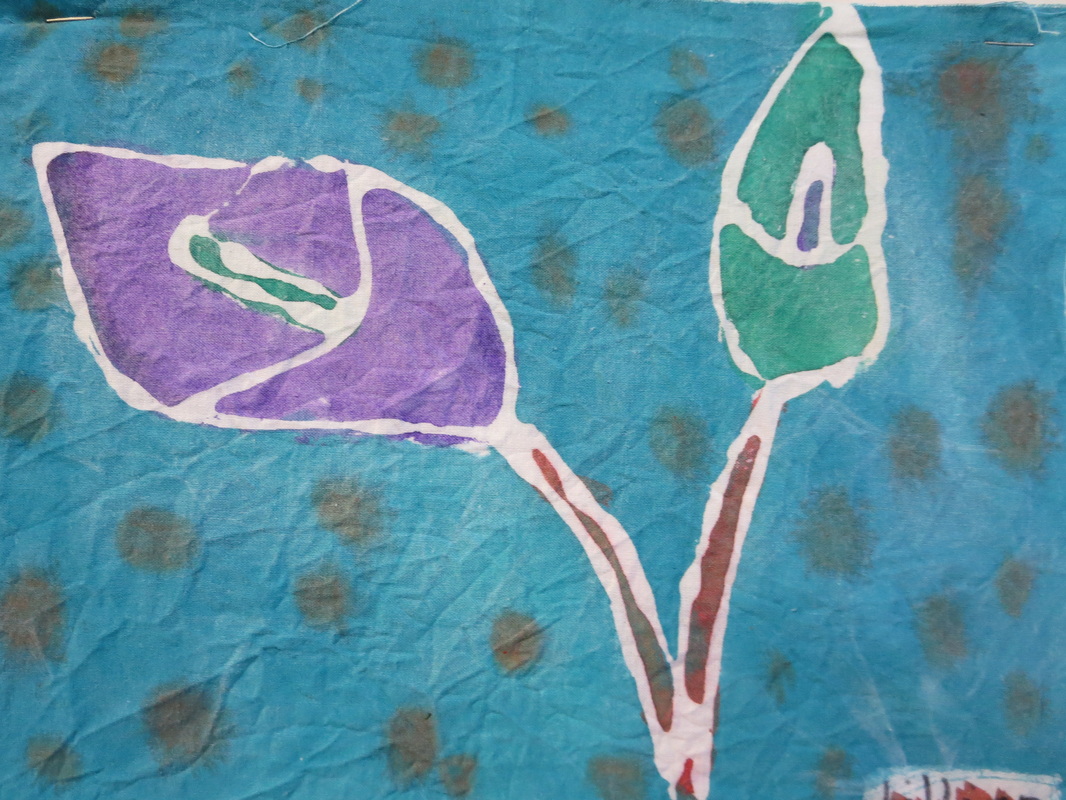 |
AuthorAnnie Monaghan. Categories
All
|
 RSS Feed
