Annie Monaghan's Art Room
  • Home
  • Elementary Art
  • Middle School Art
  • Camp projects
  • Lesson Plans
  • About Me
  • My Artwork
  • Art is everywhere!
  • Contact me
  • Professional

3rd grade primary color self-portraits

2/12/2020

0 Comments

 
Picture
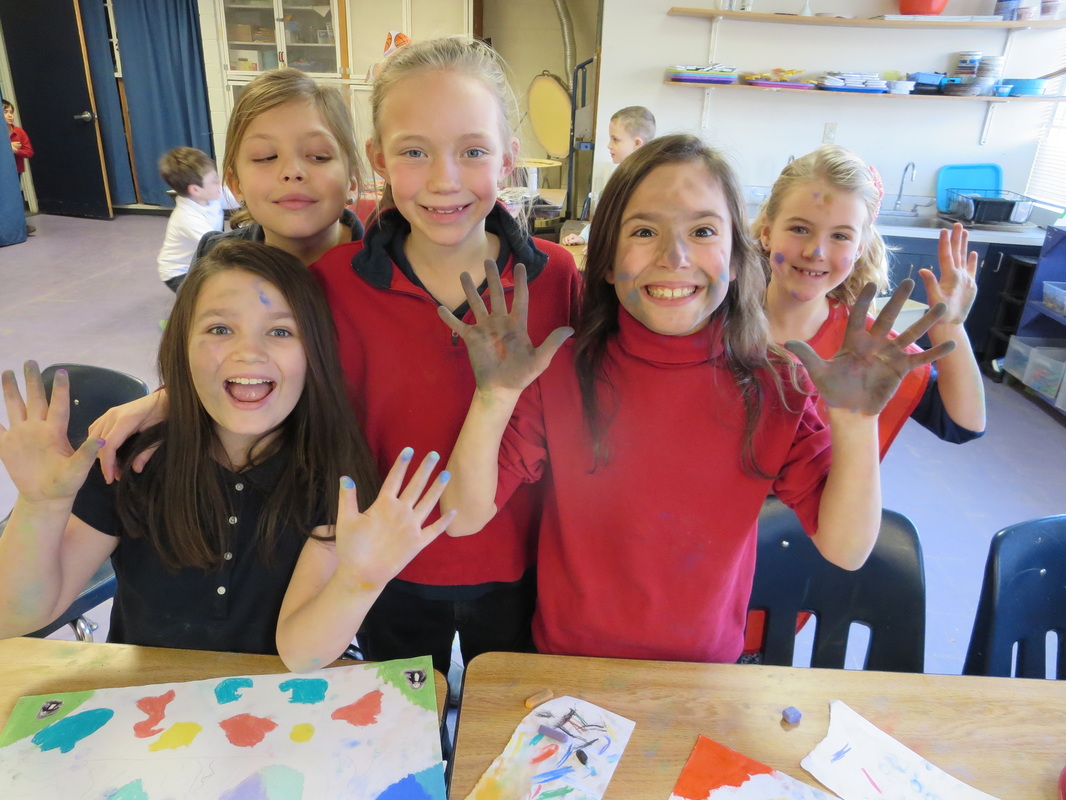
Wow!  This was truly one of those art projects, you know, THOSE ones.  The kind of project that was top notch and students all learned so much through the process.  I honestly have chills just thinking about it. This was one of the most successful art projects that I've taught in a while because each student challenged themselves and grew as an artist during the entire creation process.

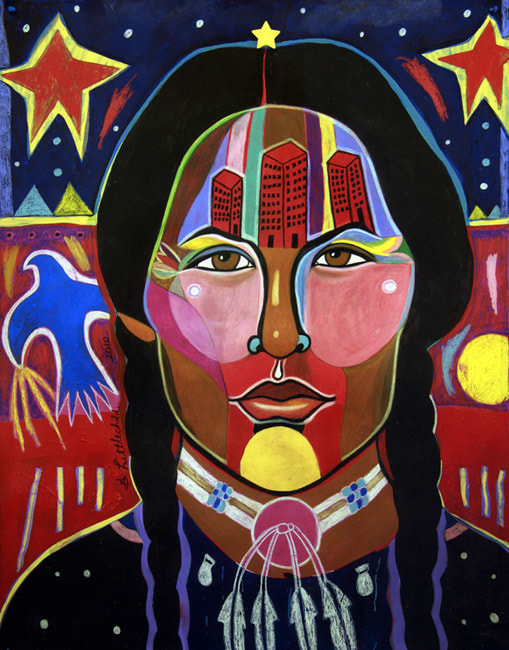
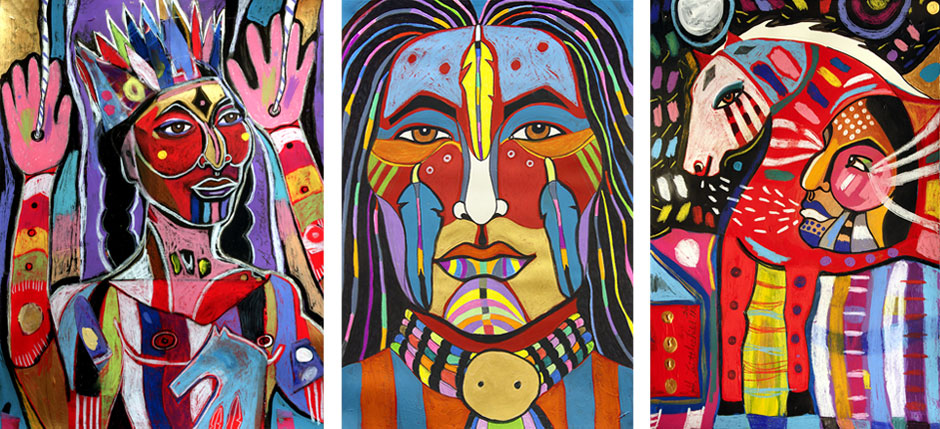
I got the inspiration for this when a High School art teacher that I know posted photos of her High School students doing a similar project and I felt confident that I could adapt the project for my current 3rd grade artists.  

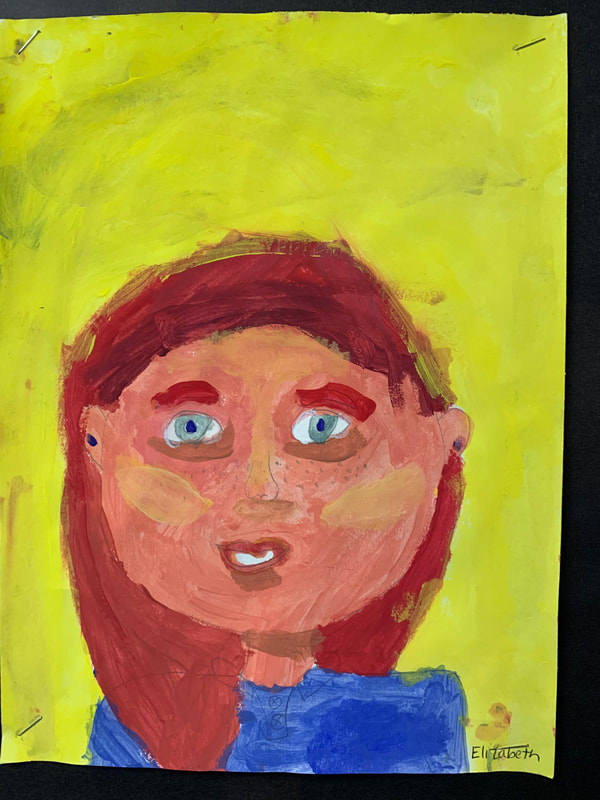
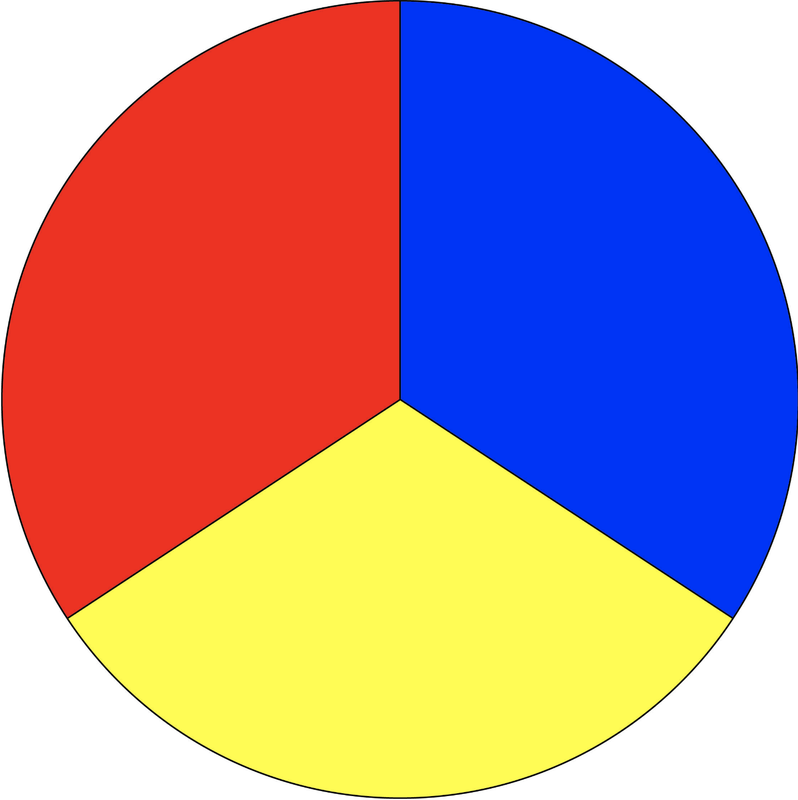
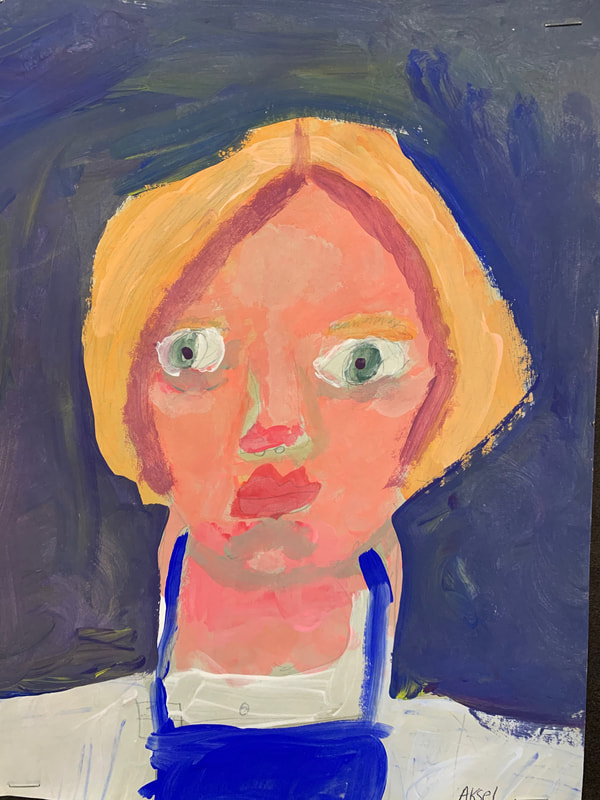
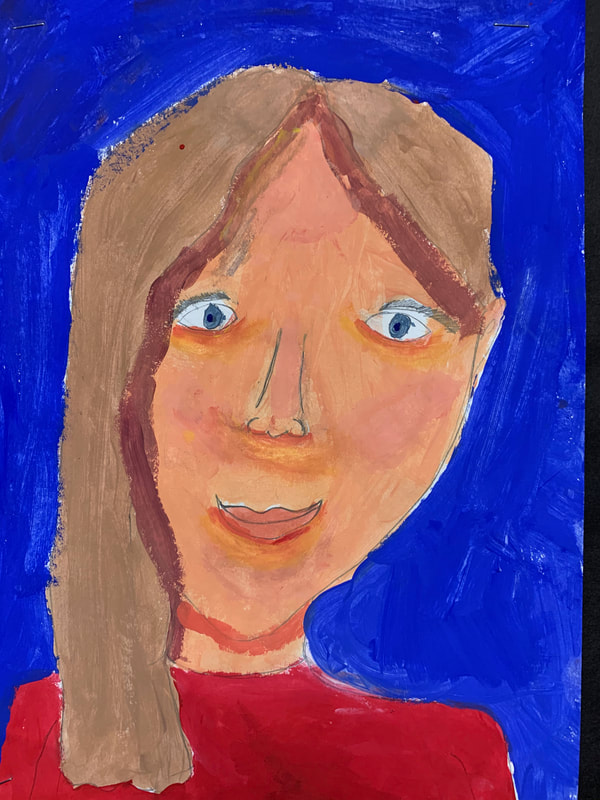
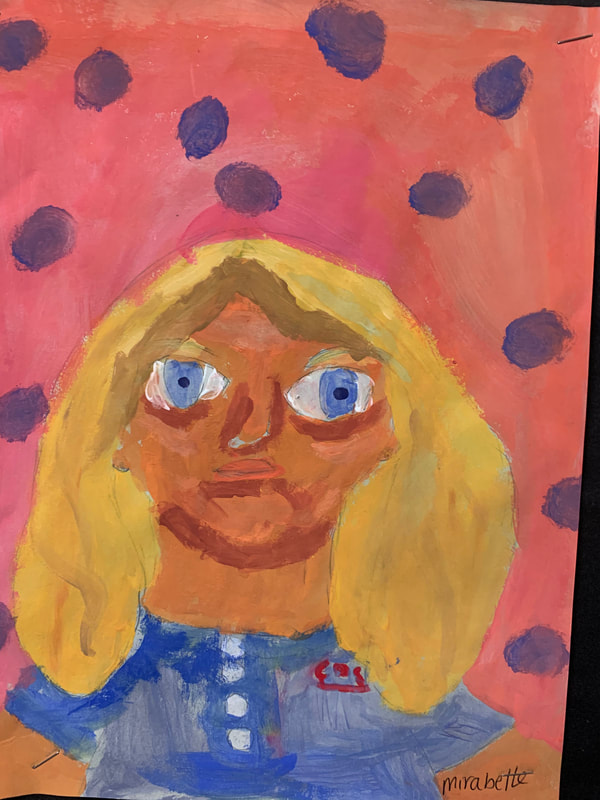
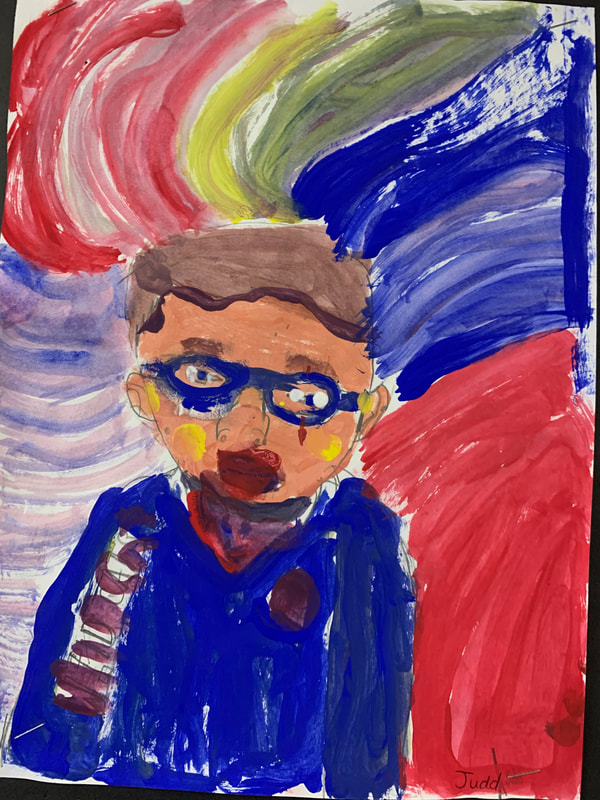
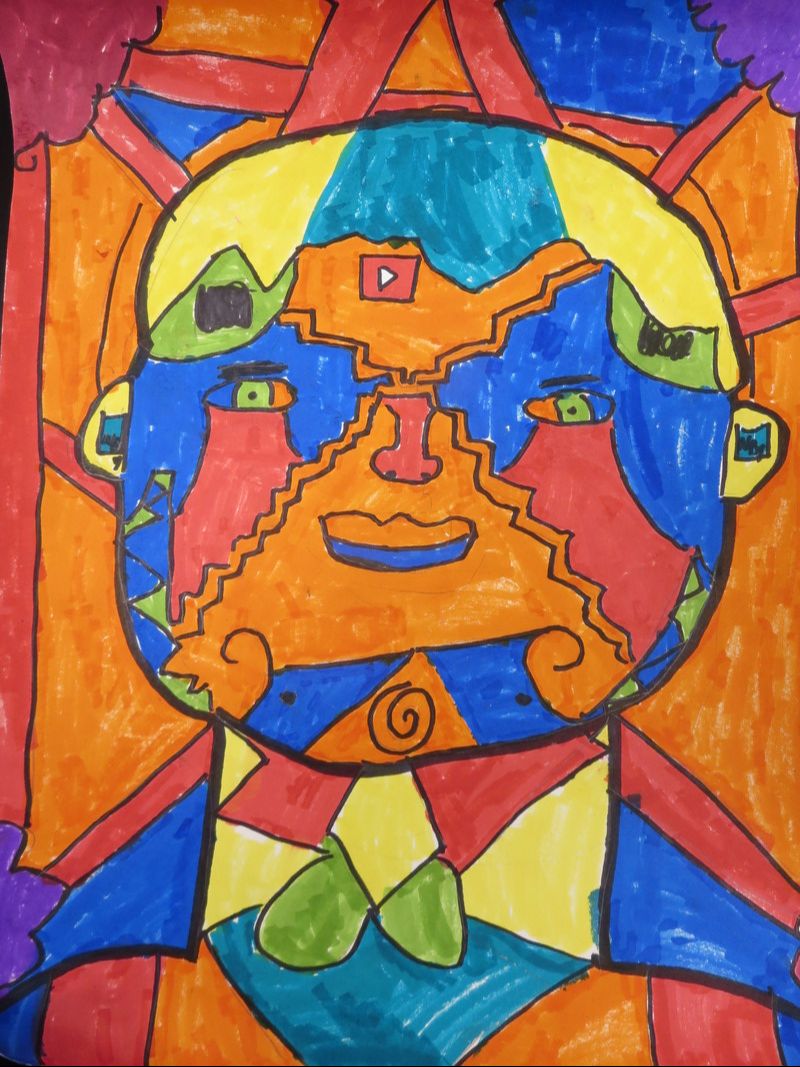
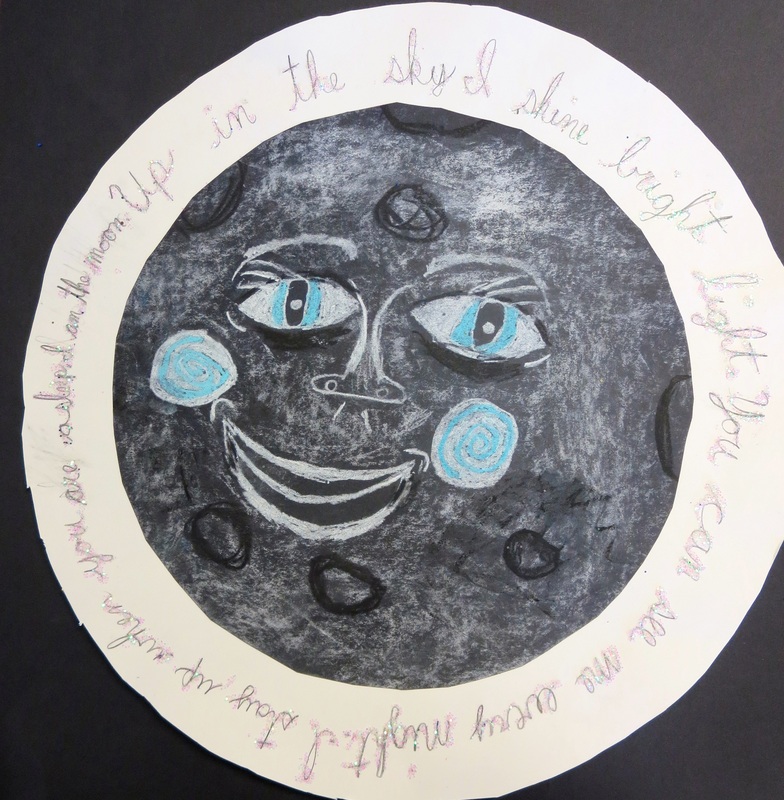
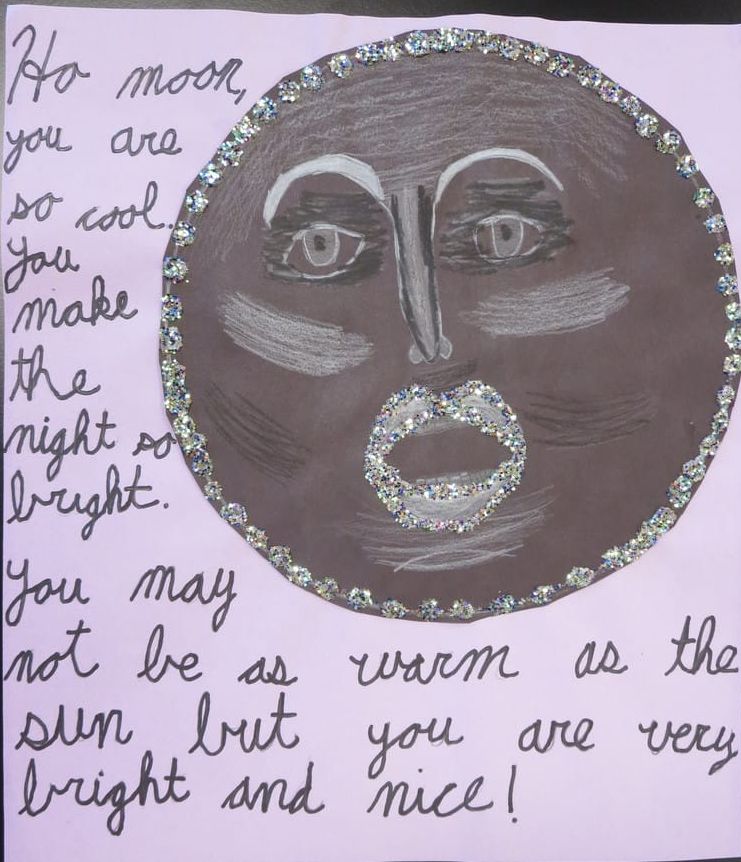
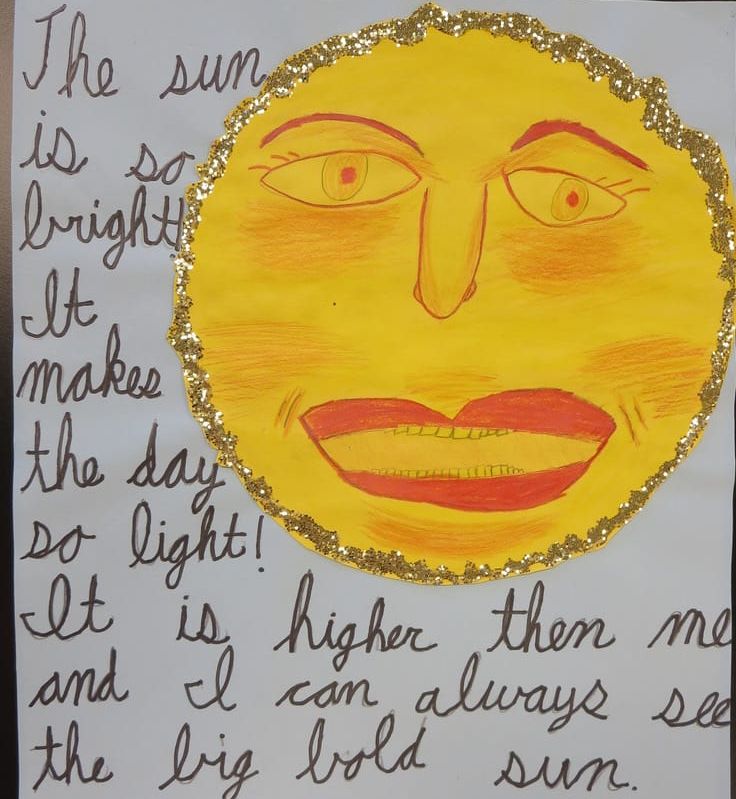
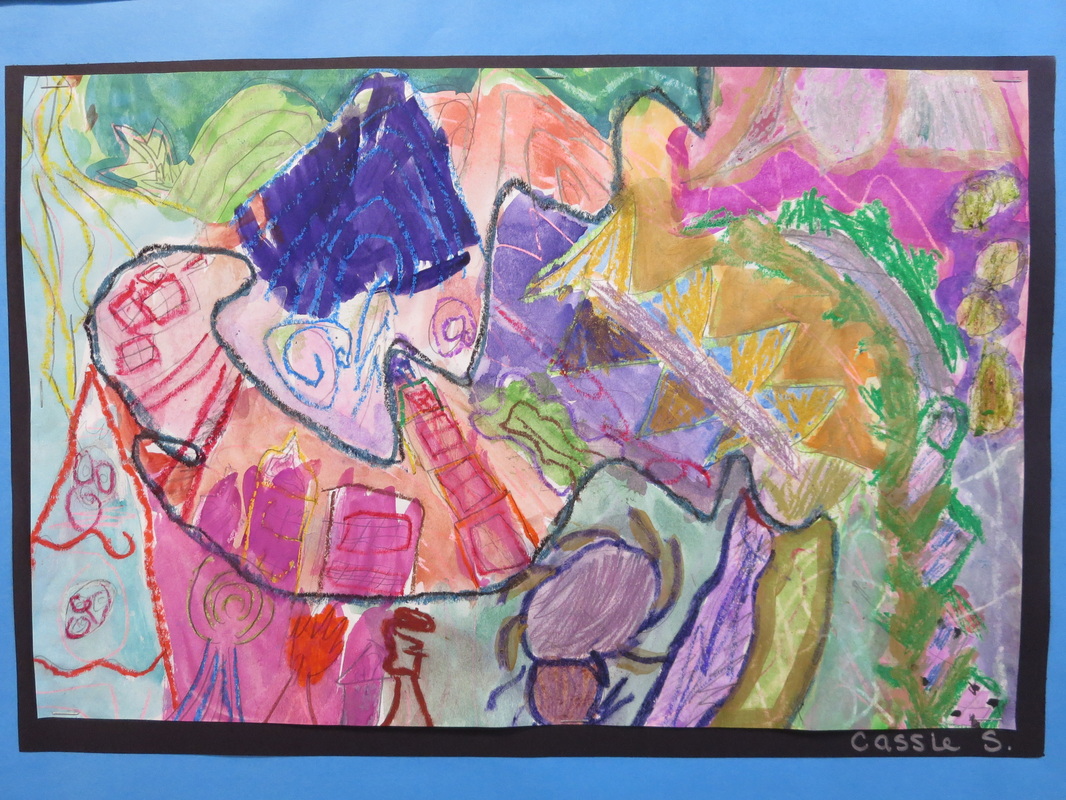
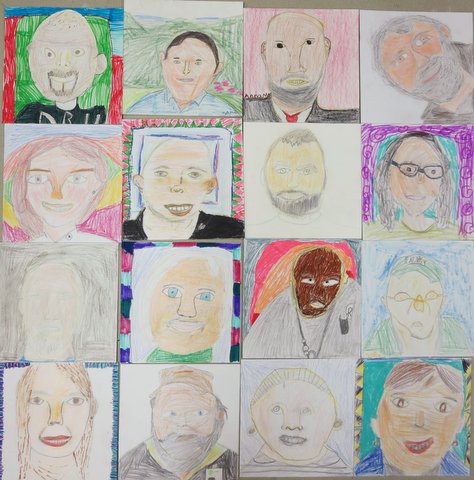
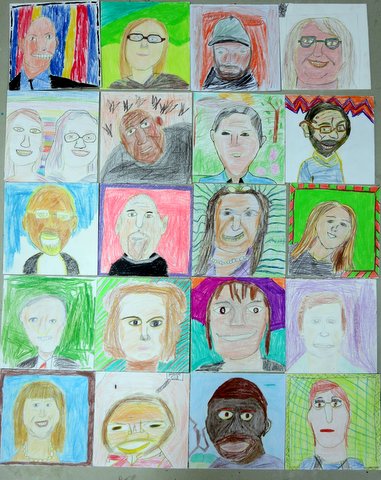
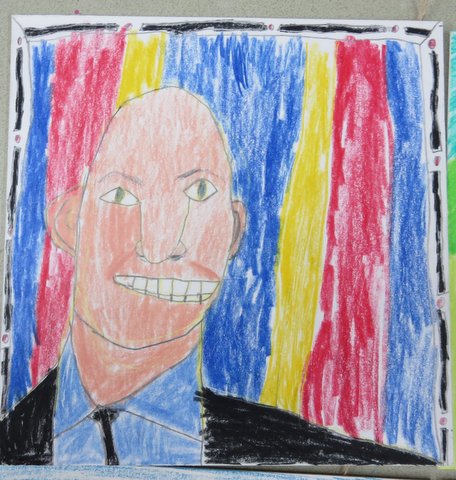
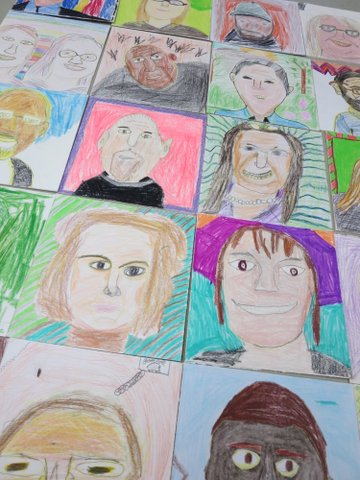
The goal of this project was to only use primary colors (red, blue and yellow) and white and black for this project.  That means that the skin color, shadows and highlights, hair colors, etc etc were all mixed using only primary colors!  This took some trial and error and lots of mistakes before students created the correct colors.
Picture
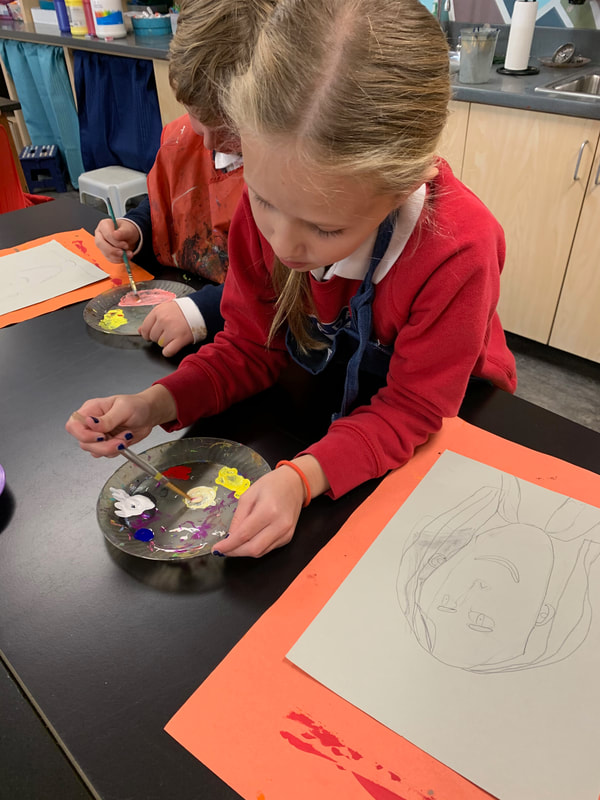
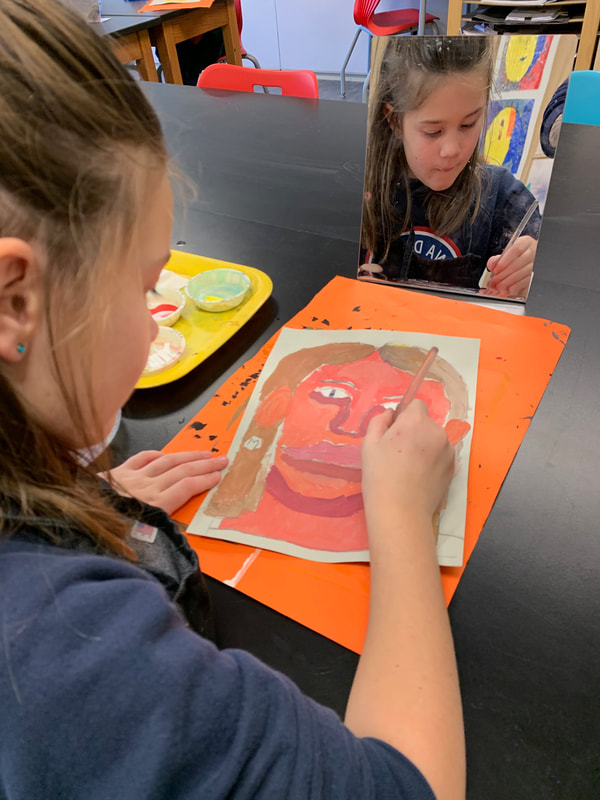
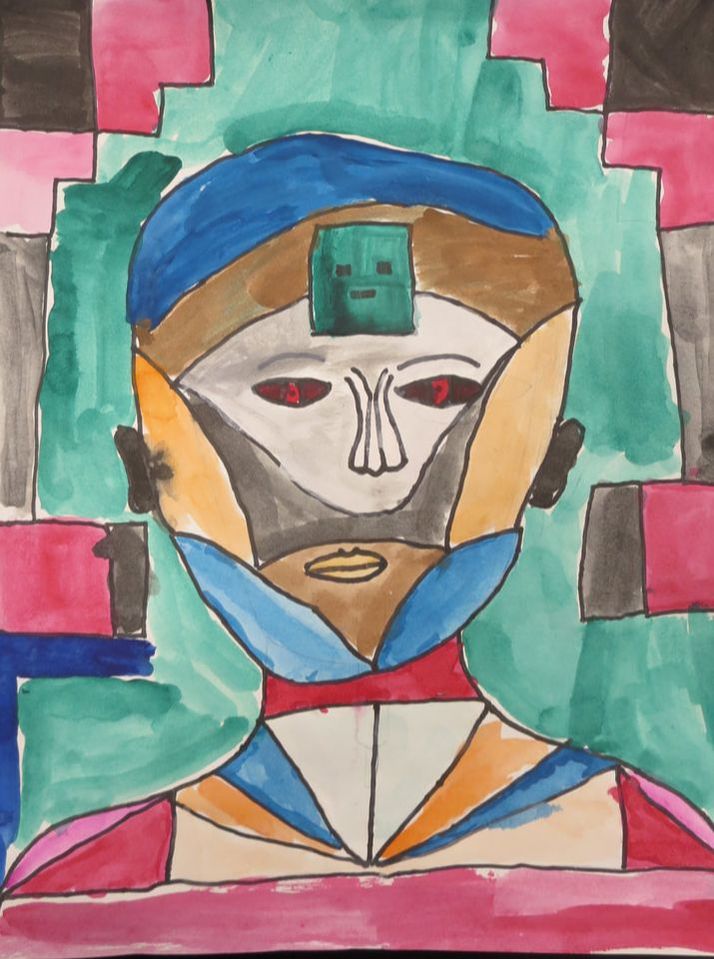
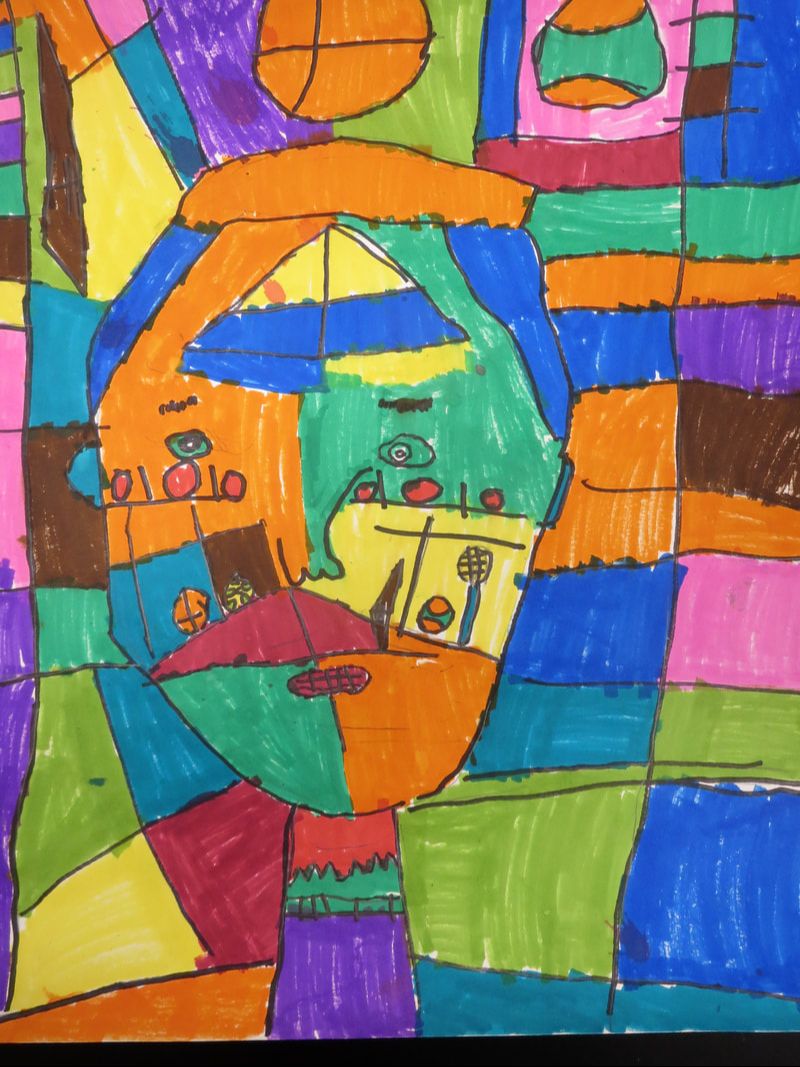
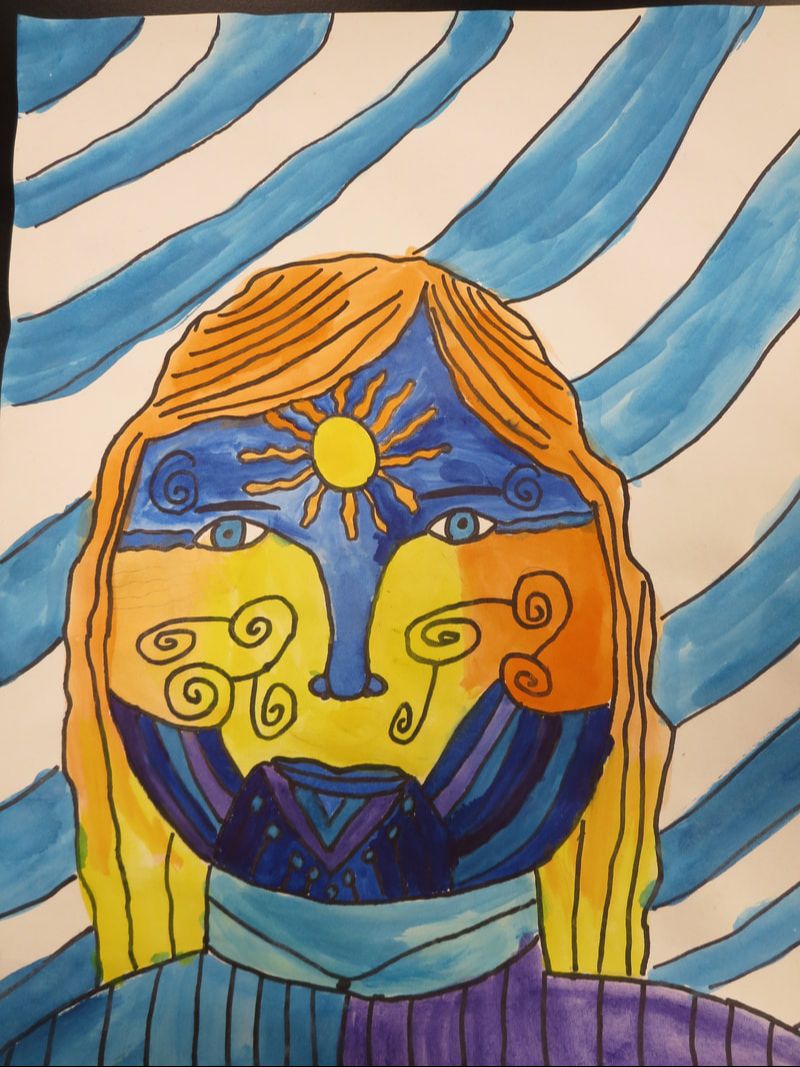
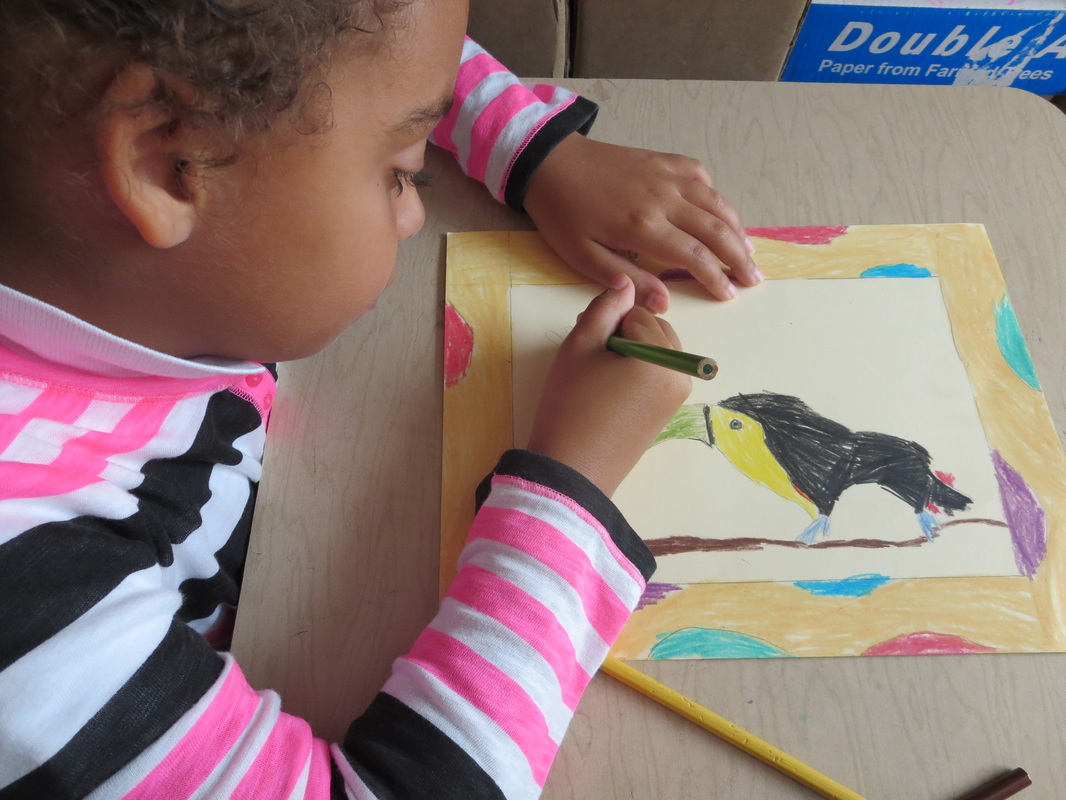
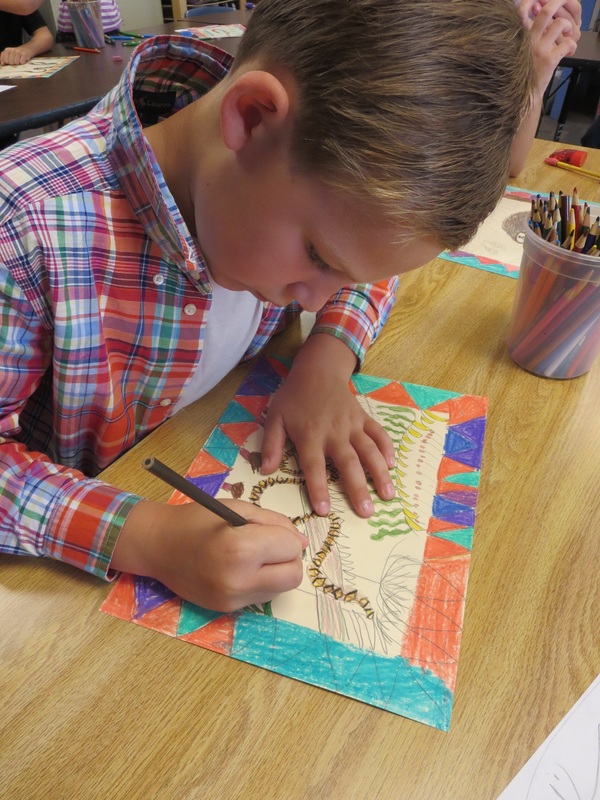
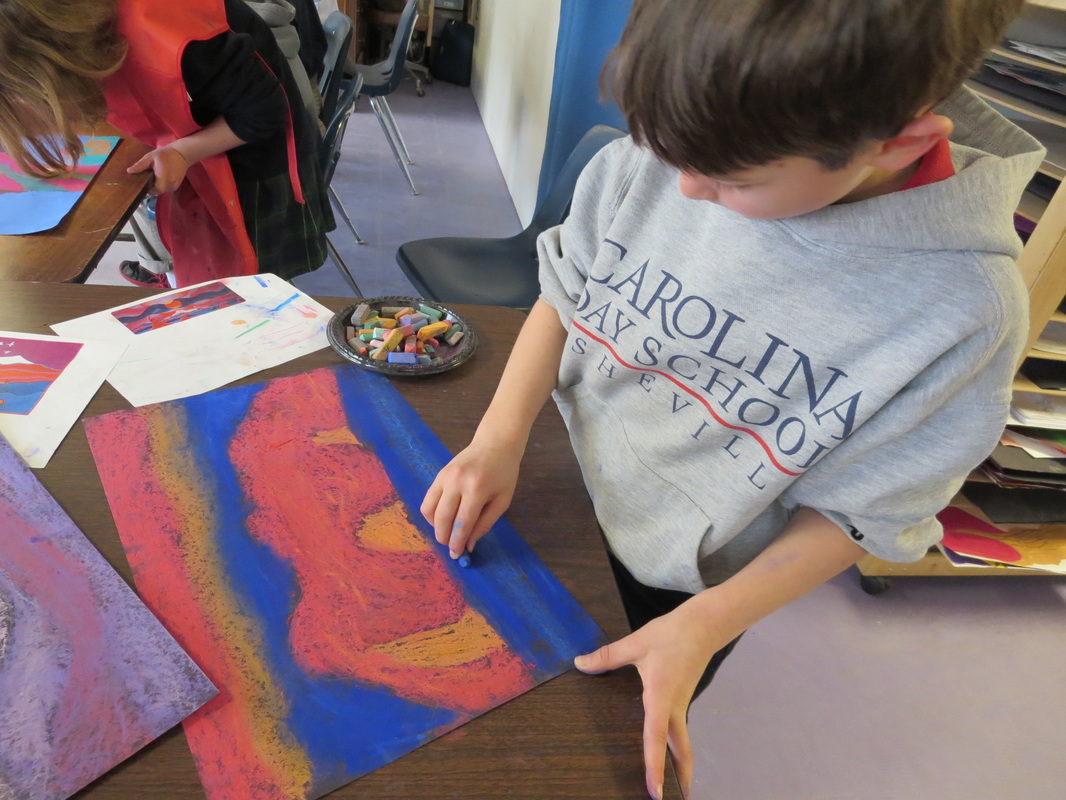
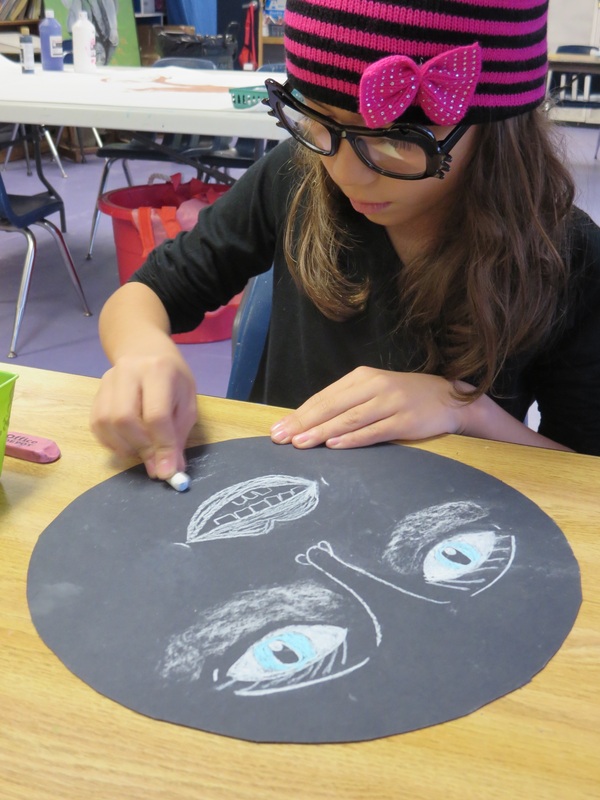
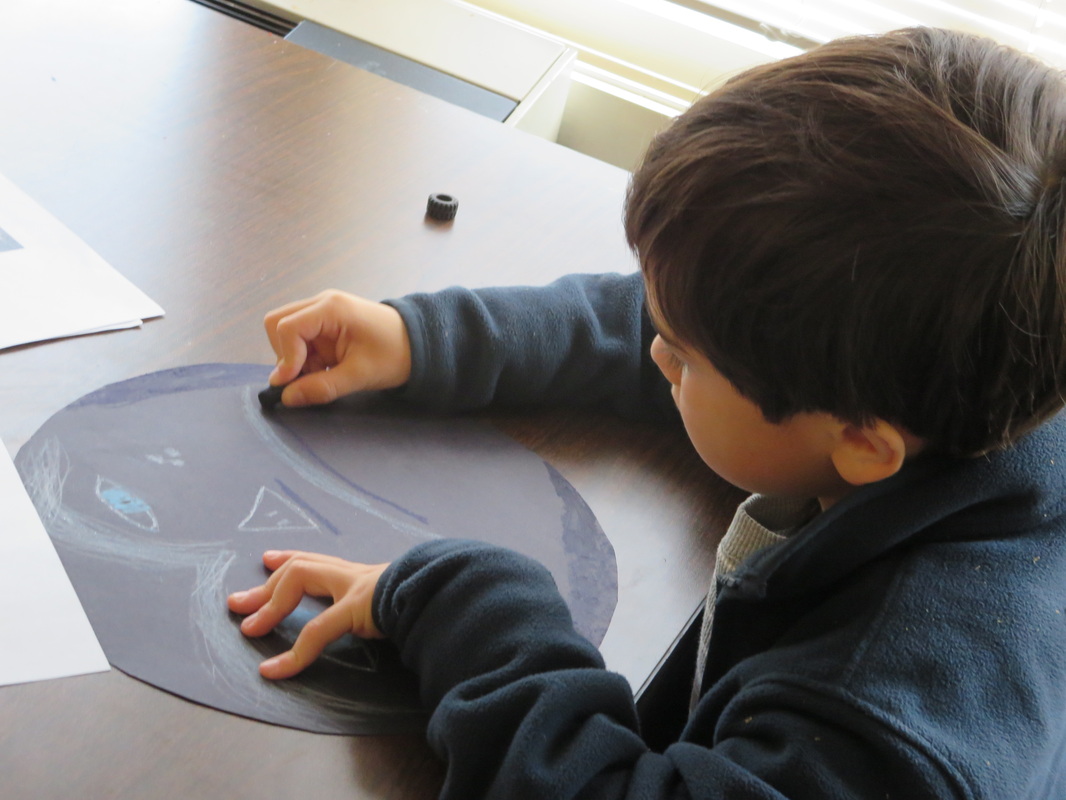
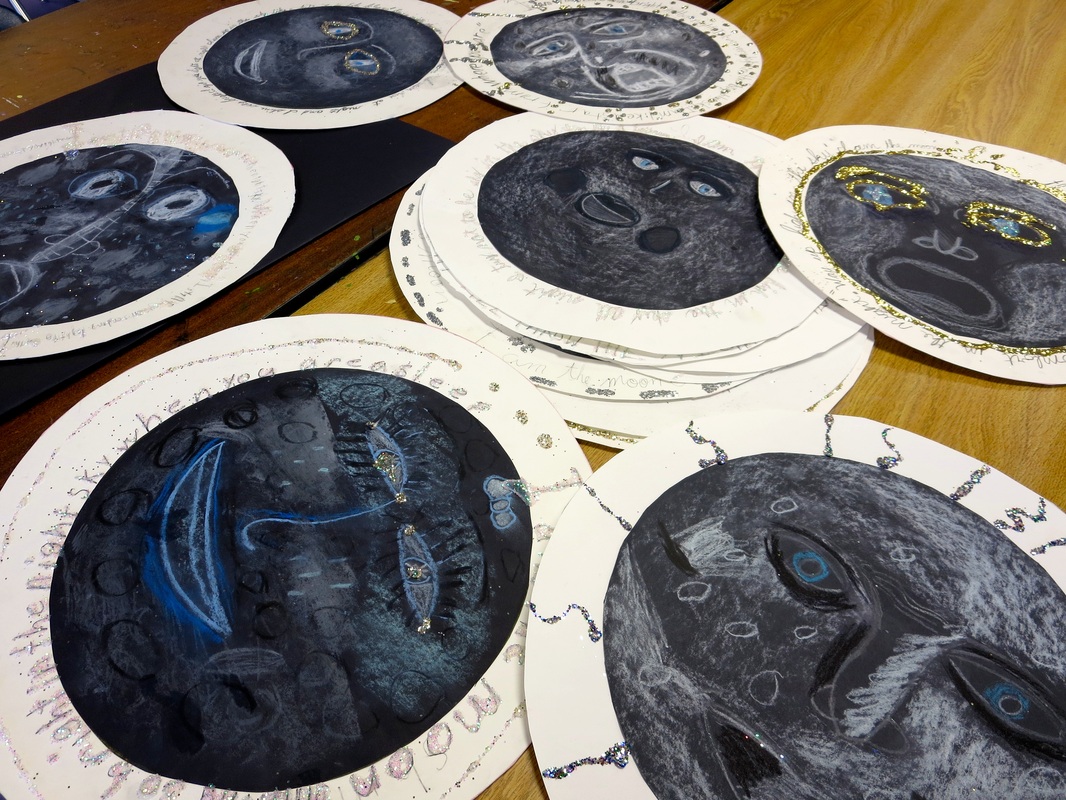
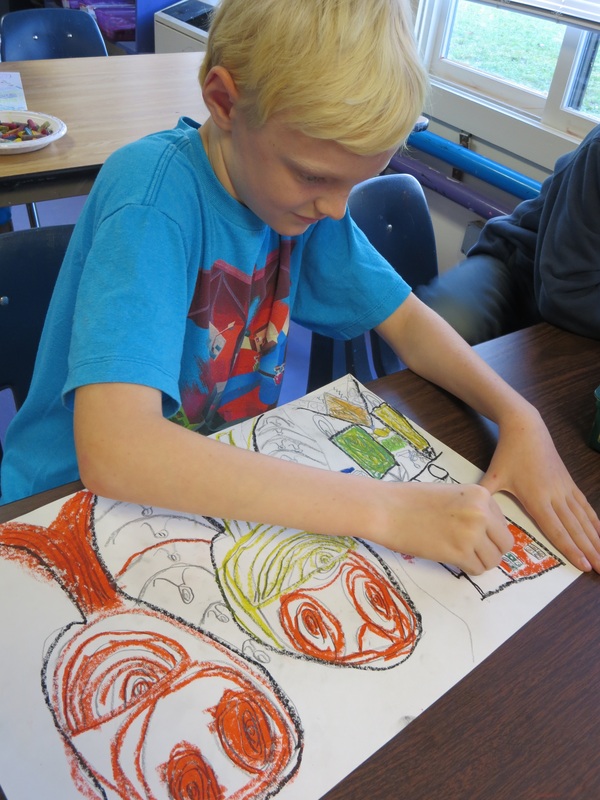
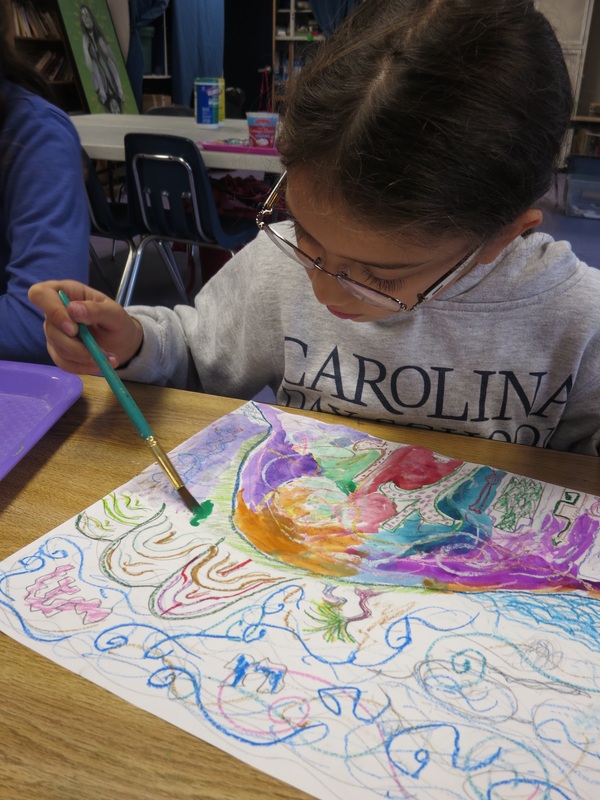
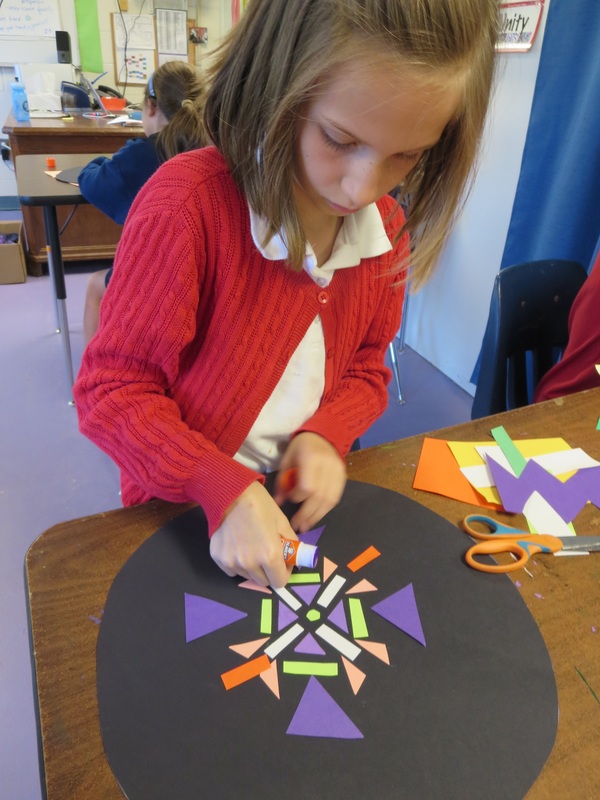
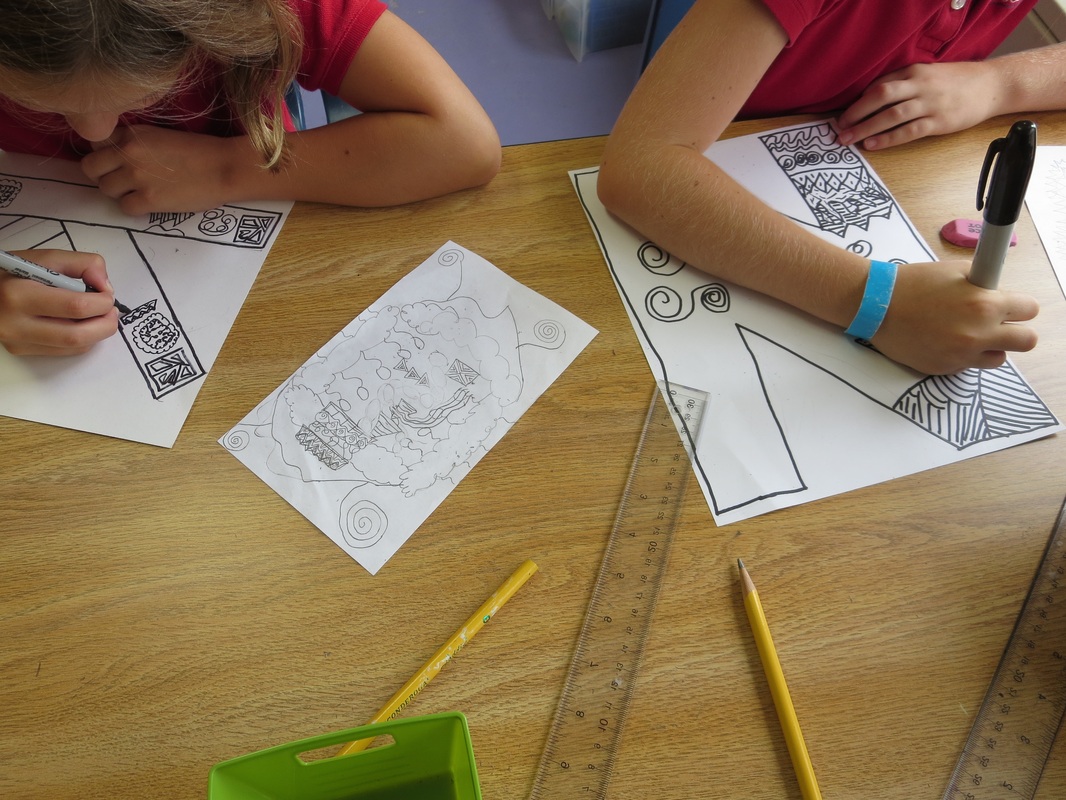
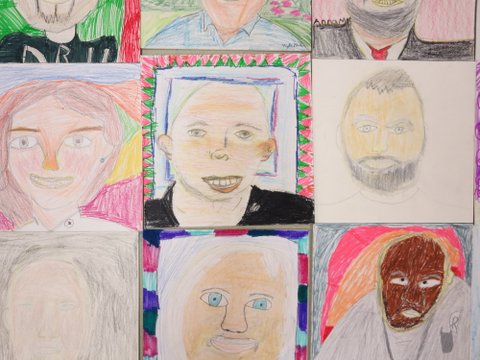
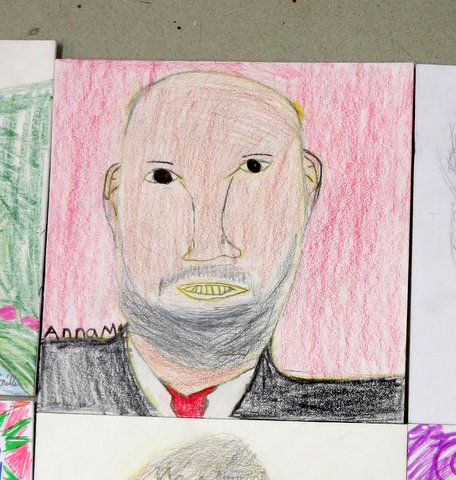
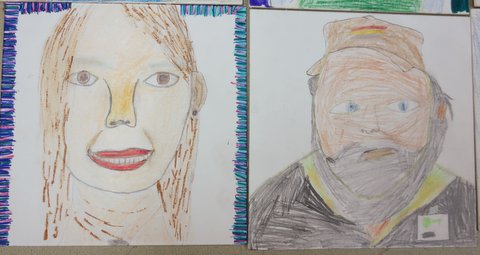
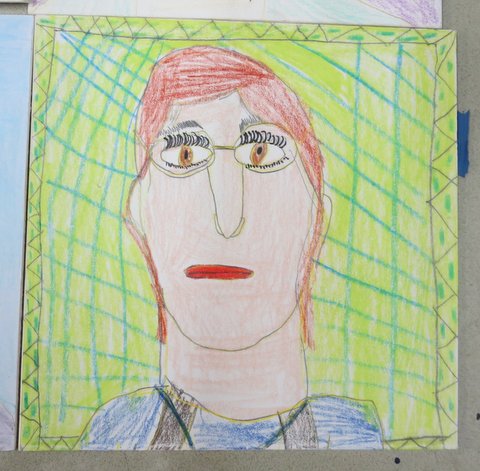
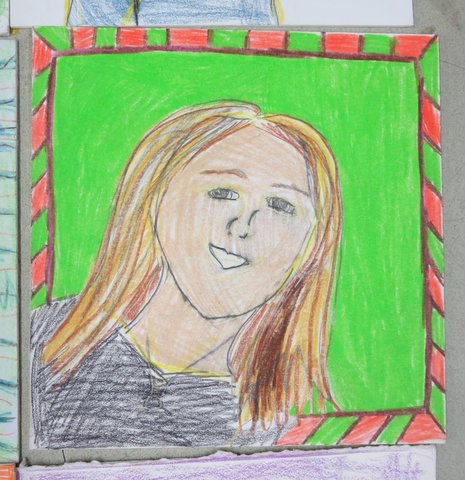
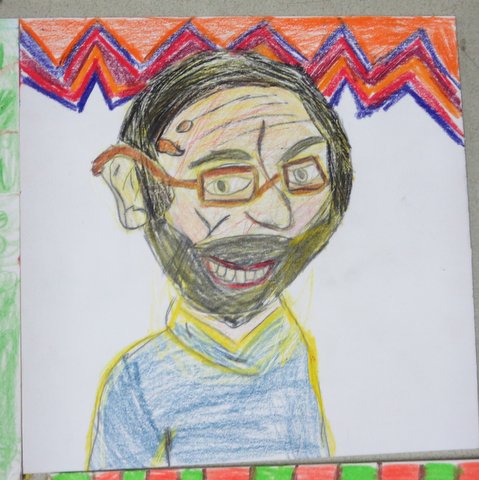
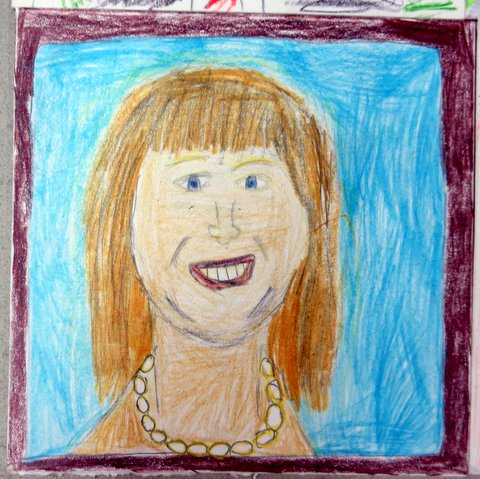
We started this project with mirrors in front of us.  Each student studied themselves in the mirror and drew their bust (head and shoulders) onto their papers.  

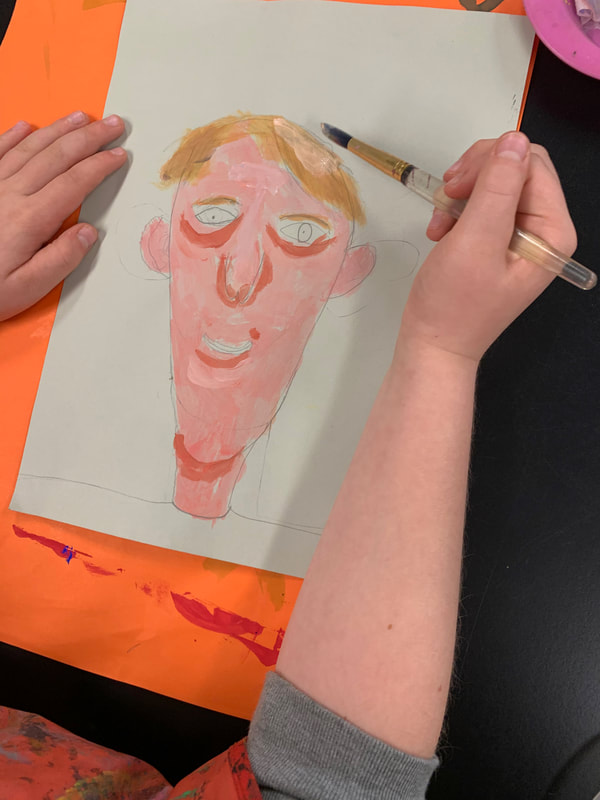
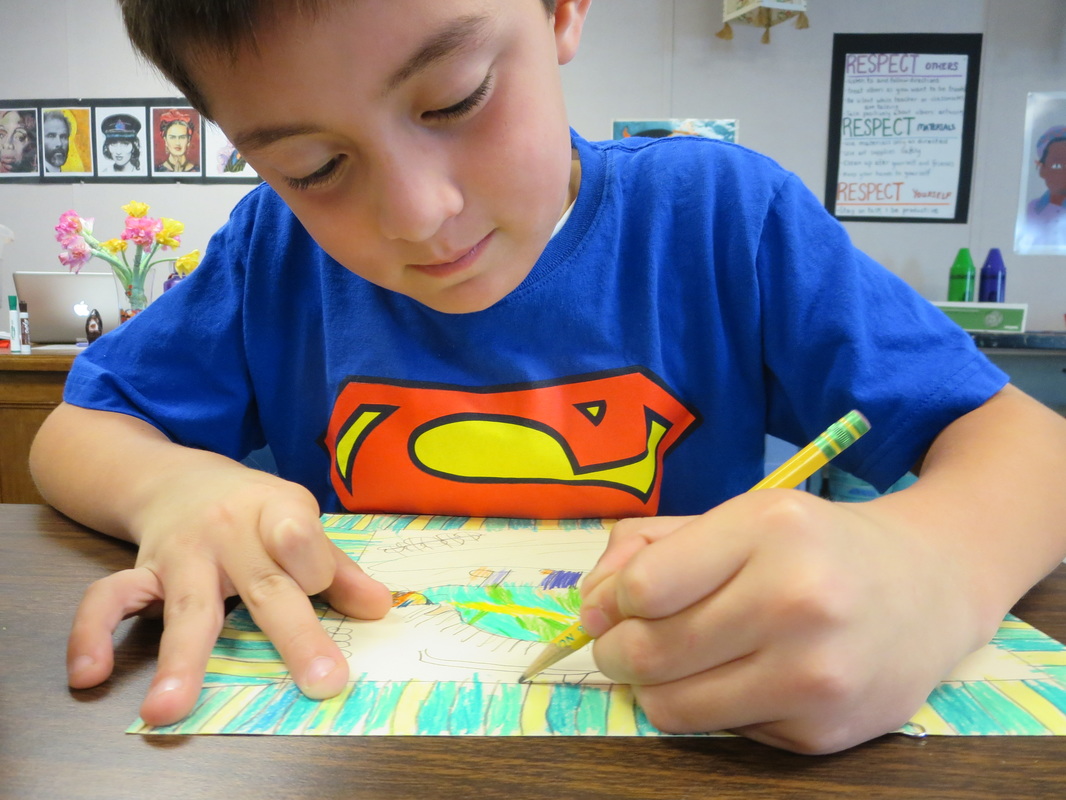
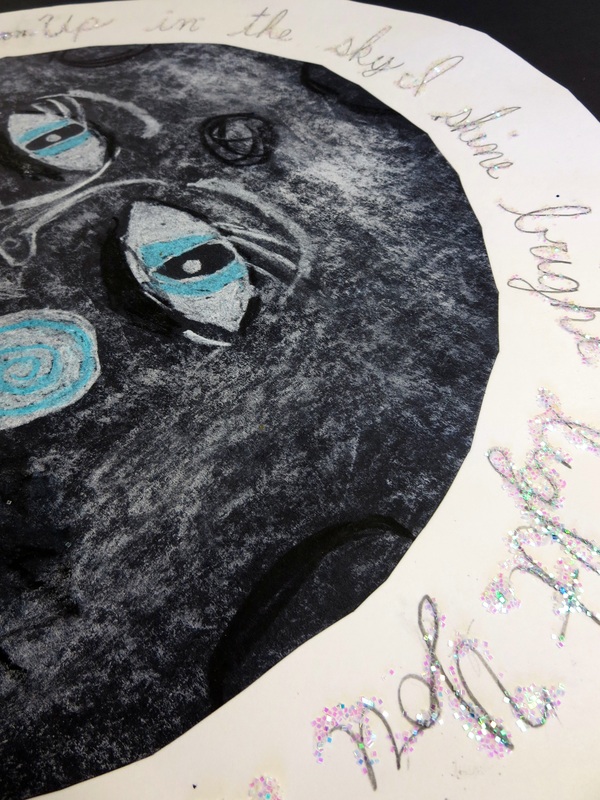
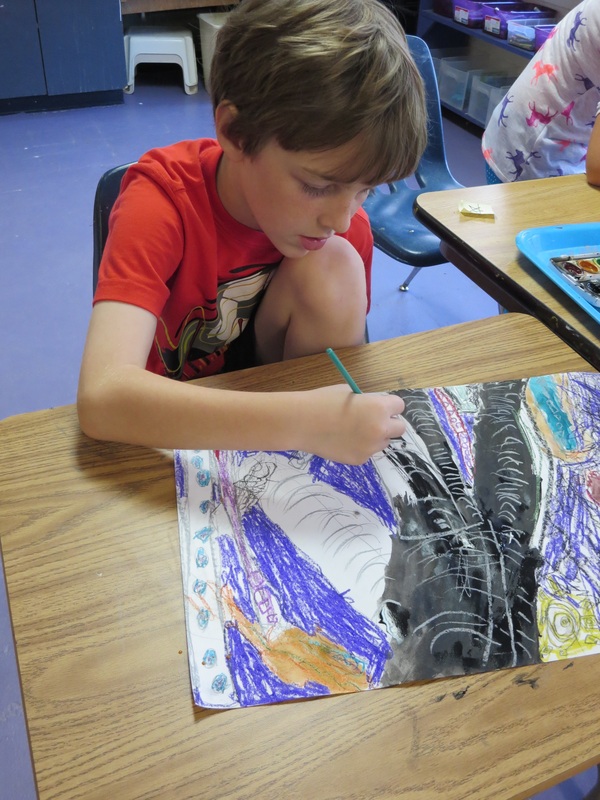
Once we started painting, students started with their skin colors.  After mixing and finding a color that worked, they painted all of their skin on the drawing.  To add highlights and shadows, they used their skin color and added blue and/or black to create shadows and added white and/or yellow for the highlights.  

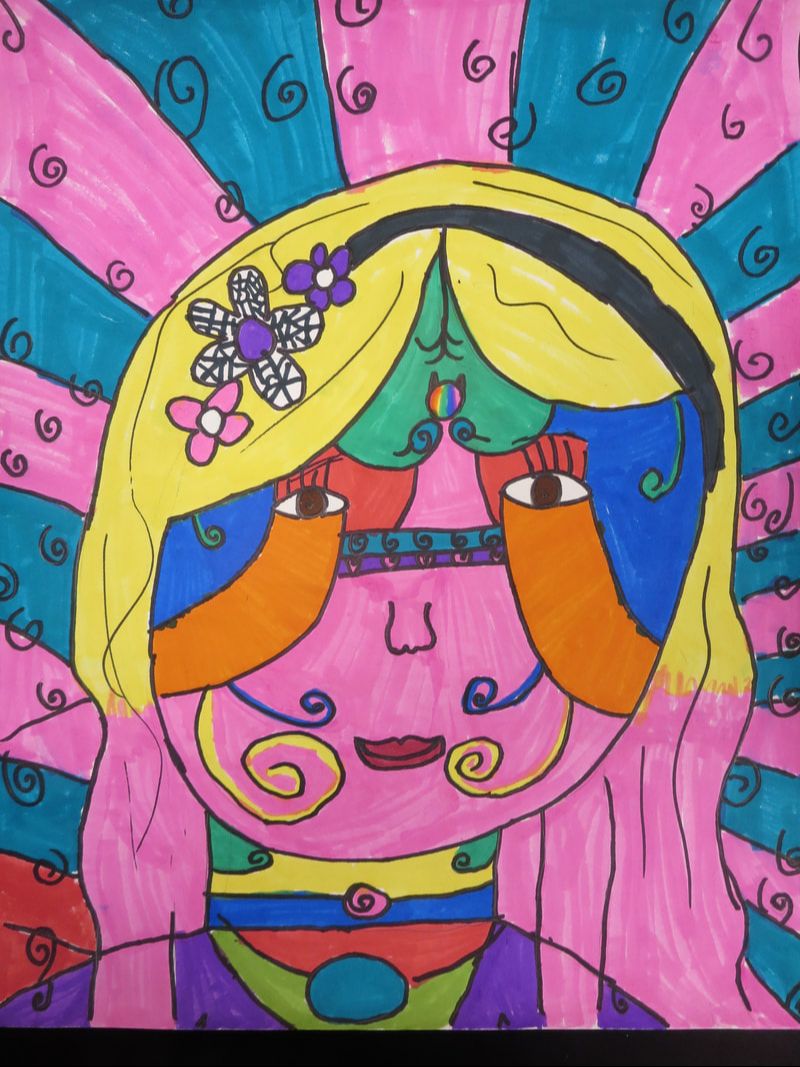
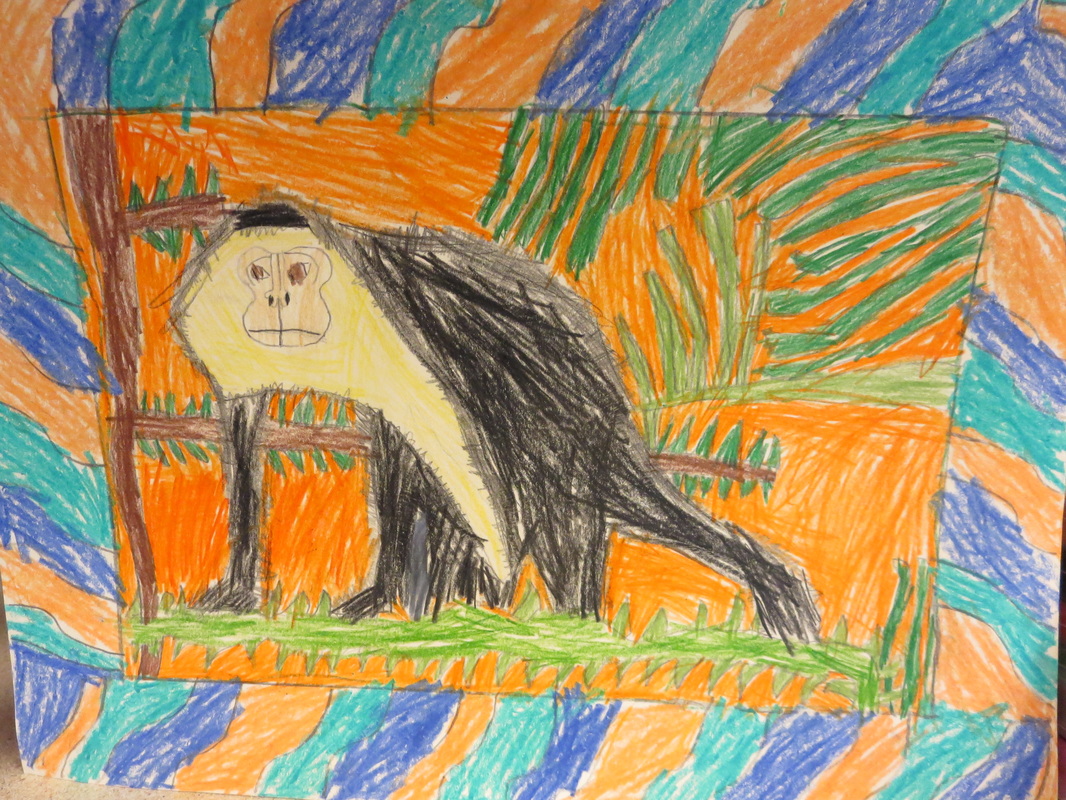
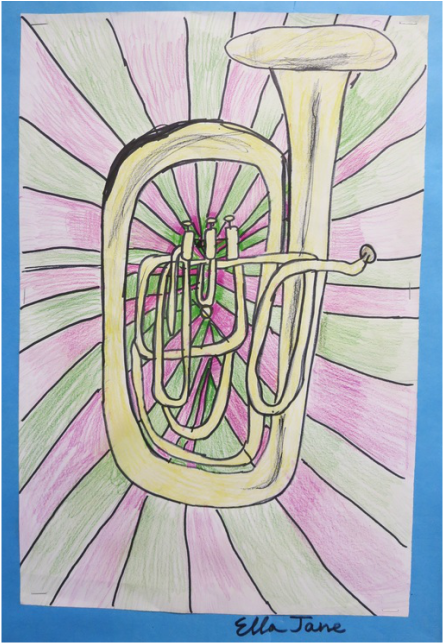
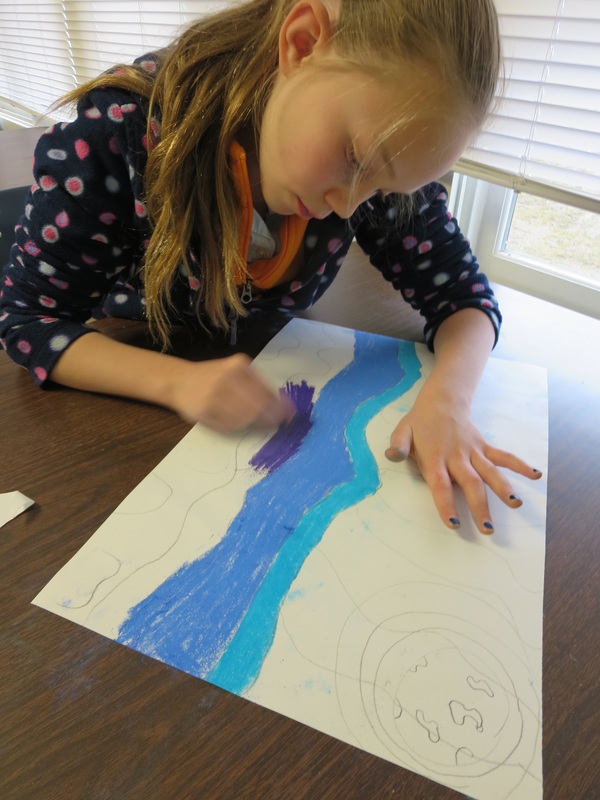
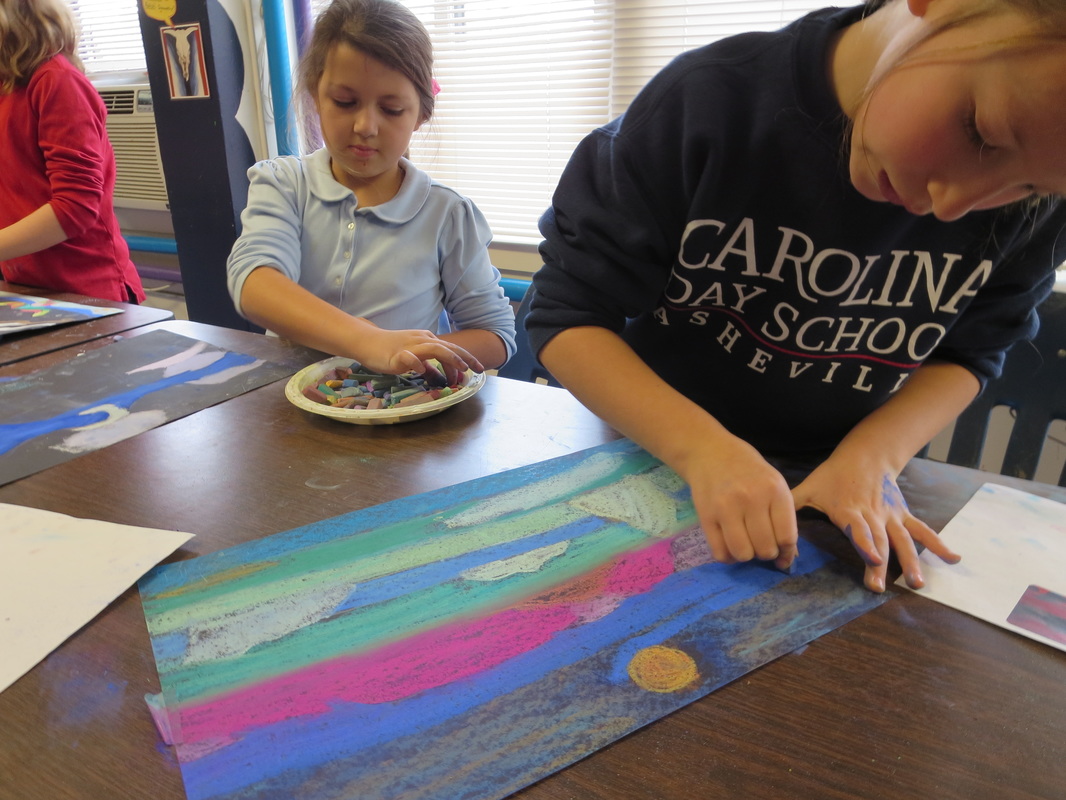
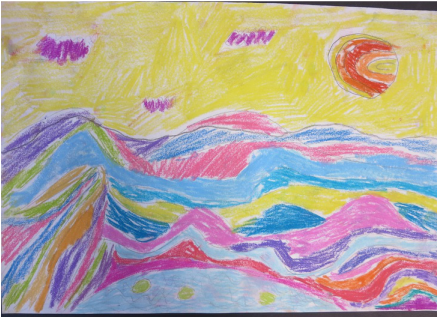
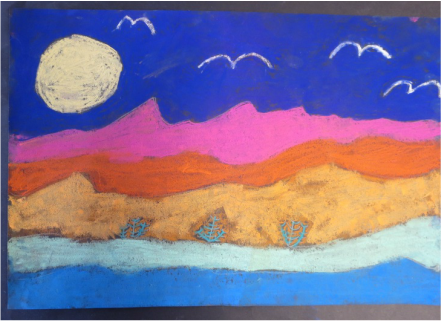
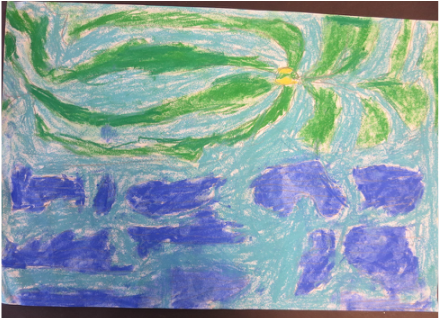
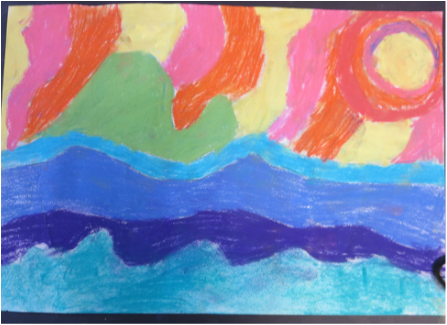
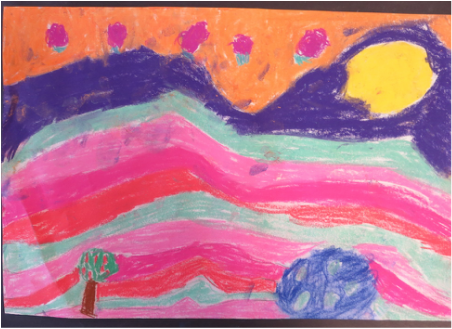
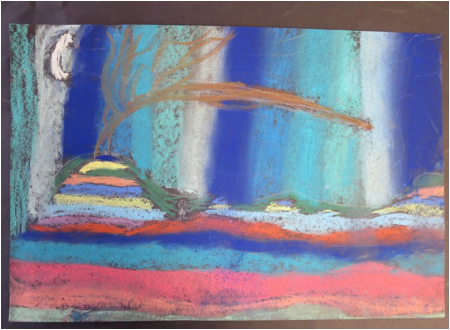
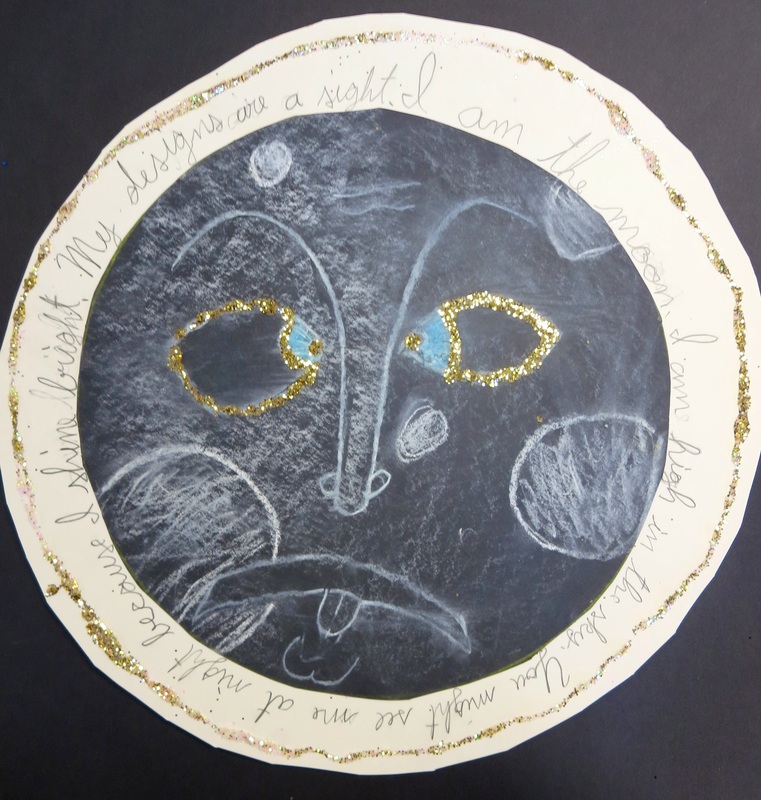
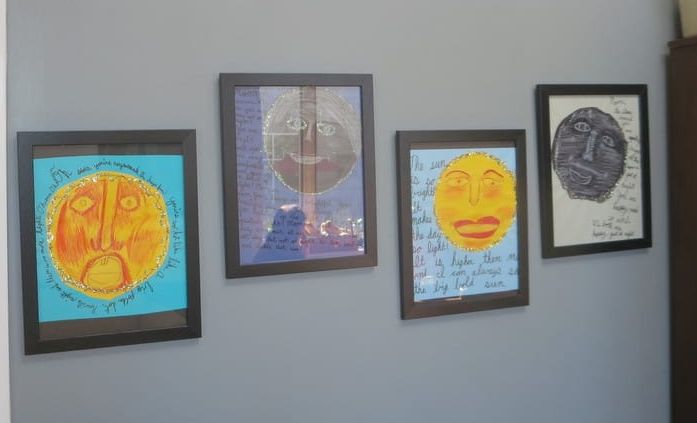
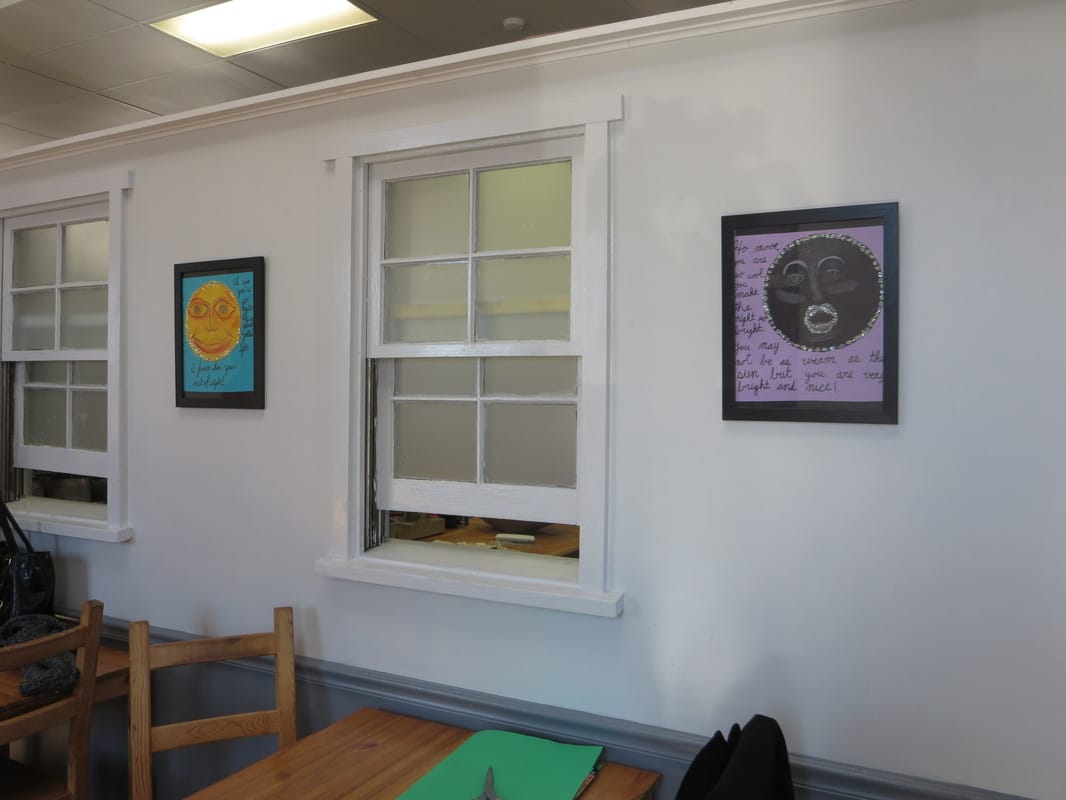
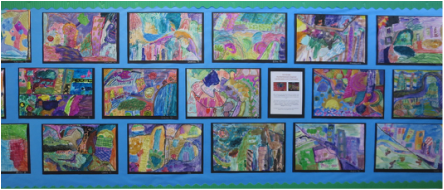
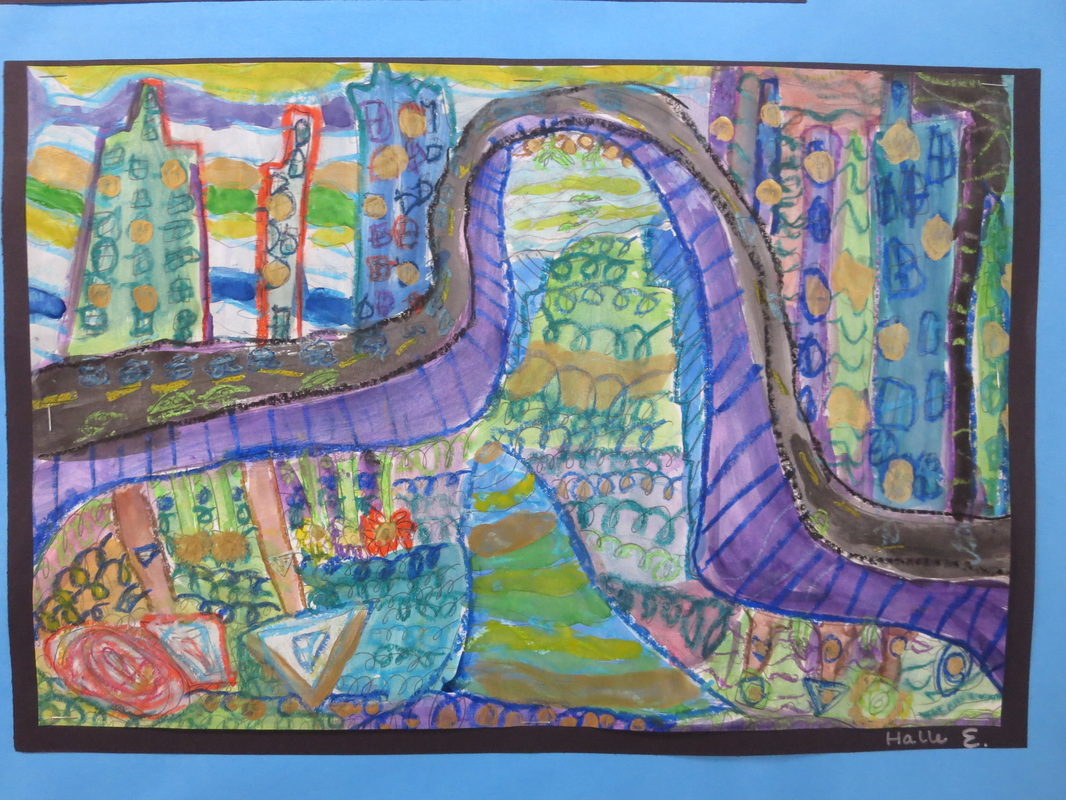
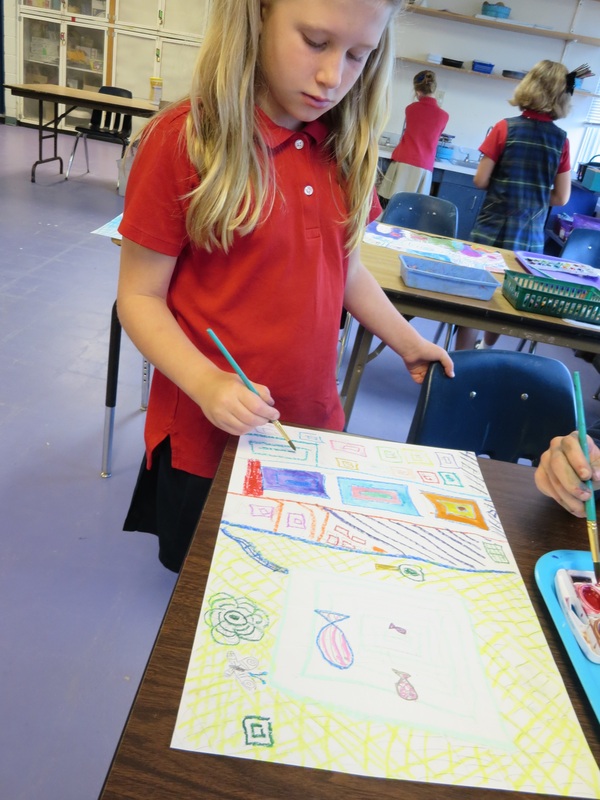
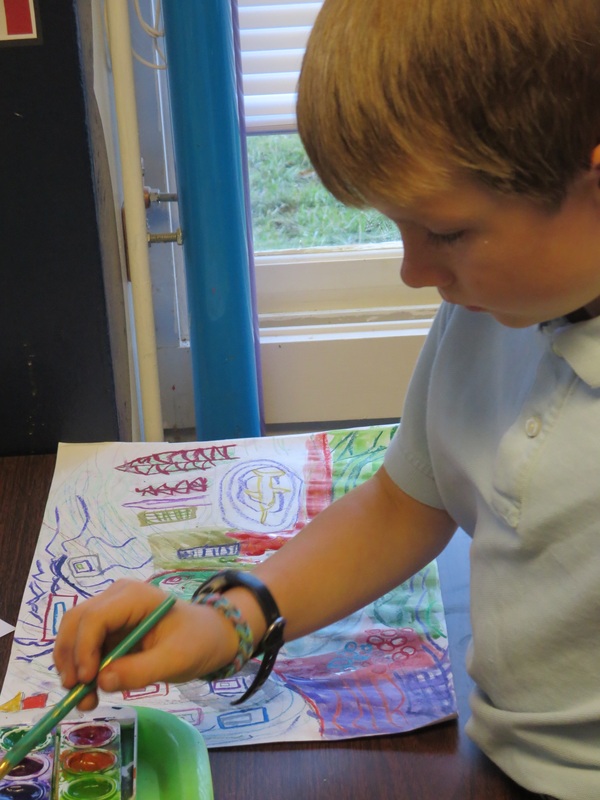
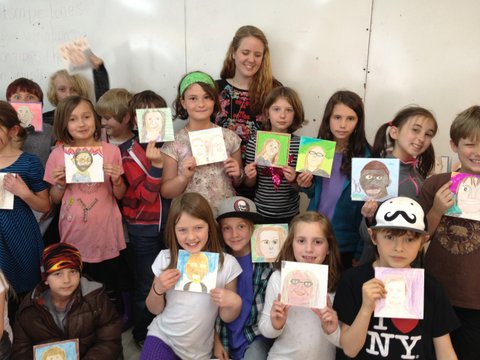
They used this same technique on their hair and shirt as well.  For the background, they had freedom to do whatever they wanted.  The students worked so hard on this project and were so proud of the outcomes.  When teachers and parents walk by the art display in the hallway, they are shocked that the students mixed all of the colors themselves.

​What amazing artists I get to teach!
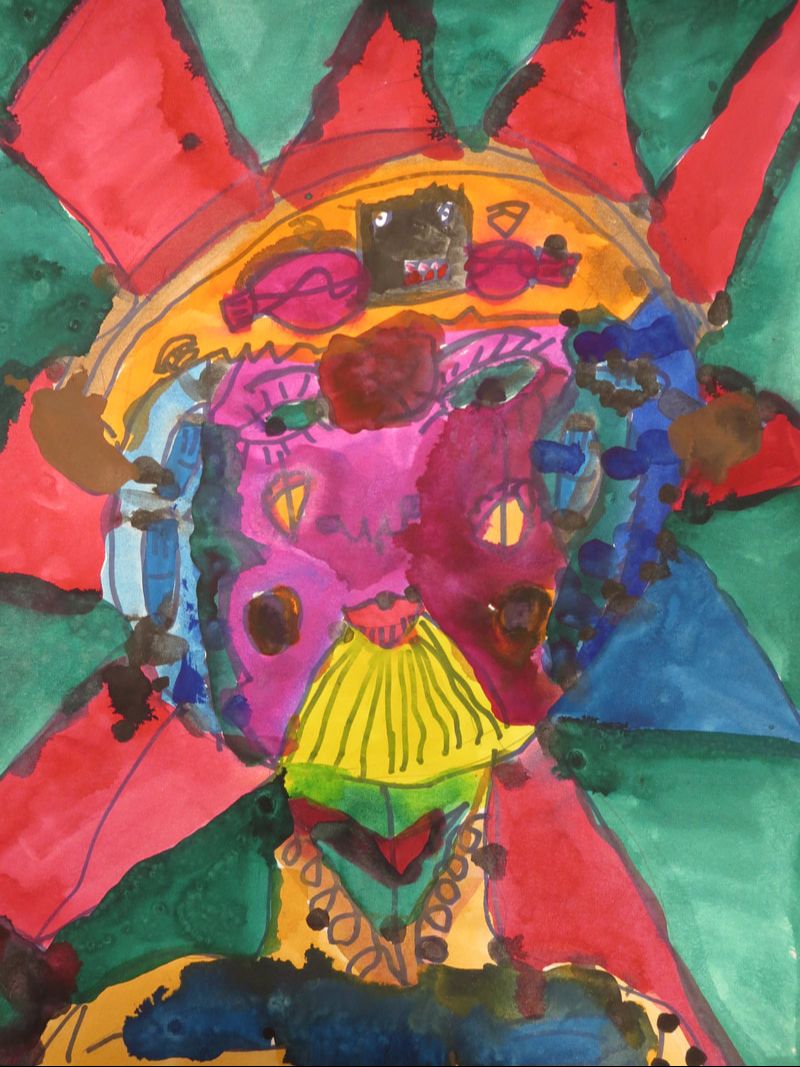
Picture
Picture
Picture
Picture
Picture
Picture
Picture
0 Comments

George Littlechild inspired self-portraits

11/24/2017

0 Comments

 
Picture
I've recently fallen in love with the art of George Littlechild.  He is a Native American artist who uses "bold colours and playful images, belying the serious undertones of his work." (click here to learn more​)  His art speaks of how we view the world and connections to ancestors.  I personally am drawn to his bold, vibrant colors and the almost-not-quite symmetrical decorative designs.  
Picture
Picture
I failed to take any in-progress pictures of my 3rd graders working on their self-portraits inspired by the work of Littlechild but the end results are quite stunning.

We started this lesson, of course, by looking at the work of George Littlechild and having conversations about what we see, what the work might mean, etc.  A few things we took note of was the use of pattern on the faces, the images on the foreheads, and the colorful backgrounds.  
As students planned their self-portrait, they had to think of an image to draw on their foreheads that was a symbol for themselves.  

We revisited the 'rules' of drawing proportionate faces and students began their art with a pencil line drawing of their face and shoulders and then added patterns to their face and the background and added their personal symbol.  They each had the choice of using markers or paints to finish their work.  

3rd graders spent four-five 40 minute class periods working on these masterpieces. 
Picture
Picture
Picture
Picture
Picture
0 Comments

3rd grade radial symmetry collage

1/5/2016

0 Comments

 
Picture
Third grade students have been having fun creating radial symmetrical paper collages in art.  They each began with a 10" circle piece of paper and after watching demonstrations of how to create a radial symmetrical design, students began collaging. For this project, I tried to provide the students with the least about of direction as needed.  I have found with radial symmetry, less is more.  I had each students begin by cutting out a circle or square (any size or color) and glueing that in the middle of the large circle they are using for the background piece.  Next each students must cut out 8 rectangles (again, any size or color) and placed them around the center shape to cut the area into eight similar size areas.  They began by glueing the first two sticking straight up and down from the center shape.  The next two were glued on the sides, creating a plus sign image.  the other four were glued between those to create an X.  From there, students could cut out any color shapes and sizes and glue them down to create an eight-point radial design.
Picture
We spend 5 class periods on this.  The first two are very basic and goes slowly.  The students are learning how to cut out multiple pieces of the same shape/size and glue them down and students are really just understanding how to create a radial symmetrical design.   The last three classes are spent focusing on using shapes of many different sizes and how to use colors together to make interesting patterns and overlapping. I really push overlapping shapes the last class.

I love teaching this project, I find it amazing how complex and beautiful their designs turn out.  This is a project where every single student is successful and feels good about their artwork at the end.
Picture
Picture
Picture
Picture
Picture
0 Comments

3rd grade Rainforest drawings

11/12/2015

0 Comments

 
Picture
3rd grade students have been studying biomes in science class.  The major types of biomes are split up into five categories: aquatic, forests, desserts, grasslands, tundra.  Later in the year 3rd graders will do a fish art project and for this project, we focused on rainforests.  

​I introduced the students to the artwork by artist Henri Rousseau.  
Henri Rousseau was a post-impressionist painter in France.  Although he did many types of paintings, he is well-known for his works of jungle animals. 
Here are a few images of his work:
Picture
Picture
 After looking at and discussing Rousseau's artwork, 3rd graders began their own art work inspired by the rainforest.

​​Students began by creating a colorful border of repetitive shapes and colors using construction paper crayons to have an interesting border for their drawings.  
​Next, each student selected a photograph of a rainforest animal and challenged themselves to do a realistic drawing of it.  This was a tough drawing challenge and the students did an awesome job of showing perseverance.  The students focused on the shapes, colors, and texture of the animal.  They used colored pencils for this.
Picture
Picture
Picture
To fill in the background space, students really focused on using the style of Rousseau to create repetitive patterns of plants and leaves using many different shades of green.  They used a contrasting color to fill in any 'empty space'.  

​These drawings turned out amazing.  I want to take them all home and hang them on my walls forever....
Picture
Picture
Picture
Picture
Picture
Picture
0 Comments

3rd grade contour line instruments

2/27/2015

0 Comments

 
Picture
Picture
Picture
Picture
Picture
Picture
Picture
Picture
Picture
Picture
Picture
Picture
0 Comments

3rd grade Ted Harrison landscapes

2/26/2015

0 Comments

 
Picture
We began this lesson by looking at the artwork of artist Ted Harrison.  Harrison created vibrant, colorful landscapes.  We discussed mostly color and the horizon line.  Harrison uses different color blocks to break up space and gives it a sort of whimsical or mysterious quality.  

Picture
Picture
This was a 3-day project.  The first day was spent looking at and discussing Harrison's work as well as drawing the lines on their paper with pencil.  Students started with the horizon line and added more lines to separate the space.  Students had to decide if they wanted to draw a forest, a desert, ocean, etc.  One class did this project on white paper, the other on black.  
The second and third classes were spent using chalk pastels to really fill in the space with vivid color.  They were urged to push hard with the pastel and take their time getting the color nice and bright.  Most students enjoyed the pastels and got very messy.  Others (like myself) really disliked the feeling of the chalk pastels on their skin.  I allowed those students to use oil pastels instead.
This was a pretty quick project that overall the students enjoyed.  It was definitely the most messy project we've done so far this year!
Picture
Picture
Picture
Picture
Picture
Picture
Picture
Picture
Picture
Picture
Picture
0 Comments

3rd grade double fish project

2/19/2015

7 Comments

 
Picture
3rd grade students did two fish projects using totally different materials. 

 The first were clay slab fish.  To make these, each student started with a slab of clay and they had to cut the clay into different shapes and layer to make a fish.  Adding texture using different materials and techniques was the focus during this process.  Students used texture plates, knives, forks, stamps, marker tops, etc to do this.  After the fish were fired in the kiln, we used an oil pastel resist method to add color to the fish.  They started by using oil pastels to cover the fish in bright colors.  After the fish was nice and colorful, we used watered down acrylic paint to completely cover the fish.  When rinsed under water, the oil pastels show through and the paint covers the areas that were not colored.  These turned out AMAZING.  
Picture
Picture
Picture
For the second fish project, 3rd graders selected a photo of a fish that they liked.  They tried their best to use observation skills and create a life-like fish drawing.  They began by drawing the outline with pencil and moved on to use oil pastels.  Rather than covering the whole fish with the pastels like they did on the clay, they just drew the outlines and textures such as scales, stripes, etc.  After the oil pastel, students used watercolor paints-plain and neon-the create the most realistic fish possible.  Students had to focus on showing highlights and shadows seen in their fish image and tried to really capture the different colors seen in the photograph.  After these were all done, I spent time cutting them all out and hanging them in the hallway to create a fun underwater scene. These turned out really amazing as well.  Definitely a project that I will continue in future years.
Picture
Picture
Picture
Picture
7 Comments

3rd grade moon faces

12/15/2014

1 Comment

 
Picture
This is a lesson from my amazing friend Mary Ann whom I student taught with at Evergreen Community Charter School.  I observed her teaching this to her third graders last year and fell in love with the project.

As my 3rd grade students this year were learning about astronomy, I decided that there would be no better time to teach this super fun project.  I love this project because the end result is amazing.   Also, there is glitter.  And I love glitter.

Step 1.  Students cut out large black circle.
Step 2.  Students look at images of the six basic human emotions, moonscapes, and fun moon face art found online.
Step 3.  Students use white oil and chalk pastels, black oil and chalk pastels and a few extra colors thrown in for the mix (browns, blues, etc) to draw a large face on their moon.  They must select on the the six emotions to try to capture.
Step 4.  We talk about highlights and shadows.  They use the white and light colors to create highlights, dark for shadows.  A few students understood this concept right away, other really struggled to understand.  
Step 5. Add moon characteristics such as craters and clouds.  Using the long side of chalk pastel to rub over surface creates nice shadows and clouds.
Step 6.  Cut out large white circle to glue behind moon face.
***Step 7.  Write a poem about the moon beginning with the words "I am the moon" (this was my favorite part)
Step 8.  Copy poem on white circular paper.
Step 9.  Use glue to add glitter to white circle or around moon eyes.
Step 10.  Be super excited about how adorable or funny moon is!


Picture
Picture
Picture
Picture
"I am the moon.  I am high in the sky.  You might see me at night because I shine bright.  My designs are a sight."
Picture
"I am the moon up in the sky I shine bright light.  You can see me every night.  I stay up when you are asleep."
Picture
Picture
"I am the moon glowing bright, your comfort in the night.  Way up high in the sky, I am the moon."
Picture
"I am the moon I'm high in the sky, I am sometimes shy.  I am very happy in the sky, I am the night, I shine bright."
Picture
"I am the moon I hover over planets and when it is dark I light the night so bright.  I am the moon"


::EDIT::

When I taught this lesson again, I switched it up a bit.  The students each did both a moon and a sun!  Each had a different facial expression/emotion.  They posted the faces onto a background paper and each student wrote a poem to go along with the moon and sun.  
​
Some of these finished pieces were selected to be on display at 67 Biltmore Cafe in downtown Asheville.

Picture
Picture
Picture
Picture
1 Comment

3rd grade Hundertwasser land and cityscapes

11/1/2014

0 Comments

 
Picture
Picture
The third grade class spent about 30 minutes looking at and discussing the artwork of Friedrich Hundertwasser.  The reactions were quite amusing, the students seemed surprised by the intensity of color and pattern created by the Austrian artist.  Hundertwasser is one of my top ten favorite painters so I love talking with my students about his work.  

We began this project by separating the paper into two sections and in one, used oil pastels to draw a landscape.  In the other, a cityscape.  The drawing focus was on using concentric circles and shapes, repetitive patterning, background patterns and bright colors.

After the space was very filled with oil pastel drawings, the students used watercolor paints to finish the artwork.

I love how colorful and vibrant these turned out.  The students worked very hard for 5-6 class periods to finish, I am so proud!
Picture
Picture
Picture
Picture
Picture
Picture
Picture
Picture
Picture
Picture
Picture
Picture
0 Comments

October 15th, 2014

10/9/2014

0 Comments

 
Picture
Picture
Picture
Picture
Picture
Picture
Picture
Picture
Picture
Picture
Picture
0 Comments

3rd grade "doodle Art" letters

9/29/2014

0 Comments

 
Picture
The third grade students started out the year by learning how to create decorative patterns by repeating shapes.  The students practiced making these patterns, which we called "doodle art" by drawing at least four of the same shape, such as four squares, then adding the same detail to each square to create an interesting repetitive pattern.
Picture
After practicing this technique and creating at least 6 unique patterns, the students drew a large bubble letter of the first letter of their first name.  We discussed positive and negative space and the students had to decide whether to fill the inside or outside of their letter with doodles and which area became positive and negative space.  Using sharpies, the third graders filled the space with these 'doodle art' patterns that they had created.

Picture
Picture
Picture
Once the area was filled with doodle art, the students selected four colors and used colored pencil to fill in the doodles.
Picture
Picture
Picture
Picture
Picture
0 Comments

student teaching at evergreen            3rd grade portraits

3/24/2014

0 Comments

 
Picture
I collaborated with third grade teachers to plan this lesson for 3rd grade students.  The students have each selected a local hero to meet, interview, and report on/do a presentation for a school exhibition night.  I helped the students to draw portraits of their hero.  It was a fun project, at times nerve-racking, but overall fun.  I was really proud of the students and their drawings!

Picture
Picture
Picture
Picture
Picture
Picture
Picture
Picture
Picture
Picture
Picture
0 Comments

student teaching at evergreen          3rd Grade Folk Art Birds

3/9/2014

0 Comments

 
Last week, the third grade students finished their Folk Art birds project.  Before beginning, I introduced the students to the term "Folk Art" and showed them local folk artists work.  
"Cornbread" is quite the well known local artist.  He does really fun, colorful bird and fish paintings.  The students really enjoyed his work.
http://www.jtfolkart.com/artist/john-cornbread-anderson/
Picture
I also showed the students artwork by Kent Ambler.  http://www.kentambler.net/
Picture
As the students viewed the bird artwork by local folk artists, I pointed out the simplicity of shape used to create the birds bodies and talked about how these were not realism but are more fun, free and expressive.

The Folk Birds that the students did were really cute and some are quite funny! 

Process:
1. Cut paper bag into long strip.
2. Using chalk pastel, draw three large connected squares to break up area into three.
3.  Draw large, very basic shapes for bird bodies.
4.  Using tempera cakes, paint inside bird body shape, do multiple layers if necessary for opacity.
5. Using a contrasting color, paint the inside of square shape surrounding the bird.
6. Use chalk pastel to add details of beak, eyes, feet, wings and tail.
7. Use chalk pastel to create pattern design behind bird.
8. Use chalk pastel to create border pattern.


Picture
Picture
Picture
Picture
Picture
Picture
After the projects were completed, a family member of one of the 3rd grade students was inspired by the project and did her own take on Folk Art Birds. Instead of using paint and chalk pastels, she used hand-dyed fabric and sewing instead! How cool!
Picture
3rd grade Folk Art Birds Lesson Plan


Overview
3rd grade
3-4 days
Students will observe local folk art and create unique multi-media art of birds.

NC Essential Standards
3.V.1.1 Use art vocabulary, including specific artistic terms. 3.V.1.4 Understand characteristics of the Elements of Art, including lines, shapes, colors, textures, form, space, and value.

3.V.3.2 Use a variety of media with refined skills. 
3.CX.1.1 Exemplify how visual arts are used by various groups for artistic expression within the local community. 
3.CX.1.3 Classify artists, styles, and movements. 
3.CX.1.5 Use local, natural, or recycled resources to create art.

Materials
Used paper grocery bag, chalk pastels, tempera cakes

Art Vocabulary
Folk Art, lines, shapes, colors, Kent Ambler, "Cornbread", contrast


0 Comments

    Author

    Annie Monaghan.
    Art lover.
    Art creator.
    Art teacher.

    RSS Feed

    Categories

    All
    1st Grade
    2nd Grade
    3rd Grade
    4th Grade
    5th Grade
    Abstract
    Art History
    Art Videos
    Auction
    Batik
    Cardboard
    Chalk Pastel
    Clay
    Collaboration
    Collage
    Colored Pencil
    Color Wheel
    Contour Lines
    Drawing
    Highlights And Shadows
    Kindergarten
    Landscape
    Mural
    Names
    Notan
    Observational Drawing
    Oil Pastel
    Online Art
    Origami
    Paint
    Painting
    Papier Mâché
    Patterns
    Portraits
    Pre K
    Printmaking
    Relief Sculpture
    Remote Art
    Remote Learning
    Sculpture
    Self Portrait
    Self-portrait
    Sewing
    Shapes
    Sharpies
    Still-life
    Symmetry
    Texture
    Tissue Paper
    Warm And Cool Colors
    Watercolor
    Weaving

Powered by Create your own unique website with customizable templates.