Notan basically means the balance of lightness and darkness. It is traditionally a Japanese art done with 2-D mediums such as painting, ink, printmaking or paper cutting.
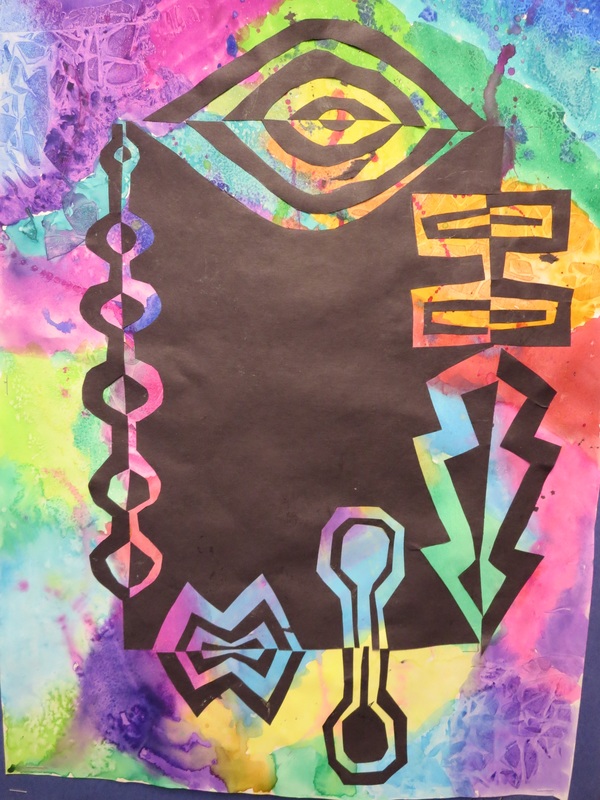
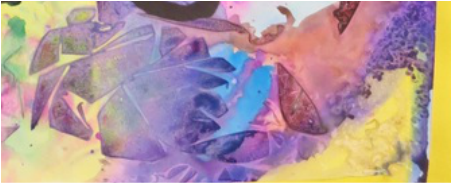
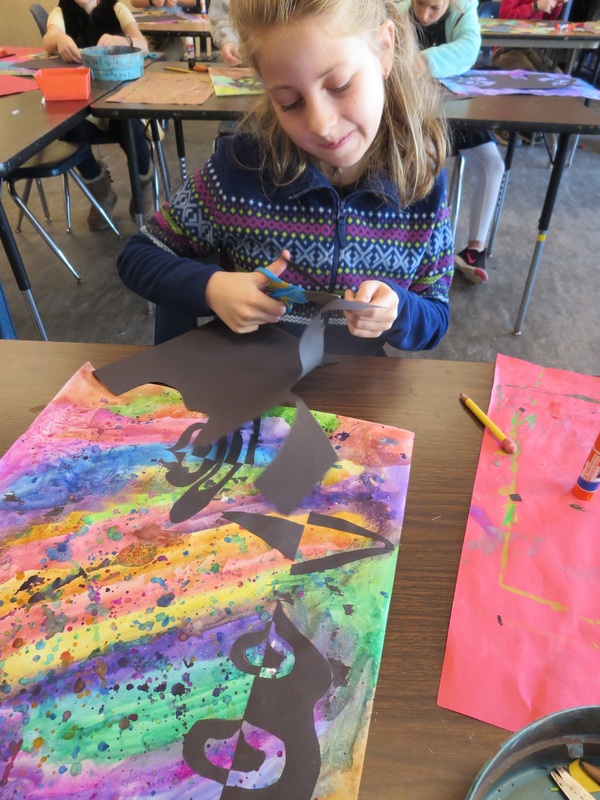
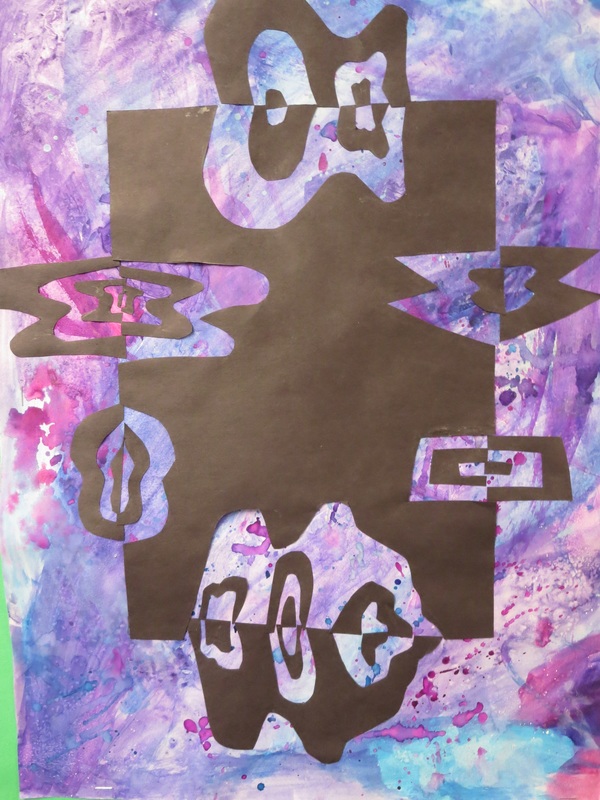
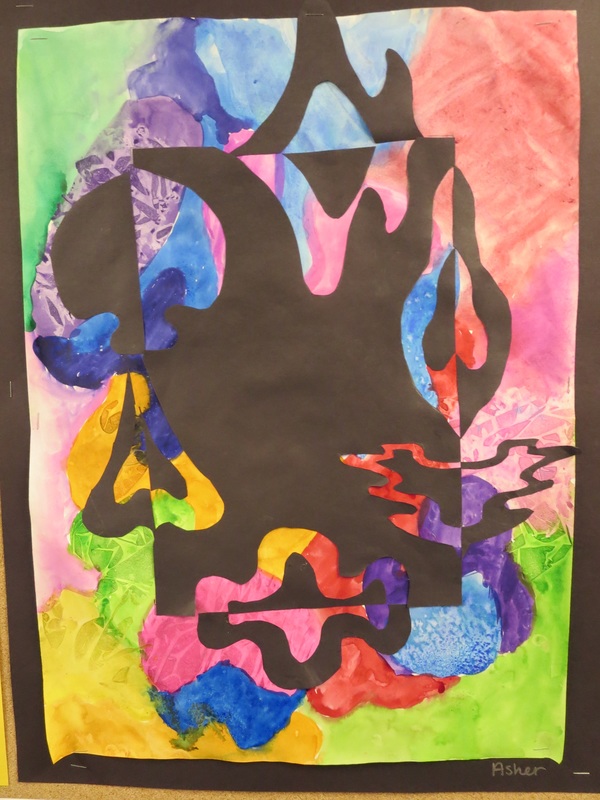
The 4th graders created these beautiful Notans by blending the art of watercolor painting and paper cutting. To begin, each student had a very large sheet of white paper and we spent two class periods experieenting with different techniques of using watercolor paints. We tried splatter painting, we sprinkled salt on wet paint and let it dry before rubbing it off, and we put crinkled plastic wrap over wet paint and let it dry. These techniques each create a different effect. Students could use any color palette they wanted. Some used all cool colors, others went for rainbow colors and others more of a woodsy camouflage palette.
The first day or practicing Notans, I really pushed students to work slowly and follow my directions very closely. I will try my best to describe the process that we used here.
1. Beginning with one 8"x10" piece of white paper and another 5"x7" piece of black paper, center the black paper in the middle of the white paper.
2. Using a pencil, draw corner tab marks around all four corners of black paper.
3. Draw an X on the back side of the black paper, this is to know that the side with the X is always the back side, the side facing down.
4. Along the edge of the black paper (side with NO X) draw a very simple shape (a half circle is a great start) and draw a small X on it.
5. Cut out the shape.
6. Line the black sheet of paper up with corner tabs, the X should be facing down.
7. Using a glue stick, put glue on the cut out shape. Make sure that you glue the side that you drew the X on. If you glue the wrong side, this does not work.
8. With the black sheet lined up with tabs, put your cut out shape back into it's original place (like a puzzle). Now the X on the cut out shape should be facing up and have glue on it. Flip the cut out shape over like a door hinge.
9. Repeat steps 1-8 along all edges of black paper.
10. When all edges have shapes cut out and glued down, take large black sheet of paper, turn over and cover the side with the X on it with glue. Flip over so X is facing down and line up with corner tabs and glue down.
----------
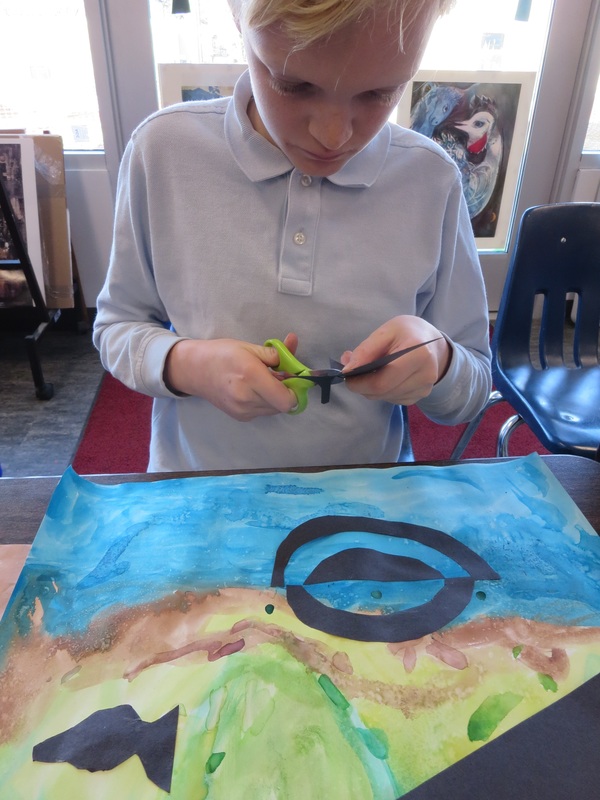
The next class period, we did another practice Notan using the same steps above except I had students try this with more complex shapes and cutting shapes inside of their shapes. I gave some specific instruction to those who needed it but mostly let students figure it out on their own the second practice day.
----------
Finally, we spent the next two class periods doing their final piece. We used a large sheet of black paper and students followed all of these steps to create a Notan on top of their watercolor paintings.
-practice, practice, practice
-drawing the X on back side of black paper to remember that that was the back side.
-drawing the corner tabs
These Notans turned out amazing and I was blown away by the amount of attention to detail that students put into this project. These 4th graders should really be proud of themselves!

 RSS Feed
