Annie Monaghan's Art Room
  • Home
  • Elementary Art
  • Middle School Art
  • Camp projects
  • Lesson Plans
  • About Me
  • My Artwork
  • Art is everywhere!
  • Contact me
  • Professional

Pre-K Rainbow art

10/15/2019

0 Comments

 
Picture
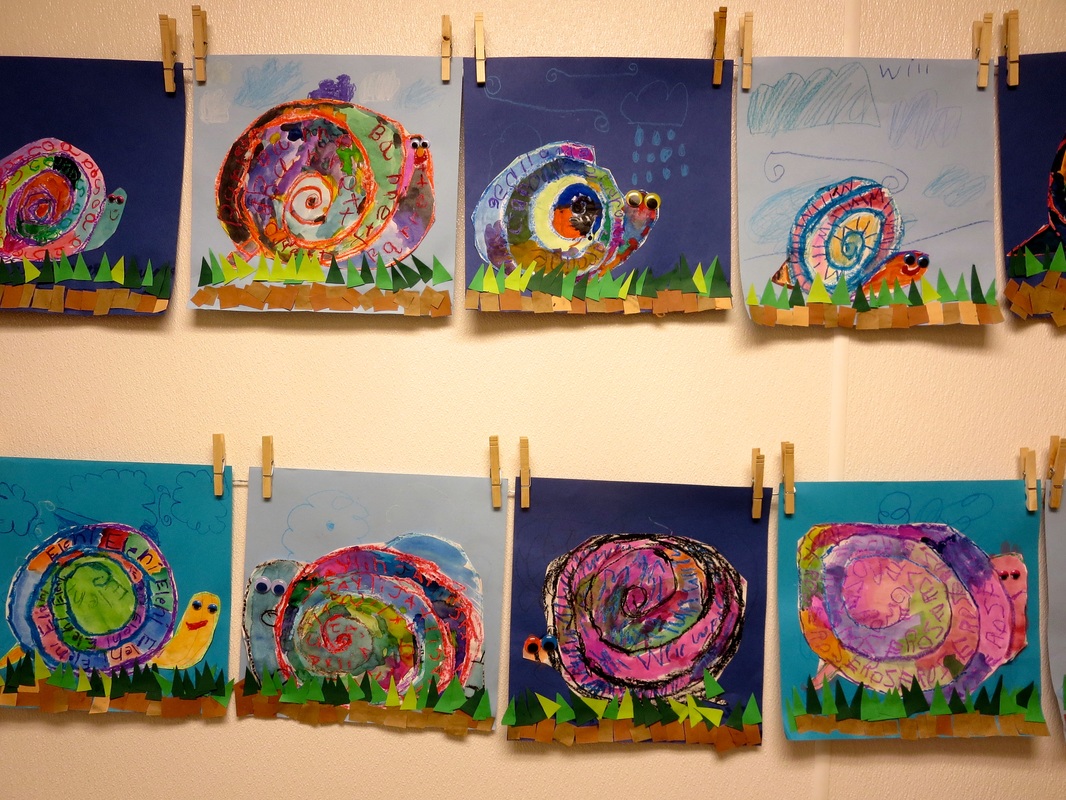
I like to spend most of my time with Pre-K artists doing stations where they move around the room spending around 5 minutes at each table.  When we do this, the students practice things like cutting, glueing, building, drawings, etc.  Although the art stations are very age-appropriate and engaging for them, I like to mix it up sometimes and do some more concrete art projects that they can take home once in a while!

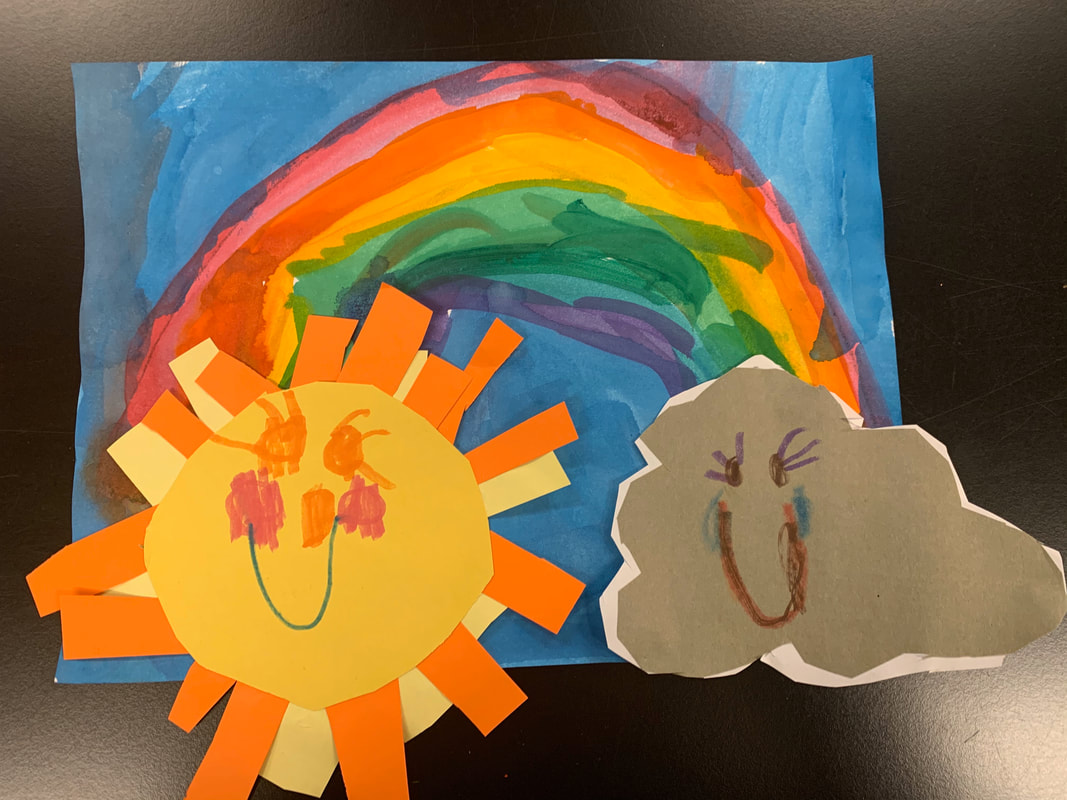
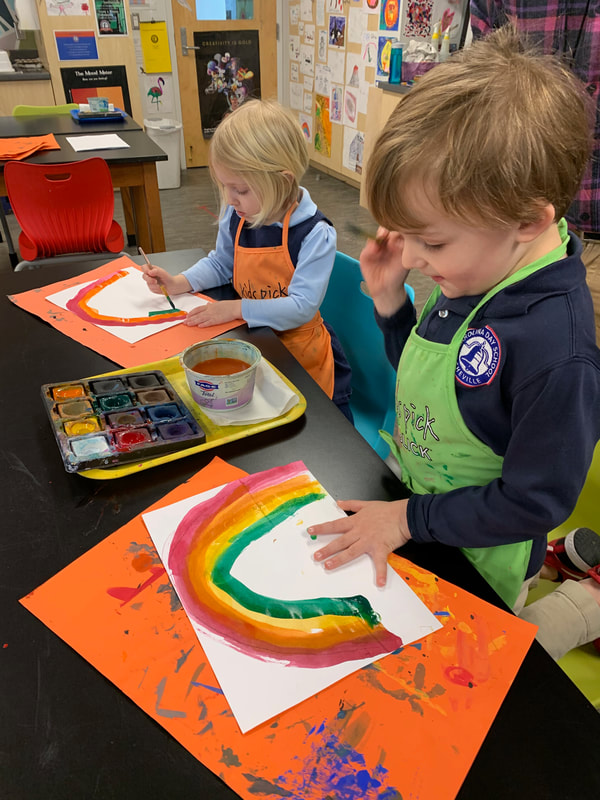
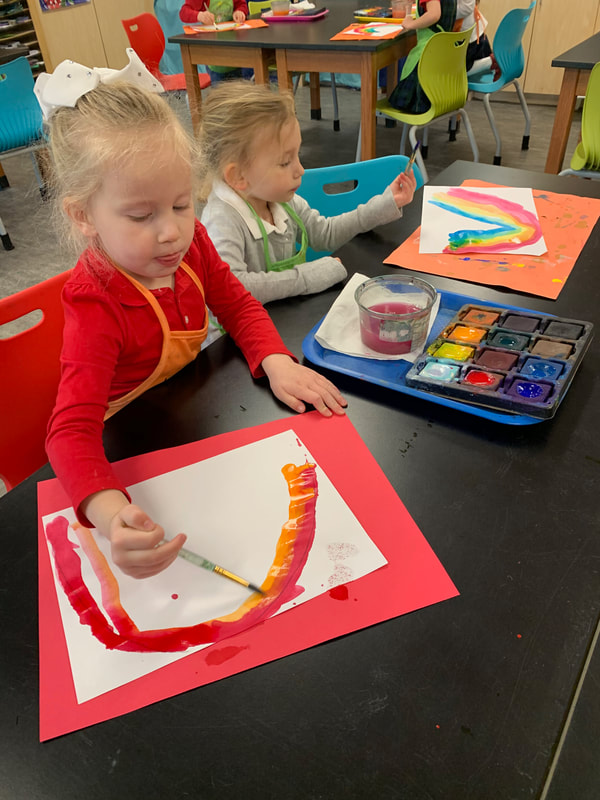
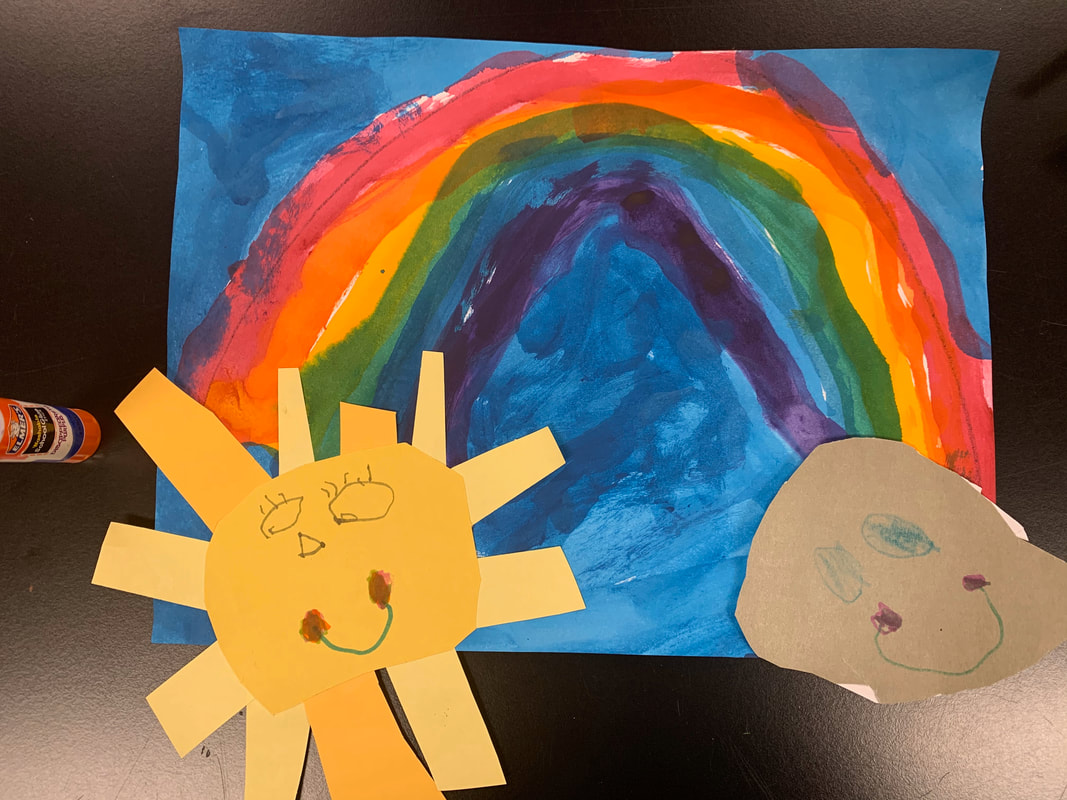
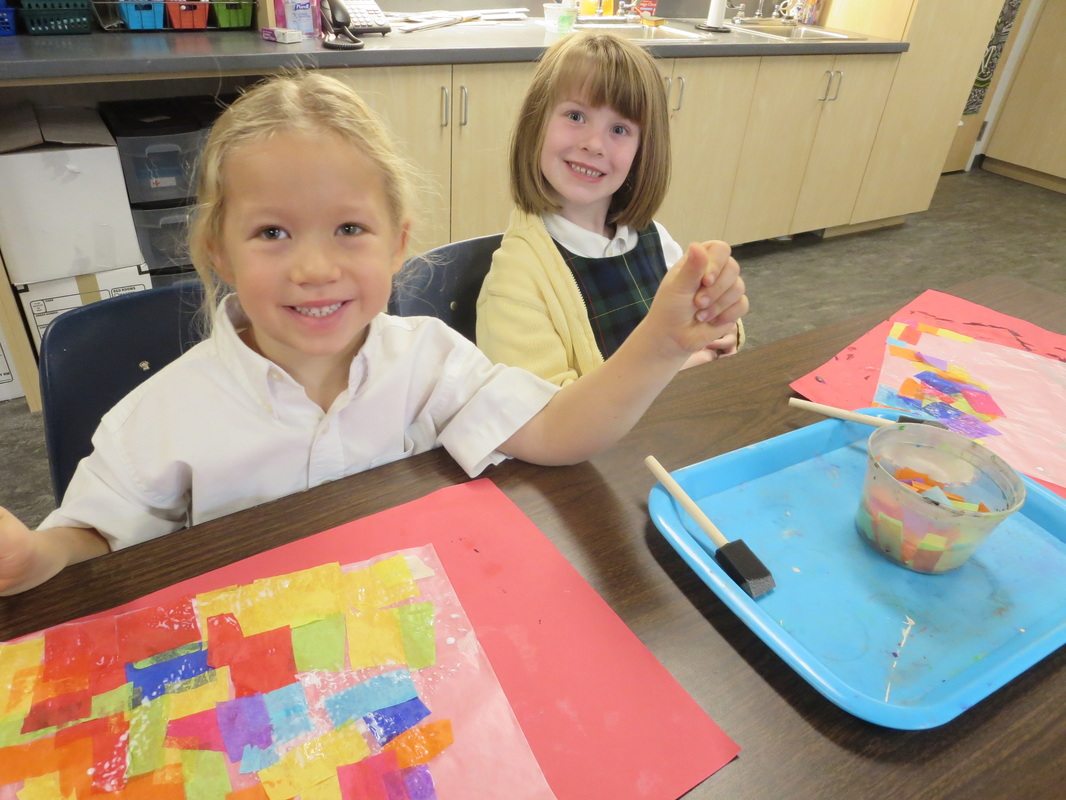
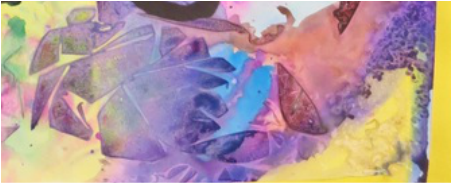
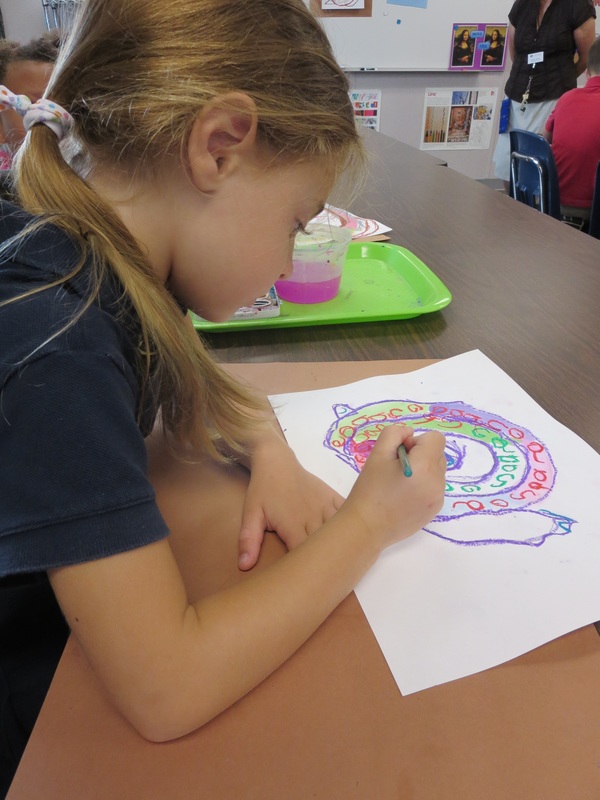
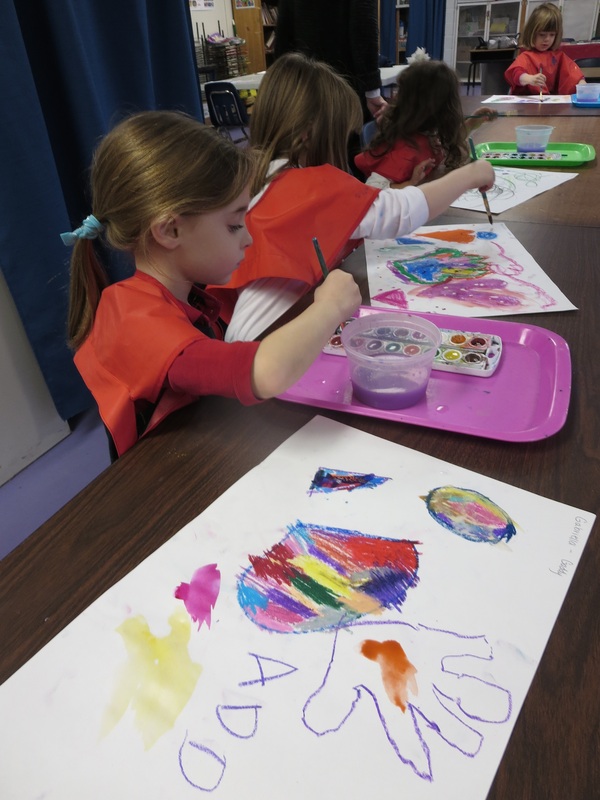
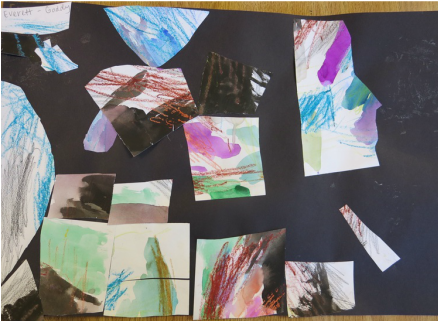
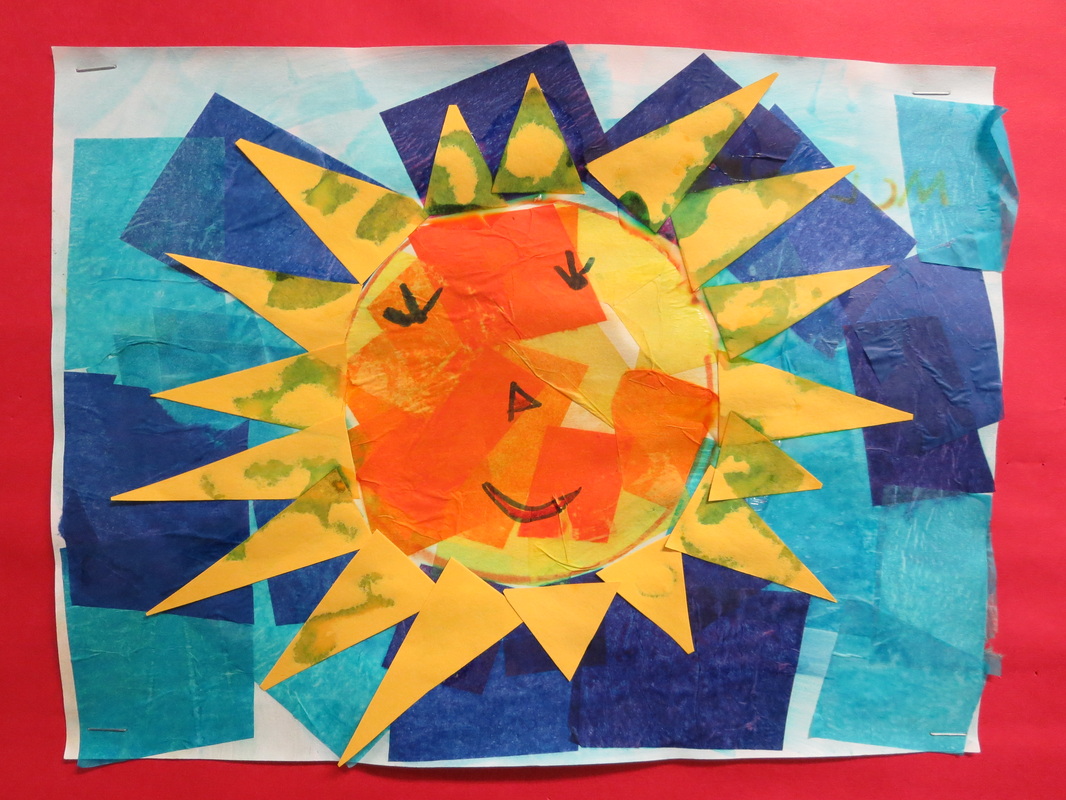
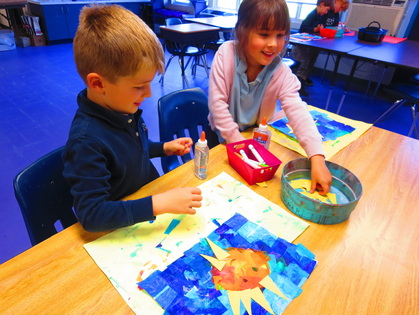
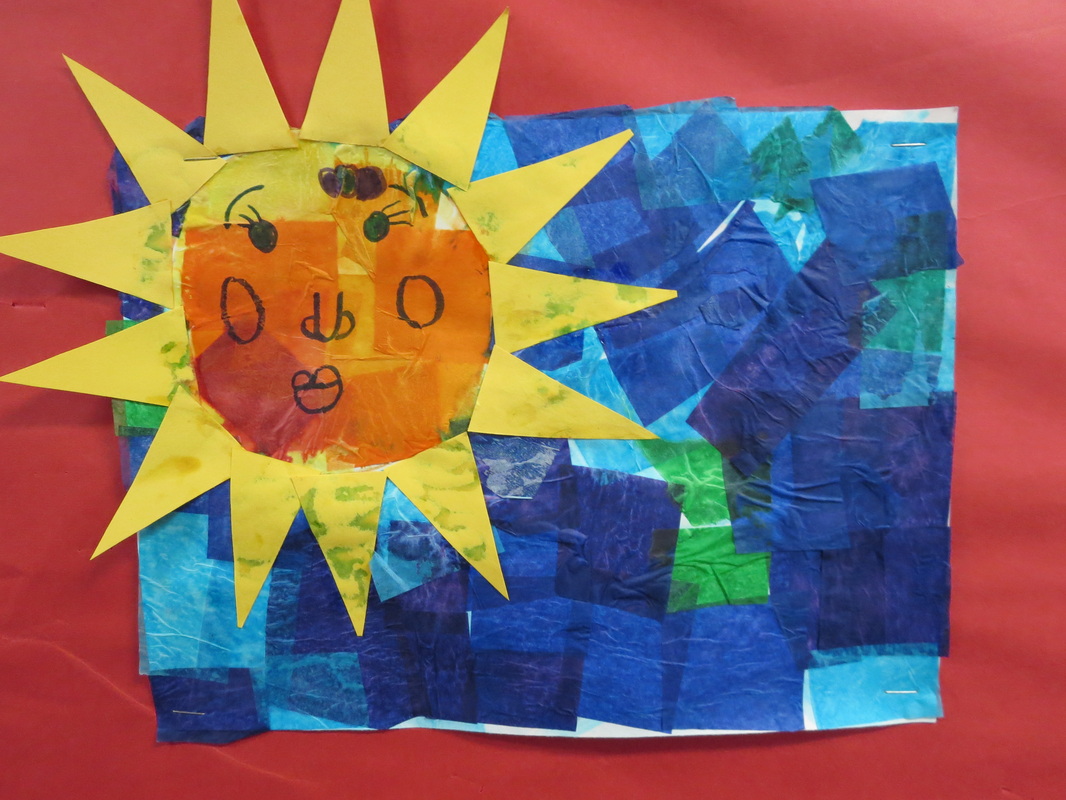
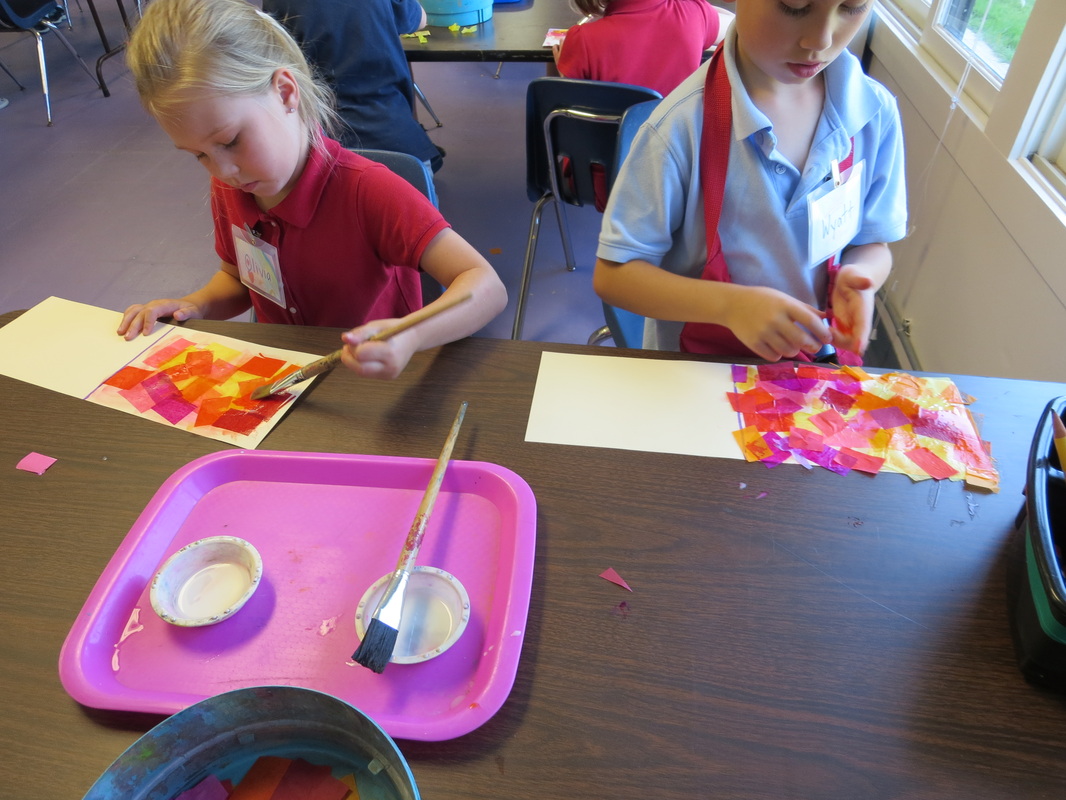
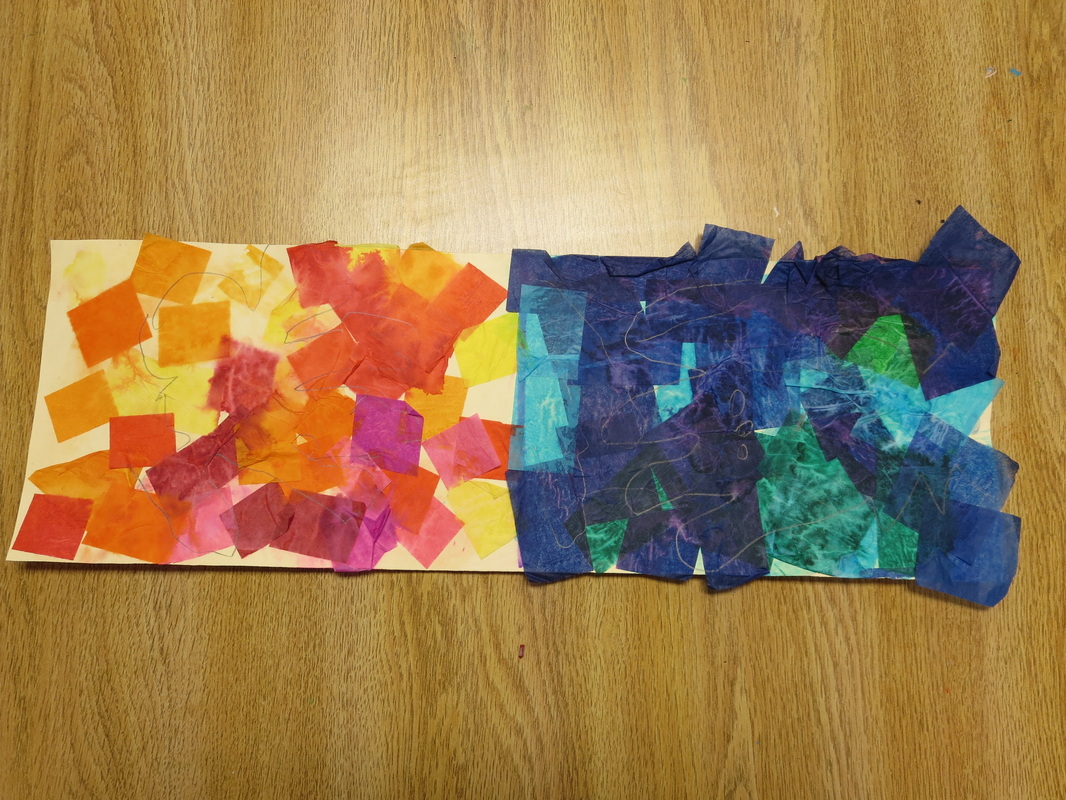
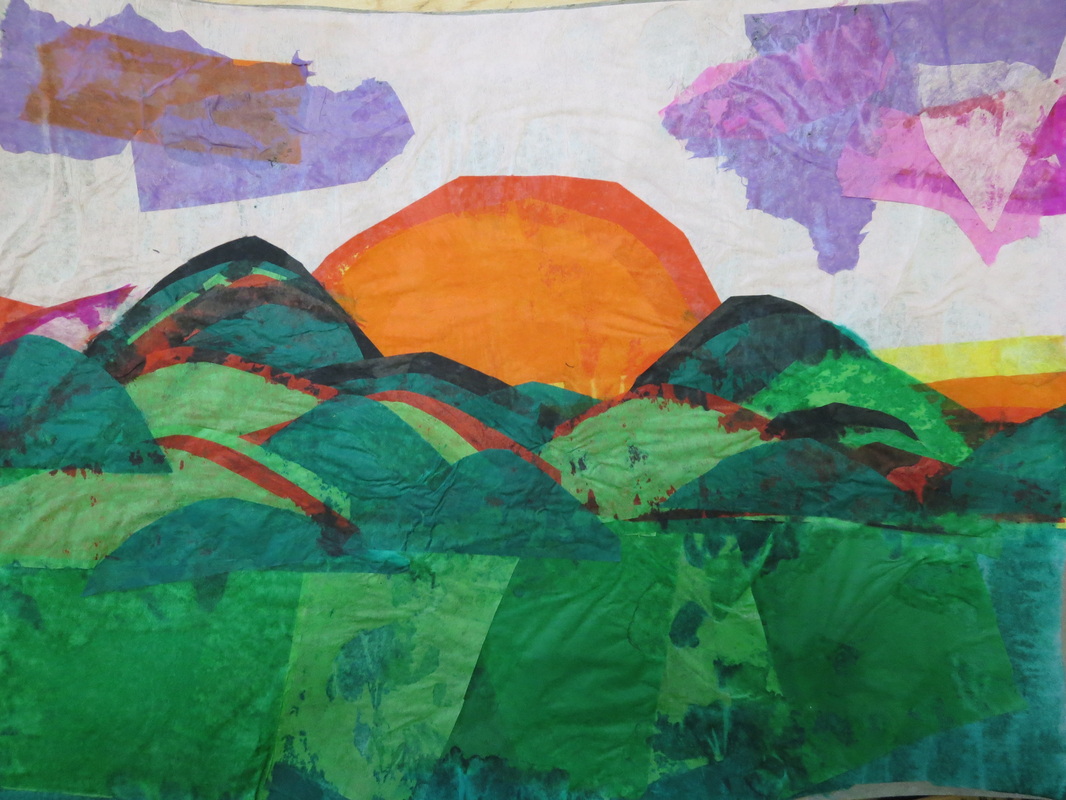
We had a great time doing these lovely rainbow paintings.  It was great for their Pre-K art curriculum too because we got to learn about the color wheel/rainbow colors and connected it to science by learning that the sky needs both sunshine and rain to create a rainbow.  How fun!

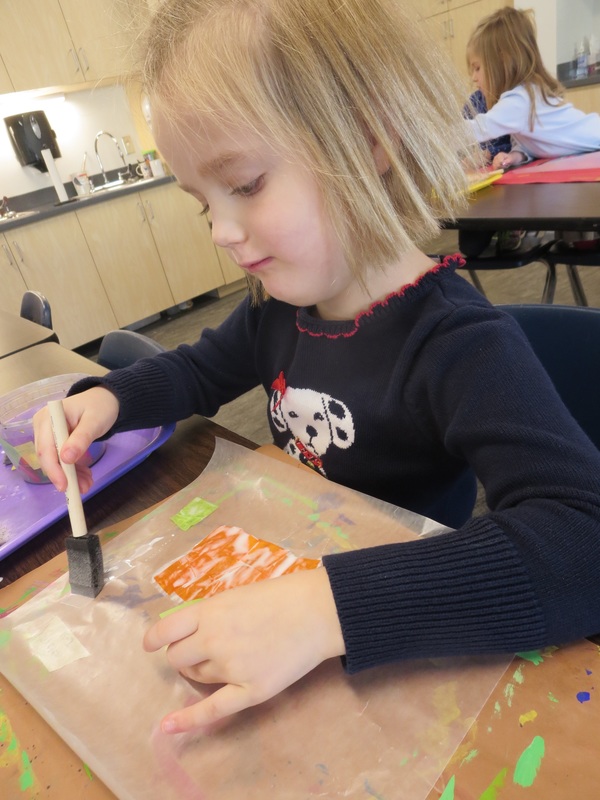
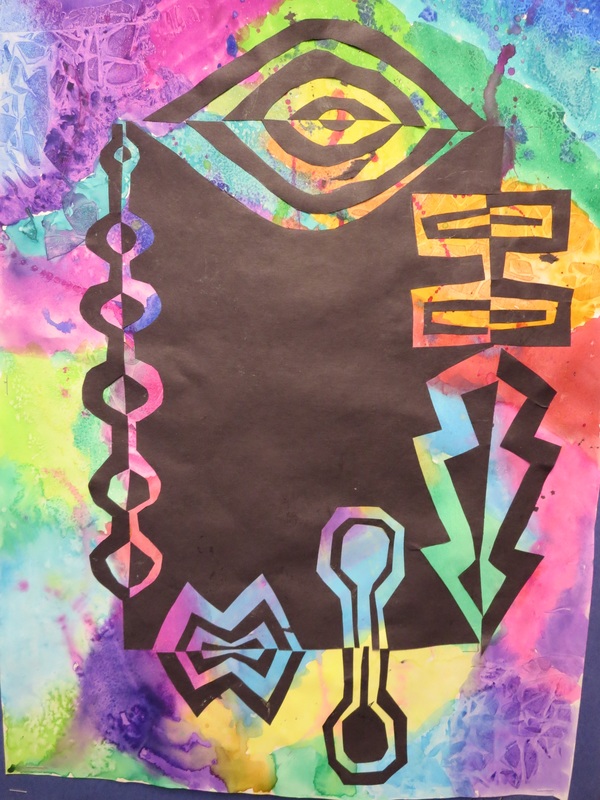
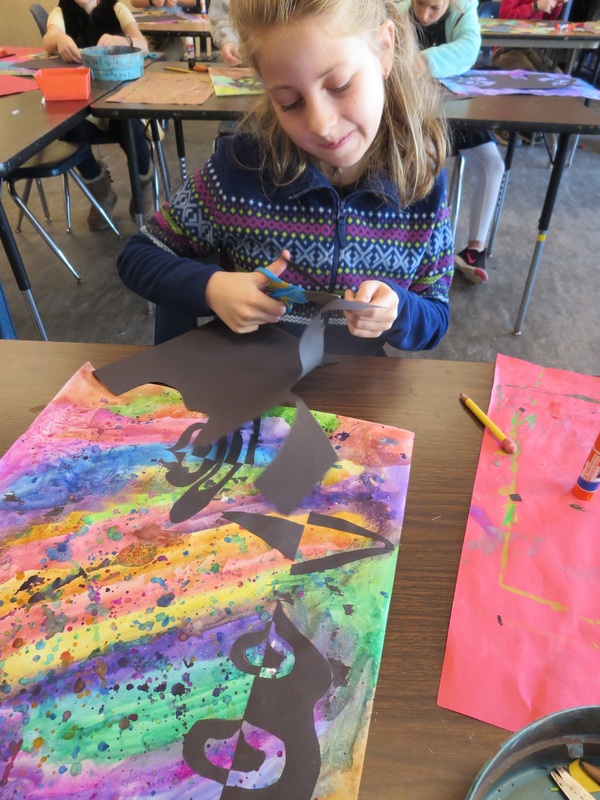
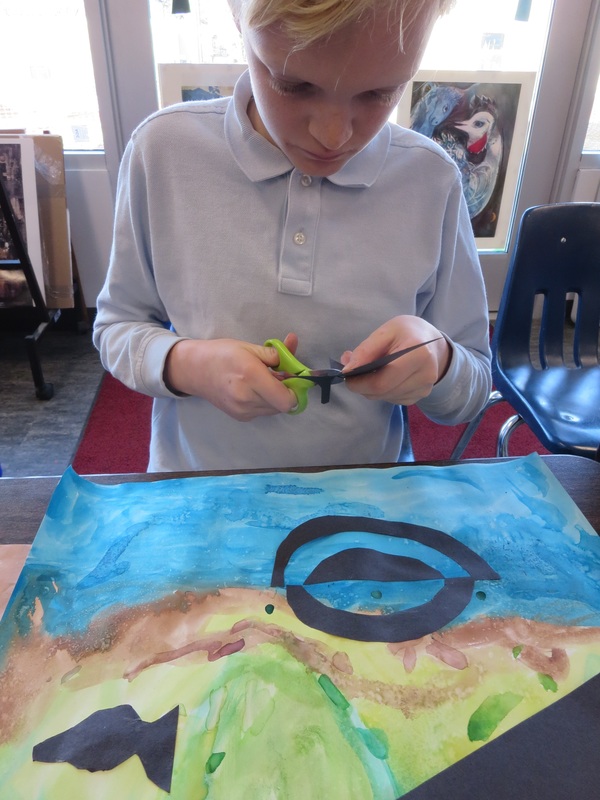
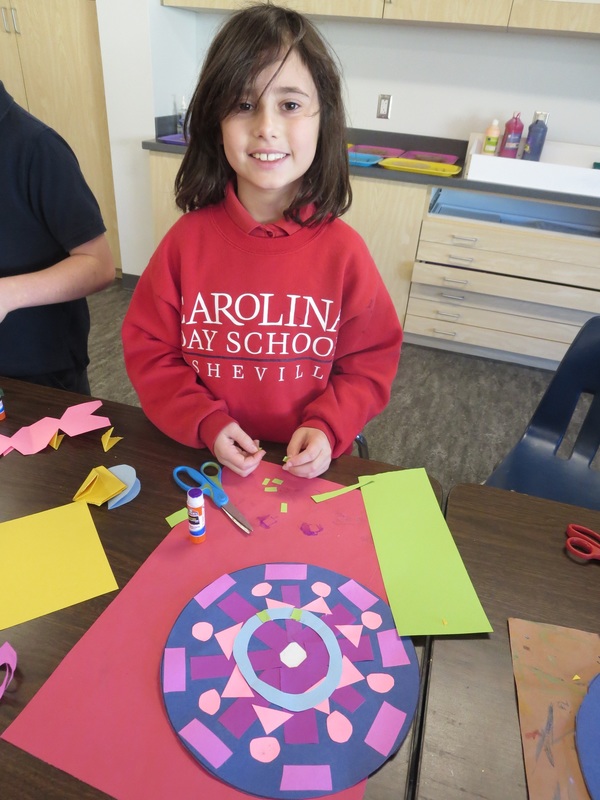
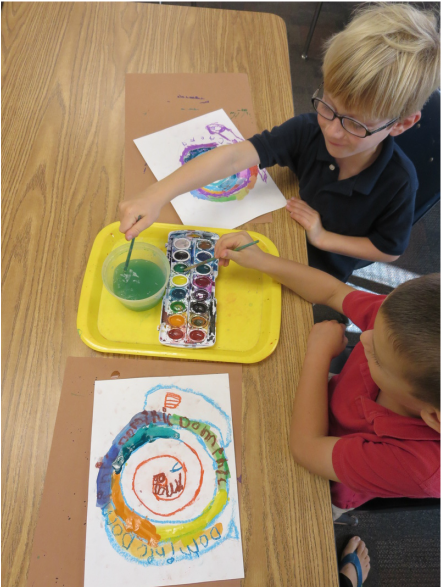
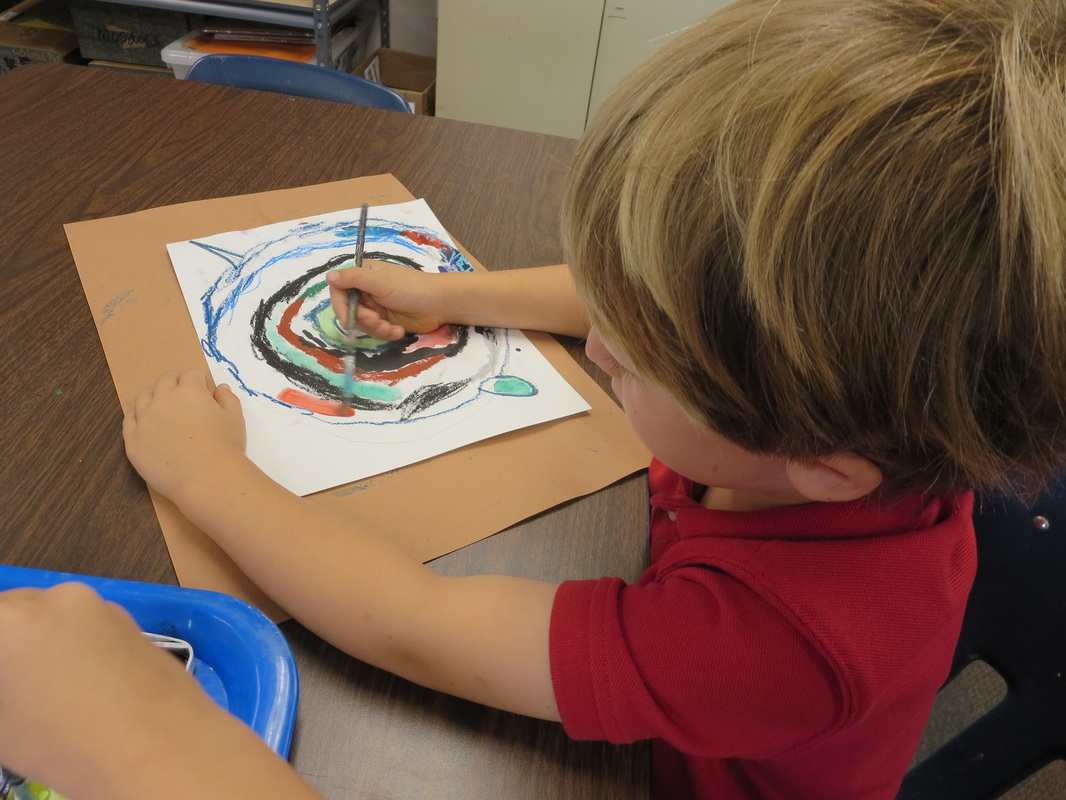
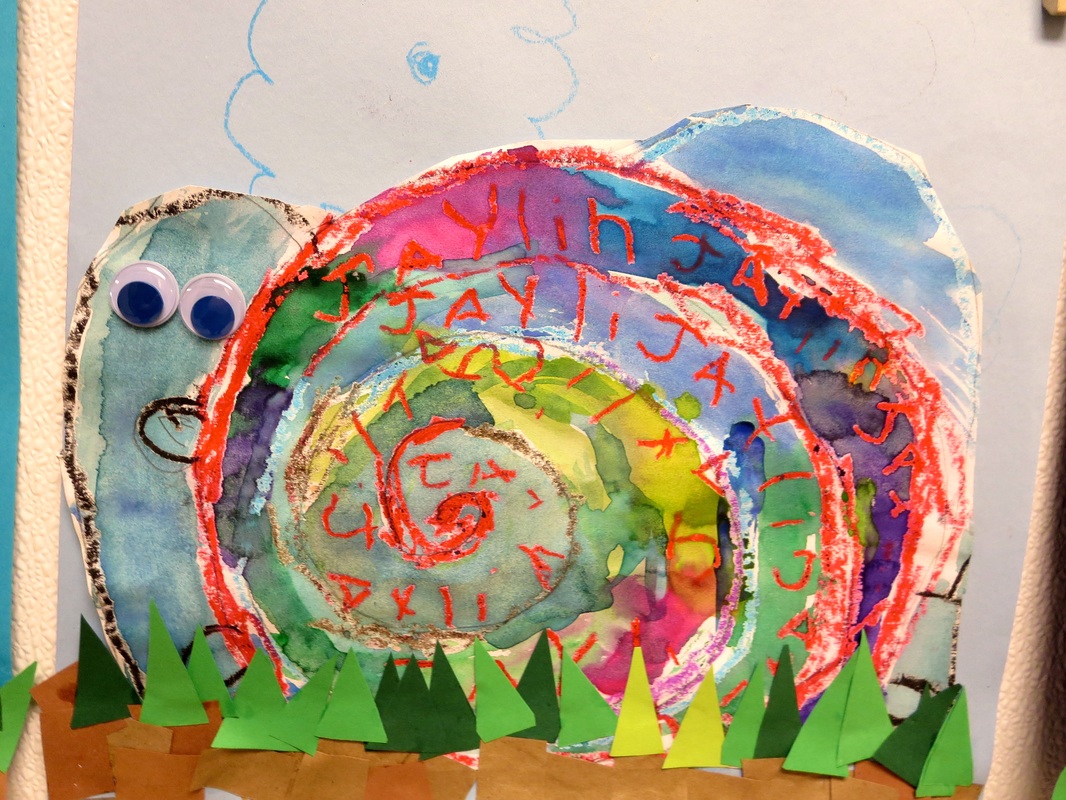
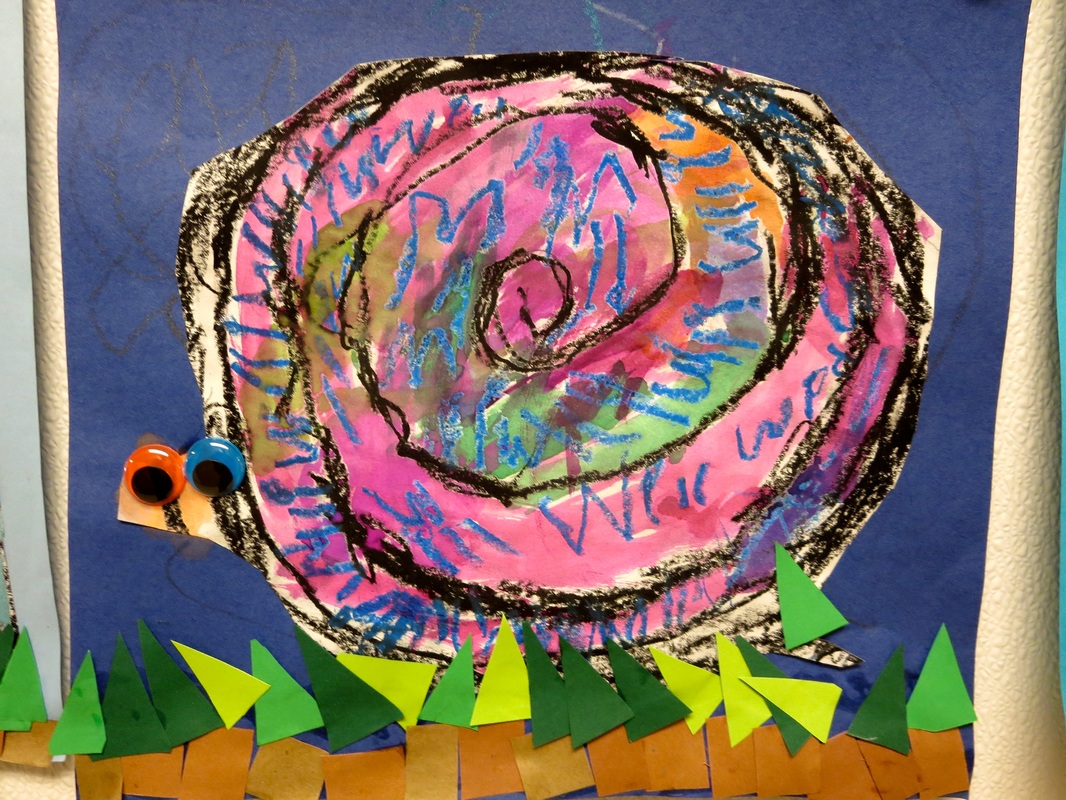
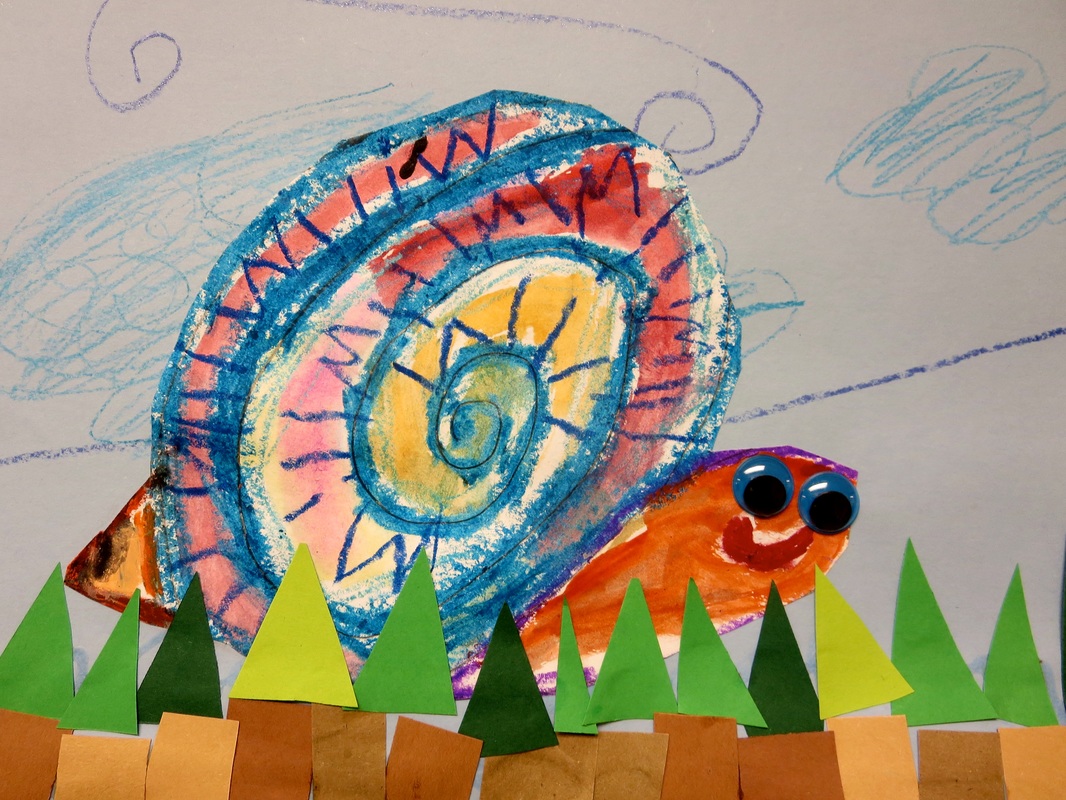
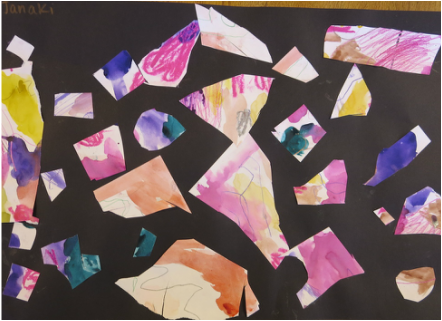
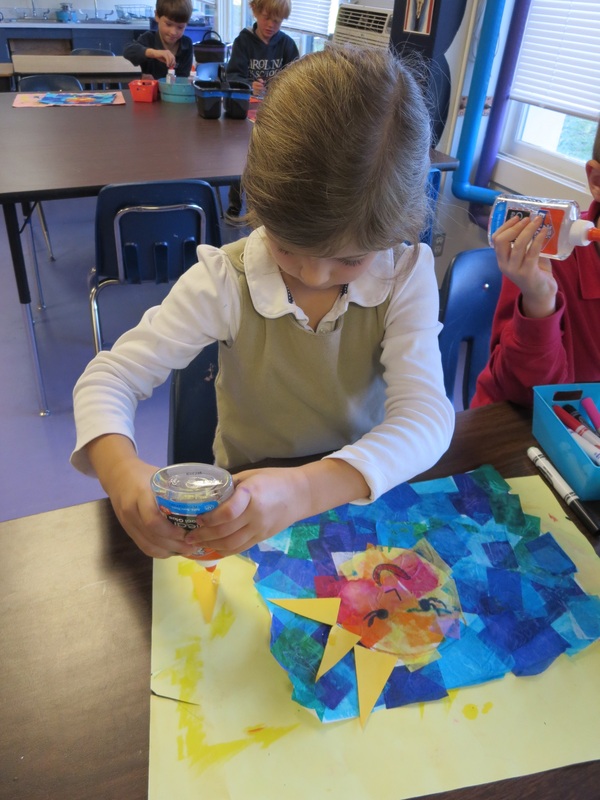
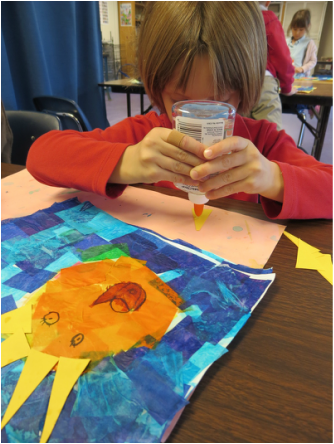
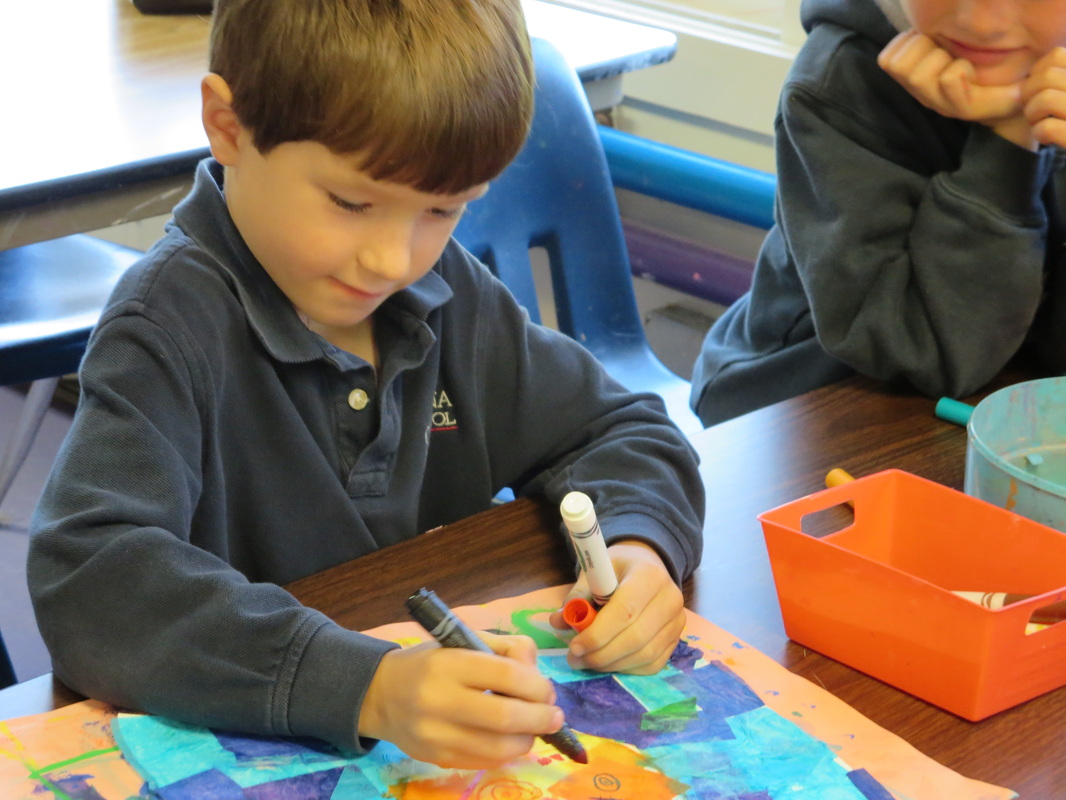
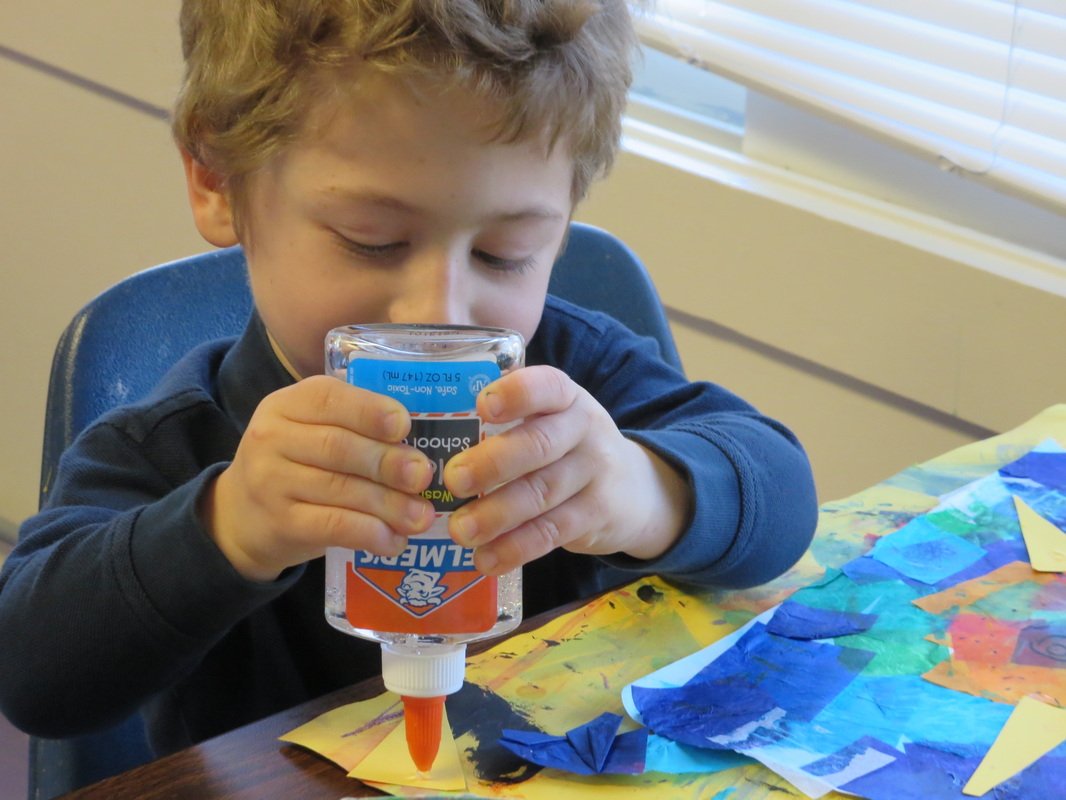
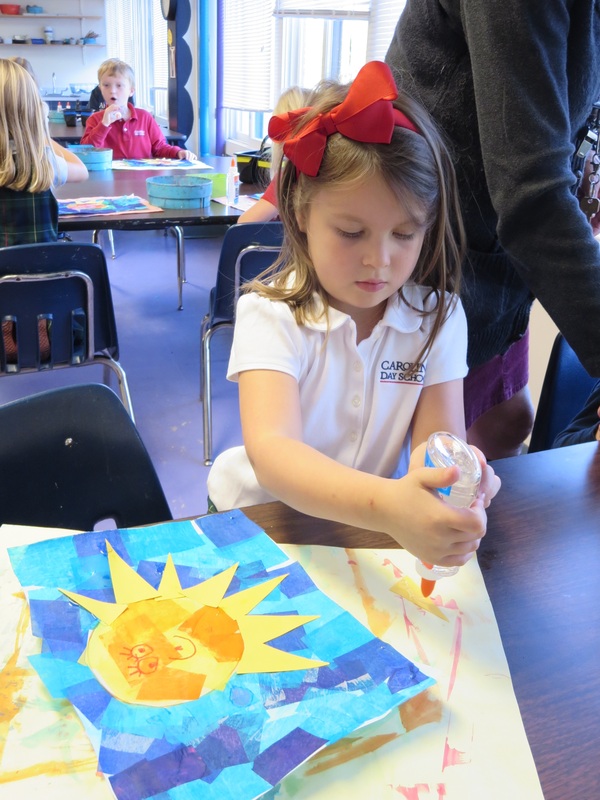
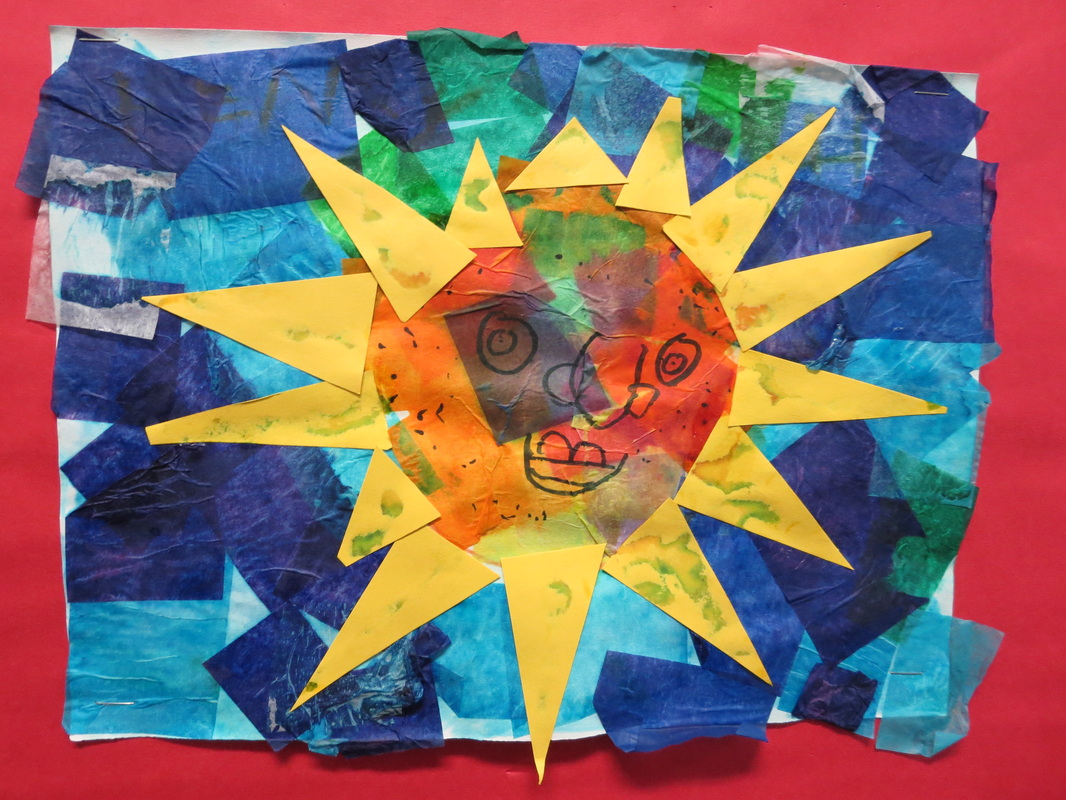
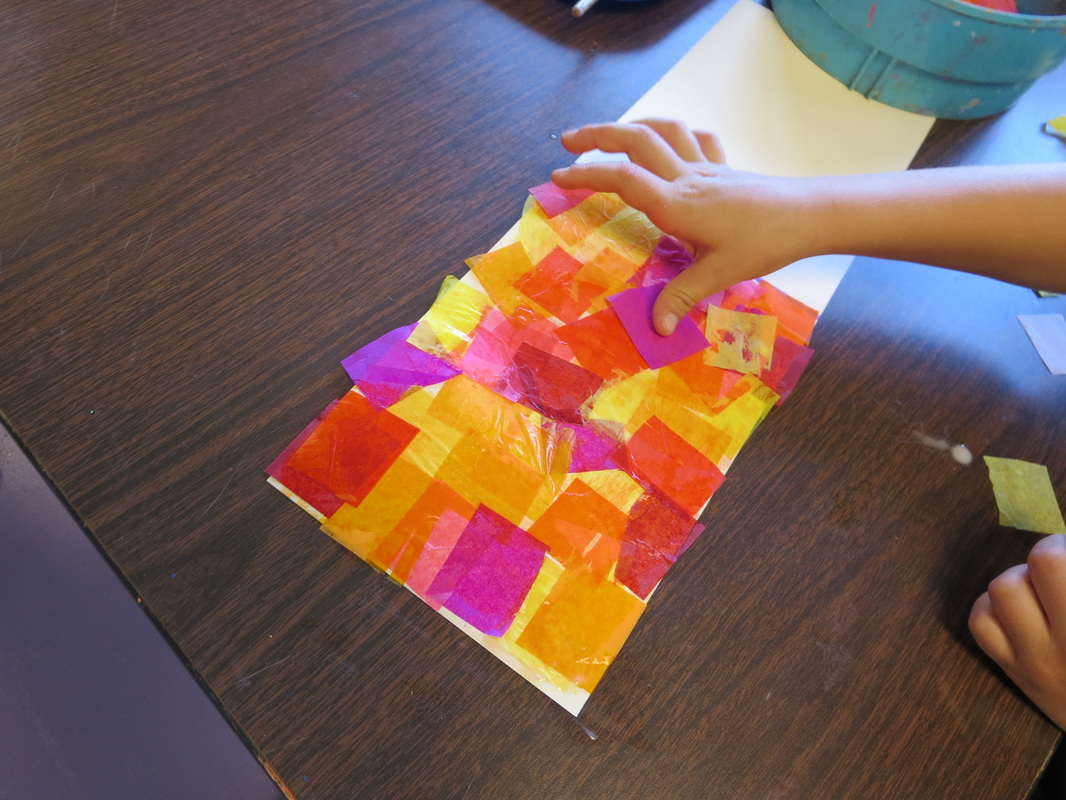
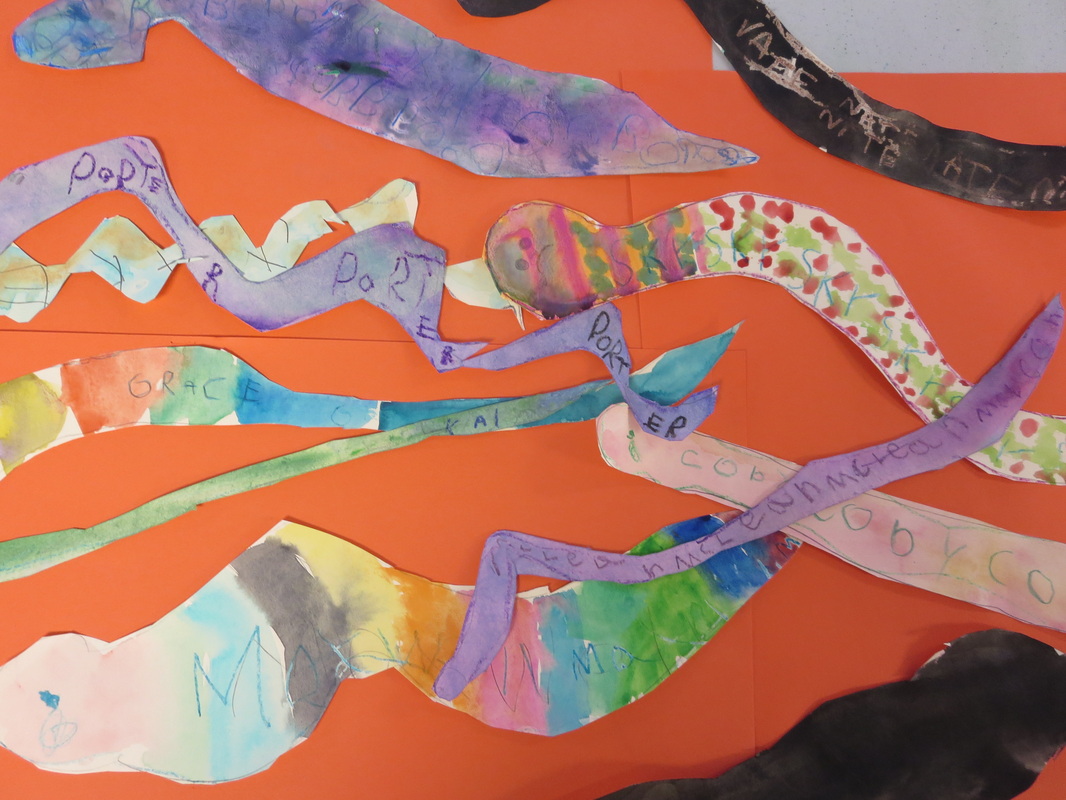
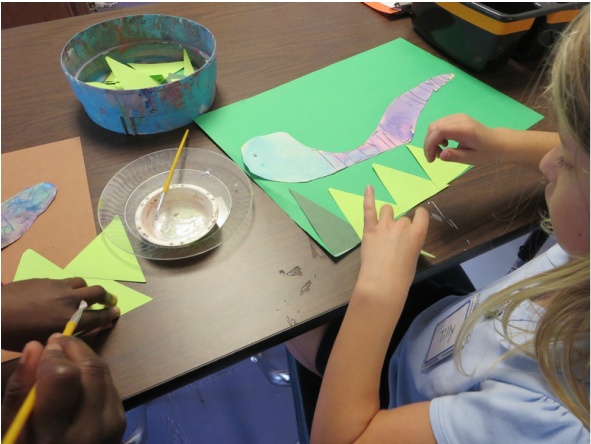
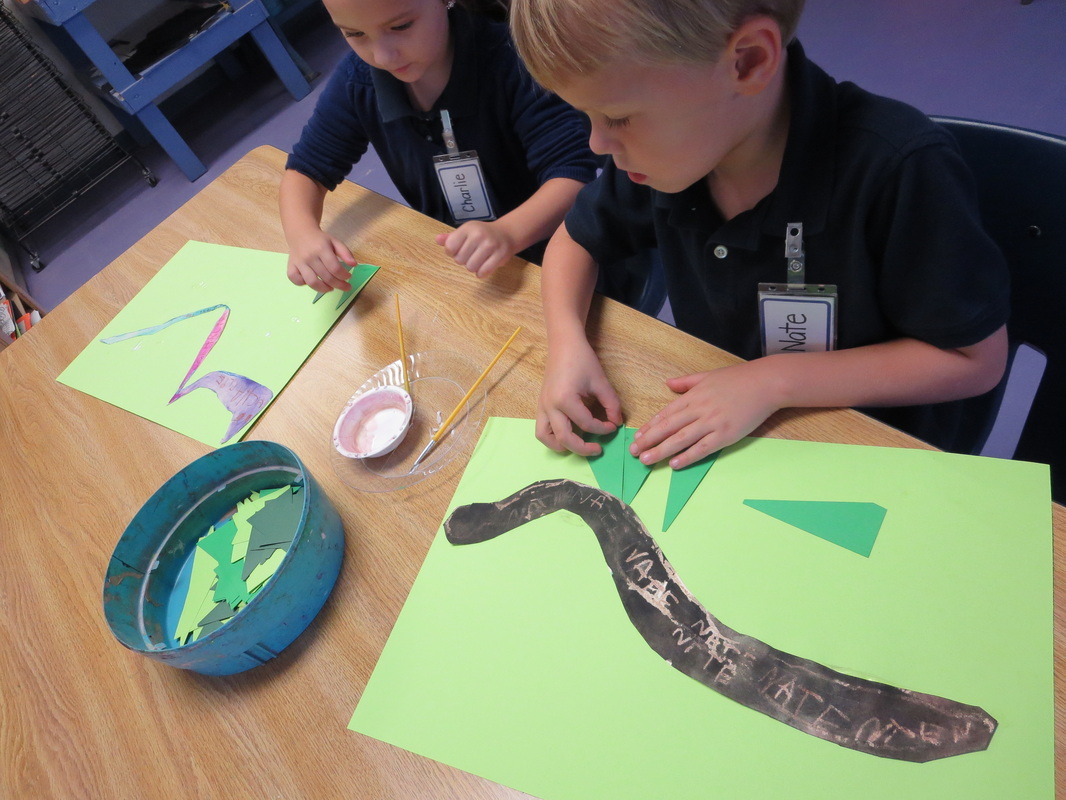
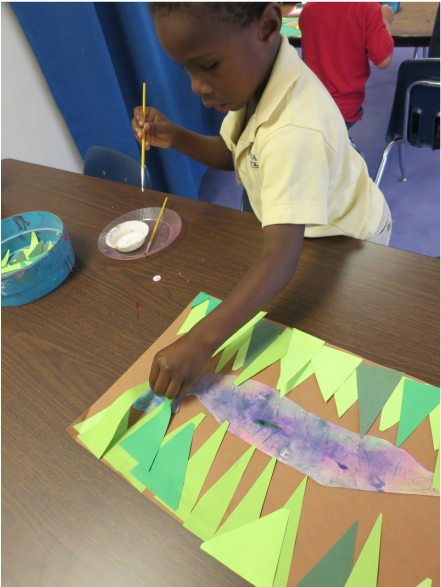
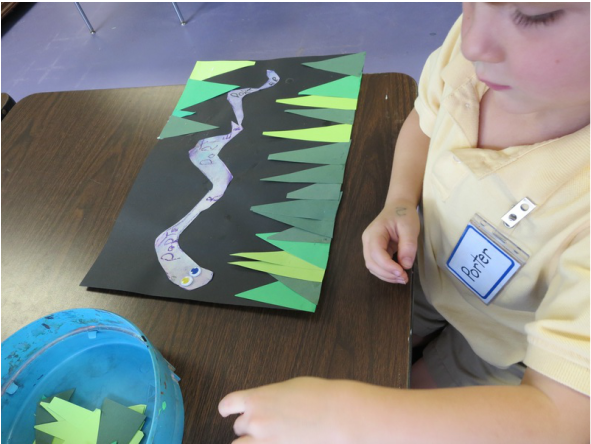
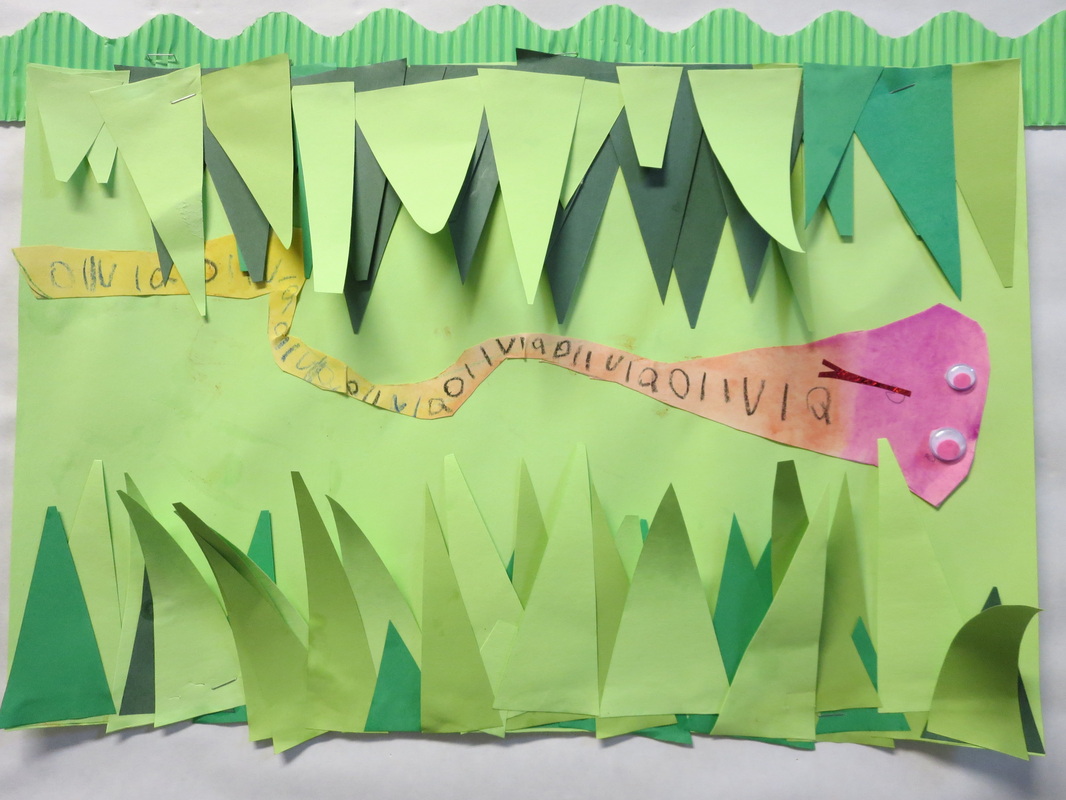
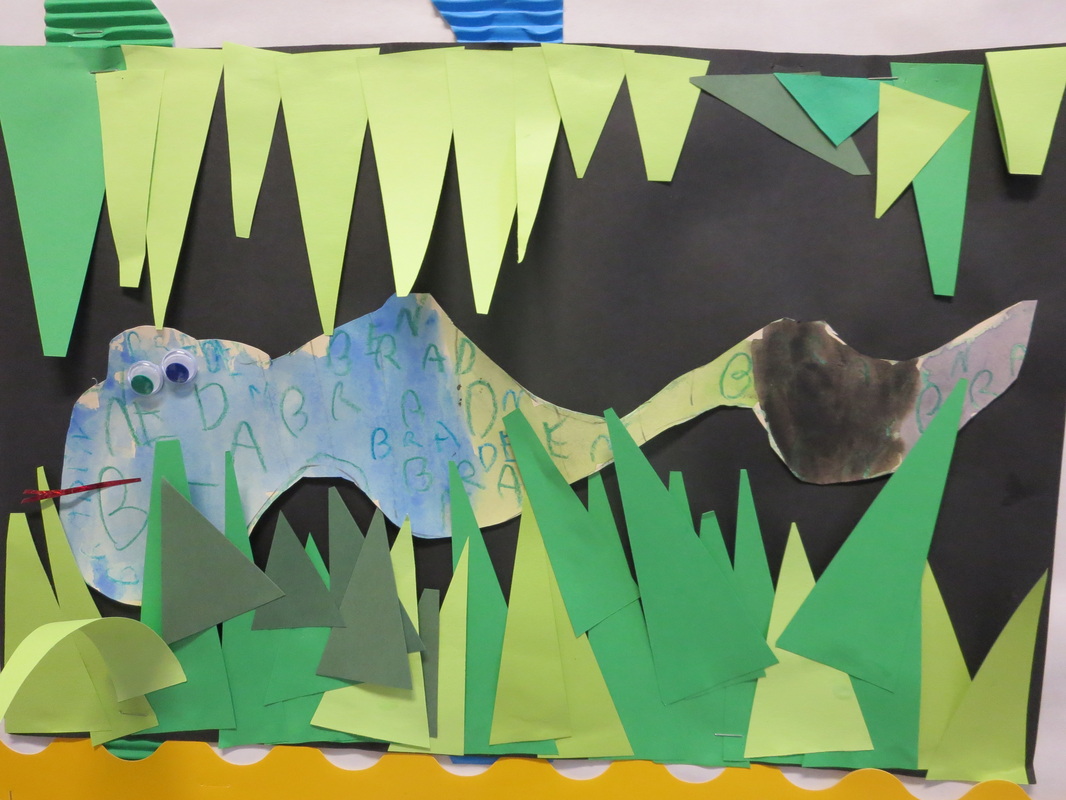
We used tempera cakes to paint their rainbows and then did collages of the sun and cloud using cut paper and glue.  They have been practicing a lot of cutting and glueing this year and are showing so much progress!

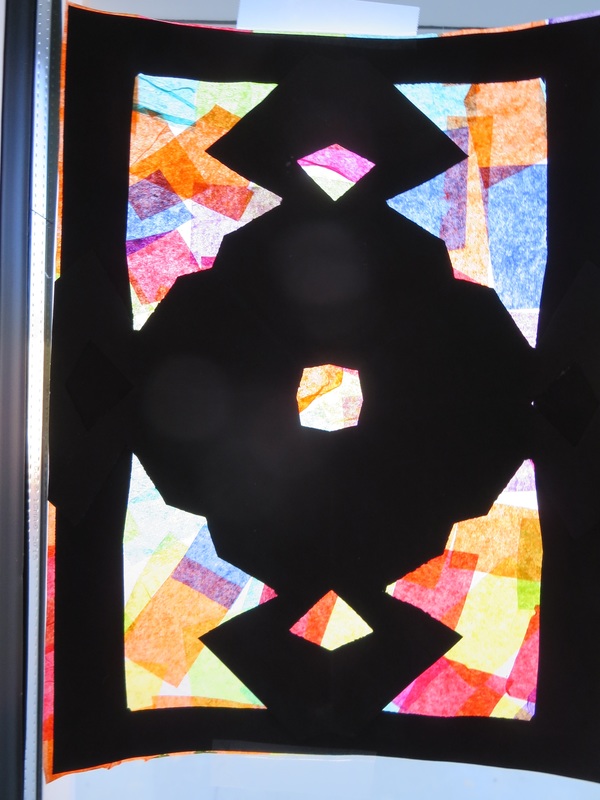
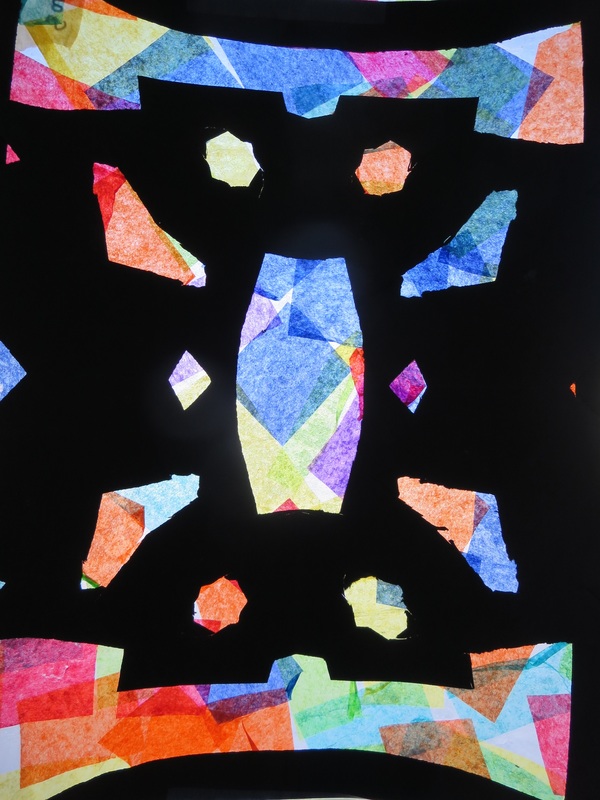
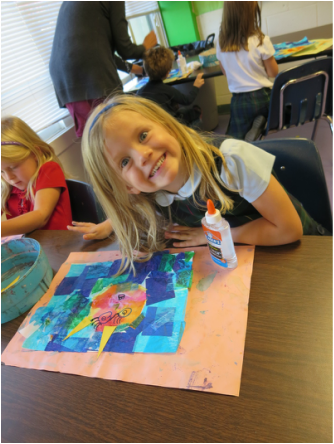
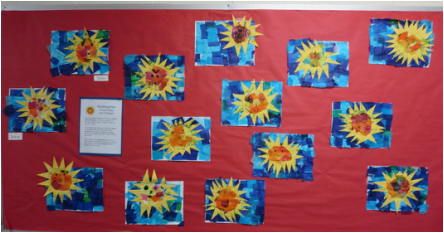
These turned out so adorable and took us three class periods to complete. 
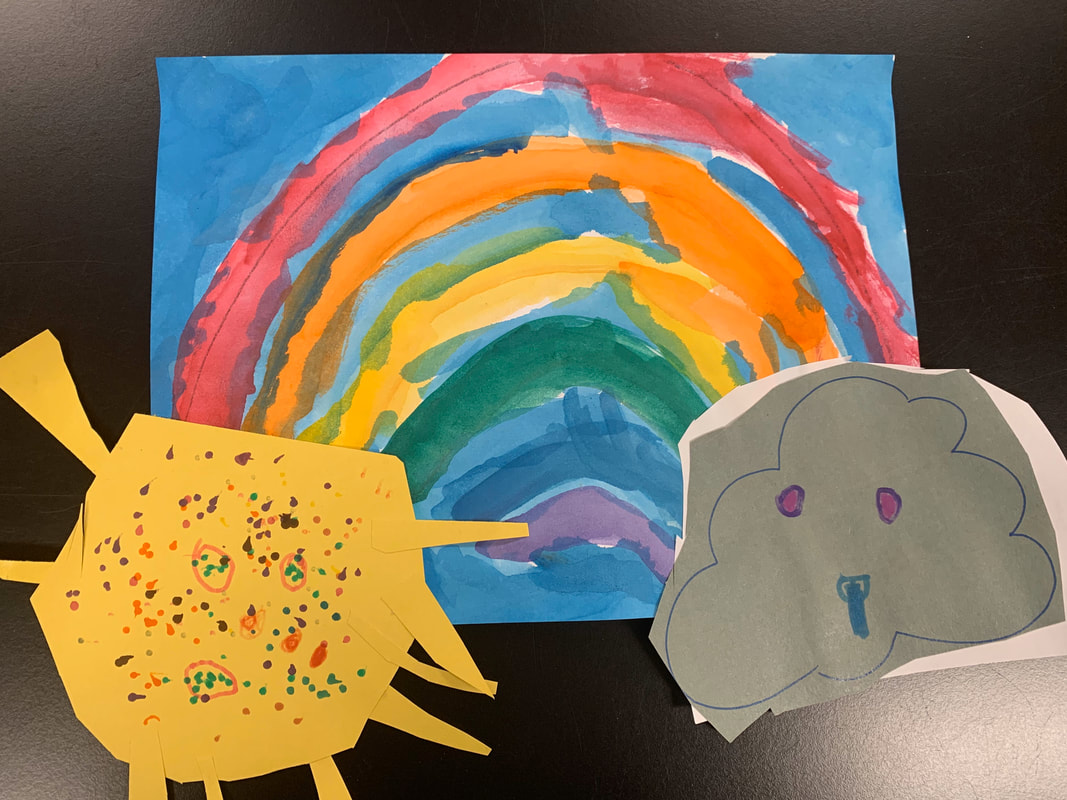
Picture
Picture
Picture
Picture
0 Comments

4th grade romare bearden collage

10/18/2017

2 Comments

 
Picture
Teaching this project was such a cool experience for me!  I learned so much about Romare Bearden, I jumped out of my comfort zone by teaching a collage, and the students wow'd me with their awesome creations during this super fun collage project.

Last summer our 4th grade language arts teacher reached out to me and asked if I could do an art project to accompany her classroom study of Langston Hughes and the Harlem Renaissance.  I love doing cross-curricular projects and was excited about the opportunity.  I went into the project planning on doing a project inspired by Aaron Douglas as I've taught his work before and love him but instead decided to try something new.  At the NAEA conference in New Orleans a few years back I took a workshop on Romare Bearden so this was a perfect opportunity to use that experience in my classroom.

I started by researching Romare Bearden because I honestly knew next to nothing about him and his work.  As I did so, I fell in love with his collages and am so intrigued by his process.  
Picture
Picture
Bearden created his art using painted paper, magazines, photos, and patterned paper.  He did layers of paper and also painted some to create very intricate images depicting stories from his life and stories from the bible and books.  

4th graders watched a slide show of his artwork and we discussed his life and his process of creating art.  The students had lots of interesting insight and ideas about his work.

Before beginning the project, students had to come up with a design inspired by a dream, a memory or a story.  They began by doing a quick sketch of the composition.

The class before beginning the collage, students used texture plates, oil pastels and watercolor paints to make colorful textured painted paper.  
Using this, construction paper and magazine clippings, students started their collage. 

They began by collaging the backgrounds of their designs, they thought about the sky, the ground and things such as clouds, mountains or lakes in their images.  
Picture
Picture
After their background layer was done and the entire white paper was filled, students began to layer the rest of their designs on top.  They added people, animals, buildings, trees, furniture and more.

The results were really awesome and best of all, the 4th graders really seemed to love this project.  They were super engaged with the process until the very end.  A lot of proud artists with this one.
Picture
Picture
Picture
Picture
Picture
Picture
Picture
2 Comments

kindergarten stained glass

2/8/2016

0 Comments

 
Picture
At CDS, Kindergarten students spend a lot of time studying different countries and cultures around the world.  To accompany their study of Europe and castles, in art class we created these fun stained glass collages.  We looked at pictures of a bunch of different stained glass in Europe.  Most were in cathedrals and churches and others in castles. We talked about how the sunlight coming through the window is what makes it look so colorful and how stained glass windows were often used to tell stories.
Picture
Students began this project by using watered down glue to collage colored tissue paper squares to a piece of wax paper.  Students spent 2 1/2 class periods doing this.  Some students used all of the colors available, while others used only two or three colors.    This was a messy process and it was neat watching the different techniques that different students used.
 I taught them to use their paintbrush to put glue on just a small area of the wax paper, apply tissue paper, then brush more glue overtop of the tissue paper.  Some students did so and applied the tissue paper totally random while others created patterns with the pieces.
Picture
Picture
For the next part of the project, students cut out a black frame with construction paper.
** I hit a very small bump with teaching this project when I realized that not only would it be quite difficult for the students to successfully glue the construction paper onto their finished tissue paper collages, but that the glue stick glue didn't stick very well.  So, as any teacher would, I decided to have the students do all of the cutting, but I ended up glueing all of the construction paper cut outs down myself.  I still used glue sticks, but I realized that once glued down, they needed to be weighted, so I stacked books on top until they were fully dry.**

We also spent one day practicing folding paper into 4's and cutting out shapes from the sides and corners.  We practiced making 'snowflakes' as well.  After practicing, I gave students the black construction paper and had them cut out a symmetrical, fun design.  To be honest, students got a bit frazzled because the construction paper was hard to cut through but once they finished and opened up their 'snowflake,' they were full of joy!

I ended up having to glue all of these pieces on too which was fine.  

The end result of this project is beautiful.  Especially when hung in a window so that the sun can shine through.

​I will definitely teach this project again next year but I have to figure out a few things to make it go a bit more smooth.
Picture
Picture
Picture
0 Comments

4th grade notans

2/1/2016

2 Comments

 
Picture
I've been wanting to teach a Notan art project for years and finally did.  It was hard work, the students worked through it slowly and thoughtfully and with much practice.  I am very, very proud of the outcomes.

Notan basically means the balance of lightness and darkness.  It is traditionally a Japanese art done with 2-D mediums such as painting, ink, printmaking or paper cutting.

The 4th graders created these beautiful Notans by blending the art of watercolor painting and paper cutting.  To begin, each student had a very large sheet of white paper and we spent two class periods experieenting with different techniques of using watercolor paints.  We tried splatter painting, we sprinkled salt on wet paint and let it dry before rubbing it off, and we put crinkled plastic wrap over wet paint and let it dry.  These techniques each create a different effect.    Students could use any color palette they wanted.  Some used all cool colors, others went for rainbow colors and others more of a woodsy camouflage palette.   
Picture
After the paintings were finished, we spent two entire class periods learning about Notans and doing practice Notans before actually doing the final Notan on our watercolor paintings.  I have had quite a few teachers ask me how I was able to get such great results from the 4th graders on this project and the key is practice, practice, practice.  

The first day or practicing Notans, I really pushed students to work slowly and follow my directions very closely.   I will try my best to describe the process that we used here.  
1.  Beginning with one 8"x10" piece of white paper and another 5"x7" piece of black paper, center the black paper in the middle of the white paper.
2. Using a pencil, draw corner tab marks around all four corners of black paper.
3.  Draw an X on the back side of the black paper, this is to know that the side with the X is always the back side, the side facing down.
4. Along the edge of the black paper (side with NO X) draw a very simple shape (a half circle is a great start) and draw a small X on it.
5.  Cut out the shape.
6.  Line the black sheet of paper up with corner tabs, the X should be facing down.
7.  Using a glue stick, put glue on the cut out shape.  Make sure that you glue the side that you drew the X on.  If you glue the wrong side, this does not work.
8.  With the black sheet lined up with tabs, put your cut out shape back into it's original place (like a puzzle).  Now the X on the cut out shape should be facing up and have glue on it.  Flip the cut out shape over like a door hinge.  
9.  Repeat steps 1-8 along all edges of black paper.
10.  When all edges have shapes cut out and glued down, take large black sheet of paper, turn over and cover the side with the X on it with glue.  Flip over so X is facing down and line up with corner tabs and glue down.
----------
The next class period, we did another practice Notan using the same steps above except I had students try this with more complex shapes and cutting shapes inside of their shapes.  I gave some specific instruction to those who needed it but mostly let students figure it out on their own the second practice day.
----------
Finally, we spent the next two class periods doing their final piece.  We used a large sheet of black paper and students followed all of these steps to create a Notan on top of their watercolor paintings.
Picture
Picture
Picture
Picture
The most important steps for having success:
-practice, practice, practice
-drawing the X on back side of black paper to remember that that was the back side.
-drawing the corner tabs


These Notans turned out amazing and I was blown away by the amount of attention to detail that students put into this project.  These 4th graders should really be proud of themselves!
2 Comments

3rd grade radial symmetry collage

1/5/2016

0 Comments

 
Picture
Third grade students have been having fun creating radial symmetrical paper collages in art.  They each began with a 10" circle piece of paper and after watching demonstrations of how to create a radial symmetrical design, students began collaging. For this project, I tried to provide the students with the least about of direction as needed.  I have found with radial symmetry, less is more.  I had each students begin by cutting out a circle or square (any size or color) and glueing that in the middle of the large circle they are using for the background piece.  Next each students must cut out 8 rectangles (again, any size or color) and placed them around the center shape to cut the area into eight similar size areas.  They began by glueing the first two sticking straight up and down from the center shape.  The next two were glued on the sides, creating a plus sign image.  the other four were glued between those to create an X.  From there, students could cut out any color shapes and sizes and glue them down to create an eight-point radial design.
Picture
We spend 5 class periods on this.  The first two are very basic and goes slowly.  The students are learning how to cut out multiple pieces of the same shape/size and glue them down and students are really just understanding how to create a radial symmetrical design.   The last three classes are spent focusing on using shapes of many different sizes and how to use colors together to make interesting patterns and overlapping. I really push overlapping shapes the last class.

I love teaching this project, I find it amazing how complex and beautiful their designs turn out.  This is a project where every single student is successful and feels good about their artwork at the end.
Picture
Picture
Picture
Picture
Picture
0 Comments

Kindergarten Name Snails

9/18/2015

1 Comment

 
Picture
First new blog of the new school year hooray!  This year has gotten off to a brilliant start and I am so excited about my talented students and the amazing art that they have already created and about seeing what they will make in the future!!!

To start off the new school year very strong, Kindergarten students created these awesomely adorable multimedia snails.  

We began by learning about lines.  There are many different sorts of lines, straight lines, curvy lines, curly lines, and spiral lines.  After practicing drawing spiral lines many times, students created a snail shell by using oil pastels to draw a very large spiral to fill their paper.  Next, they took on the task of filling the spiral with their name repeating.  This was a great exercise for Kinders to practice writing their name and also created an interesting pattern throughout the shell.  
After adding a head and tail with oil pastel as well, students used watercolor paints to make a colorful, fun snail.  They were very excited as they watched the watercolor and oil pastel resist and the drawings showed through the paint.
Once the snails were done, students carefully cut around the snail and glued it onto a blue (or black) piece of paper and drew some clouds.  Before adding the 'dirt' and 'grass,' we discussed texture.  Texture is what something feels like or what it looks like it feels like.  Kinders recognized that puppies may feel "soft, "fuzzy," and "squishy" whereas a tree bark may feel "rough," "hard," and "bumpy."  They glued down cut pieces of paper to create a dirty and grassy texture.
The favorite part of the project was probably adding the finishing touch of the silly goggley eyes.  What I have learned is that googley eyes make a kindergarten student a very, very happy student.


Picture
Picture
Picture
Picture
Picture
Picture
Picture
1 Comment

Pre-K experimental collage

2/4/2015

2 Comments

 
Picture
Picture
Picture
Picture
Picture
I FINALLY have the Pre-K students in art class!  Hooray!  The Pre-K students began art class half way through the year and what a joy it is to have these adorable, funny, sweet, creative students in my classroom.  

For our first art project of Pre-K, we did a lot of experimentation.  On the first day of class, students moved around to different stations to explore different art mediums.  The stations were oil pastels, crayons, colored pencils.  At each station, the students drew patterns and designs to fill their paper and had to come up with words to say how each materials felt and looked.  For example, oil pastels are waxy, wet, slippery, bright.  Crayons are hard, colorful, light.  Colored pencils are hard, thin, dark.  

At the next class, students explored different techniques of using watercolor paints to fill their paper up with different colors.  Some students took a strategic route of creating specific shapes/colors or filling in their drawn images, while others just had fun getting colors on the paper.

For the third and forth classes of this project, the students were shocked as I told them to cut their artwork into different shapes and to glue them onto a big piece of black paper to create a new design.  A few were reluctant at first, but once started, really enjoyed themselves.  Again, some used strategy while others just cut and glued.  I love the outcome of this project because every single students artwork looks totally different from the person next to them.

So proud of these hardworking Pre-K friends!
Picture
Picture
Picture
Picture
Picture
2 Comments

2nd Grade "Wild" Collages

12/8/2014

0 Comments

 
Picture
I have never seen the 2nd graders have as much fun in art class as they did while working on this project.

A simple, fun project.
After showing students art by my favorite collage artist Sammy Slabbinck, they looked through magazines cutting out anything that reminded them of the word "wild."
After collecting many images, they created a background using magazines and patterned papers.
Using their cut images, they created wild compositions.  Many really got a laugh out of putting animal heads on different creatures bodies.
A super fun project.  Took three 45 minute class periods.
Picture
Picture
Picture
Picture
Picture
0 Comments

Kindergarten Sun Collages

11/5/2014

0 Comments

 
Picture
This Kindergarten project focused on shapes and colors.  
The students began by tracing a circle to represent the sun.  On the outside of the circle, the student did a tissue paper collage with cool colors-purple, blue and green.  On the inside, they used warm colors-yellow, red, and orange.
After collaging, student used markers to draw a mouth, eyes, and nose to make fun sun face.  The students used triangle pieces of paper to create rays for their sun.  This project took three 45 minute class periods and they turned out adorable.  
Picture
Picture
Picture
Picture
Picture
Picture
Picture
Picture
Picture
Picture
0 Comments

October 15th, 2014

10/9/2014

0 Comments

 
Picture
Picture
Picture
Picture
Picture
Picture
Picture
Picture
Picture
Picture
Picture
0 Comments

1st grade warm/cool color hands

9/30/2014

0 Comments

 
Picture
Picture
The first grade students started their year out by learning about warm and cool colors.  We used words such as lava and sunshine to associate with warm colors and words such as iceberg and ocean to associate with cool colors.  

Students also discussed the importance of hands.  According to the first graders, hands are important because...
"They are used to eat yummy food"
"You can give people hugs with your hands"
"Hands are used for making art"
"You write letters and books with hands"
"You give people presents with your hands"
......and on and on


To begin this project, the students started with a piece of card stock and learned how to use watered-down glue to collage tissue paper.  
Picture
Picture
After collaging one half of the paper with warm colored tissue paper,  the students did the other half with cool colors.  Each took one class period.

Picture
After these had dried, the first graders traced their own hand, on each side of the collage and then cut them out.  It was a great practice for them to cut such intense, jagged lines from the tracing of fingers.  I found that the first class struggled with the cutting, so for the next class, I printed out a squiggly line drawing for them to practice on before cutting out their hand.  That seemed to help.

After the hands were cut, they used a thin black paint to write their names on the hands.
Picture
Picture
Once both classes had finished, I cut out large black circles of paper and mounted the hands in a radial design, reaching out into the world.
Picture
The artwork now proudly hangs in the office of the school Principal!
Picture
Picture
Picture
0 Comments

Kindergarten snakessssss

9/26/2014

0 Comments

 
Picture
Picture

The Kindergarten students practiced drawing curvy lines, cutting, and using watercolor to create fun, playful snakes.  

Using their snakes and colored paper, the Kindergarteners created a collage of a snake slithering on the ground!


I showed the students this video:
(they giggled loudly and sang the song for days afterwards)
Picture
Picture
Picture
Picture
Picture
Picture
Picture
Picture
0 Comments

4th grade tissue paper landscapes

1/31/2014

0 Comments

 
The Forth grade students at ECCS are studying the local landscape this trimester.  I created a lesson plan that integrates that learning.  The students will create tissue paper collages of North Carolina Mountainscapes.  I begin teaching this lesson next Tuesday, and will post images of the student's work once they begin the project!


Overview:

4th Grade
3-4 days
The students will use tissue paper to collage North Carolina Mountain landscapes.

NC Essential Standards:
4.V.1.1 Use appropriate art vocabulary to compare artists’ styles.
4.V.1.2 Apply personal choices while creating art.
4.V.1.4 Understand how the Elements of Art are used to develop a composition.
4.V.2.2 Use ideas and imagery from North Carolina as sources for creating art.
4.CX.1.3 Classify NC artists in terms of styles, genre, and/or movements.

Materials:
Construction paper, tissue paper, glue, paintbrush, water, scissors

Art Vocabulary:
  • foreground, background
  • color, space, value
  • collage
  • landscape 
Interdisciplinary Concepts:
Geography, North Carolina Mountainscapes


Example piece:
Picture
Reference found at http://if-you-go-away0.blogspot.com/2012/11/tissue-paper-landscape.html :
Picture
0 Comments

    Author

    Annie Monaghan.
    Art lover.
    Art creator.
    Art teacher.

    RSS Feed

    Categories

    All
    1st Grade
    2nd Grade
    3rd Grade
    4th Grade
    5th Grade
    Abstract
    Art History
    Art Videos
    Auction
    Batik
    Cardboard
    Chalk Pastel
    Clay
    Collaboration
    Collage
    Colored Pencil
    Color Wheel
    Contour Lines
    Drawing
    Highlights And Shadows
    Kindergarten
    Landscape
    Mural
    Names
    Notan
    Observational Drawing
    Oil Pastel
    Online Art
    Origami
    Paint
    Painting
    Papier Mâché
    Patterns
    Portraits
    Pre K
    Printmaking
    Relief Sculpture
    Remote Art
    Remote Learning
    Sculpture
    Self Portrait
    Self-portrait
    Sewing
    Shapes
    Sharpies
    Still-life
    Symmetry
    Texture
    Tissue Paper
    Warm And Cool Colors
    Watercolor
    Weaving

Powered by Create your own unique website with customizable templates.