Annie Monaghan's Art Room
  • Home
  • Elementary Art
  • Middle School Art
  • Camp projects
  • Lesson Plans
  • About Me
  • My Artwork
  • Art is everywhere!
  • Contact me
  • Professional

3rd grade Rainforest drawings

11/12/2015

0 Comments

 
Picture
3rd grade students have been studying biomes in science class.  The major types of biomes are split up into five categories: aquatic, forests, desserts, grasslands, tundra.  Later in the year 3rd graders will do a fish art project and for this project, we focused on rainforests.  

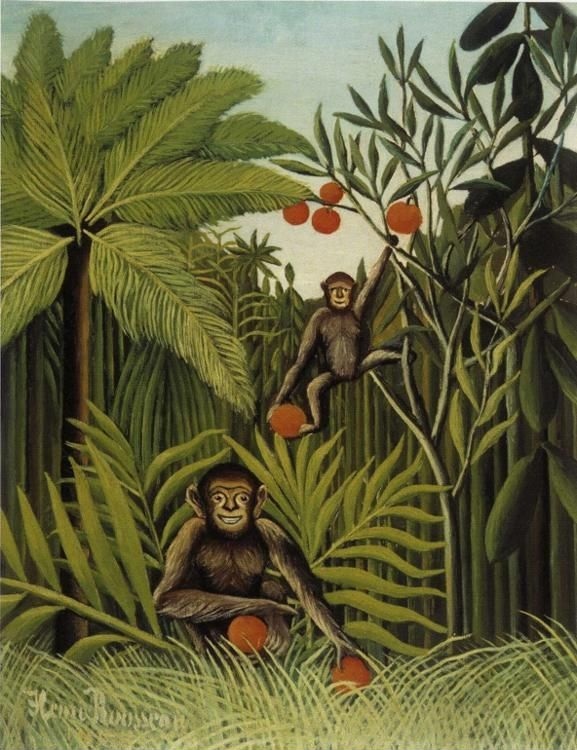
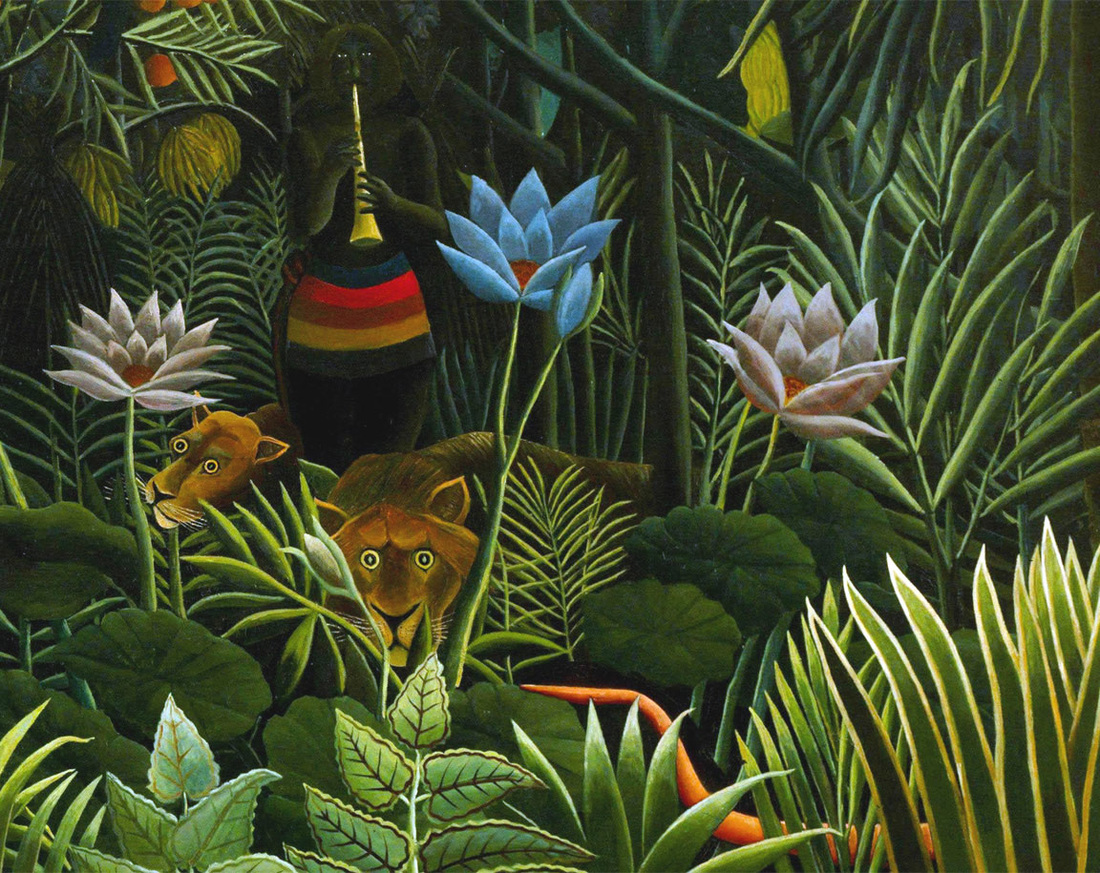
​I introduced the students to the artwork by artist Henri Rousseau.  
Henri Rousseau was a post-impressionist painter in France.  Although he did many types of paintings, he is well-known for his works of jungle animals. 
Here are a few images of his work:
Picture
Picture
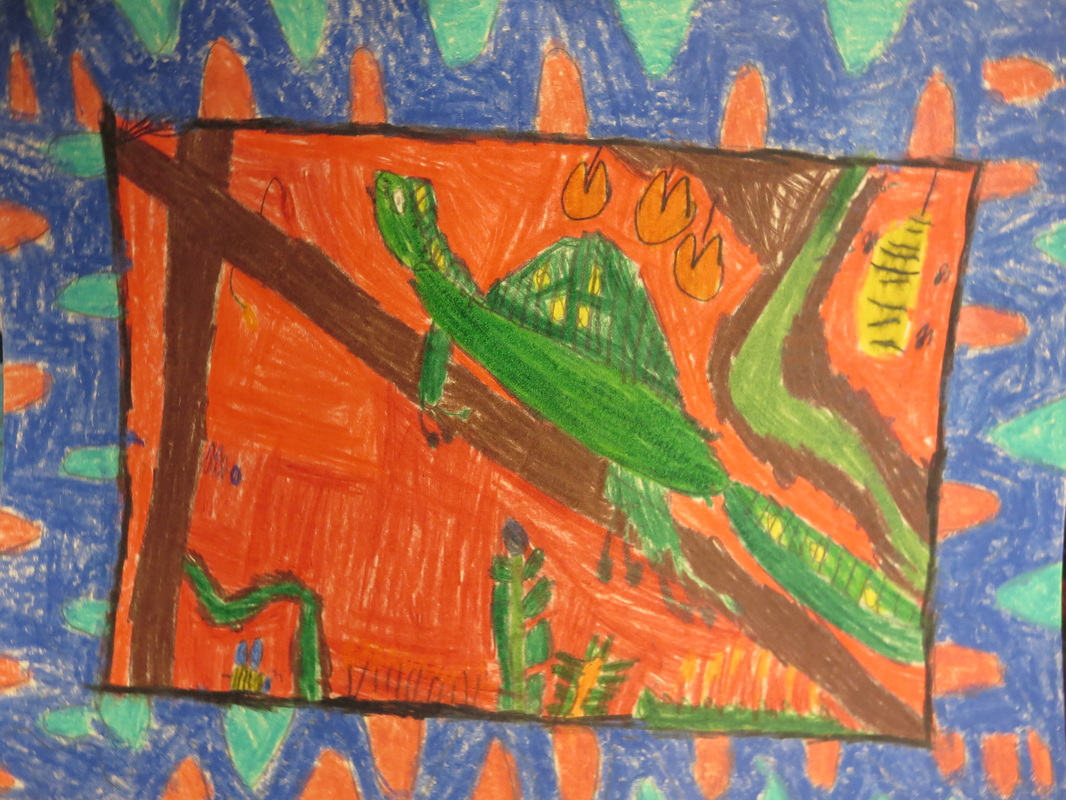
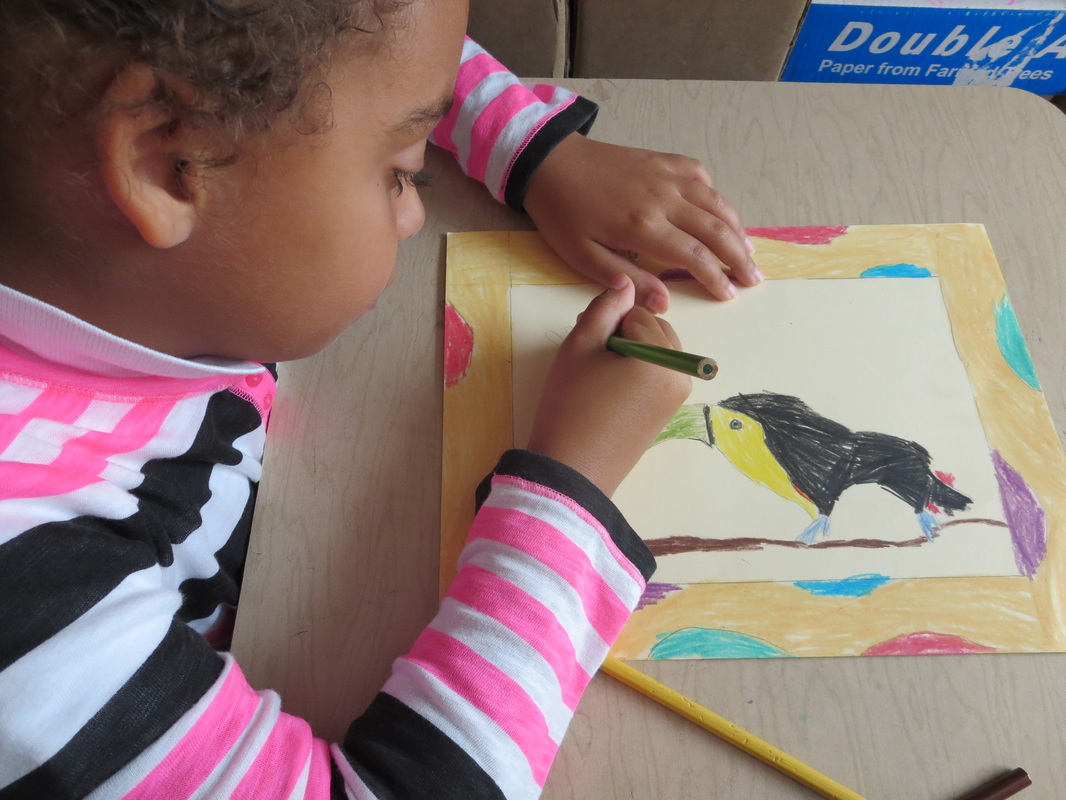
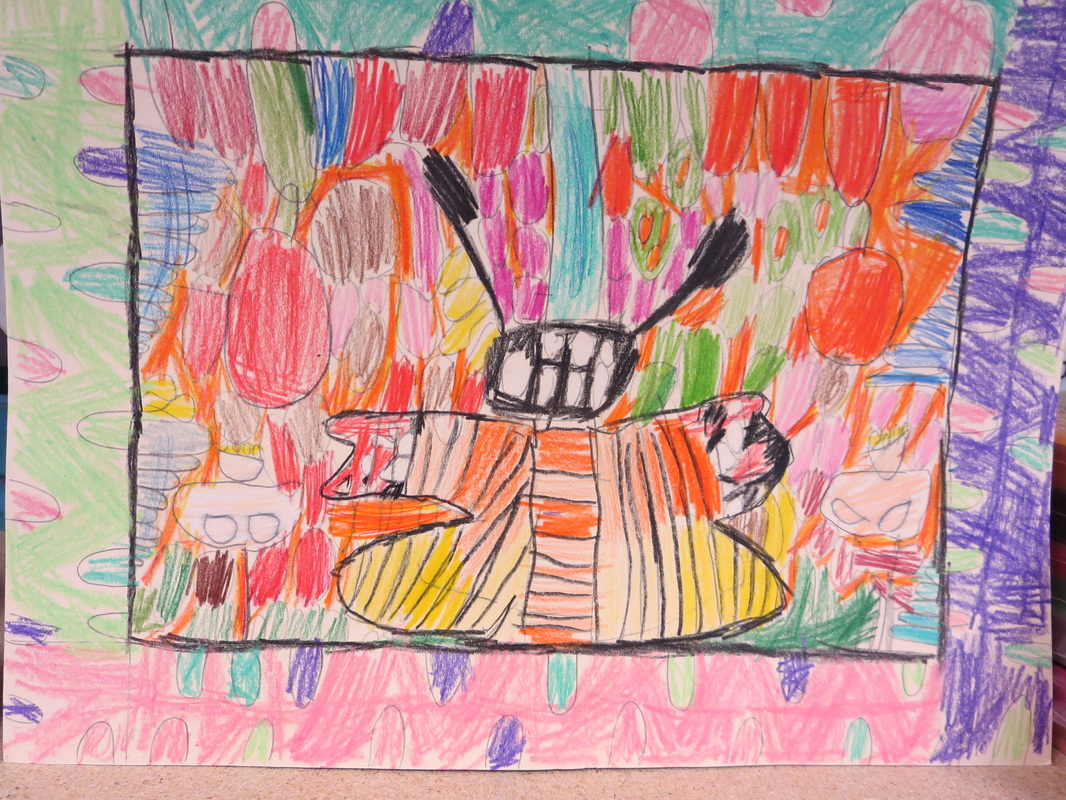
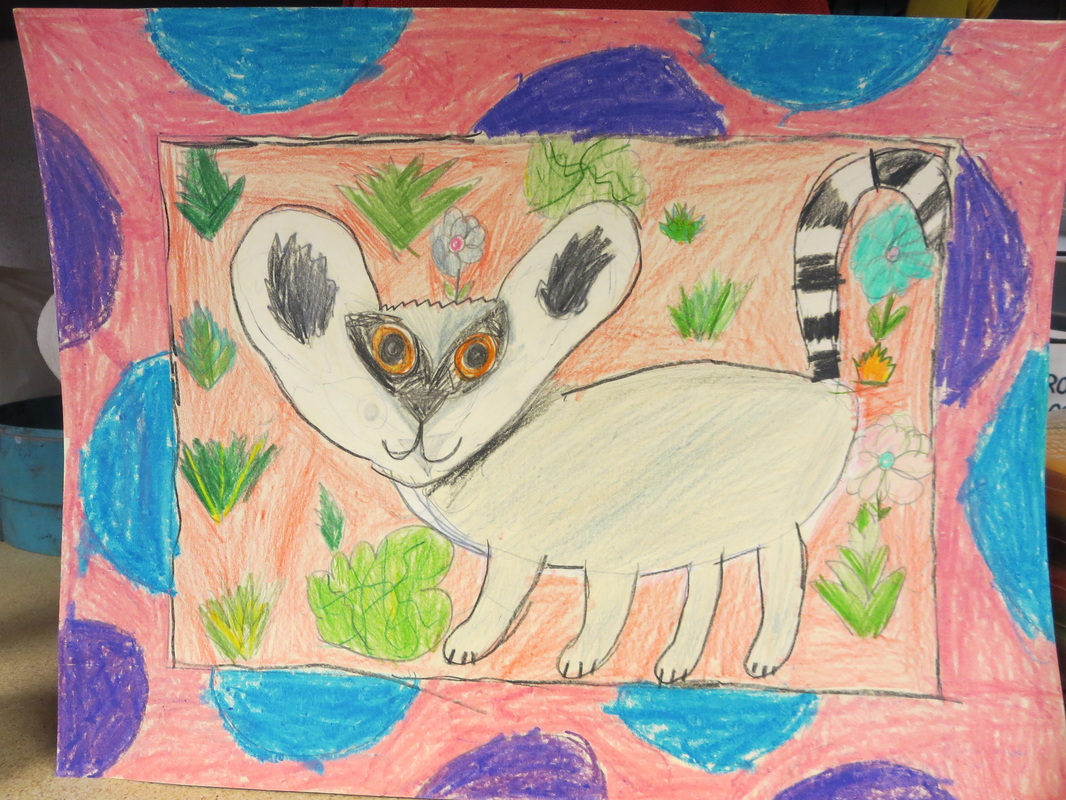
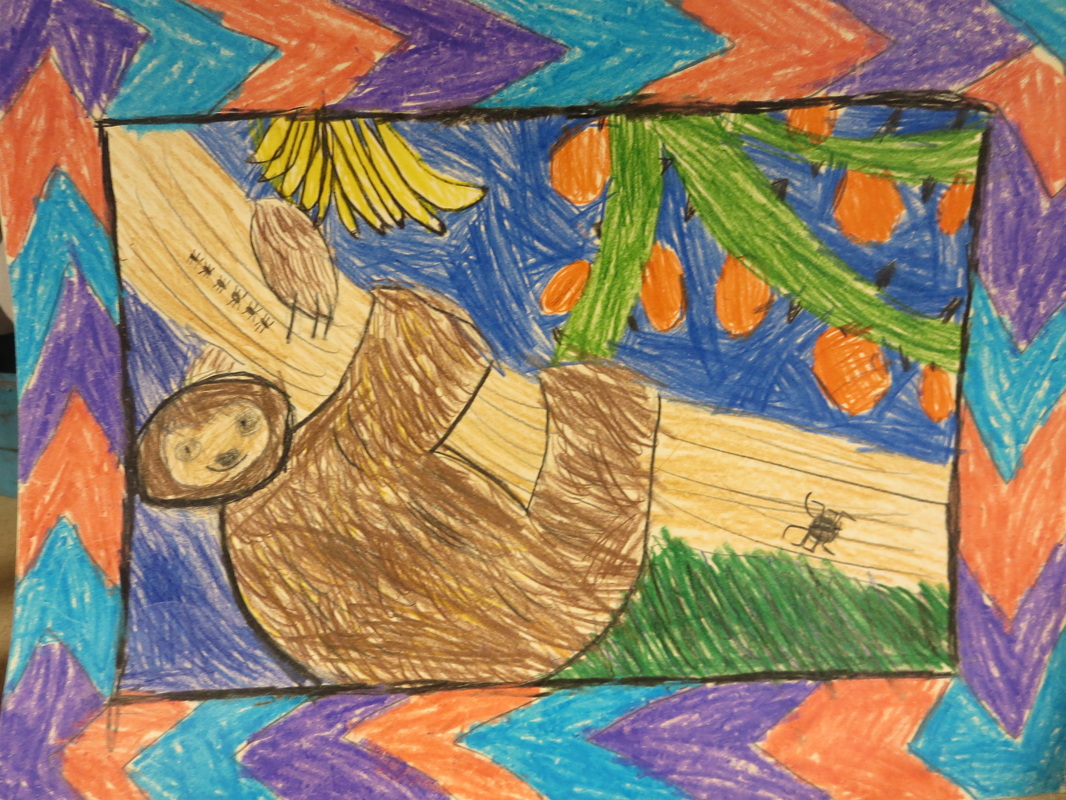
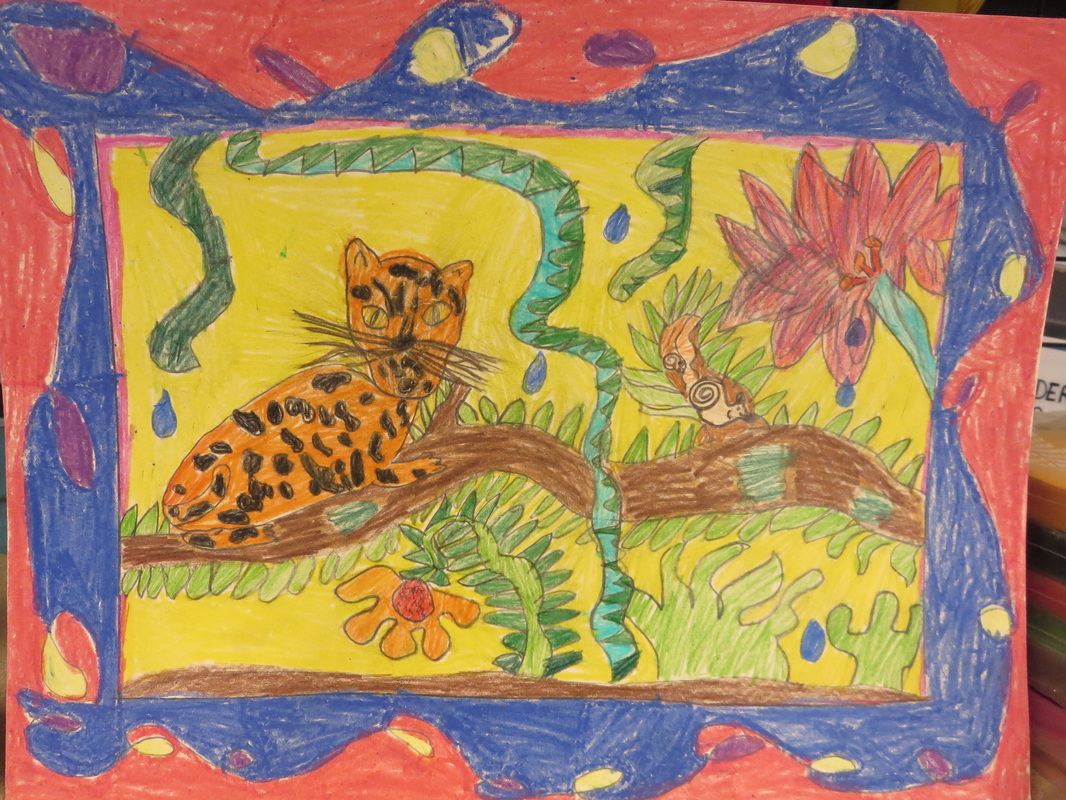
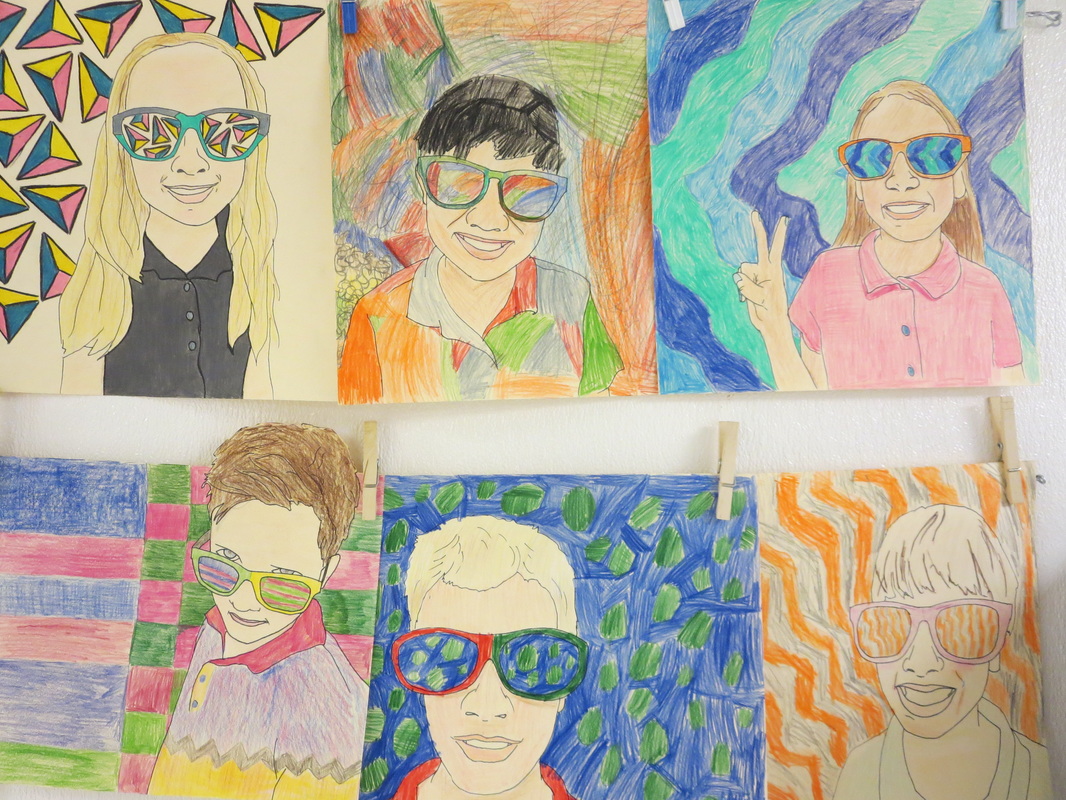
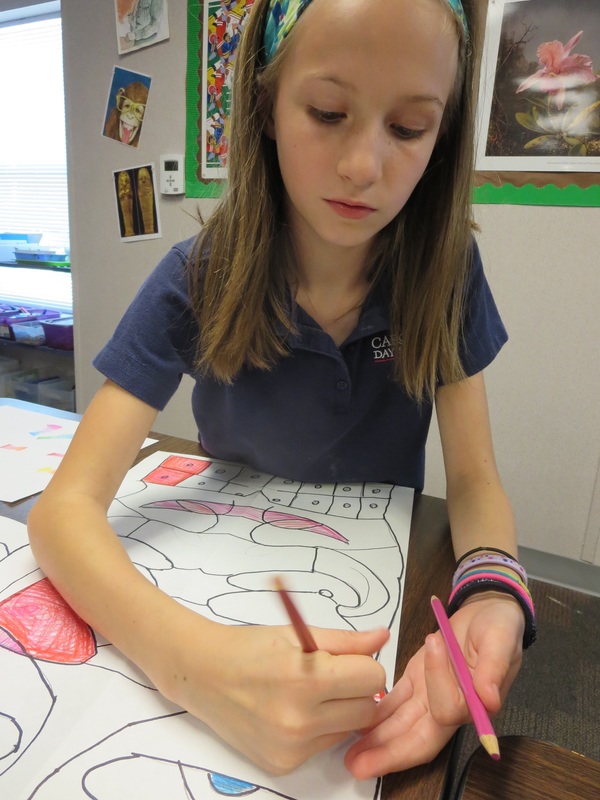
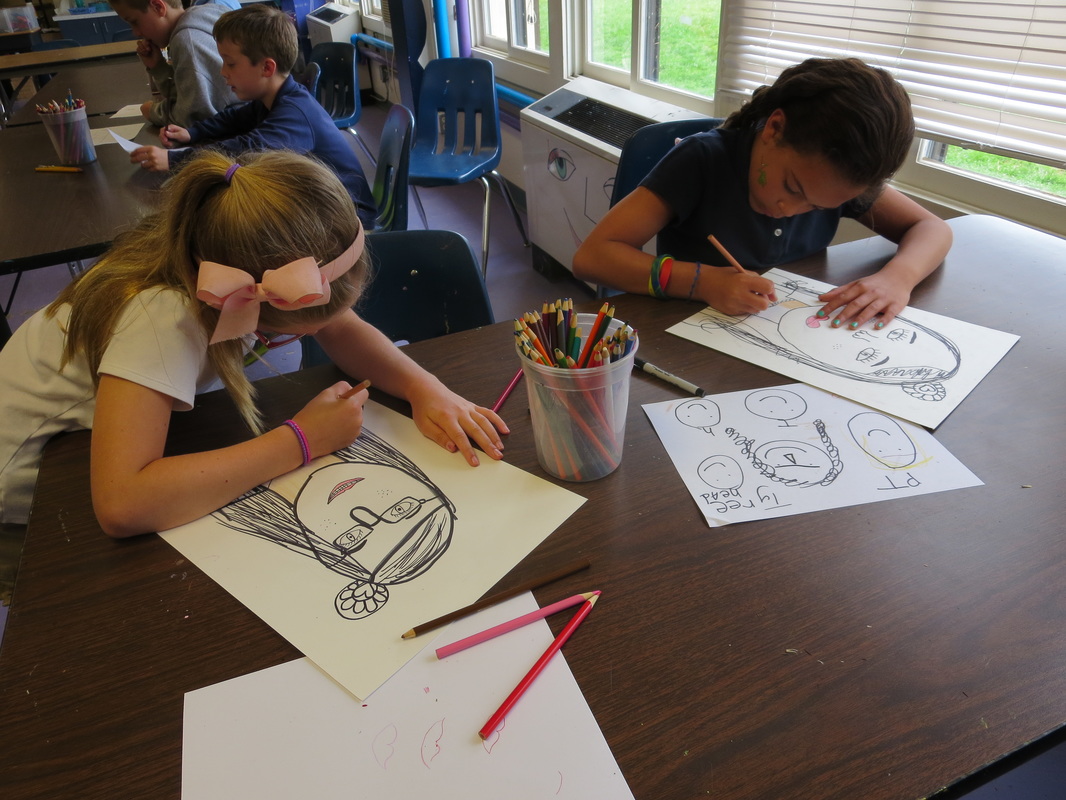
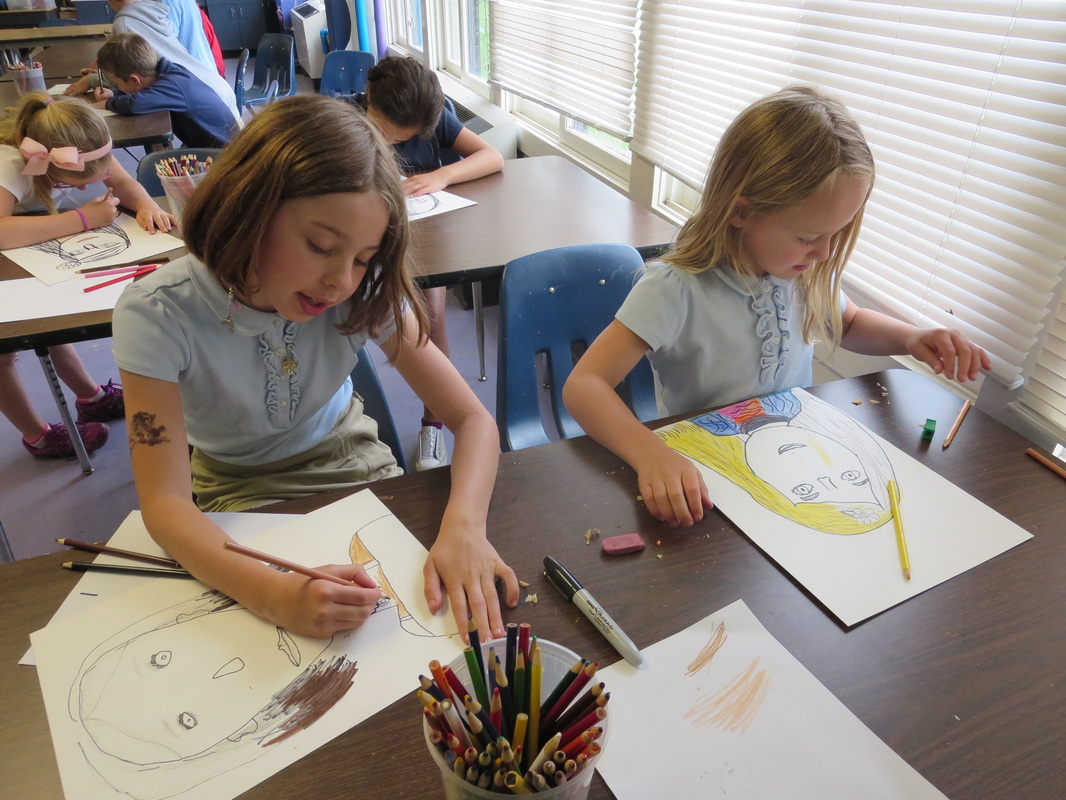
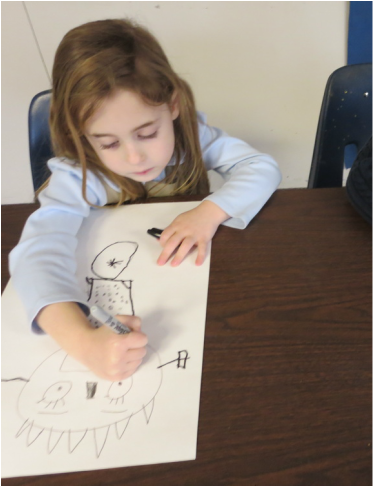
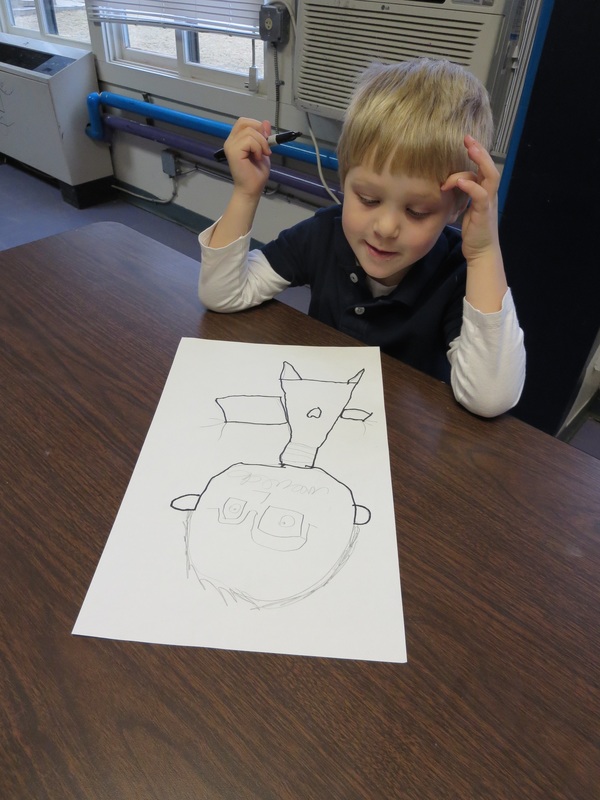
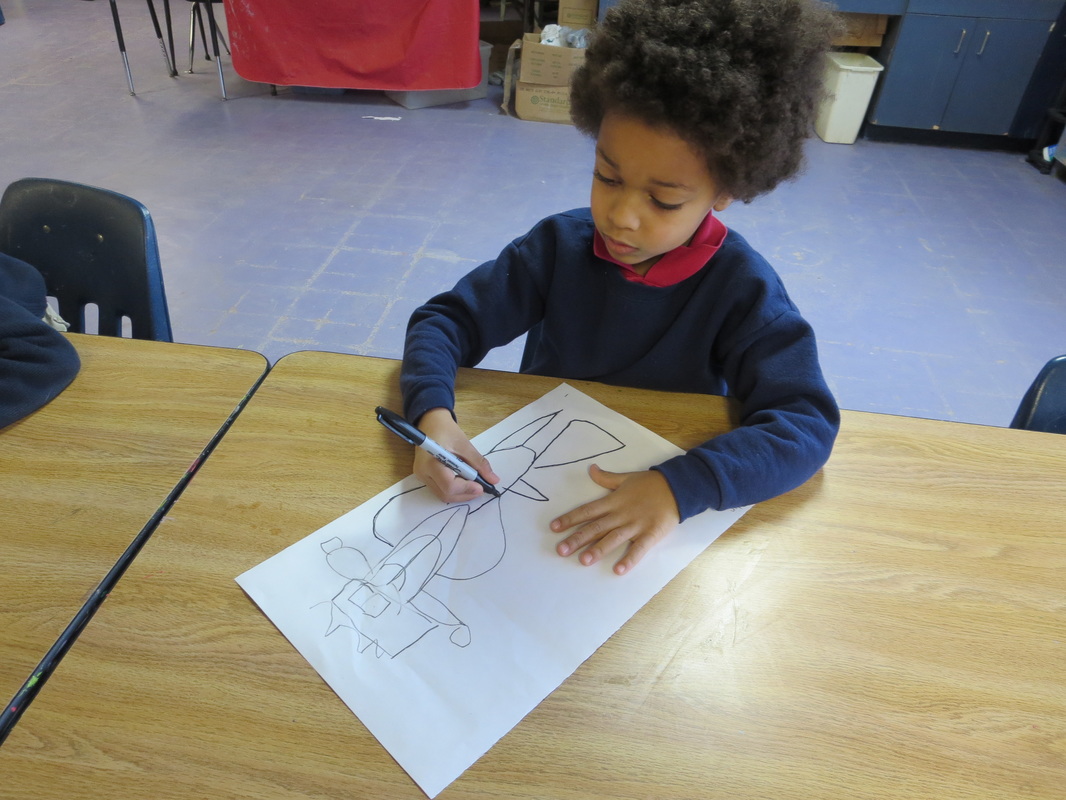
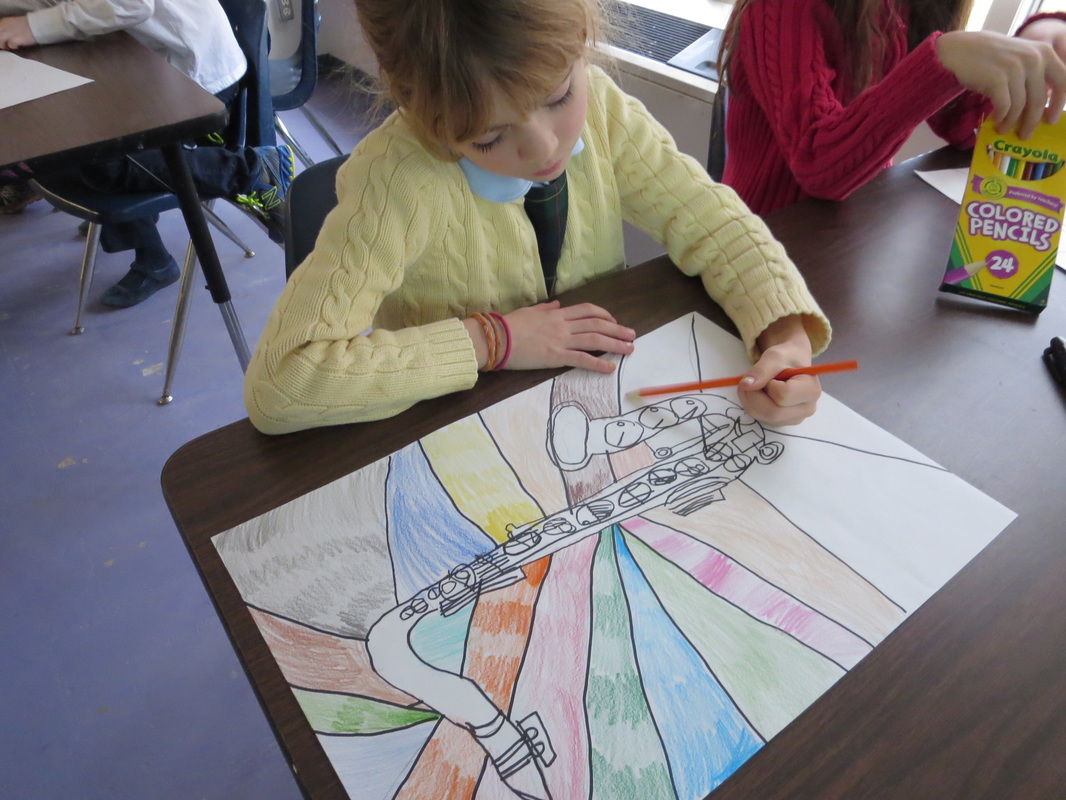
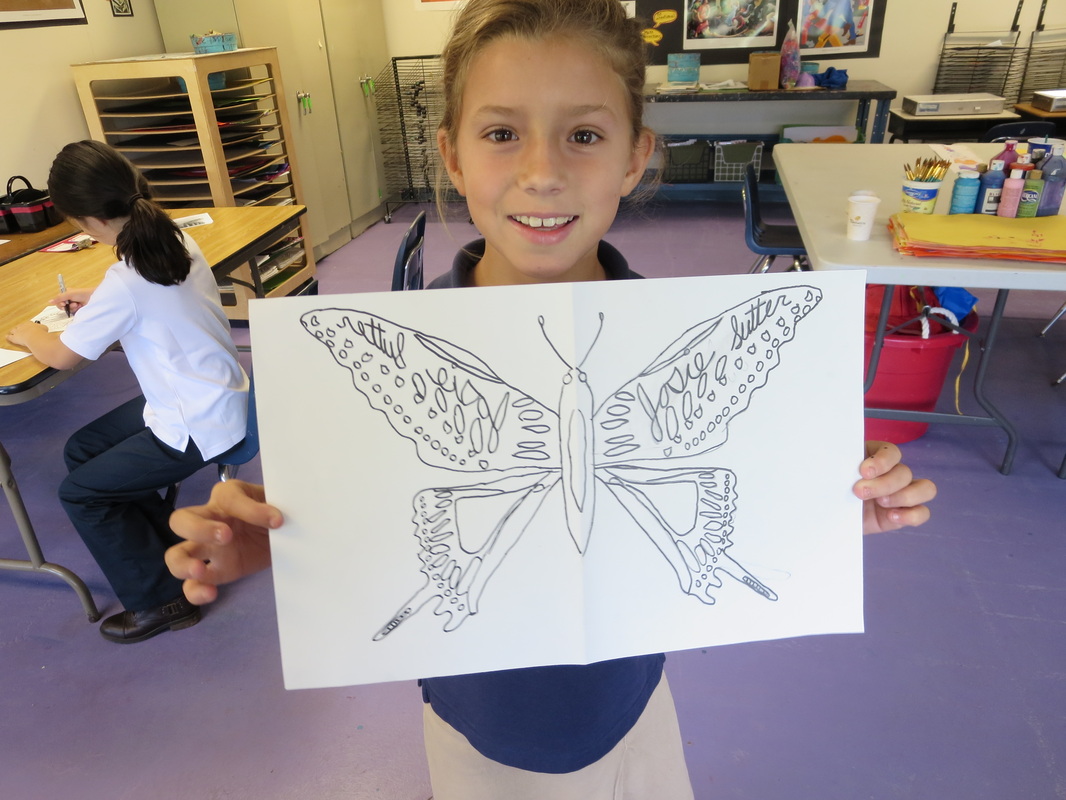
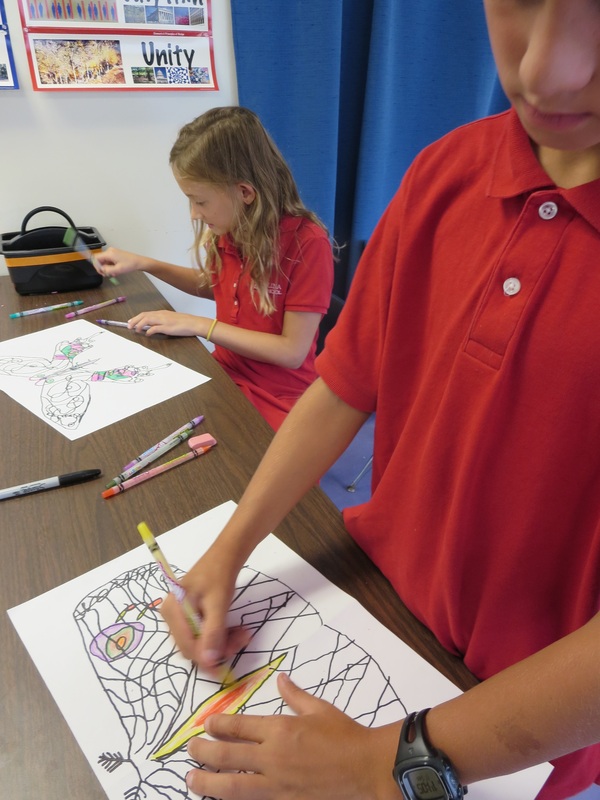
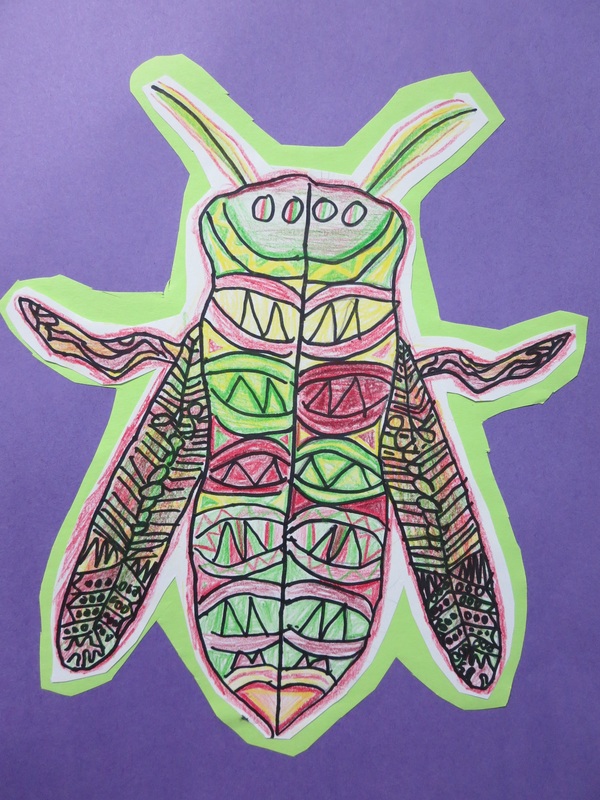
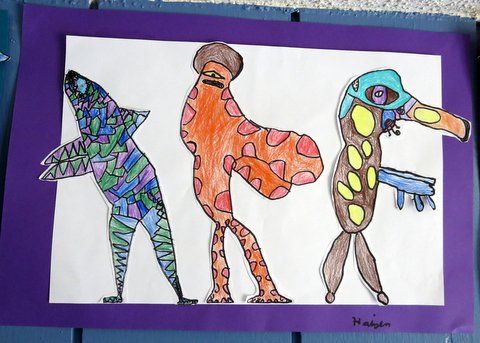
 After looking at and discussing Rousseau's artwork, 3rd graders began their own art work inspired by the rainforest.

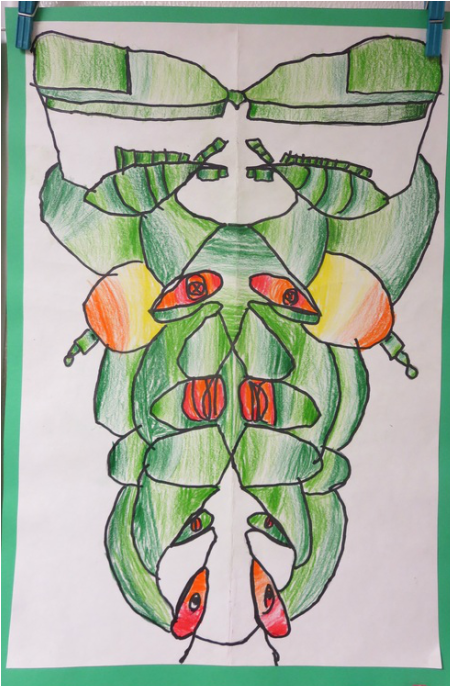
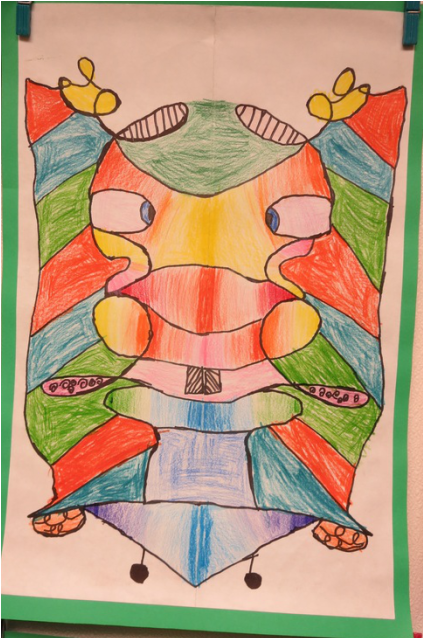
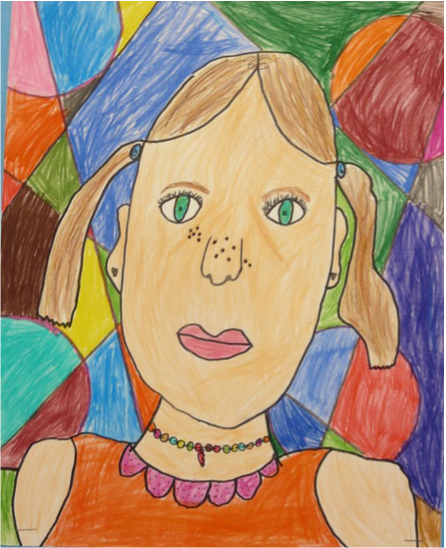
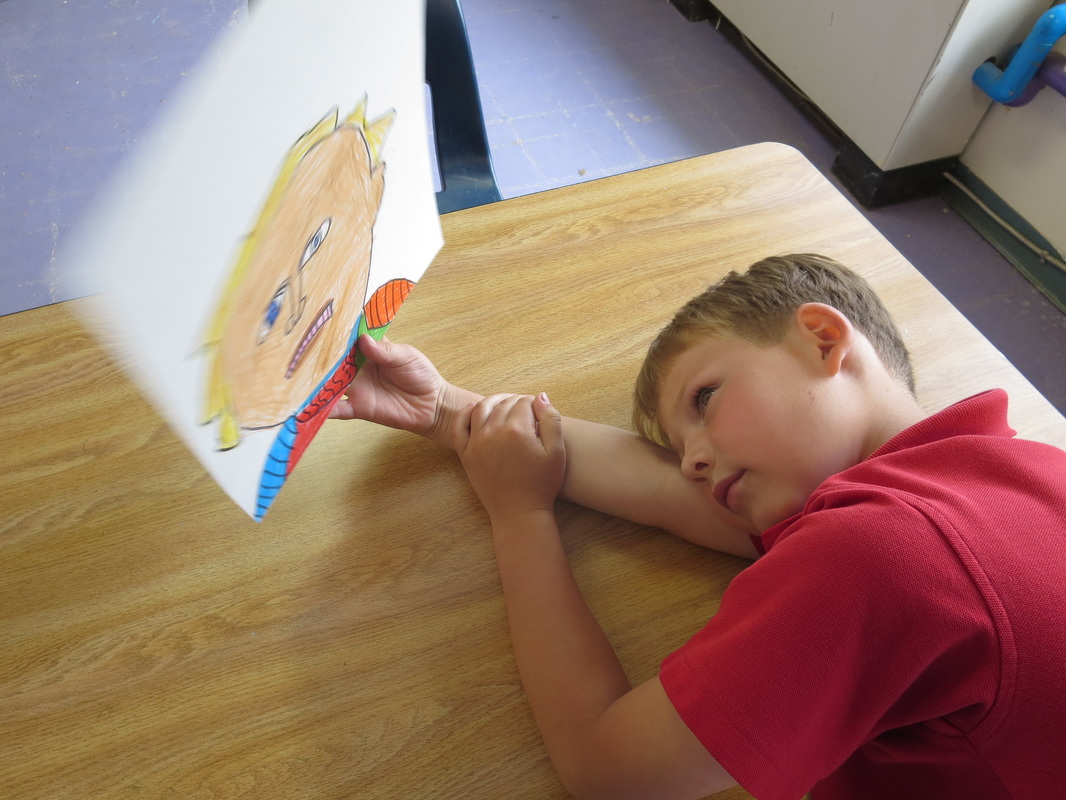
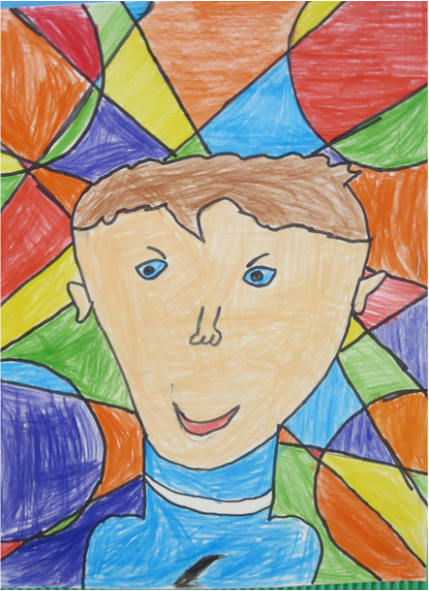
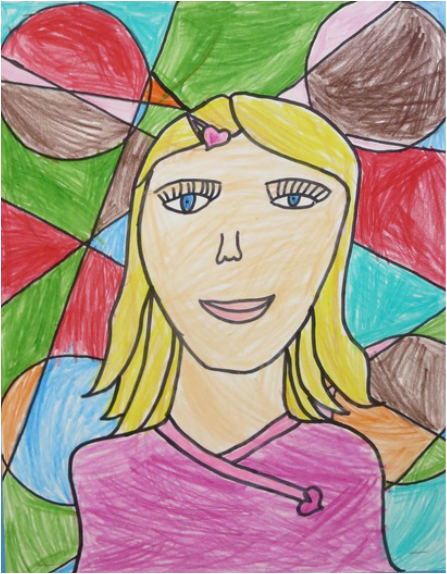
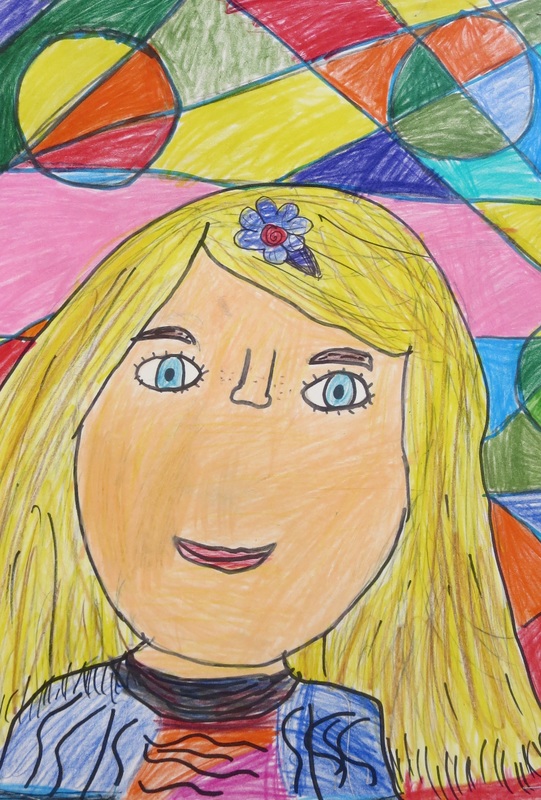
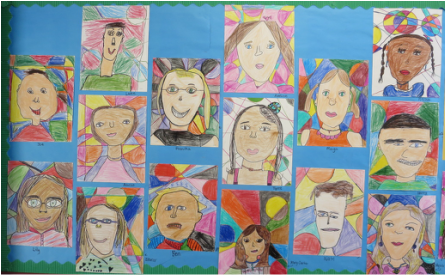
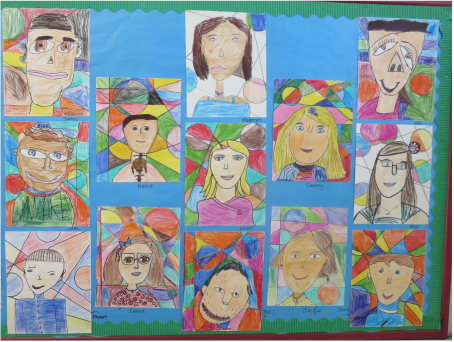
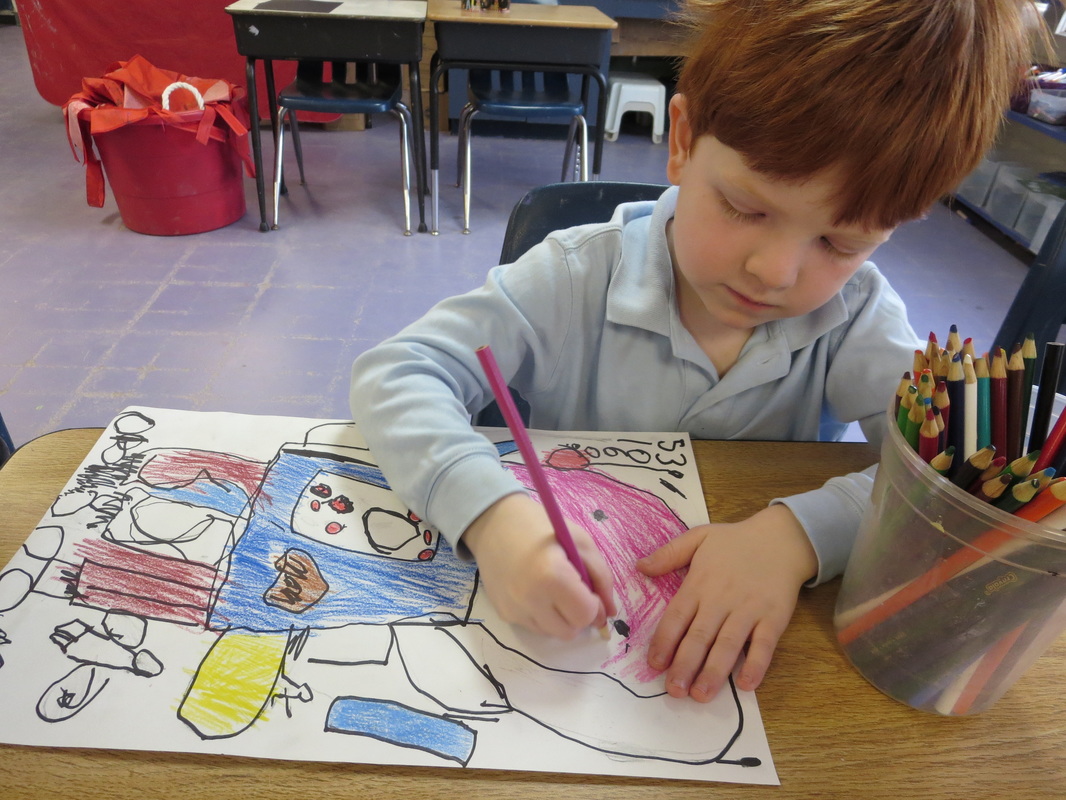
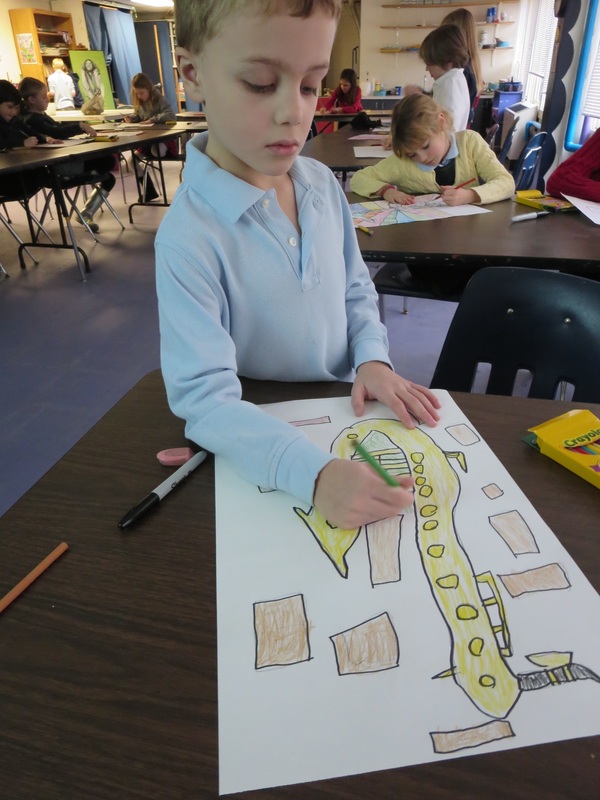
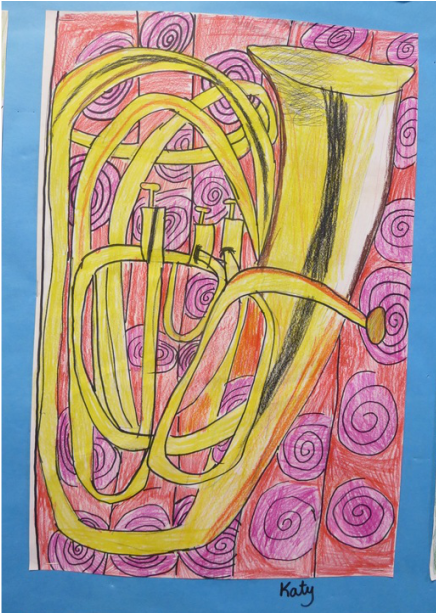
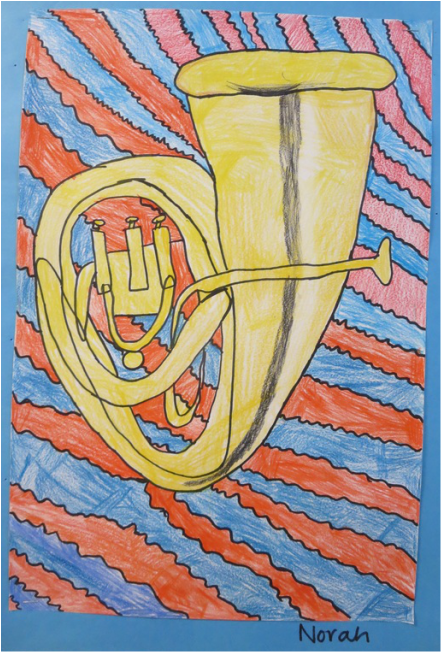
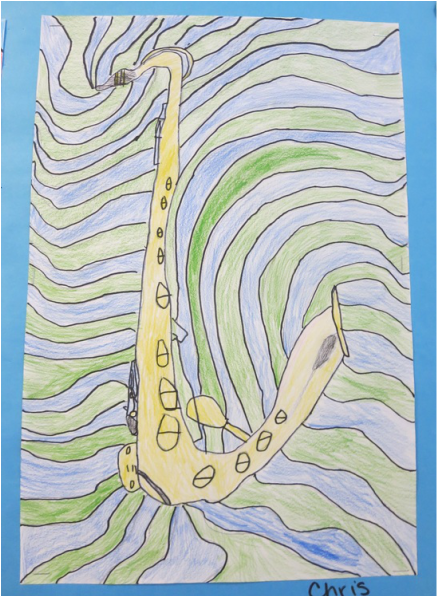
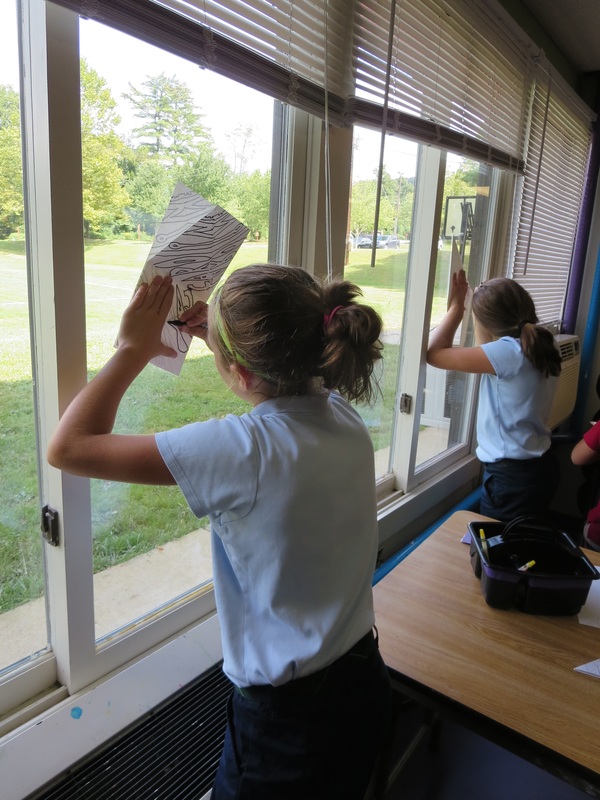
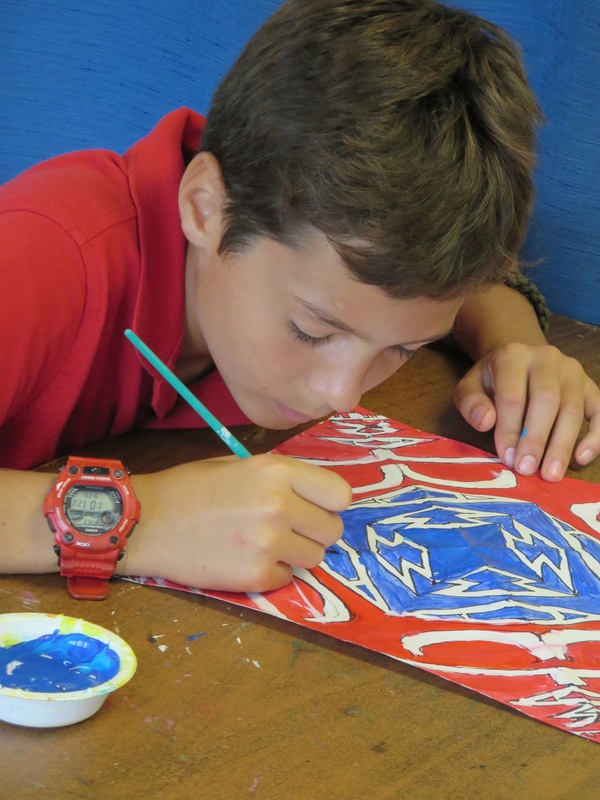
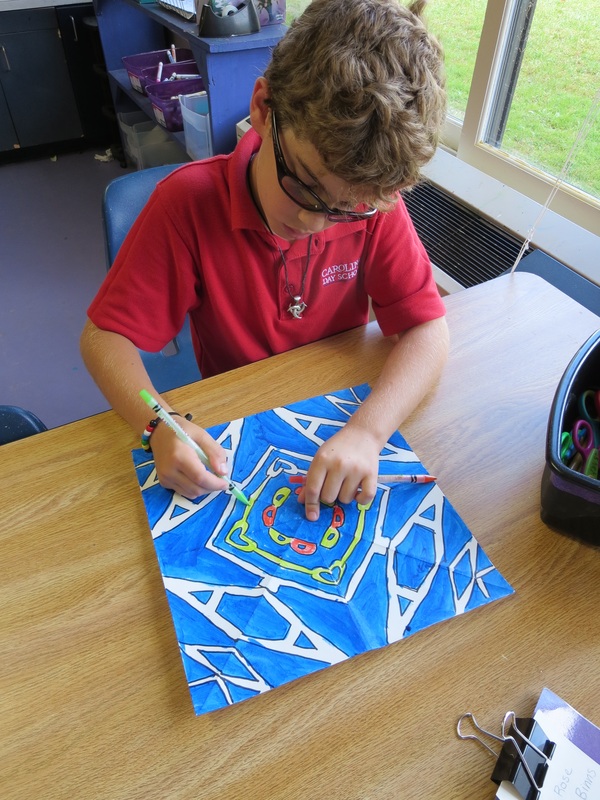
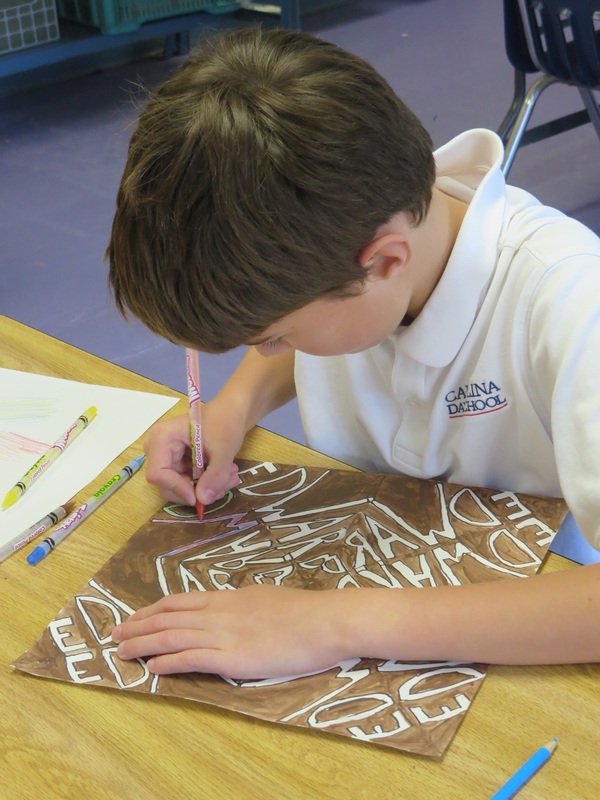
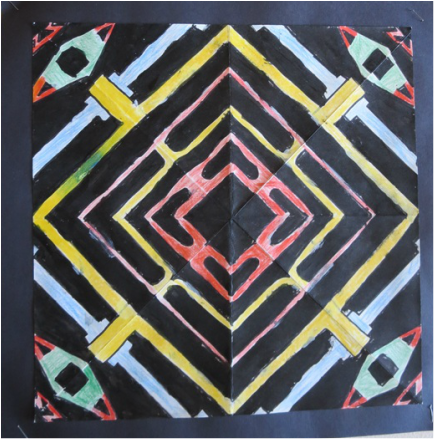
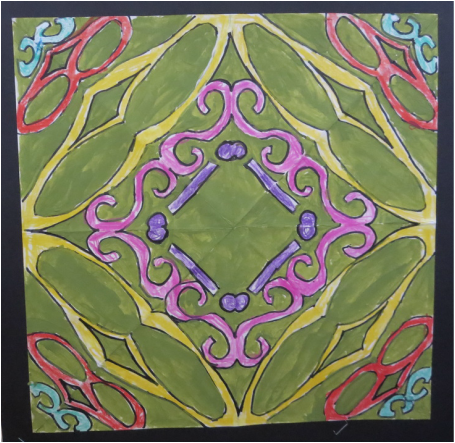
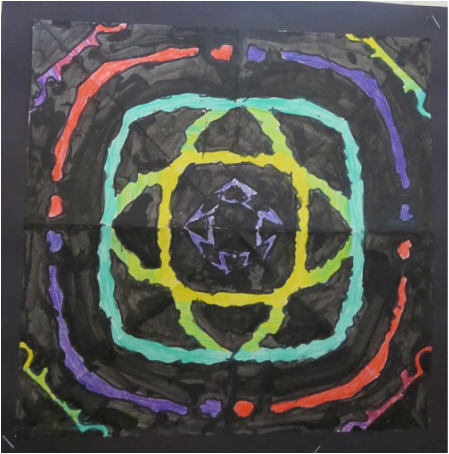
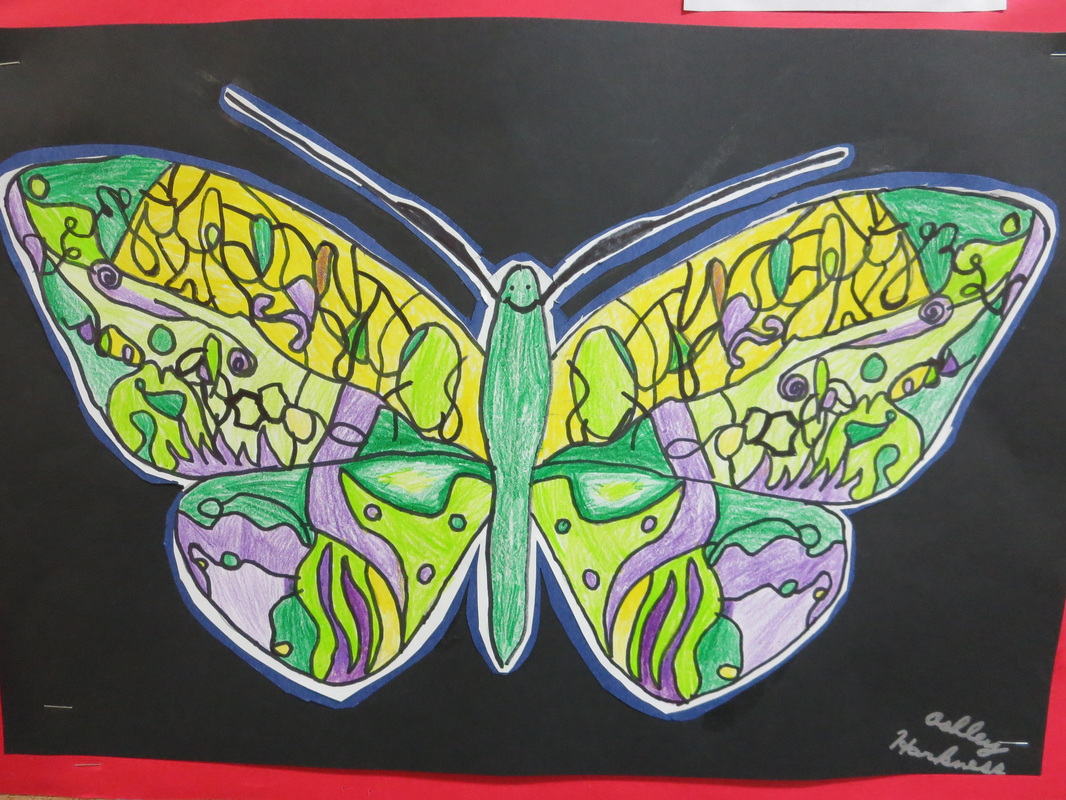
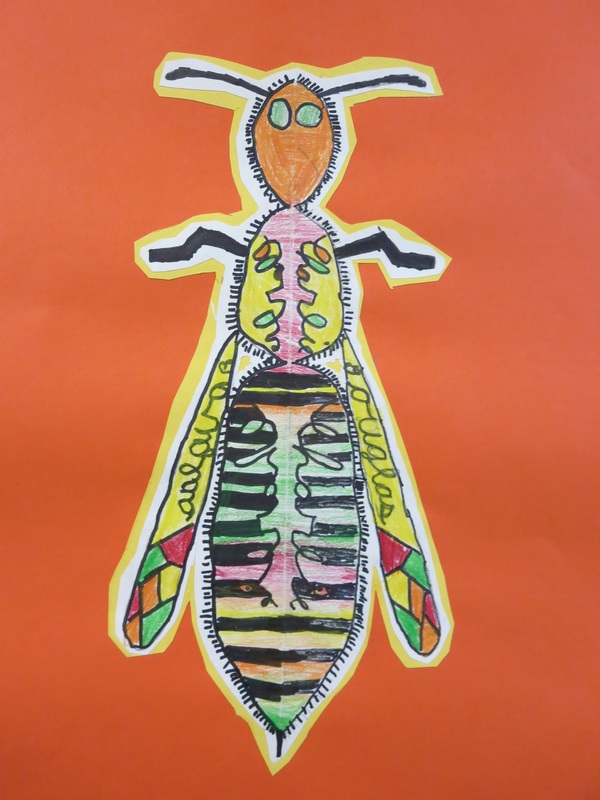
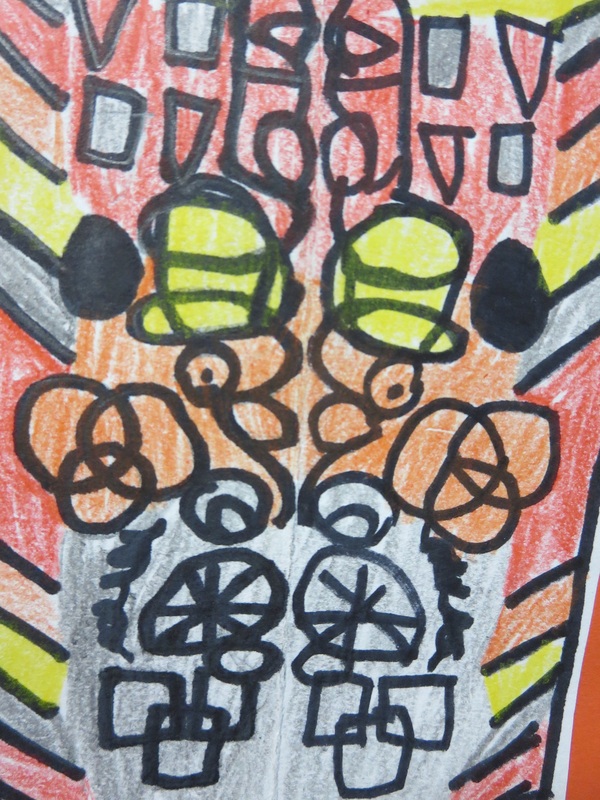
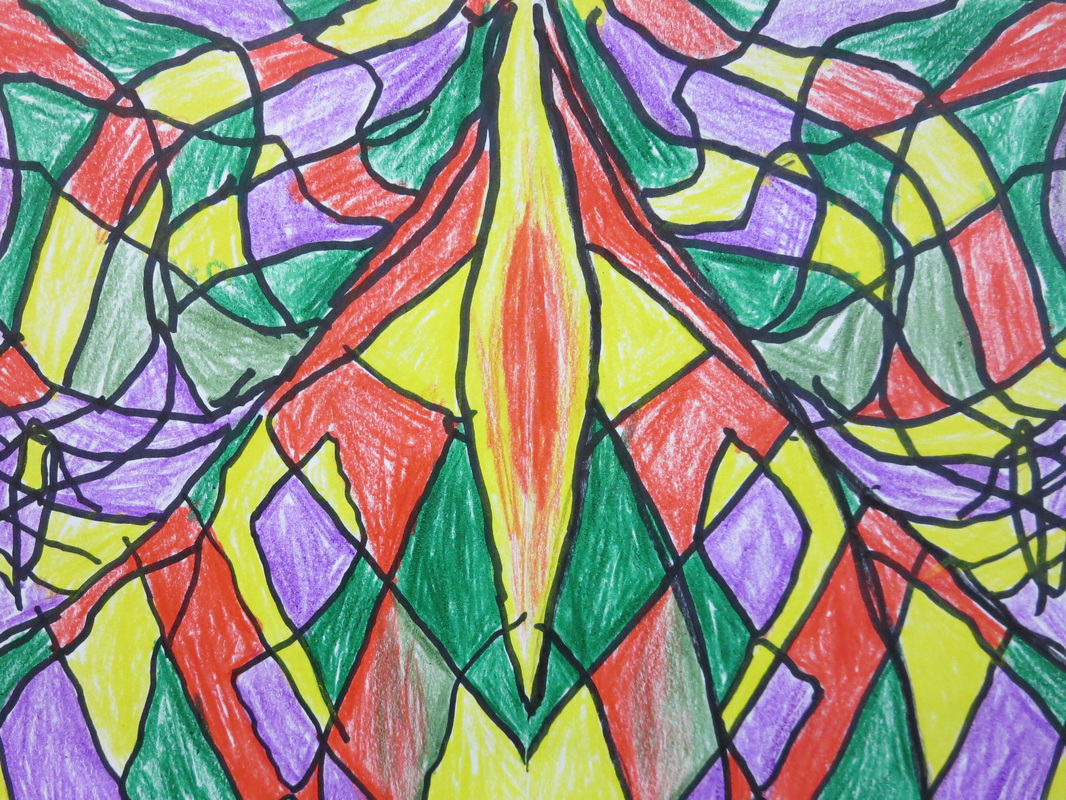
​​Students began by creating a colorful border of repetitive shapes and colors using construction paper crayons to have an interesting border for their drawings.  
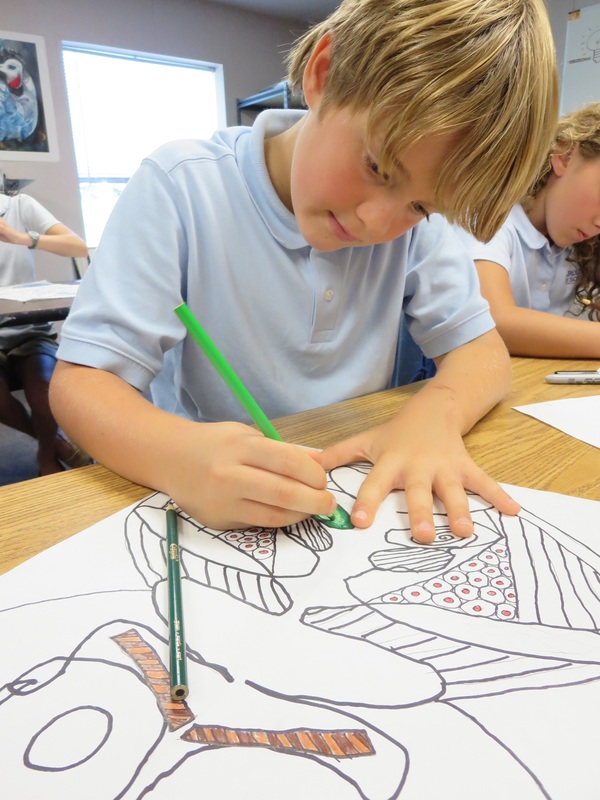
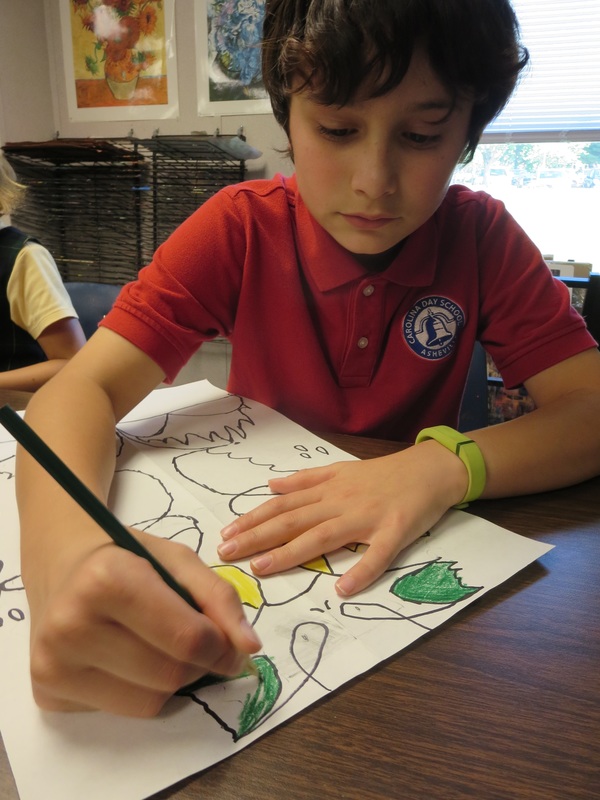
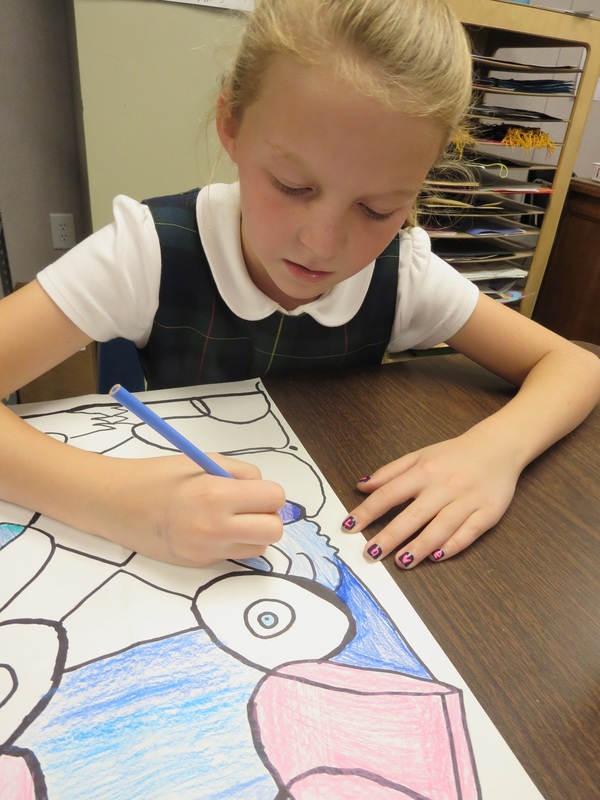
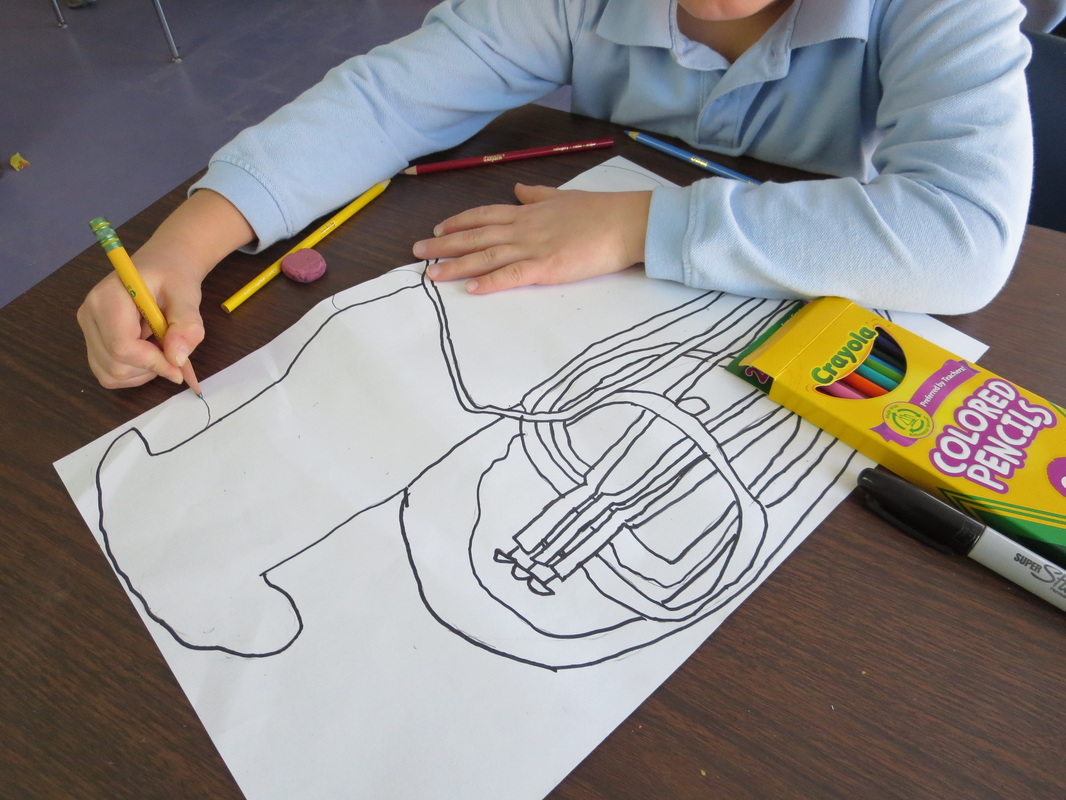
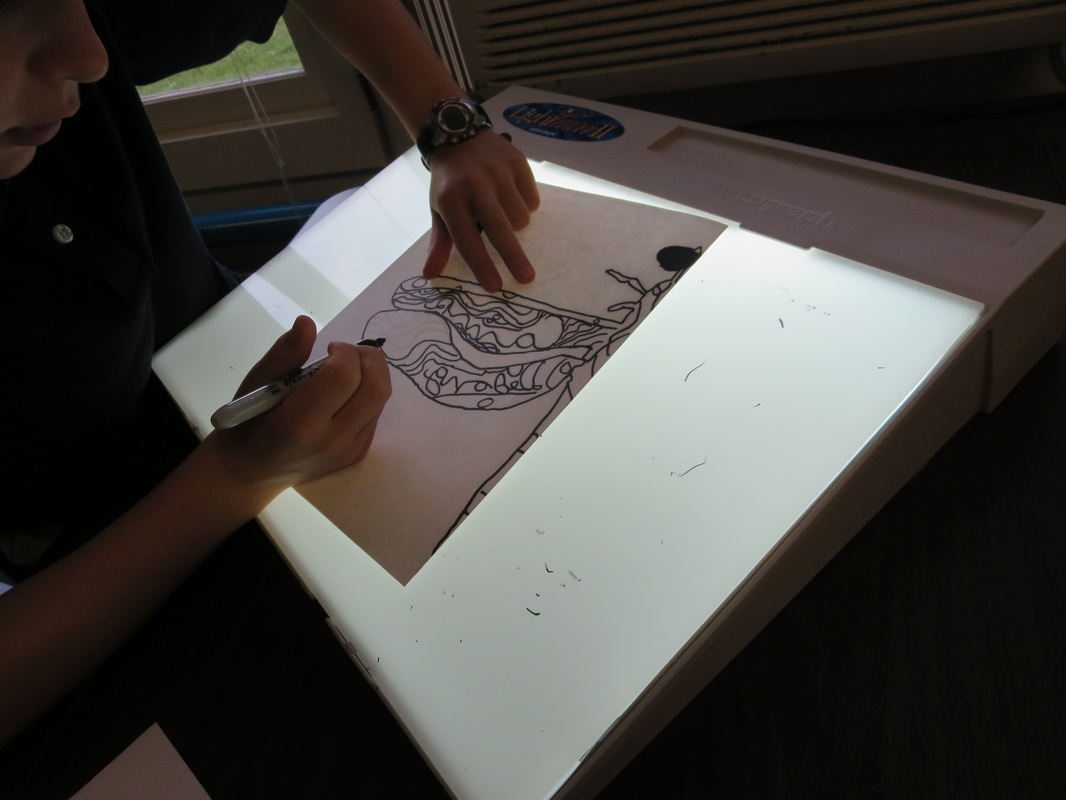
​Next, each student selected a photograph of a rainforest animal and challenged themselves to do a realistic drawing of it.  This was a tough drawing challenge and the students did an awesome job of showing perseverance.  The students focused on the shapes, colors, and texture of the animal.  They used colored pencils for this.
Picture
Picture
Picture
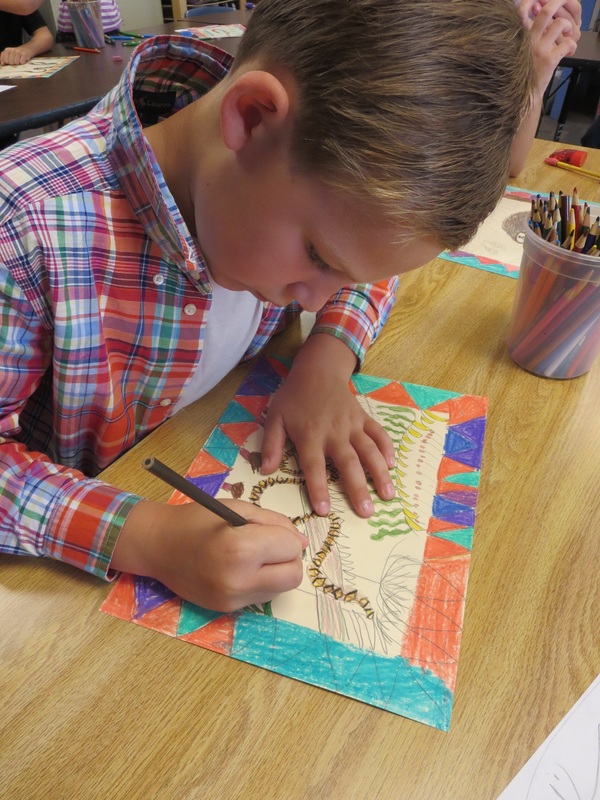
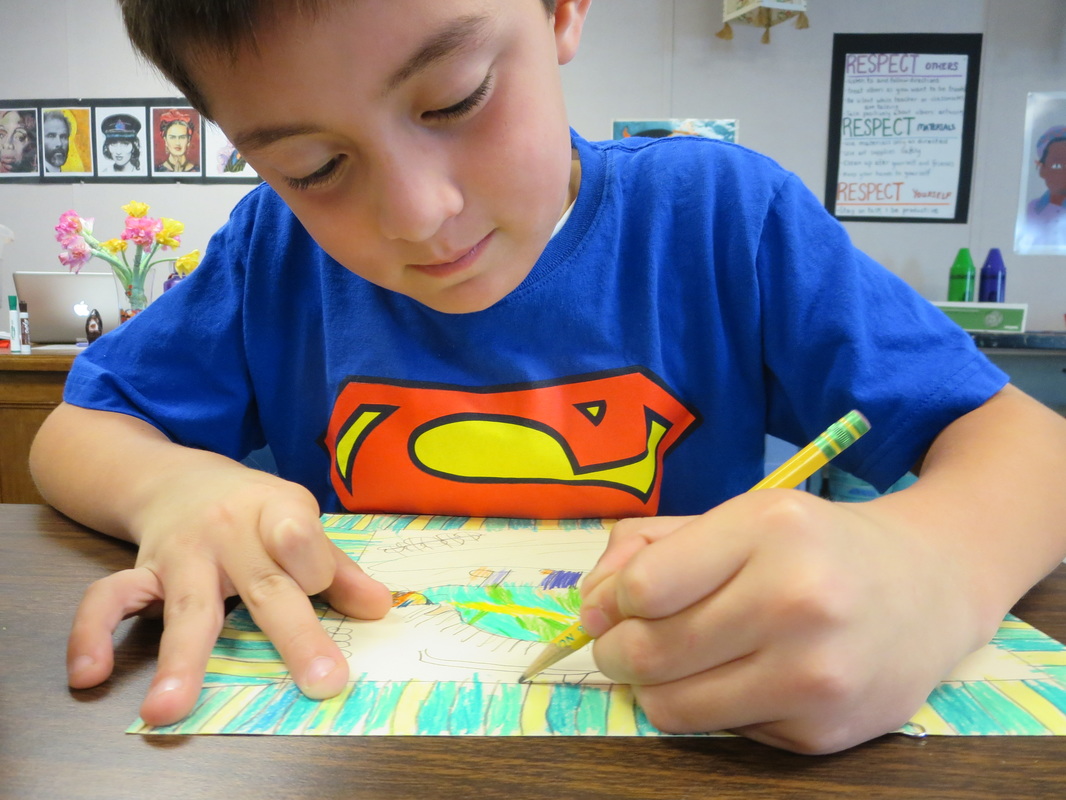
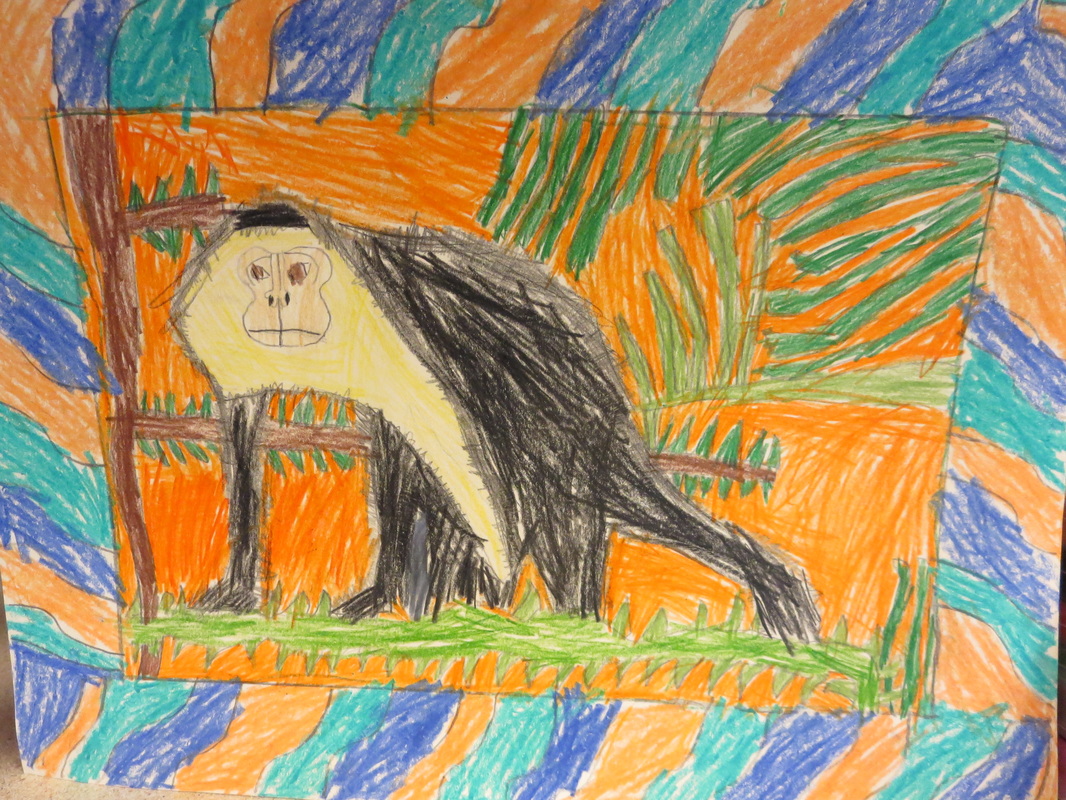
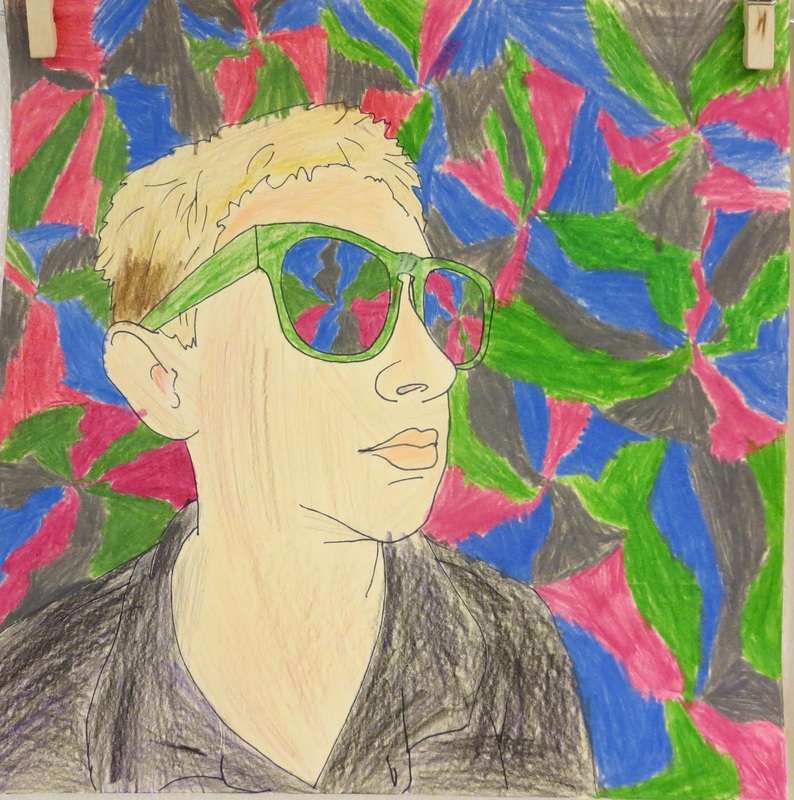
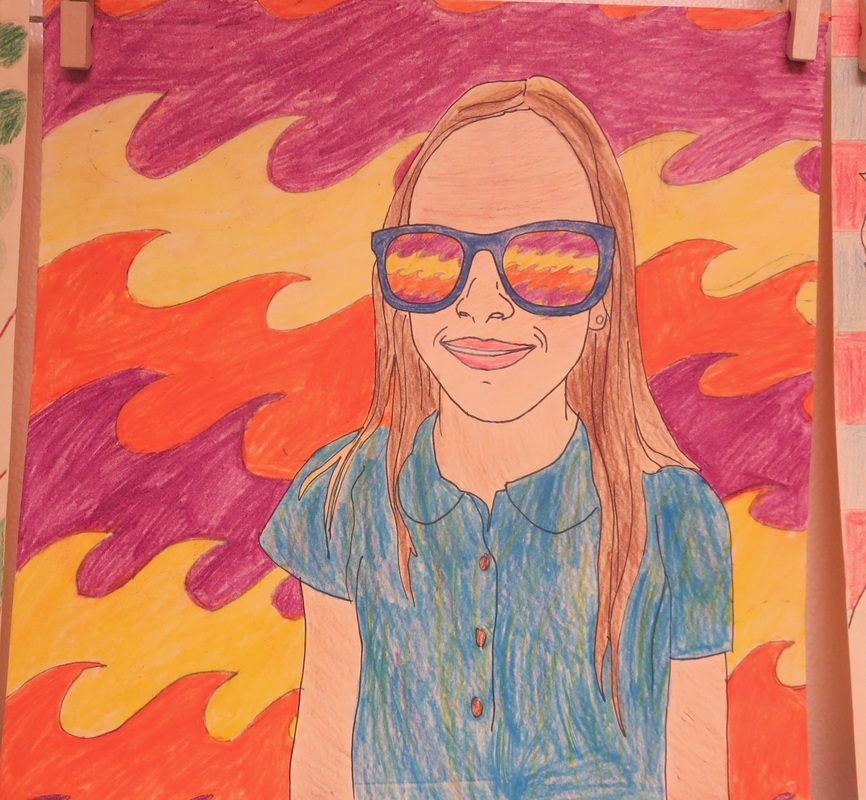
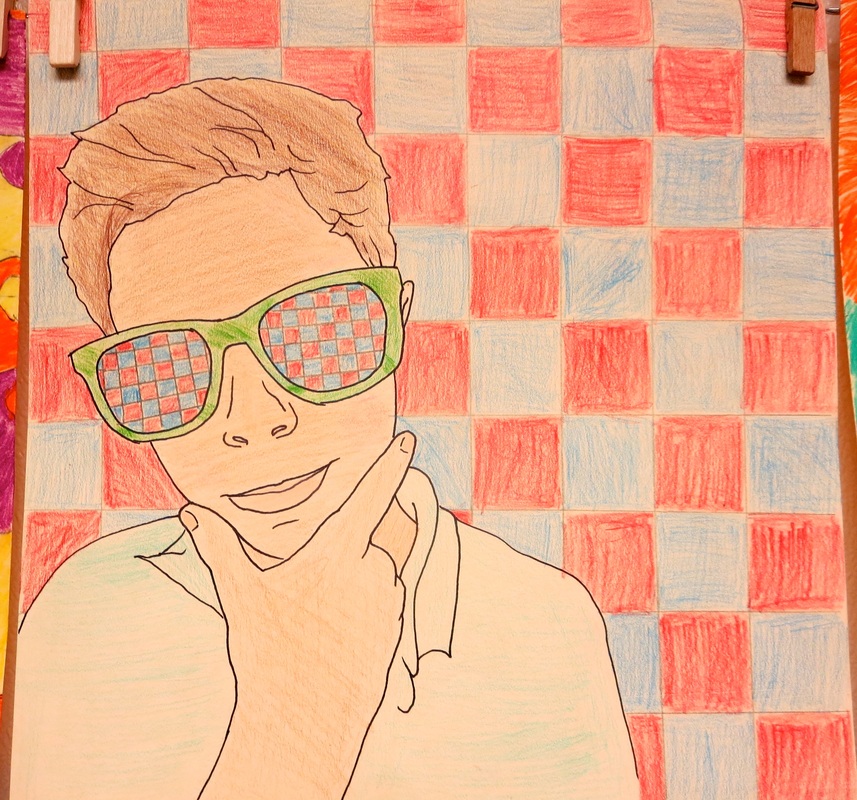
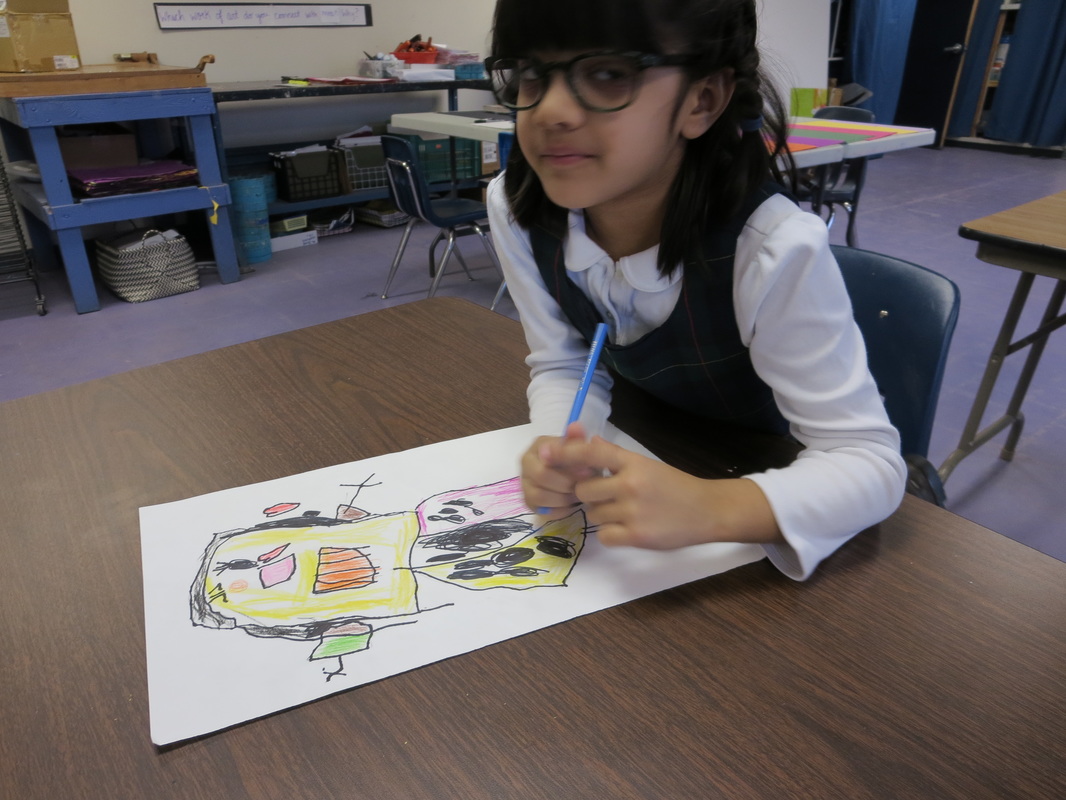
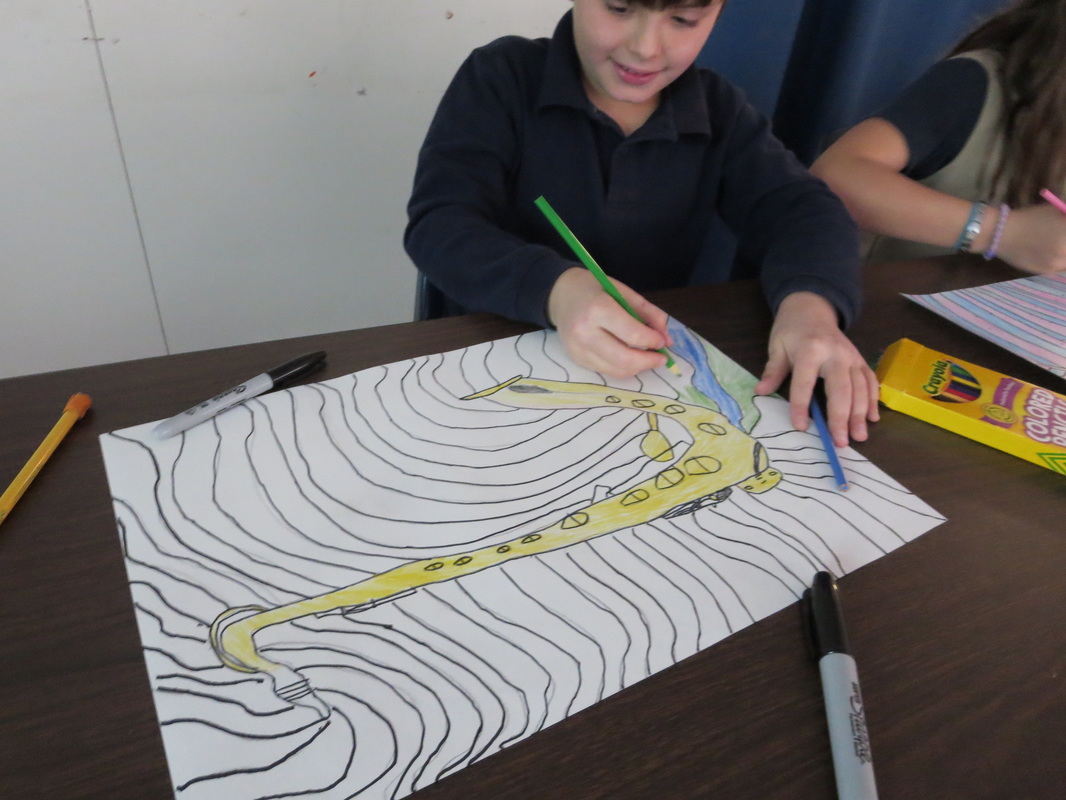
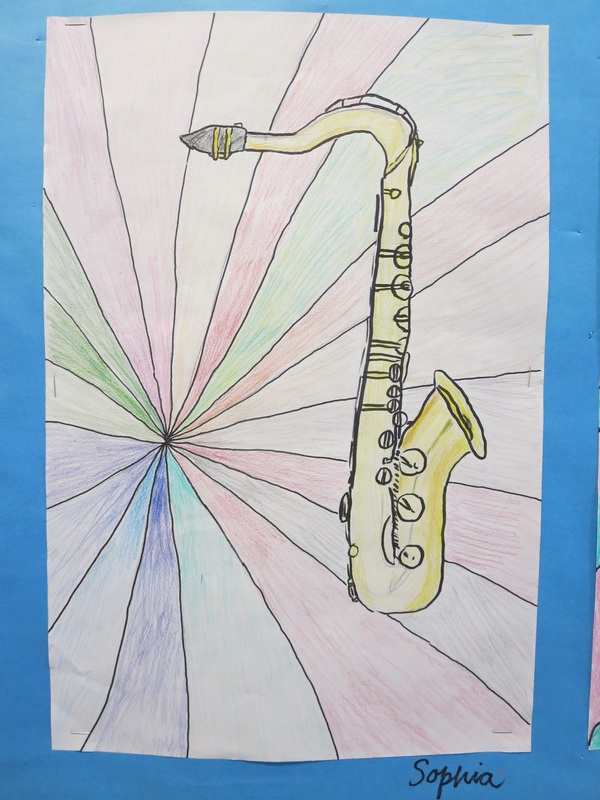
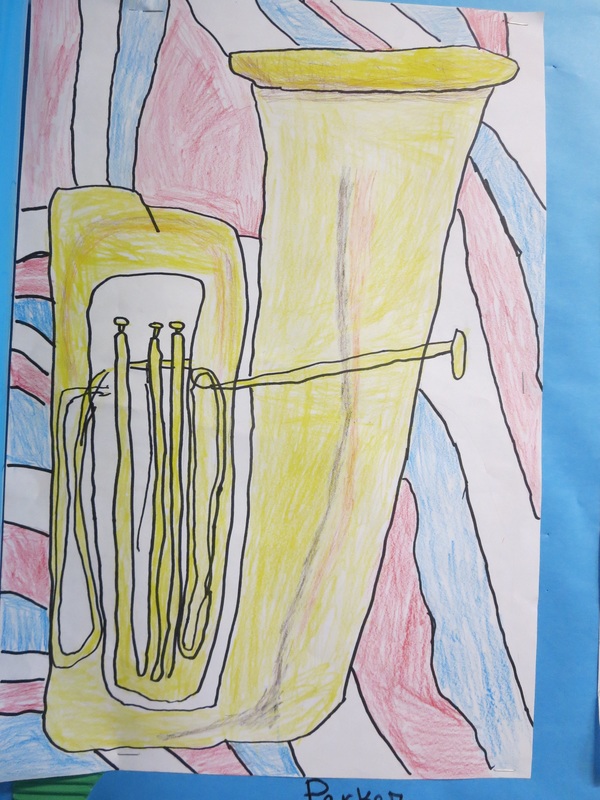
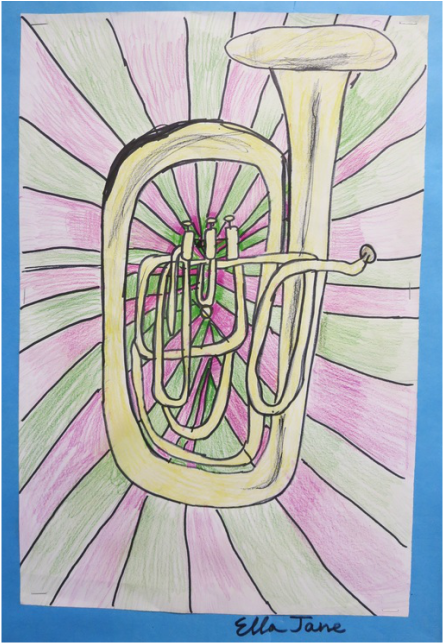
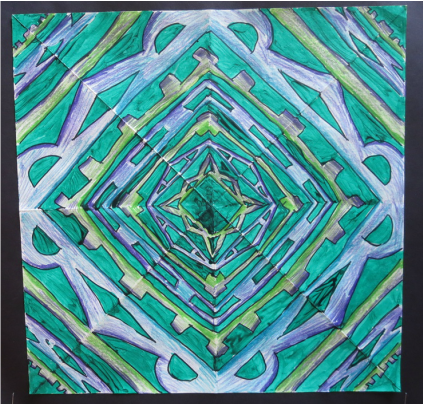
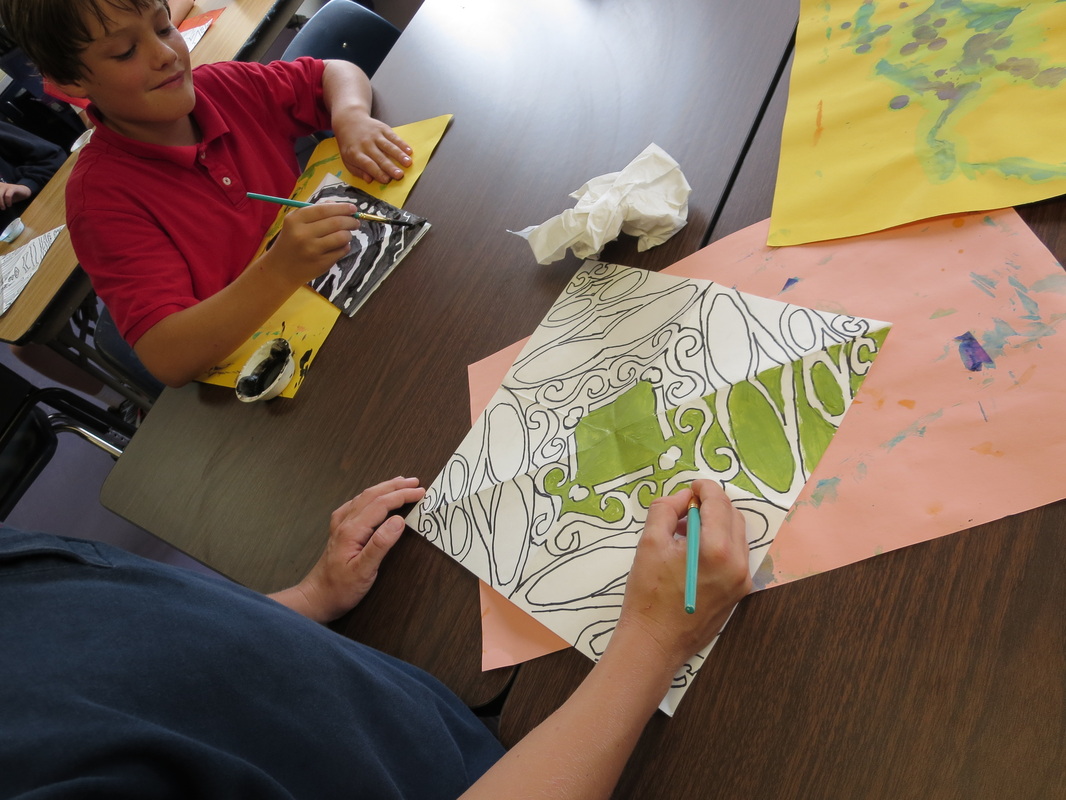
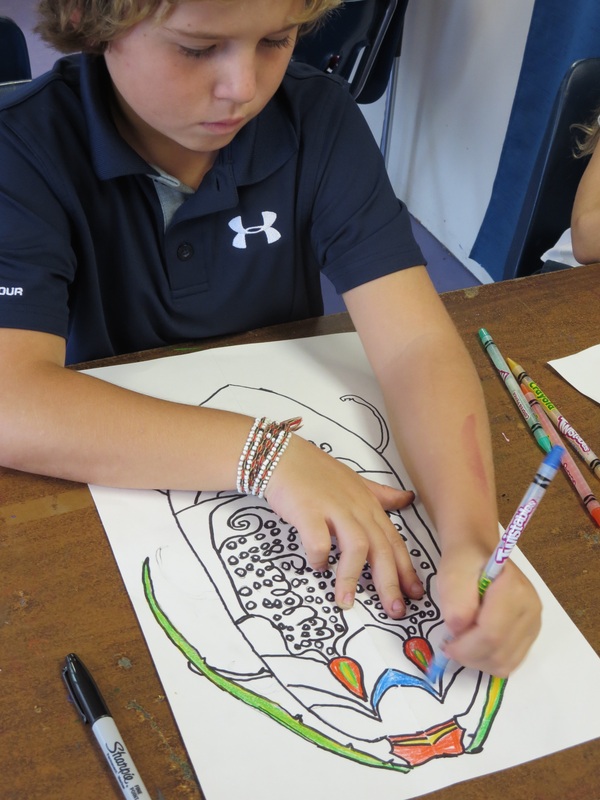
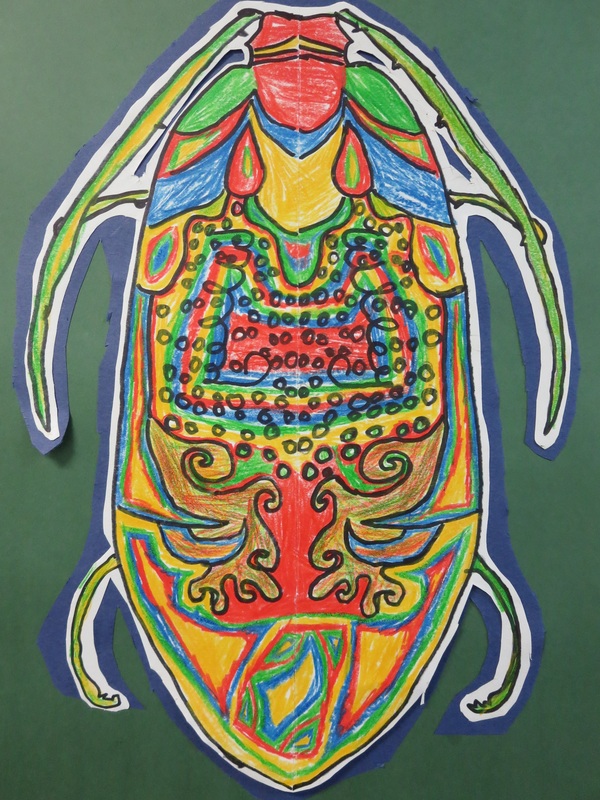
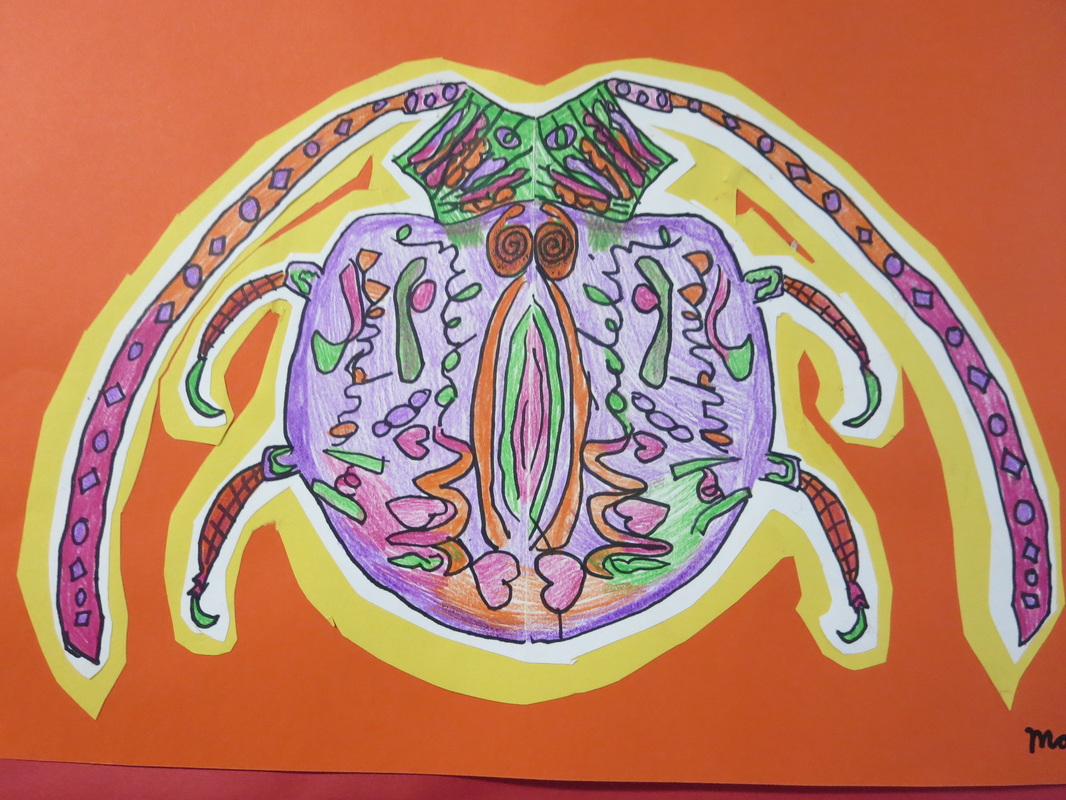
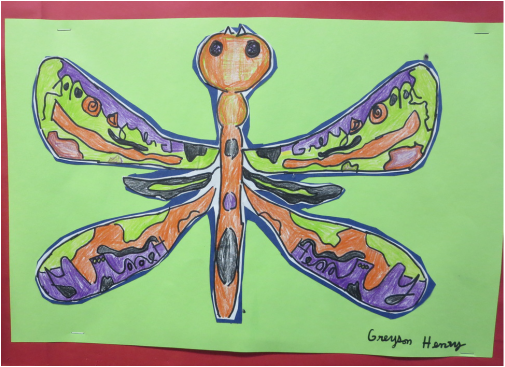
To fill in the background space, students really focused on using the style of Rousseau to create repetitive patterns of plants and leaves using many different shades of green.  They used a contrasting color to fill in any 'empty space'.  

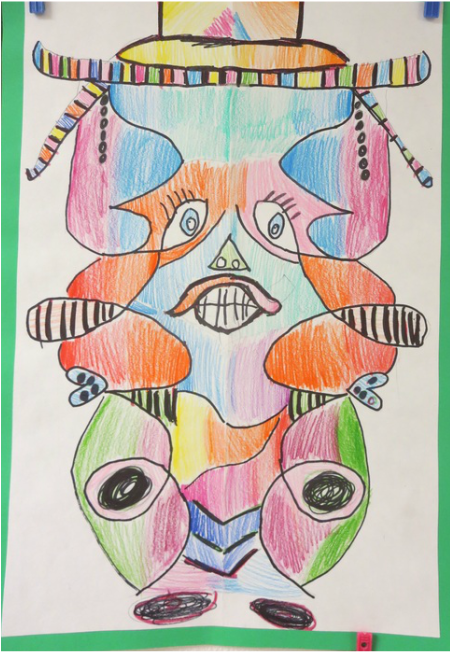
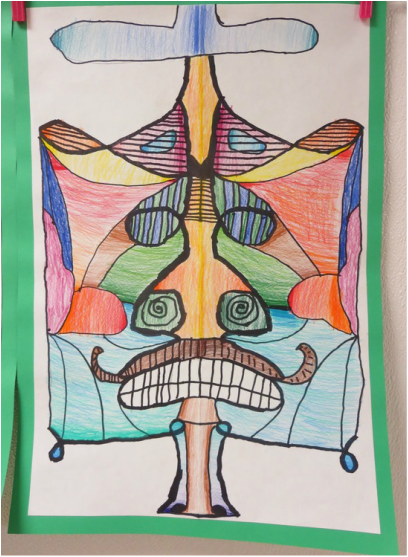
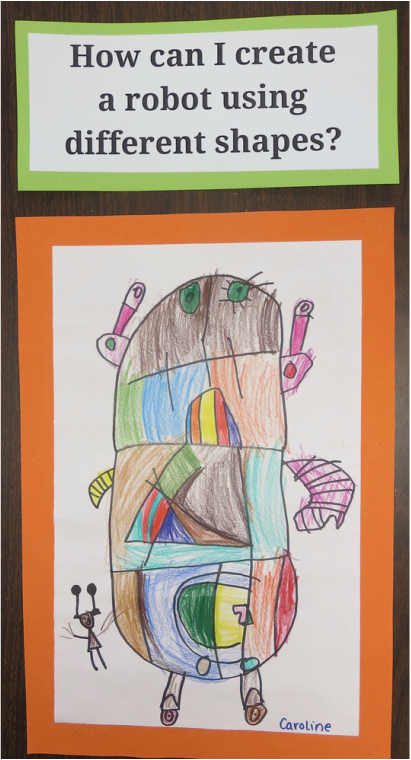
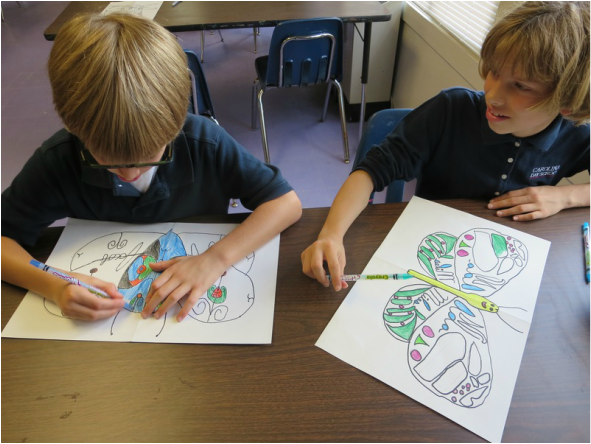
​These drawings turned out amazing.  I want to take them all home and hang them on my walls forever....
Picture
Picture
Picture
Picture
Picture
Picture
0 Comments

5th Grade SElfies

10/7/2015

2 Comments

 
Picture
I am super, duper excited to share these 5th grade self-portraits with the world.  Last years 5th graders created self-portraits as well but many students felt a bit disappointed at the end.  It was my goal to come up with a process of creating self-portraits so that each and every 5th grade student would feel successful at the end.

I got this project started by bringing in a bunch of sunglasses and calling the students back one by one to pick a pair, wear them, and pose for a photograph.  Next, I printed each picture out on 8 1/2 x 11 paper (I am so thankful to teach at a school where I am able to do something like this).  Using a light box, each photograph was used to trace the contour lines of the portrait using a black Sharpie.  We traced the image onto a 12x12" square sheet of paper to mimic instagram and profile pictures.  
Picture
I created a worksheet for students to complete before beginning to color their self-portrait.  On the worksheet, students had to practice using colored pencils for mixing their own skin tone with at least three different color combinations.  They also had to practice adding highlights and shadows to a small image and had to create at least 3 different colorful patterns.

Using the most successful combination of colors for their skin tone, students colored in their faces and any other parts of their skin in the image.  Next they added pinks for rosy cheeks, and used dark and light colors to create highlights and shadows.  Students used a similar approach with their hair color.
Picture
Picture
After using their choice of color for their shirts and sunglass rims, students used 2-4 colors to fill their entire background with a fun, colorful repetitive pattern.  The last step was to mirror this image in their sunglasses as a reflection of their surroundings.  The result is what you see here, these whimsical, dream-like, very unique self-portraits.

The 5th graders worked very hard to complete these self-portraits and I am so grateful for the amount of pride that each students feels about their artwork.  They truly turned out amazing. I have had more teachers and students compliment these than any project I've taught before.  Super proud!!!
Picture
Picture
Picture
Picture
Picture
Picture
Picture
I'm so grateful to have the opportunity to have a few of these Self-portraits framed and hanging in a beautiful cafe in downtown Asheville called 67 Biltmore.   67biltmore.com  This eatery is ran by an awesome CDS family and is so kind to host some student artwork!
Picture
Picture
Picture
2 Comments

4th grade symmetry masks/monsters

10/7/2015

0 Comments

 
Picture
To start the school year off, 4th graders used their names to create a design with bilateral symmetry.  Last year 4th grade students started the year with a similar project but instead of doing monster/masks, they created insects.  Click here to see.

To begin this, students used Sharpies to write their name in cursive on a long piece of paper that is folded "hot dog style."  The bottom of the name goes onto the fold.  Next, using a window or light box, students trace over the mirrored image of their name onto the other side of the folded paper.  When opened, it makes a symmetrical abstracted line pattern. (the image below is my example)
Picture
The next step proved to be quite challenging for many students.  They had to really push their imaginations to figure out how they could add more lines and shapes to their design to transform it into a sort of face.  I really pushed them to be very creative, get silly, fantastical!  Totally acceptable for the face to have six eyes and two mouths or horns or wings or mustaches...  
Picture
To finish up the project, students used colored pencils to blend colors, create color symmetry, and focus on making different areas of the face really pop.  This entire project took about six or seven 45 minute class periods.
Picture
Picture
Picture
Picture
Picture
Picture
Picture
0 Comments

2nd grade self-portraits

5/14/2015

0 Comments

 
Picture
Picture
Picture
Picture
Picture
Picture
Picture
Picture
Picture
Picture
Picture
Picture
Picture
Picture
Picture
Picture
Picture
0 Comments

Pre-K Shape Robots

4/8/2015

0 Comments

 
Picture
Picture
The Pre-K'ers had a dance party while we watched this, danced around the room and giggling.  I was super impressed that one student even knew that the song was by James Brown.  

Next I showed students my examples of robots and asked them what shapes they could see.  I heard "triangles, squares, rectangles, star, circle, oval", etc etc. I asked students to think of shapes that they could use to start making their robots head.  They were full of ideas.  I also asked what shapes they could use for the eyes, body, legs, hands, etc.  By the time they had their paper in front of them, they had so many ideas and immediately began working.  I supplied them with these images for reference:   
Picture
Picture
For this super fun Pre-K projects, students figured out how to create their own robots using shapes.  To get this started, we watched a clip from the movie Robots (which I can't even believe is already 10 years old-older than these students).
They first drew their robots with pencil, the next class they traced their lines with Sharpies and erased the pencil marks.  Students then spent two class periods filling in their robot with bright colors, using colored pencils.  This project took four 25 minute class periods.  During the last class, each student got to select a background color to post their artwork on.  

This project was really fun and the results are awesome!  I will definitely be doing this again next year!
Picture
Picture
Picture
Picture
Picture
Picture
Picture
Picture
Picture
Picture
0 Comments

3rd grade contour line instruments

2/27/2015

0 Comments

 
Picture
Picture
Picture
Picture
Picture
Picture
Picture
Picture
Picture
Picture
Picture
Picture
0 Comments

5th grade name mandalas

10/15/2014

1 Comment

 
Picture
Picture
I was super excited about starting out the school year with this project with the 5th grade students.  I really love radial symmetry and I enjoy teaching it so was quite pleased when the 5th grade students seemed just as into it as I was.

To do this project, you begin with large square pieces of paper.  Fold in half, corner to corner.  Fold in half again, corner to corner, then one more time.  After you've folded it three times, you have a triangle.  On that triangle, you write your name in large bubble letters to fill the entire space.  Then you open the square back up partially and using a light table or sunlight on a window, trace the name drawing.  You continue to do this over and over until all of one side is filled with your name flipped and mirrored.  This creates a beautiful radial symmetry name mandala.

This project was mostly for an introduction to my art class and to learn their names, but we took a bit of time to discuss radial symmetry and how to create bold bubble letters.

After the names are all written with a Sharpie, the students painted in the 'background' with acrylic paint and then added color in the letters with colored pencils.  They were limited to four colors.

The results are amazing.  Each and every single name mandala turned out great.  It is really cool to put two different students with the same name next to each other.  There are two Isaac's, two Taylor's.  Even though they wrote the same name, they turned out totally different.

SUPER FUN PROJECT! 
Picture
Picture
Picture
Picture
Picture
Picture
Picture
Picture
Picture
Picture
Picture
Picture
Picture
1 Comment

4th grade bilateral symmetry insects

10/7/2014

0 Comments

 
Picture
Picture
Picture
Picture
Picture
Picture
Picture
Picture
Picture
Picture
Picture
Picture
Picture
Picture
Picture
Picture
Picture
Picture
Picture
Picture
0 Comments

Student teaching at Evergreen                4th grade Nick Cave Soundsuits

4/3/2014

0 Comments

 
Picture
After watching videos and viewing images of Nick Cave Soudsuits, the students discussed how the soundsuits might represent diversity.  They also made observations about movement, texture, patterning and color.  Beginning with pencil drawings, the students invented at least three soundsuits.  Next, they traced their drawings with Sharpies and colored in their images.  For color themes, one soundsuits could be any colors, one warm colors, and the last cool colors.  Using colored pencils, the students created interesting patterns and textures.
Once the 4th graders completed their drawings, they cut out their images and glued them together so they looked as they might be having a dance party.
If you are not familiar with the work of Nick Cave, PLEASE look it up. He is amazing.  I posted some videos at http://anniesartroom.weebly.com/1/post/2014/03/sneak-peak-preview.html
The students LOVED this project and the other grade students were jealous because they didn't also get to do it. 

Picture
Picture
Picture
Picture
Picture
Picture
Picture
Picture
Overview:
4th grade
5 classes
Students will watch videos and view images of the Soundsuits by Nick Cave. They will discuss meaning and design 2D images of their own personal Soundsuits.
Learning Outcomes:
The learner will be able to decipher meaning from the viewing of contemporary art by Nick Cave.
The learner will be able to implement movement, pattern, color, and texture in a 2d design inspired by the work of Nick Cave.
The learner will recognize warm and cool colors and be able to use them separately.
Essential Standards:
4.V.1.2 Apply personal choices while creating art.
4.V.1.3 Infer meaning from art.
4.V.2.3 Create abstract art that expresses ideas
4.CR.1.1 Use visual clues to interpret the content of art.
Materials:
  • Each student will use 3 pieces of copy paper, 1 sheet of 12” x 18” white paper and one 12” x 18” colored paper of their choice.  Black Sharpies, colored pencils, and drawing pencils. Glue and scissors. 
Art Vocabulary:
  • Color-warm and cool colors
  • pattern
  • movement
  • texture
  • content/symbolism
Preparation:
  • Slide show and/or images ready to present
  • Prompts prepared
  • Write vocabulary words on board
  • examples on display
  • paper cut to size, colored pencils and sharpies available

0 Comments

student teaching at evergreen            3rd grade portraits

3/24/2014

0 Comments

 
Picture
I collaborated with third grade teachers to plan this lesson for 3rd grade students.  The students have each selected a local hero to meet, interview, and report on/do a presentation for a school exhibition night.  I helped the students to draw portraits of their hero.  It was a fun project, at times nerve-racking, but overall fun.  I was really proud of the students and their drawings!

Picture
Picture
Picture
Picture
Picture
Picture
Picture
Picture
Picture
Picture
Picture
0 Comments

    Author

    Annie Monaghan.
    Art lover.
    Art creator.
    Art teacher.

    RSS Feed

    Categories

    All
    1st Grade
    2nd Grade
    3rd Grade
    4th Grade
    5th Grade
    Abstract
    Art History
    Art Videos
    Auction
    Batik
    Cardboard
    Chalk Pastel
    Clay
    Collaboration
    Collage
    Colored Pencil
    Color Wheel
    Contour Lines
    Drawing
    Highlights And Shadows
    Kindergarten
    Landscape
    Mural
    Names
    Notan
    Observational Drawing
    Oil Pastel
    Online Art
    Origami
    Paint
    Painting
    Papier Mâché
    Patterns
    Portraits
    Pre K
    Printmaking
    Relief Sculpture
    Remote Art
    Remote Learning
    Sculpture
    Self Portrait
    Self-portrait
    Sewing
    Shapes
    Sharpies
    Still-life
    Symmetry
    Texture
    Tissue Paper
    Warm And Cool Colors
    Watercolor
    Weaving

Powered by Create your own unique website with customizable templates.