Annie Monaghan's Art Room
  • Home
  • Elementary Art
  • Middle School Art
  • Camp projects
  • Lesson Plans
  • About Me
  • My Artwork
  • Art is everywhere!
  • Contact me
  • Professional

Kindergarten spider color wheels

10/31/2016

0 Comments

 
Picture
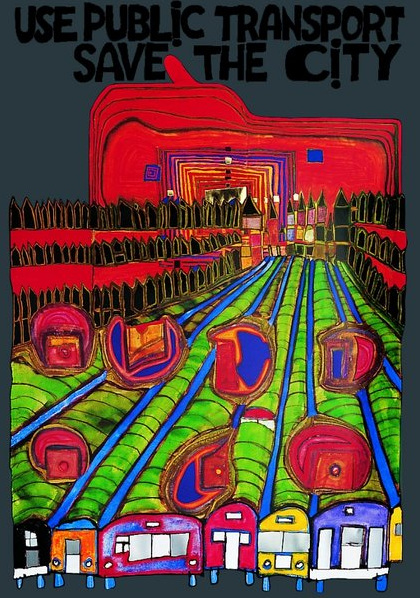
I switch up how I teach color wheels with the Kindergarteners every year because I get bored teaching the same projects over and over.  This year I decided to do spider web color wheels as we were approaching Halloween.  I came across THIS blog on pinterest which inspired my lesson.

I always start the Kindergarten color wheel project by showing the wonderful OKGO's music video "Three Primary Colors."  I take any opportunity I have to show students music videos by OKGO.  They are brilliant.  This song gets stuck in my head for weeks every time I watch it which hopefully means that it gets stuck in the Kindergartener's heads too!
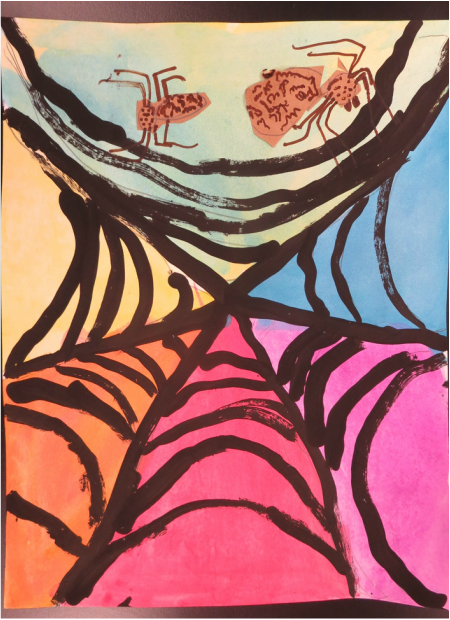
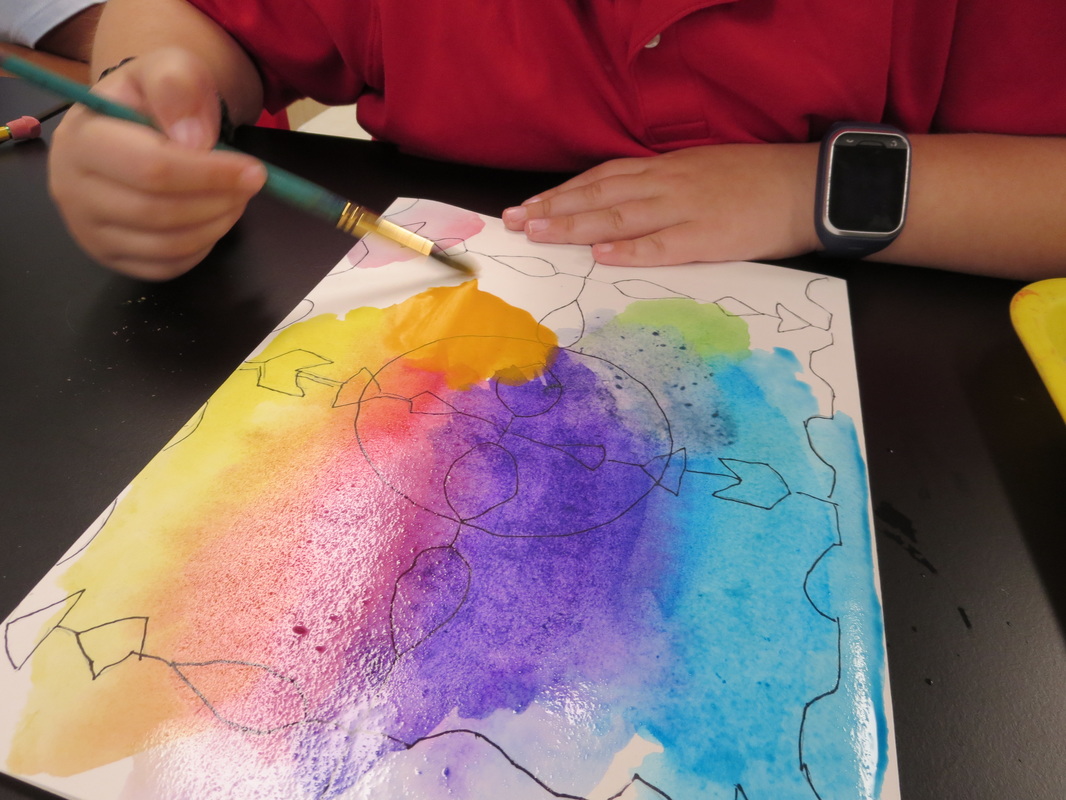
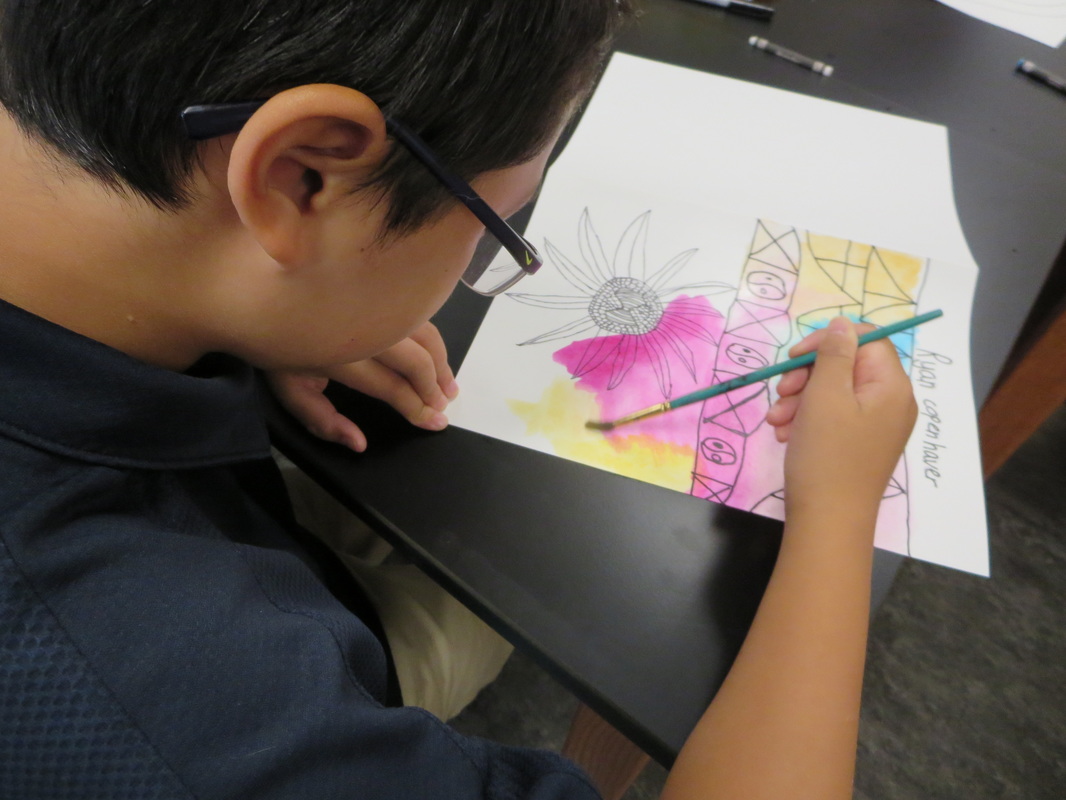
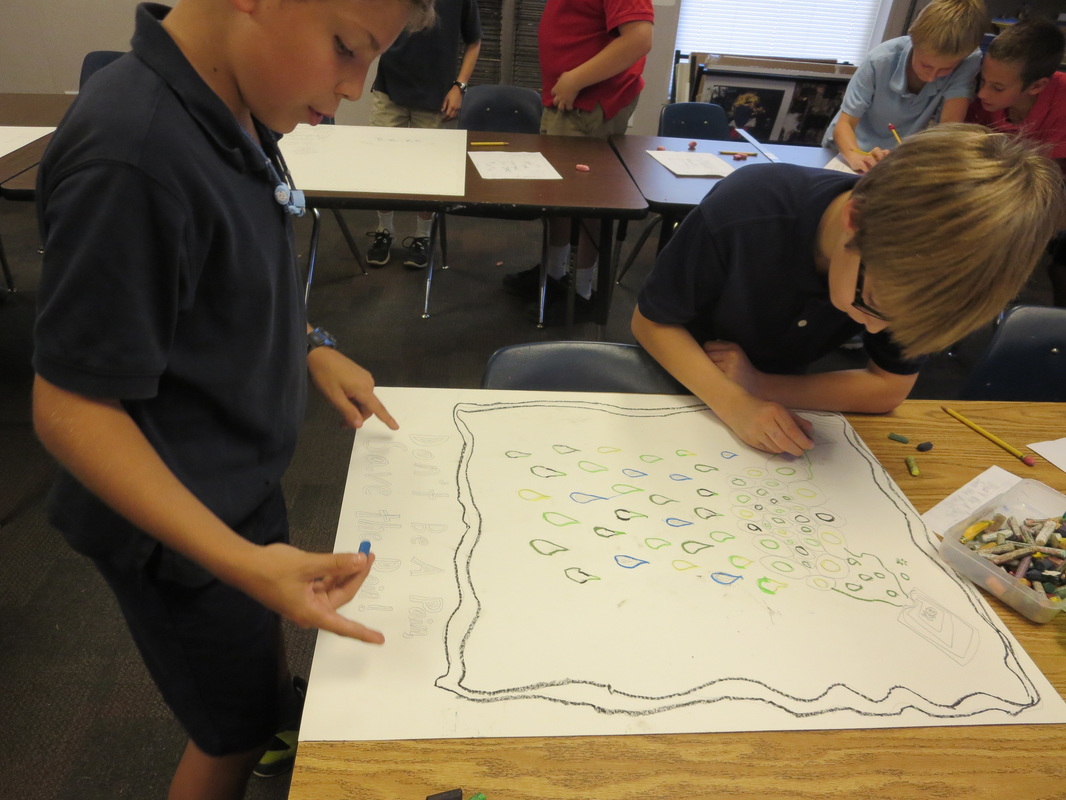
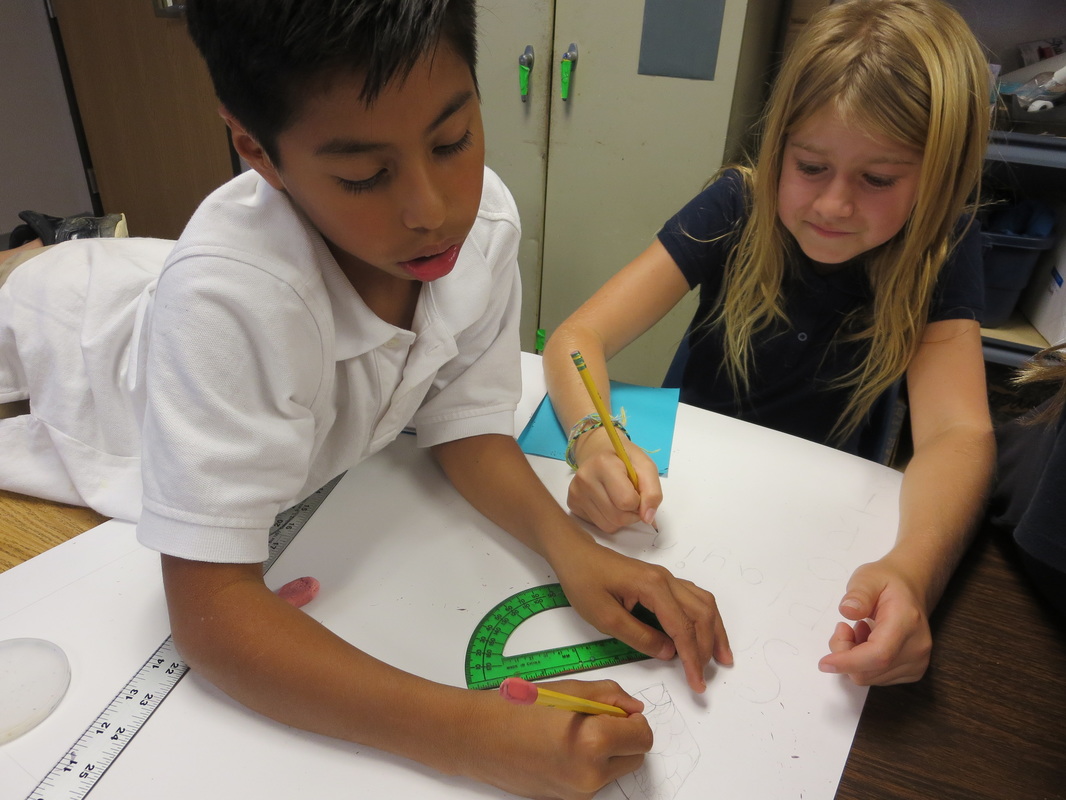
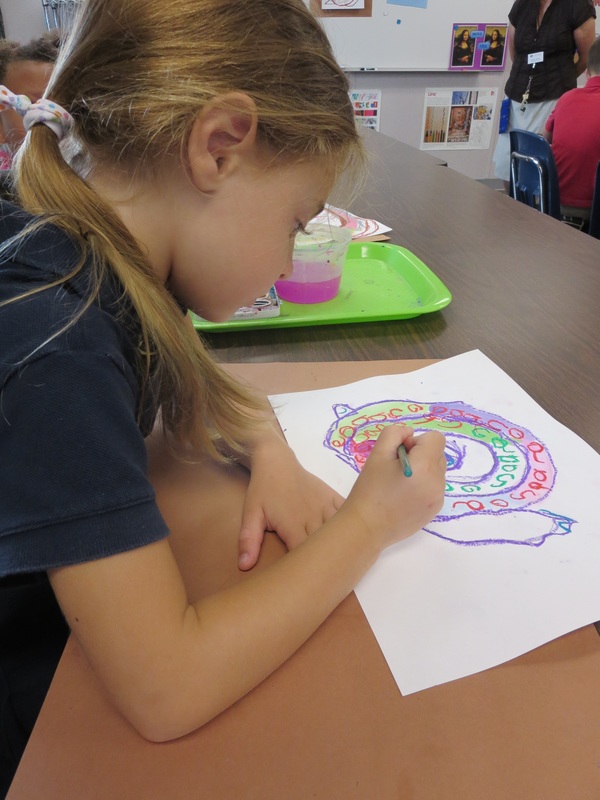
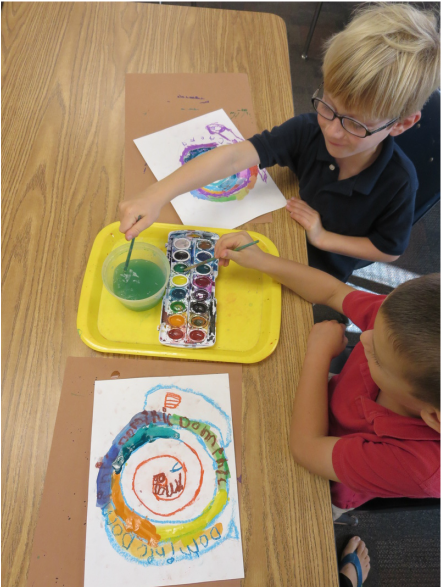
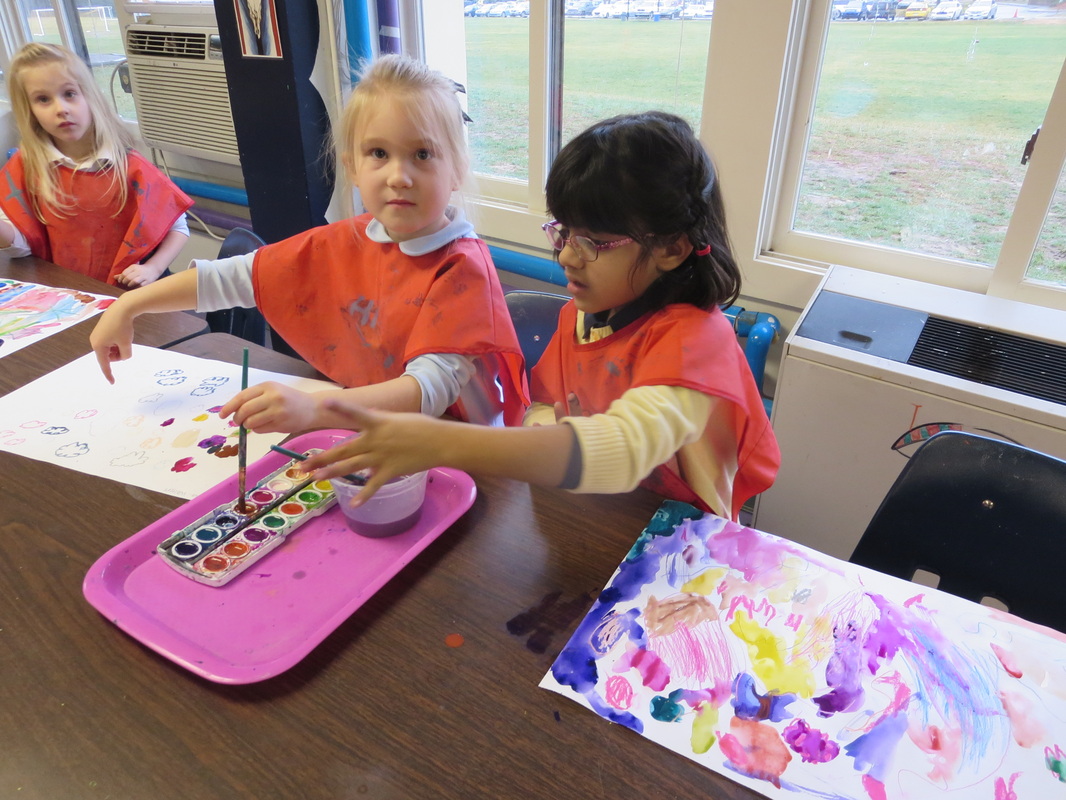
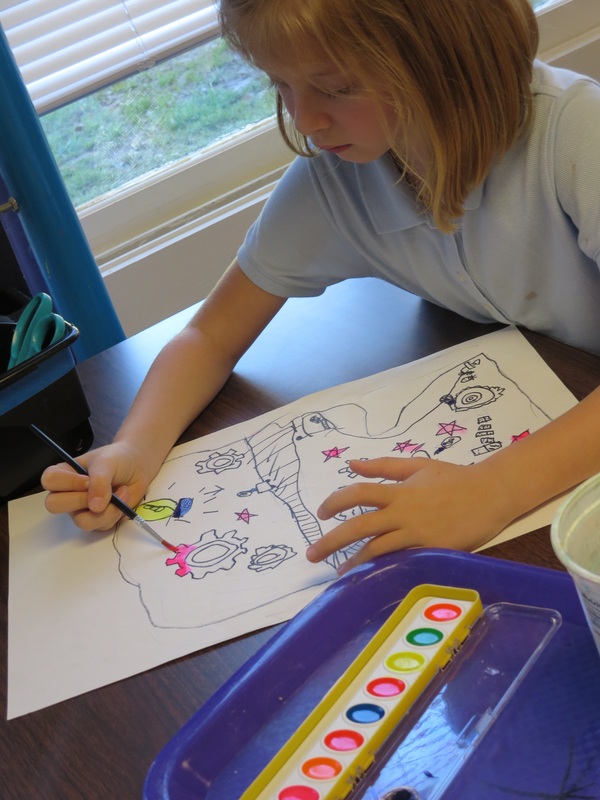
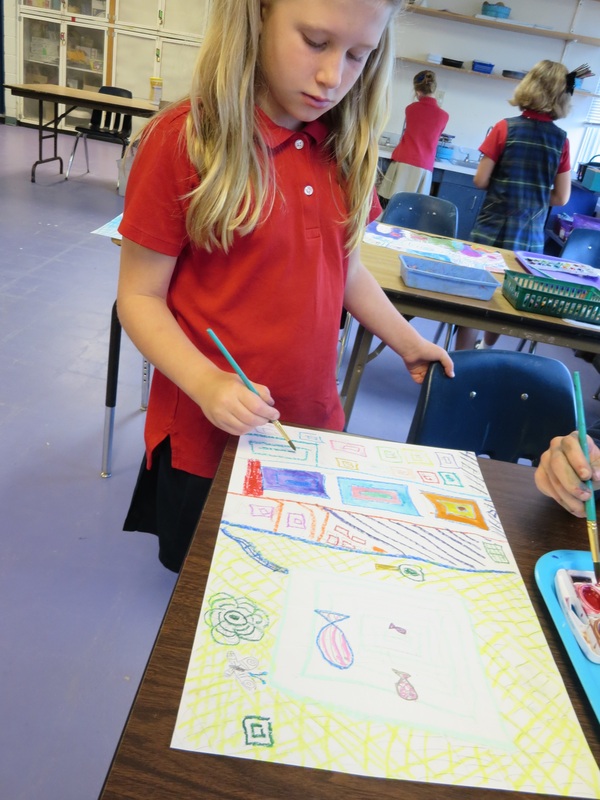
After watching the OKGO video, we started our spiderwebs by drawing a little dot in the middle of our paper with pencil and drawing six straight lines spread out that started at the dot in the middle and went all the way to the edge of the paper.  As they worked, I made sure to walk around and check that each student did exactly 6 lines so that the color wheel would work out.  

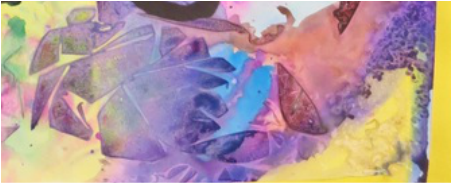
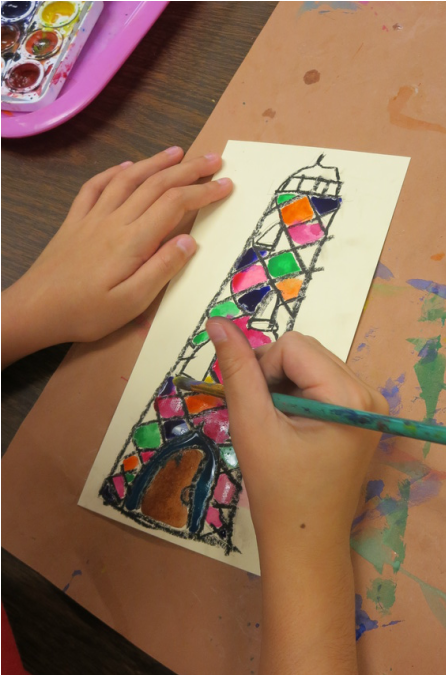
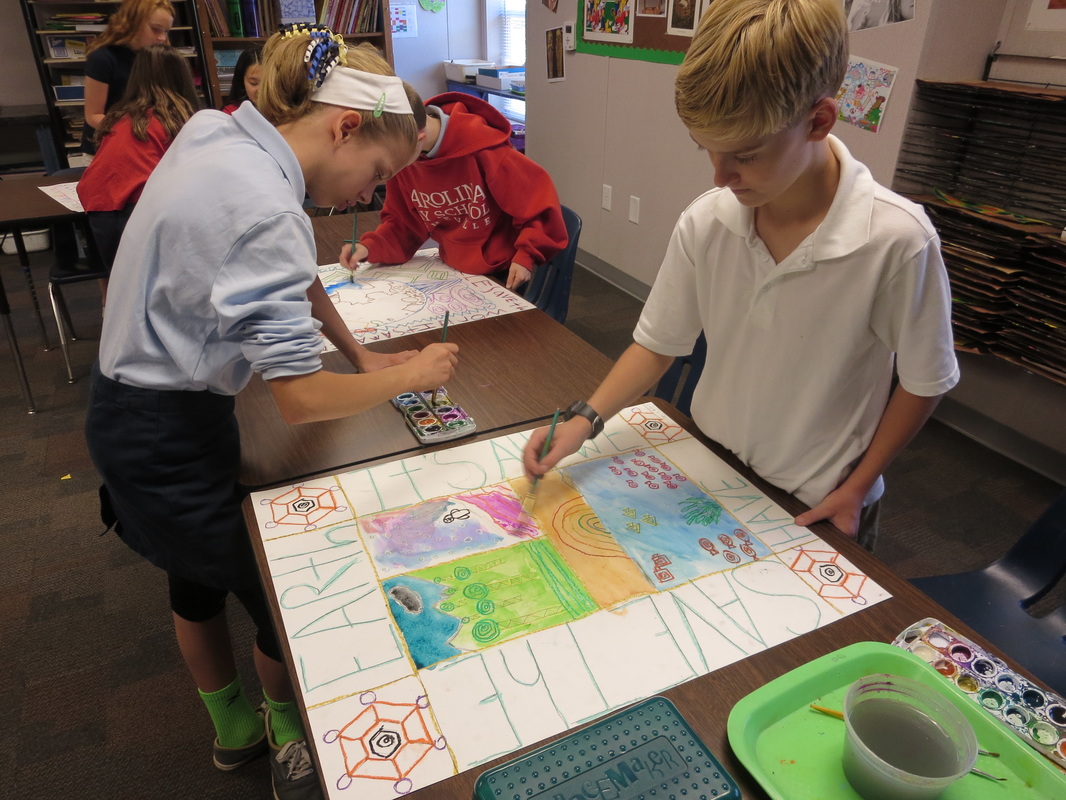
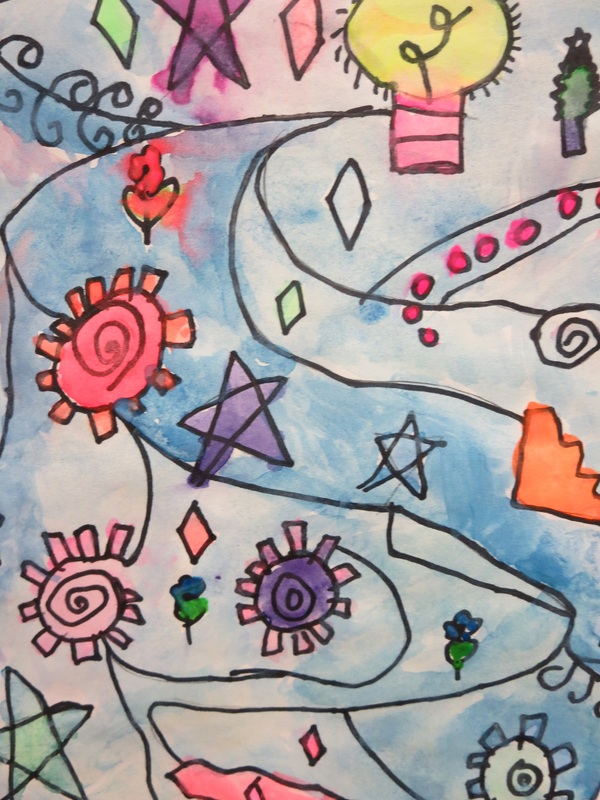
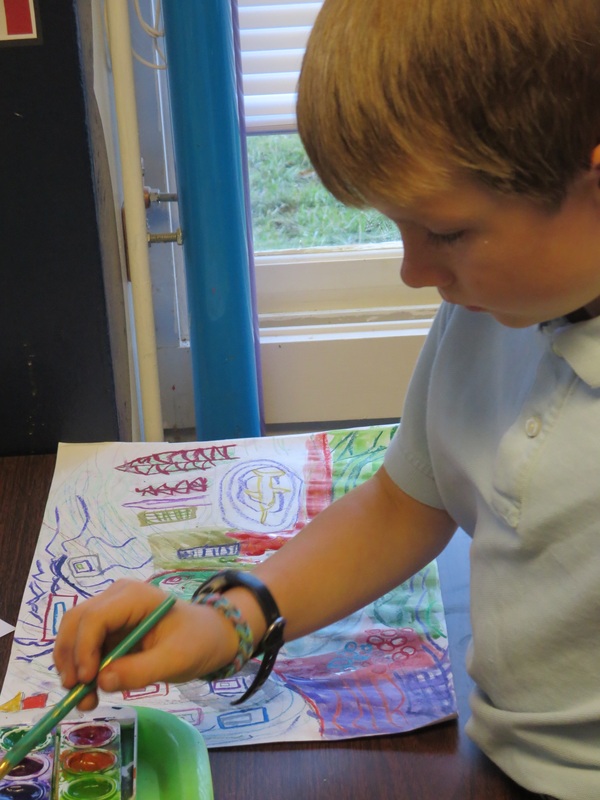
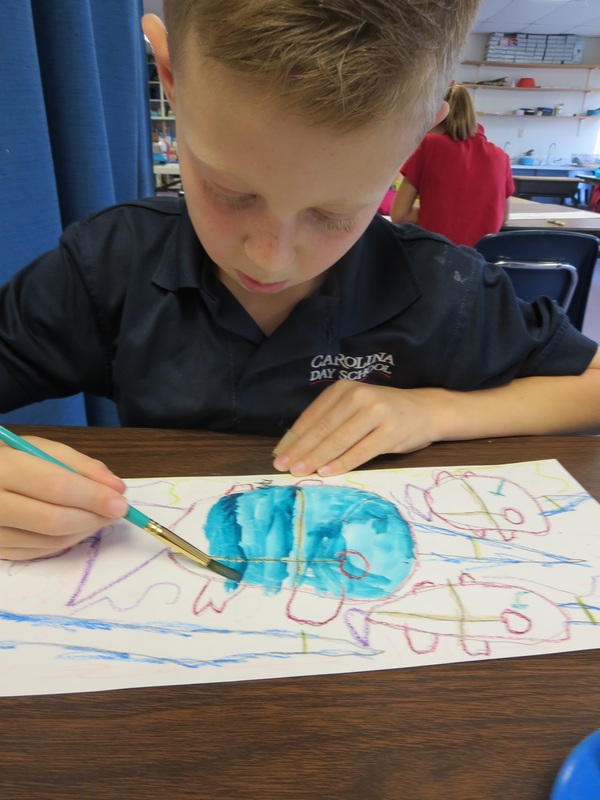
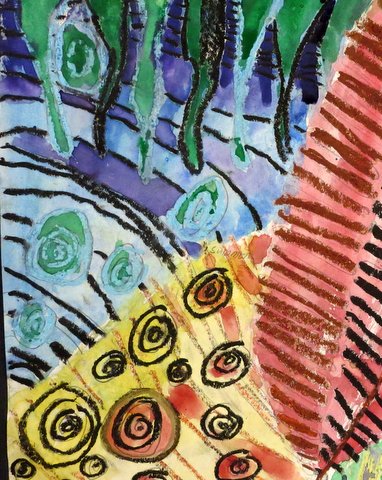
Next, we used watercolors to paint in the three 'corners' (every other slice) with the three primary colors: red, blue and yellow.

TO fill in the other three slices, we mixed our paints together to create the secondary colors: purple, green and orange.

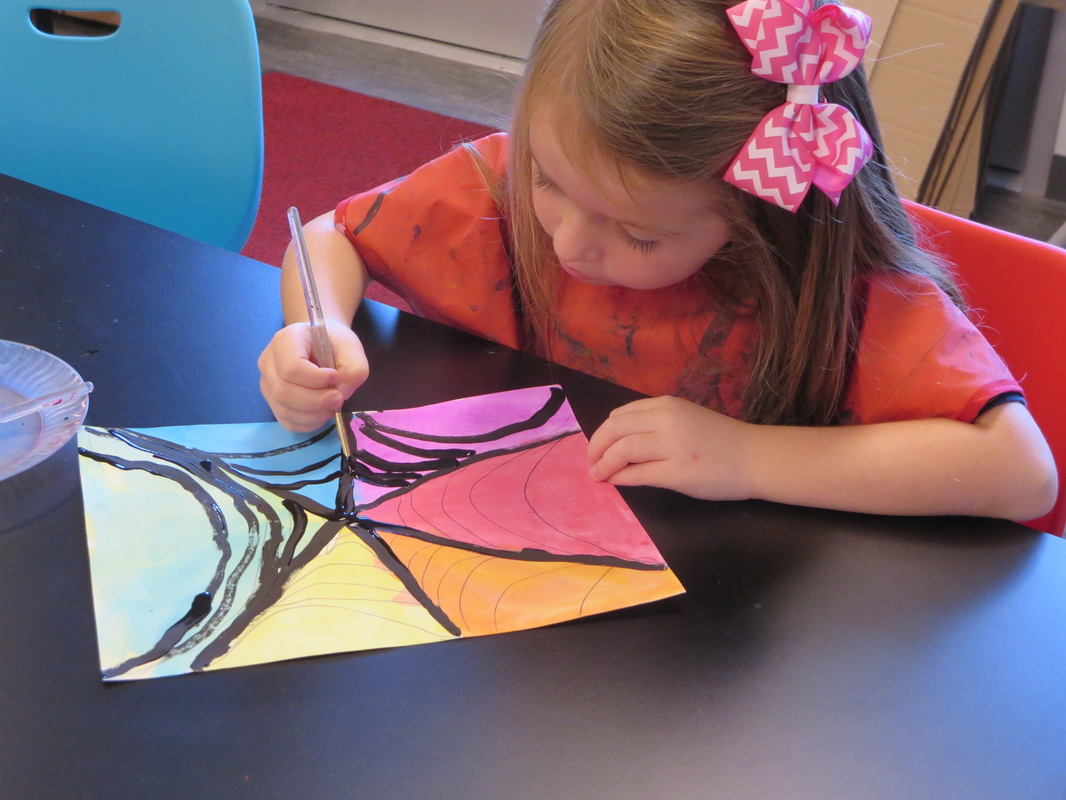
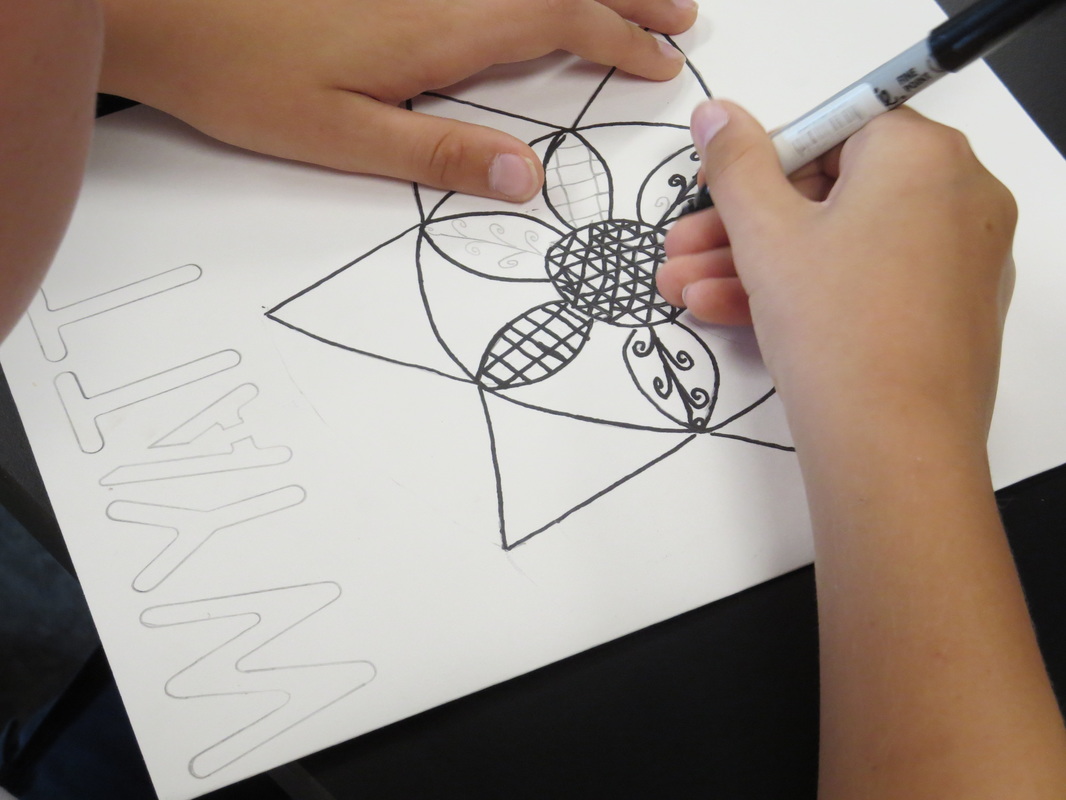
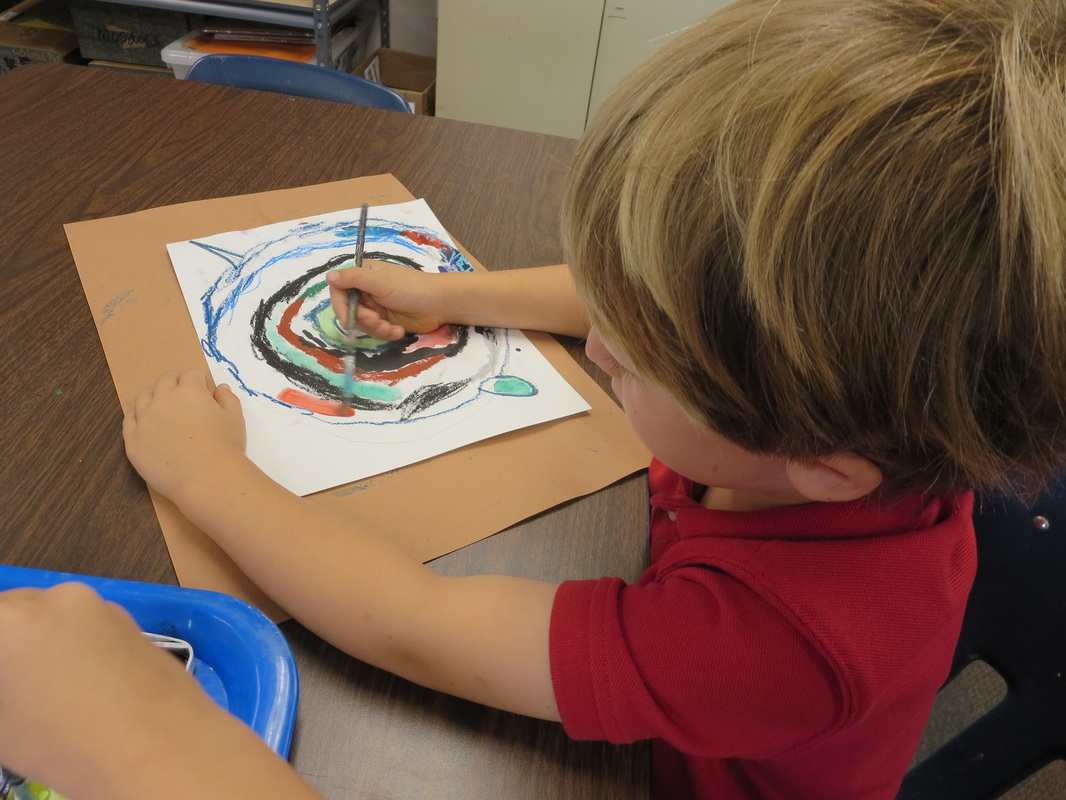
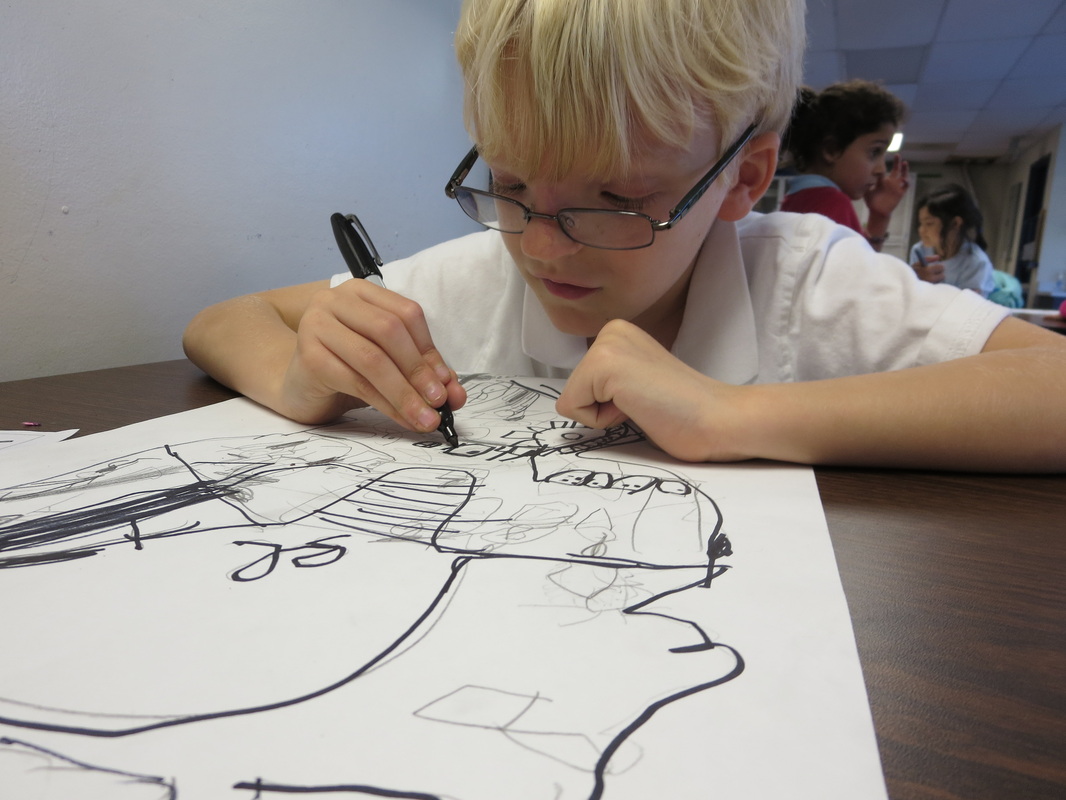
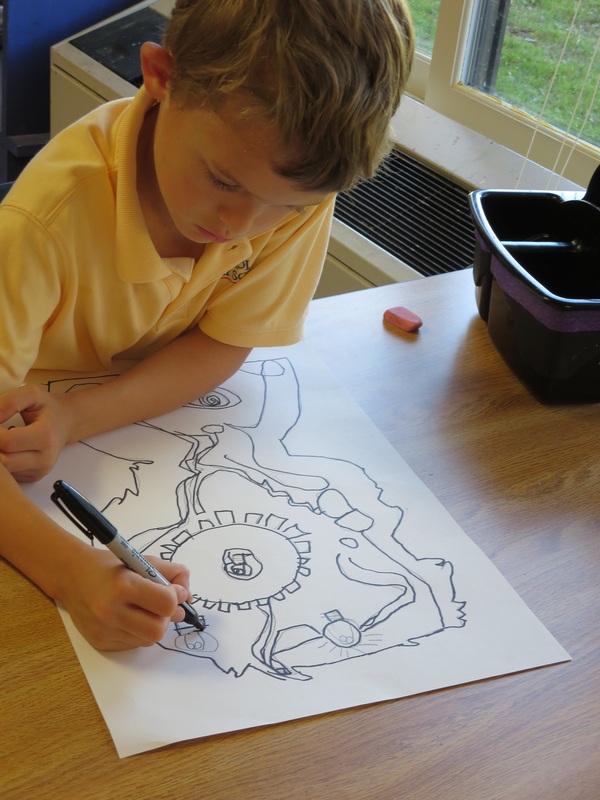
Our next step was definitely the most tricky for the students, which is why I am super thankful that I thought to have them start with pencil BEFORE painting with black.

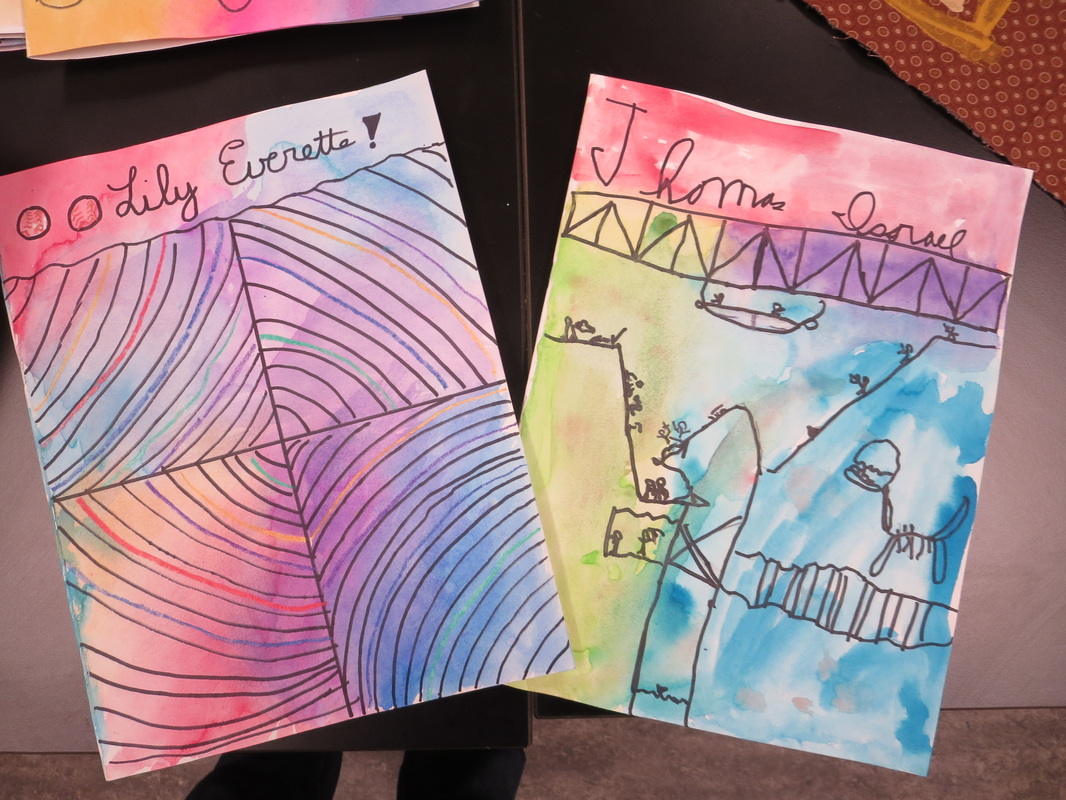
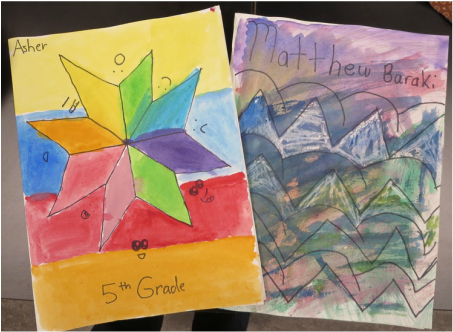
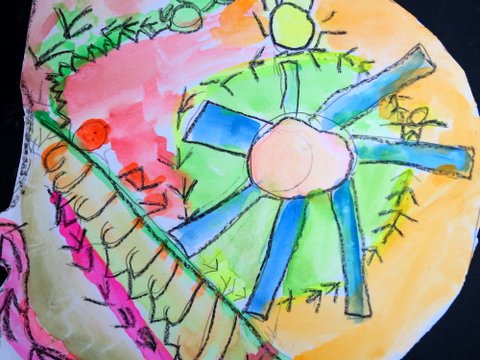
I showed them how to draw the spiderweb design by starting with one color slice at a time.  Look at the slice so that it is pointing upward and draw about 5 hills that go from one side of the slice to the other.  Continue this for each color slice.

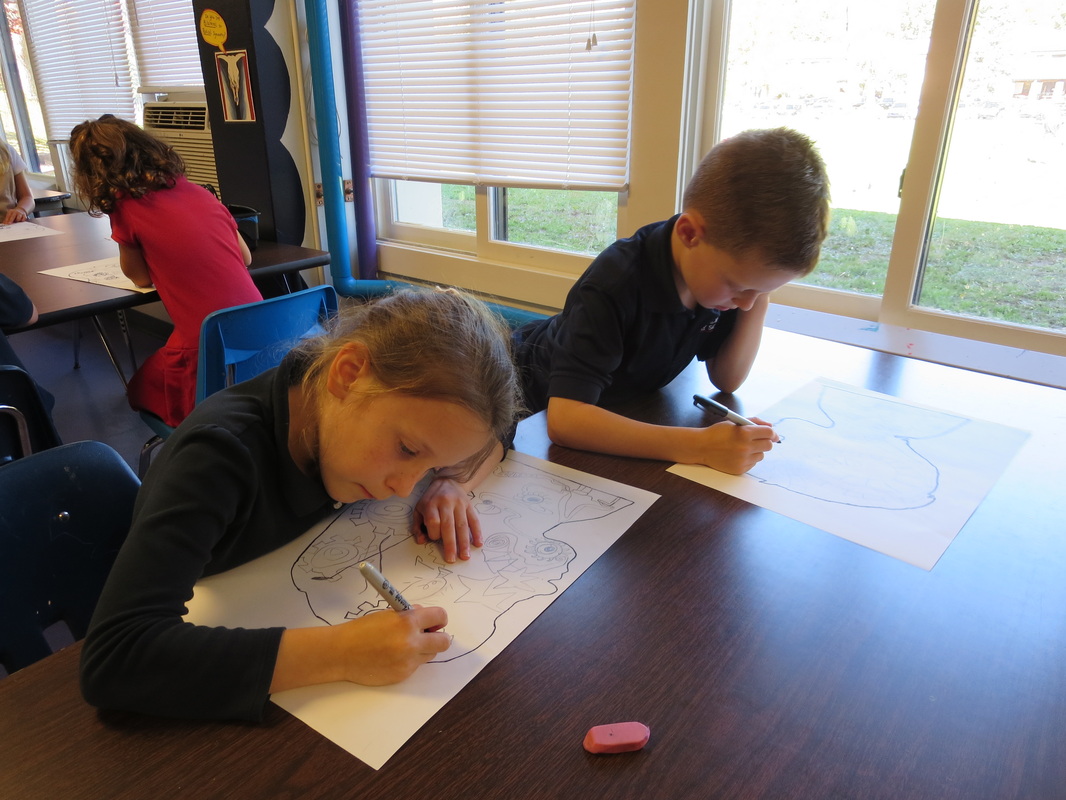
Some students figured this out right away but there were quite a few who really struggled with making these hill shapes and making sure they went all the way across each color slice.

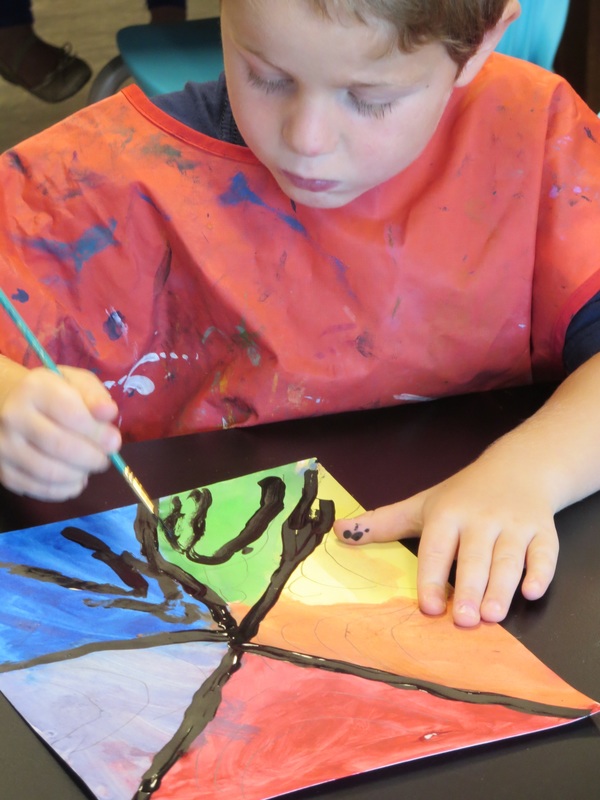
After I helped everyone get their hills correct, we used black tempera paint to paint the straight lines that separate each slice and to paint over the hills.

Picture
Picture
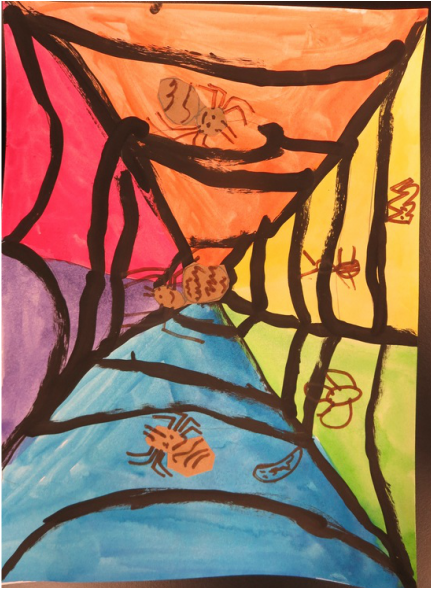
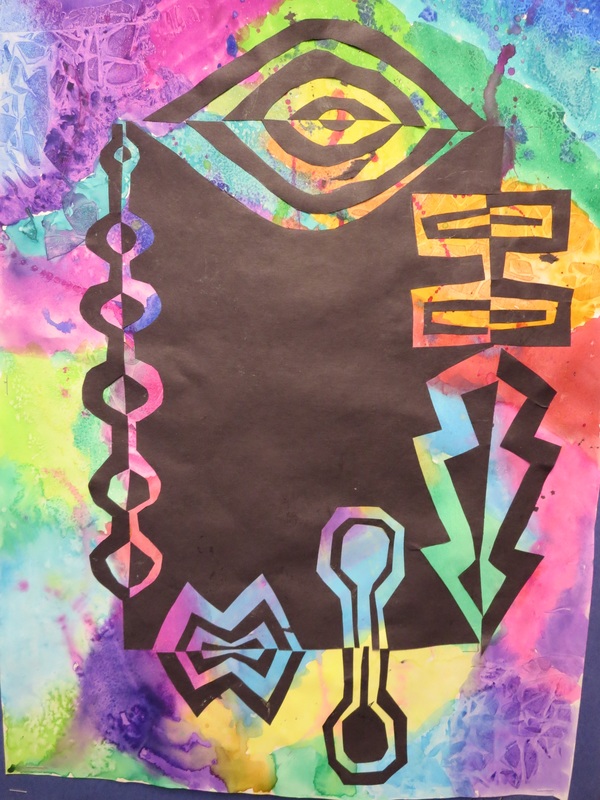
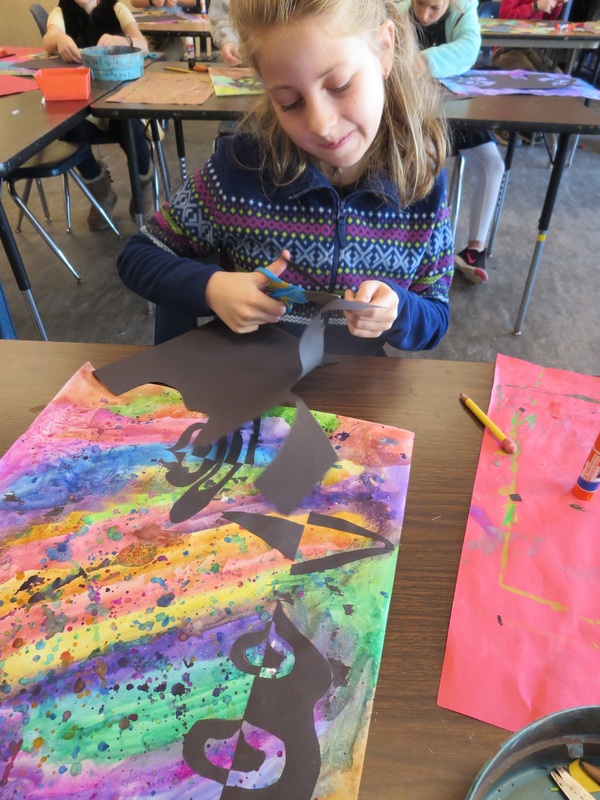
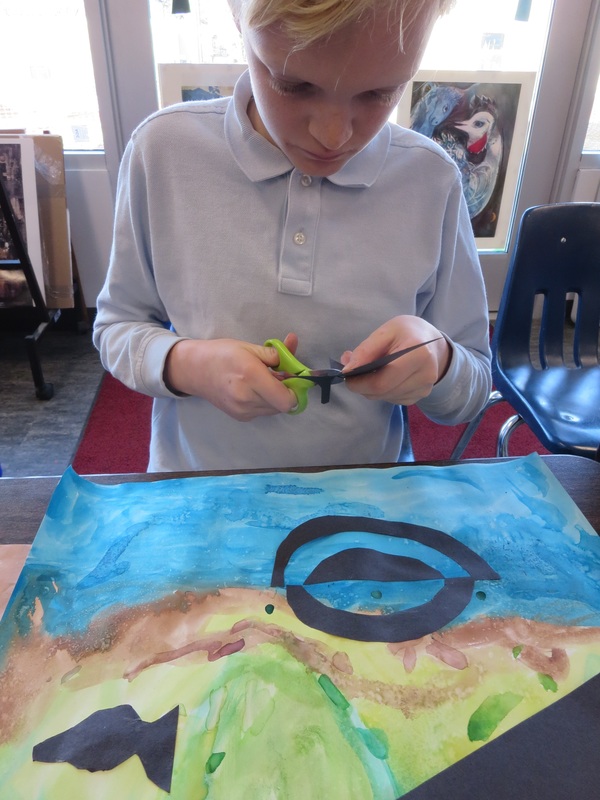
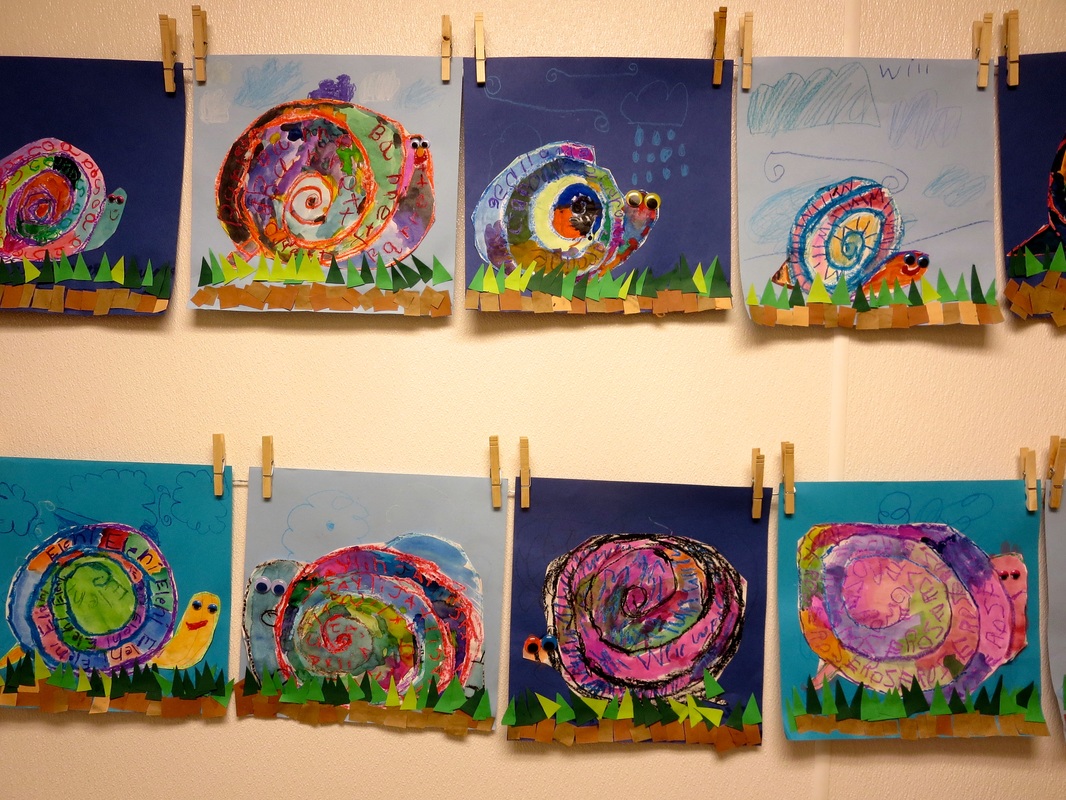
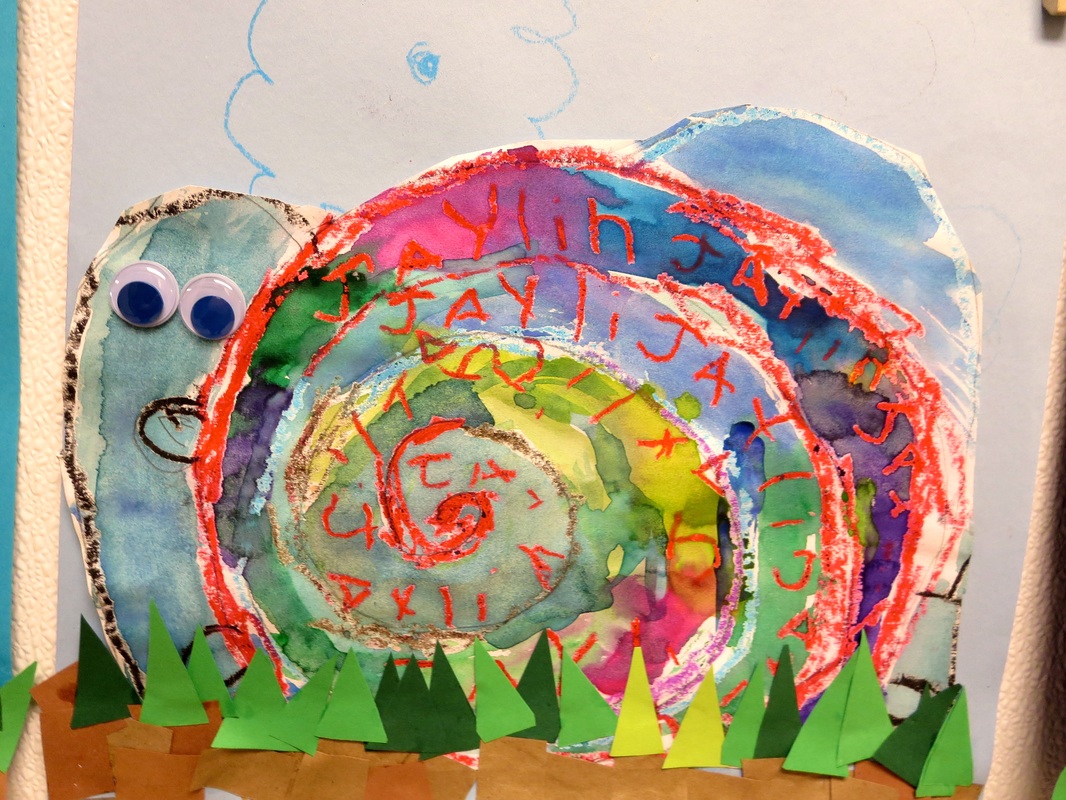
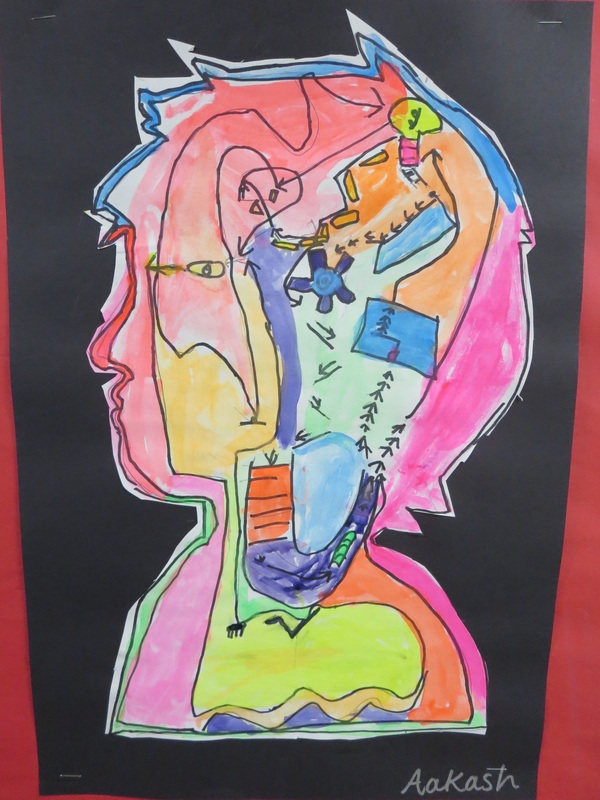
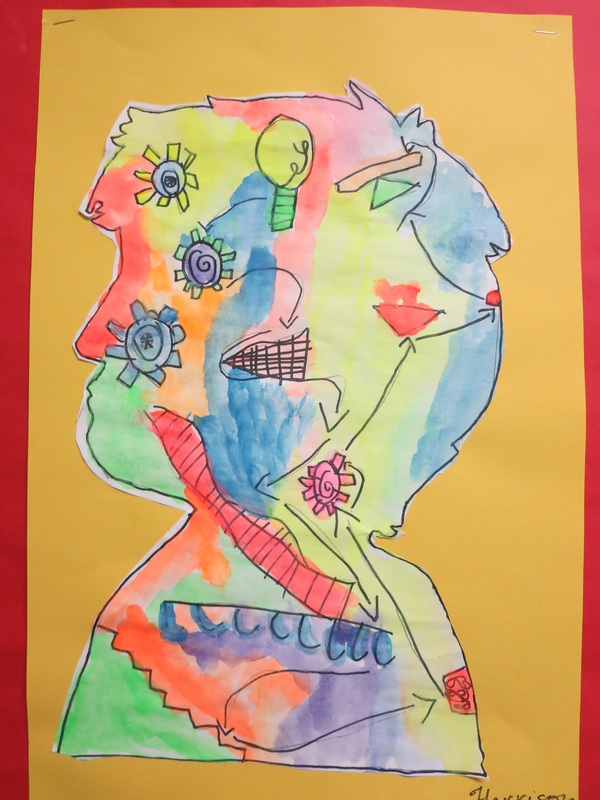
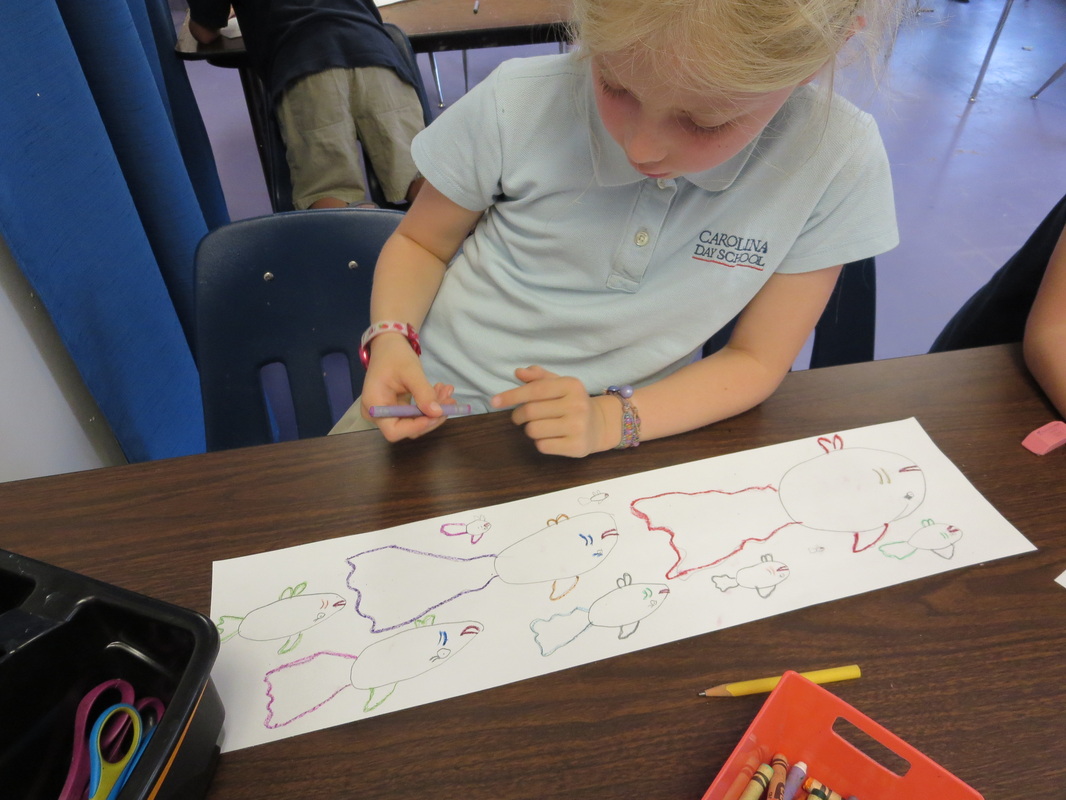
On the last day of this project, I taught them a little bit about spiders bodies and asked them what kinds of spiders they knew of.  I was impressed with how many they were able to list.  The main thing I focused on was that there are 8 legs on spiders that actually come out of the head region and NOT out of the abdomen.  

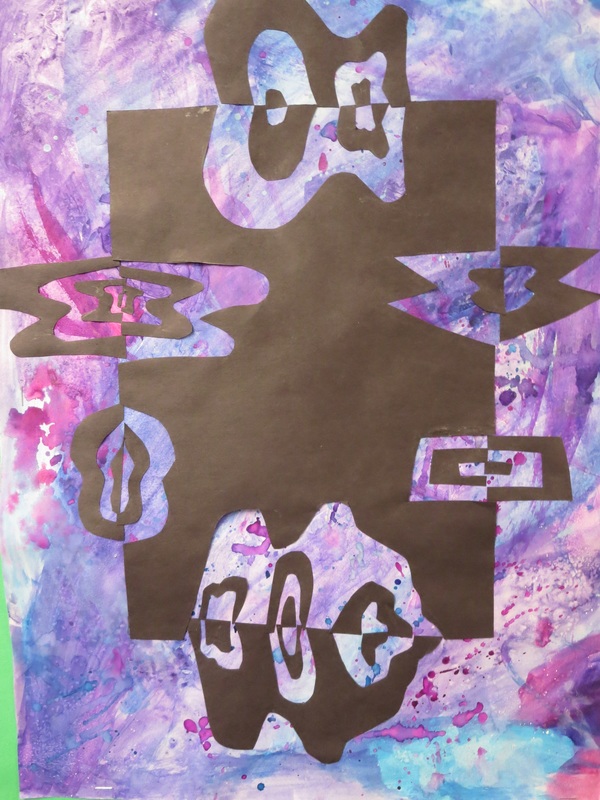
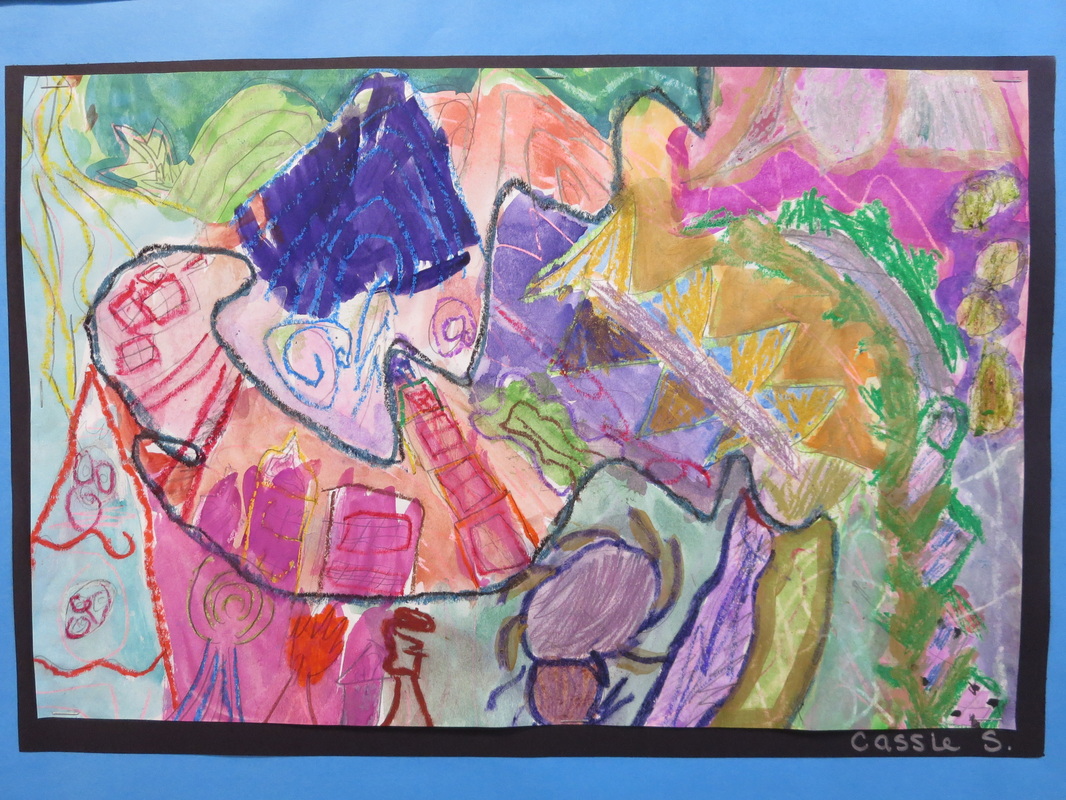
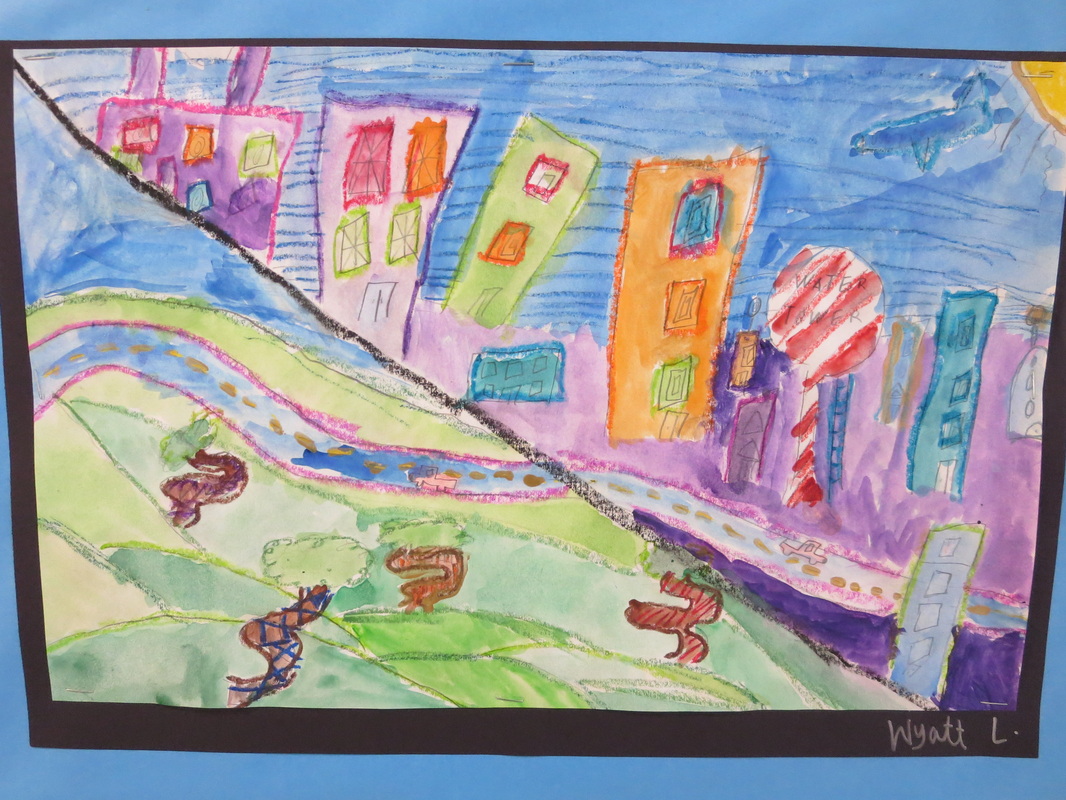
To create the spiders, they cut out two ovals of brown paper for the head and abdomen and then used markers to draw texture, glued them on the web, and drew their 8 legs.  Students could make as many spiders as they wanted.  Some students did only 1, while others make like 7 spiders.

​They turned out pretty cute overall.  If I do this project again though I will come up with a different way to make the spiders probably.
Picture

0 Comments

5th Grade Watercolor Journals

9/21/2016

0 Comments

 
Picture
At the beginning of the school year, the 5th grade teacher wanted to collaborate to help 5th grade students create journals in my art class that they would use throughout the year in English class with her as reflection journals.

I thought it was a great idea and that it would be a nice way to transition into the school year.  One of the last projects that they did at the end of the year last year as 4th graders dealt with exploring watercolor techniques so I thought watercolor would be the perfect medium for the journals!

Students used thick white paper and began by folding it in half so that they knew where the front and back of the journal would be.  I was very open with students about what their designs could be.  The only stipulations were that the journal had to have their name on the front top side very clearly.  The design also could not have any words/numbers and should really be focused on pattern and design.  

They did their drawings with Sharpies (of course some used pencil first).  To add color, the students blended together watercolors.  This was a simple project that turned out really awesome.  It took 3 classes for most students (a handful needed an extra day) and their teacher was really happy with the results.  I will probably continue to do this in the years to come.  Great way to start off the school year. 
Picture
Picture
Picture
Picture
Picture
Picture
0 Comments

4th grade notans

2/1/2016

2 Comments

 
Picture
I've been wanting to teach a Notan art project for years and finally did.  It was hard work, the students worked through it slowly and thoughtfully and with much practice.  I am very, very proud of the outcomes.

Notan basically means the balance of lightness and darkness.  It is traditionally a Japanese art done with 2-D mediums such as painting, ink, printmaking or paper cutting.

The 4th graders created these beautiful Notans by blending the art of watercolor painting and paper cutting.  To begin, each student had a very large sheet of white paper and we spent two class periods experieenting with different techniques of using watercolor paints.  We tried splatter painting, we sprinkled salt on wet paint and let it dry before rubbing it off, and we put crinkled plastic wrap over wet paint and let it dry.  These techniques each create a different effect.    Students could use any color palette they wanted.  Some used all cool colors, others went for rainbow colors and others more of a woodsy camouflage palette.   
Picture
After the paintings were finished, we spent two entire class periods learning about Notans and doing practice Notans before actually doing the final Notan on our watercolor paintings.  I have had quite a few teachers ask me how I was able to get such great results from the 4th graders on this project and the key is practice, practice, practice.  

The first day or practicing Notans, I really pushed students to work slowly and follow my directions very closely.   I will try my best to describe the process that we used here.  
1.  Beginning with one 8"x10" piece of white paper and another 5"x7" piece of black paper, center the black paper in the middle of the white paper.
2. Using a pencil, draw corner tab marks around all four corners of black paper.
3.  Draw an X on the back side of the black paper, this is to know that the side with the X is always the back side, the side facing down.
4. Along the edge of the black paper (side with NO X) draw a very simple shape (a half circle is a great start) and draw a small X on it.
5.  Cut out the shape.
6.  Line the black sheet of paper up with corner tabs, the X should be facing down.
7.  Using a glue stick, put glue on the cut out shape.  Make sure that you glue the side that you drew the X on.  If you glue the wrong side, this does not work.
8.  With the black sheet lined up with tabs, put your cut out shape back into it's original place (like a puzzle).  Now the X on the cut out shape should be facing up and have glue on it.  Flip the cut out shape over like a door hinge.  
9.  Repeat steps 1-8 along all edges of black paper.
10.  When all edges have shapes cut out and glued down, take large black sheet of paper, turn over and cover the side with the X on it with glue.  Flip over so X is facing down and line up with corner tabs and glue down.
----------
The next class period, we did another practice Notan using the same steps above except I had students try this with more complex shapes and cutting shapes inside of their shapes.  I gave some specific instruction to those who needed it but mostly let students figure it out on their own the second practice day.
----------
Finally, we spent the next two class periods doing their final piece.  We used a large sheet of black paper and students followed all of these steps to create a Notan on top of their watercolor paintings.
Picture
Picture
Picture
Picture
The most important steps for having success:
-practice, practice, practice
-drawing the X on back side of black paper to remember that that was the back side.
-drawing the corner tabs


These Notans turned out amazing and I was blown away by the amount of attention to detail that students put into this project.  These 4th graders should really be proud of themselves!
2 Comments

2nd grade NC lighthouses

11/13/2015

0 Comments

 
Picture
I LOVE THIS PROJECT!!!  This has definitely been my favorite project that I've taught so far this year.  I am just so proud of the 2nd graders and the beautiful artwork that they created for this project.

Because we live in Western NC, we are, as a community, always seeing and exploring and studying mountains and rivers.  I thought it might be a nice change to discuss Eastern NC as well.  We studied the east coast by designing and painting lighthouses!

Students began this project by drawing  a three layer composition with oil pastels.  The far background (the top of the paper) is the sky.  Some students chose to draw the sun and clouds, others moon and stars, others birds and bugs.  The midground (the middle of the paper) is the ocean.  Some students drew calm seas, some drew boats, others drew aquatic wildlife.  The foreground (the bottom of the paper) is the ground.  Some students drew the beach, others, a field, a city, a boardwalk.  I love how each and every student's three layers turned out so differently!
Picture
Picture
Picture
On a separate piece of paper, students also drew their own lighthouse.  I showed the students a basic technique to draw them, but the students each made theirs very unique.  

To make our artwork bright and colorful, we did layers of watercolor paints on top of the oil pastel.  Because oil and water resist, the oil pastels and create a high contrast, colorful work of art.

To finish this project, students cut out and glued their lighthouse on their mid ground.  

​These turned out sooooo awesome. I want to frame them and keep them forever...
Picture
Picture
Picture
Picture
Picture
0 Comments

5th grade Hundertwasser posters

11/11/2015

0 Comments

 
Picture
Do you know the amazing artist Friedensreich Hundertwasser?  If the answer is 'no,' get on it!  He is one of my absolutely favorite artists.  An amazing man he was. 

His artwork is known for his use of bright colors, repetitive patterns, abstractions, lines, concentric shapes and impactful images.
For this project, we focused on the art elements and principles that I just listed above.  We looked at his posters that he created and as a class discussed the power that we have as artists to influence others.   Here are a few images of posters that were painted by Hundertwasser:
Picture
Picture
After looking at these posters (and much more of his artwork) the students were assigned partners to design a poster with.  They began by conversing and coming to agreement of a theme.  After they chose a theme, they began brainstorming different slogans they could use on their posters and drawing sketches.  I really pushed them to collaborate and work together on this project.  

Once the students agreed on theme and drawing, they drew their images with pencil on a large poster board.  They worked as a team using oil pastels to outline their drawings and filled in with watercolor paints.  
Picture
Picture
Picture
Picture
I really urged the students to challenge themselves to create art in the style of Hundertwasser rather than trying to create art that they think of as 'pretty' or 'nice' or how they usually create art.  It really challenges students and helps them grow as artists when they try new styles and ideas.

Again, the focus of this project was:
bright colors
concentric shapes
repeating patterns
abstract art
​lines
​images that influence the viewer
Picture
Picture
The end results are truly amazing.  I am so proud of the 5th graders.  It was a joy to watch the students start with brainstorming themes, create slogans, draw sketches, draw their image with pencil, and finish up their colorful masterpieces.

Click the thumbnails below to see the finished posters!
After the students were finished, I had them each fill out a worksheet with questions asking:
1. What is the theme of your art?
2.  Why is this topic important to you?
3.  What did you learn while doing this project?
4. What was your favorite part of this and why?
5. What was the most difficult part? Why? What did you do to resolve this difficulty?

The answers were quite insightful.  Many of the students favorite part was using oil pastels.  Many loved working with a partner and getting to know someone that they would not have chosen to work with otherwise.  Some enjoyed learning about Hundertwasser's art.

As for the most difficult part, a large majority of the students thought it was working with a partner to create art.  Some felt that it was hard to be accepting of other's ideas or to not be in control or to just physically share a space.  Most worked through this by being more open-minded and getting to know the person better.  It made me very proud to read how students chose to work through their challenges.
0 Comments

Kindergarten Name Snails

9/18/2015

1 Comment

 
Picture
First new blog of the new school year hooray!  This year has gotten off to a brilliant start and I am so excited about my talented students and the amazing art that they have already created and about seeing what they will make in the future!!!

To start off the new school year very strong, Kindergarten students created these awesomely adorable multimedia snails.  

We began by learning about lines.  There are many different sorts of lines, straight lines, curvy lines, curly lines, and spiral lines.  After practicing drawing spiral lines many times, students created a snail shell by using oil pastels to draw a very large spiral to fill their paper.  Next, they took on the task of filling the spiral with their name repeating.  This was a great exercise for Kinders to practice writing their name and also created an interesting pattern throughout the shell.  
After adding a head and tail with oil pastel as well, students used watercolor paints to make a colorful, fun snail.  They were very excited as they watched the watercolor and oil pastel resist and the drawings showed through the paint.
Once the snails were done, students carefully cut around the snail and glued it onto a blue (or black) piece of paper and drew some clouds.  Before adding the 'dirt' and 'grass,' we discussed texture.  Texture is what something feels like or what it looks like it feels like.  Kinders recognized that puppies may feel "soft, "fuzzy," and "squishy" whereas a tree bark may feel "rough," "hard," and "bumpy."  They glued down cut pieces of paper to create a dirty and grassy texture.
The favorite part of the project was probably adding the finishing touch of the silly goggley eyes.  What I have learned is that googley eyes make a kindergarten student a very, very happy student.


Picture
Picture
Picture
Picture
Picture
Picture
Picture
1 Comment

Kindergarten fish cut outs

4/14/2015

2 Comments

 
Picture
After coming upon this blog post on Pinterest,  I felt inspired to teach this project myself.  Results=AMAZING!

The Kindergarten students really blew me away on this one.  This was a project that every single student's artwork turned out great. Like frame and hang on the wall worthy.  And although they definitely had to follow step-by-step instructions, there was room for each student's personal touch and unique style to shine through.  
Picture
To begin this project, students were asked to imagine a lake, an ocean, a river or the beach and say what colors they saw.  With the colors that they visualized, they created a flowy watercolor painting.  


Next students folded black pieces of paper in half and cut out a fish shape.  On the fold of the paper, they cut a ‘hill’ and a ‘triangle.’  Next they cut out shapes such as squares and circles to create interesting negative space within the fish body.  


By gluing the fish onto the watercolor background, a beautiful underwater scene was created.

Picture
Picture
Picture
2 Comments

3rd grade double fish project

2/19/2015

7 Comments

 
Picture
3rd grade students did two fish projects using totally different materials. 

 The first were clay slab fish.  To make these, each student started with a slab of clay and they had to cut the clay into different shapes and layer to make a fish.  Adding texture using different materials and techniques was the focus during this process.  Students used texture plates, knives, forks, stamps, marker tops, etc to do this.  After the fish were fired in the kiln, we used an oil pastel resist method to add color to the fish.  They started by using oil pastels to cover the fish in bright colors.  After the fish was nice and colorful, we used watered down acrylic paint to completely cover the fish.  When rinsed under water, the oil pastels show through and the paint covers the areas that were not colored.  These turned out AMAZING.  
Picture
Picture
Picture
For the second fish project, 3rd graders selected a photo of a fish that they liked.  They tried their best to use observation skills and create a life-like fish drawing.  They began by drawing the outline with pencil and moved on to use oil pastels.  Rather than covering the whole fish with the pastels like they did on the clay, they just drew the outlines and textures such as scales, stripes, etc.  After the oil pastel, students used watercolor paints-plain and neon-the create the most realistic fish possible.  Students had to focus on showing highlights and shadows seen in their fish image and tried to really capture the different colors seen in the photograph.  After these were all done, I spent time cutting them all out and hanging them in the hallway to create a fun underwater scene. These turned out really amazing as well.  Definitely a project that I will continue in future years.
Picture
Picture
Picture
Picture
7 Comments

Pre-K experimental collage

2/4/2015

2 Comments

 
Picture
Picture
Picture
Picture
Picture
I FINALLY have the Pre-K students in art class!  Hooray!  The Pre-K students began art class half way through the year and what a joy it is to have these adorable, funny, sweet, creative students in my classroom.  

For our first art project of Pre-K, we did a lot of experimentation.  On the first day of class, students moved around to different stations to explore different art mediums.  The stations were oil pastels, crayons, colored pencils.  At each station, the students drew patterns and designs to fill their paper and had to come up with words to say how each materials felt and looked.  For example, oil pastels are waxy, wet, slippery, bright.  Crayons are hard, colorful, light.  Colored pencils are hard, thin, dark.  

At the next class, students explored different techniques of using watercolor paints to fill their paper up with different colors.  Some students took a strategic route of creating specific shapes/colors or filling in their drawn images, while others just had fun getting colors on the paper.

For the third and forth classes of this project, the students were shocked as I told them to cut their artwork into different shapes and to glue them onto a big piece of black paper to create a new design.  A few were reluctant at first, but once started, really enjoyed themselves.  Again, some used strategy while others just cut and glued.  I love the outcome of this project because every single students artwork looks totally different from the person next to them.

So proud of these hardworking Pre-K friends!
Picture
Picture
Picture
Picture
Picture
2 Comments

1st grade SIMPLE MACHINES COMPLEX MINDS

12/12/2014

1 Comment

 
I love the music videos that OKGO makes, I've already shown three different ones to the students this year.

I also showed this video of students creating six different Rube Goldberg-inspired networks.  (Rube Goldberg was the engineering master of simple machine networks)

Picture
I love the topic of simple machines and so glad that the 1st grade students spend so much time learning about them.  To bring together science and art, I've created this project that I call "SIMPLE MACHINES, COMPLEX MINDS."

To begin the project, I show them OKGO's music video "This too shall pass."

Picture
The first graders loved both of these videos and as they watch them I hear many gasps and giggles.


After the students watched the videos and I reiterated what a simple machine is, we got down to the nitty gritty of making artwork :)

They began this project by choosing a sillhouetted profile template that was most like them and tracing around the outside.  Each student had to make at least one change to the design so that it looked more like them.  Many students chose to alter the hair. 
As they create a personalized silhouette of themselves, we discussed how our thoughts and ideas are all very unique, and very complex.  We are all individual, interesting people.  Each of us has ideas and processes them differently.  That is where the "complex minds" portion of this project comes in.  
To symbolize an idea, the students each began this project by drawing a lightbulb inside of their head.
Picture
From the lightbulb, the students each designed a unique network of simple machines to represent their complex minds and how they all thing and process ideas differently.

We did our drawings with black Sharpie, and afterwards used neon watercolors to paint it in.
These turned out so amazing and it was awesome to watch the students get really involved and excited about the network of simple machines that they were creating.  It was so much fun to walk around and have the students explain exactly what was going on 'inside of their head.'
Picture
Picture
Picture
Picture
Picture
Picture
Picture
Picture
Picture
Picture
Picture
1 Comment

3rd grade Hundertwasser land and cityscapes

11/1/2014

0 Comments

 
Picture
Picture
The third grade class spent about 30 minutes looking at and discussing the artwork of Friedrich Hundertwasser.  The reactions were quite amusing, the students seemed surprised by the intensity of color and pattern created by the Austrian artist.  Hundertwasser is one of my top ten favorite painters so I love talking with my students about his work.  

We began this project by separating the paper into two sections and in one, used oil pastels to draw a landscape.  In the other, a cityscape.  The drawing focus was on using concentric circles and shapes, repetitive patterning, background patterns and bright colors.

After the space was very filled with oil pastel drawings, the students used watercolor paints to finish the artwork.

I love how colorful and vibrant these turned out.  The students worked very hard for 5-6 class periods to finish, I am so proud!
Picture
Picture
Picture
Picture
Picture
Picture
Picture
Picture
Picture
Picture
Picture
Picture
0 Comments

1st grade watercolor fish

10/17/2014

0 Comments

 
Picture
After reading the book "Fish Eyes: a book you can count on," the first graders discussed the magnitude of different types of fish and underwater creatures and the different ways to draw them.  
We began this project with a long, thin piece of white paper.  The student each designed and drew one fish, at least as big as their hand.  Then, they had to attempt to draw the same fish, with the same shapes and lines, but in different sizes.  Each student had to draw at least four fish.
After having all of their fish drawn (some drew 4, some drew 10), they traced over their drawings with crayons.  
After using crayon to add underwater details such as seaweed, clam shells, and bubbles, using watercolor paints, the 1st graders painted in their fish with bright colors.  During the next class, they used cool colors to paint the background water.
The paintings turned out adorable and in the discussions and creation of the art, we talked about how to draw multiples of the same design, as well as warm and cool colors and appropriate use of supplies.
Picture
Picture
Picture
Picture
Picture
Picture
Picture
Picture
Picture
Picture
Picture
0 Comments

Kindergarten snakessssss

9/26/2014

0 Comments

 
Picture
Picture

The Kindergarten students practiced drawing curvy lines, cutting, and using watercolor to create fun, playful snakes.  

Using their snakes and colored paper, the Kindergarteners created a collage of a snake slithering on the ground!


I showed the students this video:
(they giggled loudly and sang the song for days afterwards)
Picture
Picture
Picture
Picture
Picture
Picture
Picture
Picture
0 Comments

Student Teaching at Evergreen                2nd Grade Hundertwasser seasons

3/31/2014

0 Comments

 
Picture
Overview: 
2nd Grade
4-5 days
Students will look at images by Hundertwasser and explore characteristics of his work. Using these visual characteristics, students will use oil pastel and watercolor to draw/paint the four seasons by use of colors, shapes, and lines.

Learning Outcomes:
  • The learner will be able to recognize unique characteristics of artwork by Hundertwasser.
  • The learner will be able to recognize and utilize colors, shapes, and lines in artwork that represent the different seasons of the year.
  • The learner will use oil pastels and watercolor paints successfully to imitate Hundertwasser's art styles.

Essential Standards:
2.V.1.1 Use appropriate art vocabulary when discussing media, processes, or images in art. 
2.V.1.4 Understand characteristics of the Elements of Art, including lines, shapes, colors, textures, form, space, and value. 
2.V.1.5 Understand characteristics of the Principles of Design, including repetition, movement, emphasis, contrast, balance, and proportion. 
2.V.2.1 Understand that artistic problems have multiple solutions. 
2.V.2.3 Create art from real and imaginary sources of inspiration.
2.CX.1.3 Understand various movements in art and the artists that represent them. 
2.CX.2.2 Understand relationships between art and concepts from other disciplines, such as math, science, language arts, social studies, and other arts.

Materials:
  • 12”x 18” white paper, oil pastels, watercolor, water, paintbrushes
  • Hundertwasser images for reference
Art Vocabulary:
  • lines, shapes, colors
  • repetition, movement
  • parallel lines, concentric circles, repeated patterns
Preparation:
Day One: Have images by Hundertwasser ready for reference, books available, Prepare prompts for students such as “What season of the year might this represent and why?”, have example pieces poasted, have paper ready and cut to size, oil pastels available
Day two: Hundertwasser images on display, examples on display, oil pastels ready
Day three: reference images on display, oil pastels and watercolors ready
Day four: reference images on display, oil pastels and watercolors ready

Interdisciplinary Concepts:
Weather, characteristics of seasons, math patterning
Picture
Picture
Picture
Picture
Picture
Picture
Picture
A Hundertwasser original:
Picture
0 Comments

student teaching at evergreen  Simple Machines complete!

3/2/2014

1 Comment

 
The First grade project "Simple Machines, Complex Minds" is finished.  I am super excited about the finished results.  The first graders are SO creative and inventive!
Picture
Picture
Picture
Picture
Picture
Picture
Picture
Picture
Picture
Picture
Picture
Picture
1 Comment
<<Previous

    Author

    Annie Monaghan.
    Art lover.
    Art creator.
    Art teacher.

    RSS Feed

    Categories

    All
    1st Grade
    2nd Grade
    3rd Grade
    4th Grade
    5th Grade
    Abstract
    Art History
    Art Videos
    Auction
    Batik
    Cardboard
    Chalk Pastel
    Clay
    Collaboration
    Collage
    Colored Pencil
    Color Wheel
    Contour Lines
    Drawing
    Highlights And Shadows
    Kindergarten
    Landscape
    Mural
    Names
    Notan
    Observational Drawing
    Oil Pastel
    Online Art
    Origami
    Paint
    Painting
    Papier Mâché
    Patterns
    Portraits
    Pre K
    Printmaking
    Relief Sculpture
    Remote Art
    Remote Learning
    Sculpture
    Self Portrait
    Self-portrait
    Sewing
    Shapes
    Sharpies
    Still-life
    Symmetry
    Texture
    Tissue Paper
    Warm And Cool Colors
    Watercolor
    Weaving

Powered by Create your own unique website with customizable templates.