
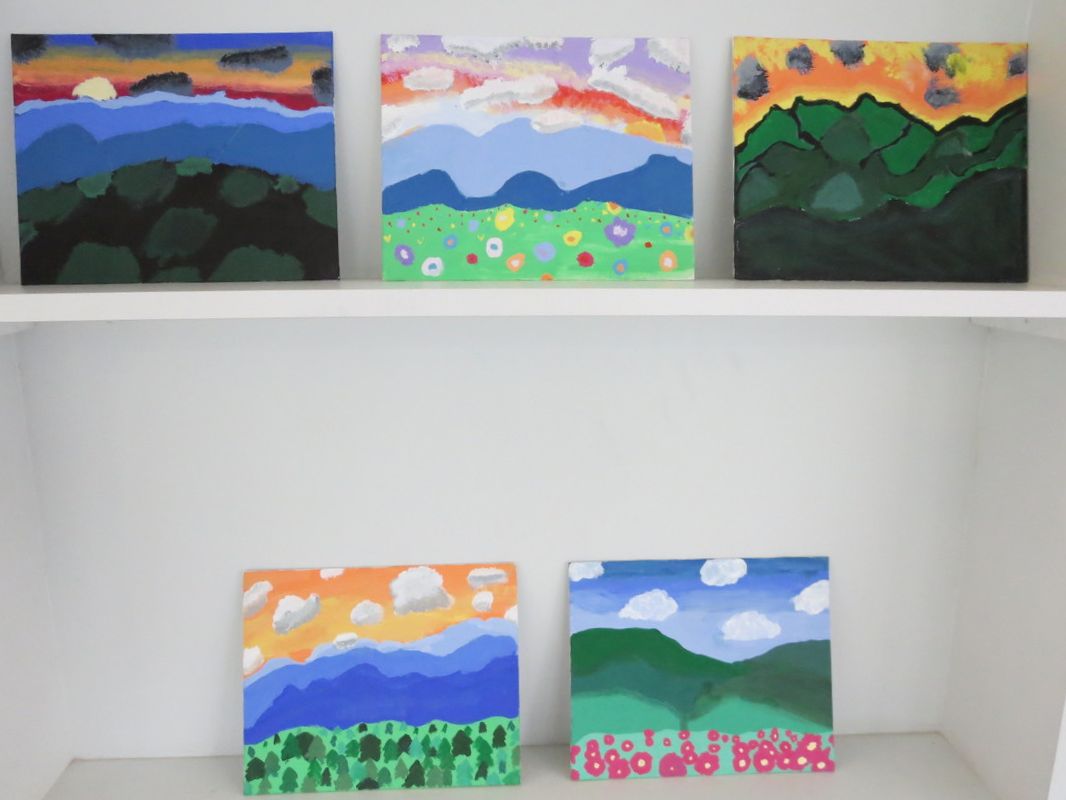
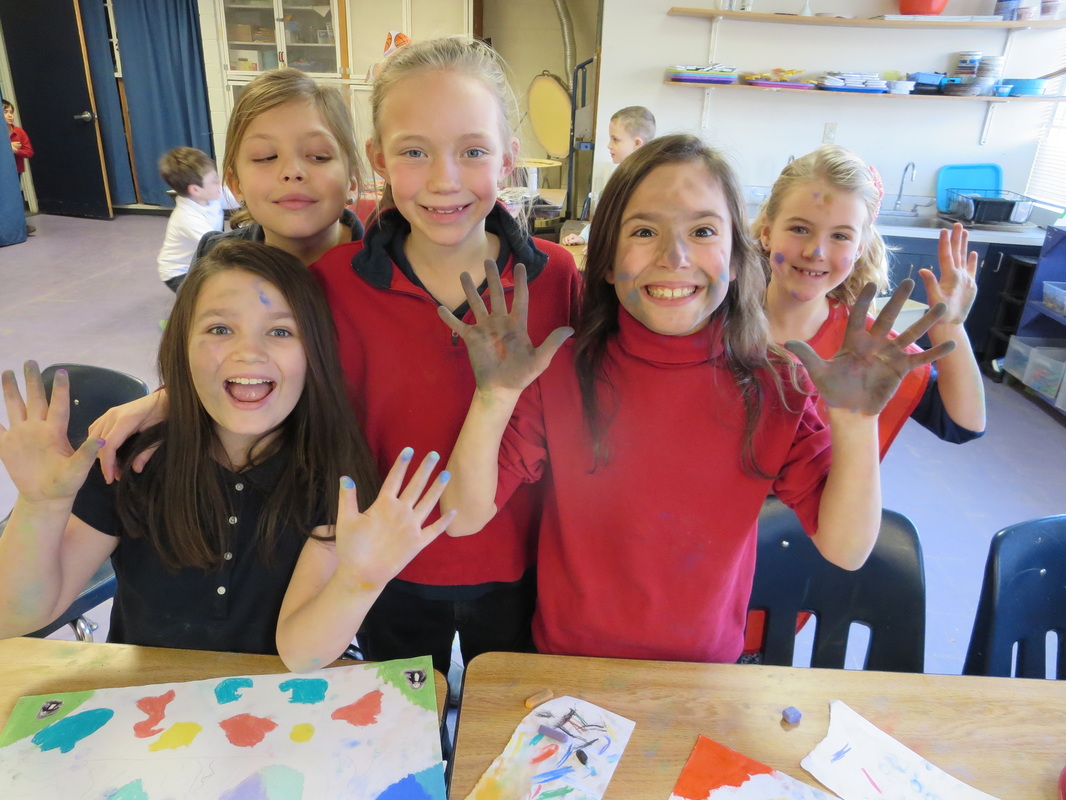
What a great project!
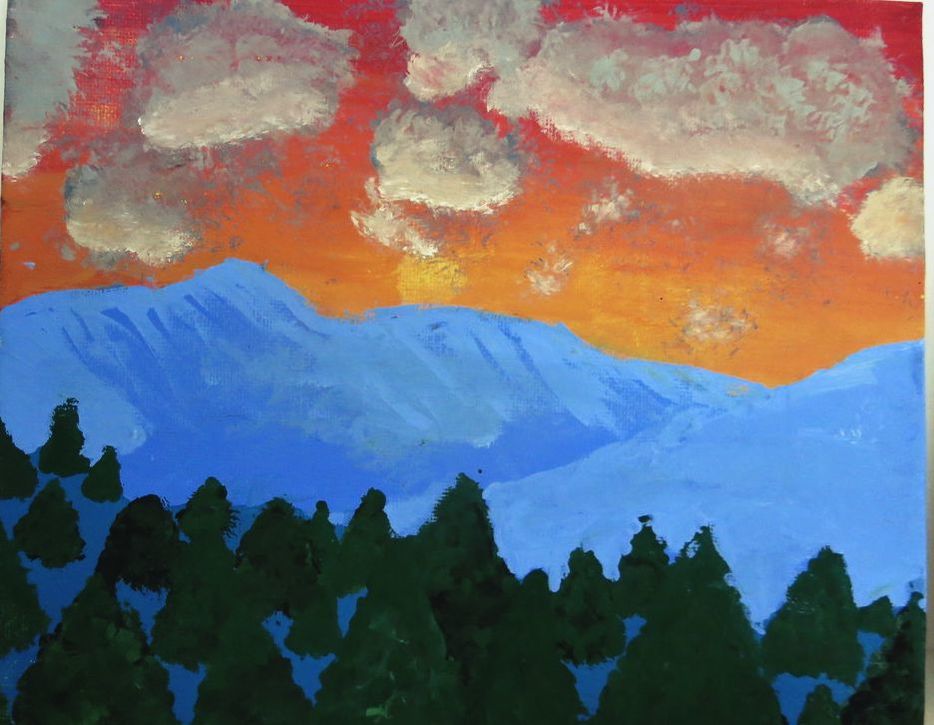
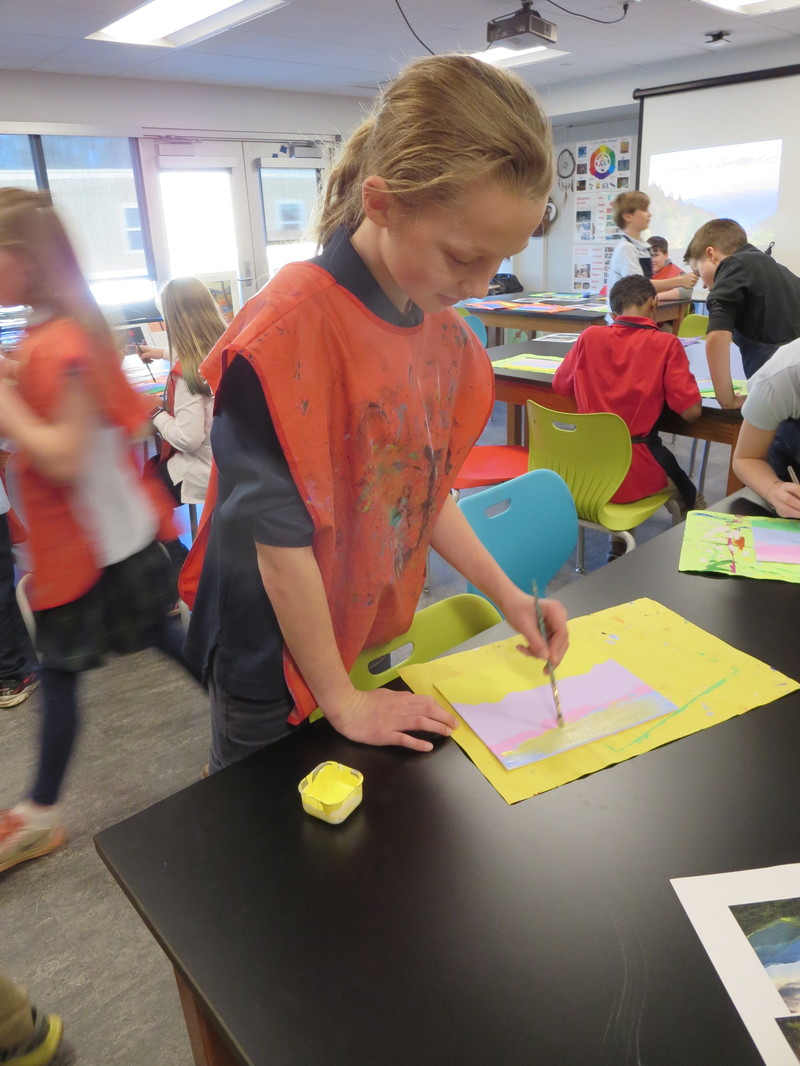
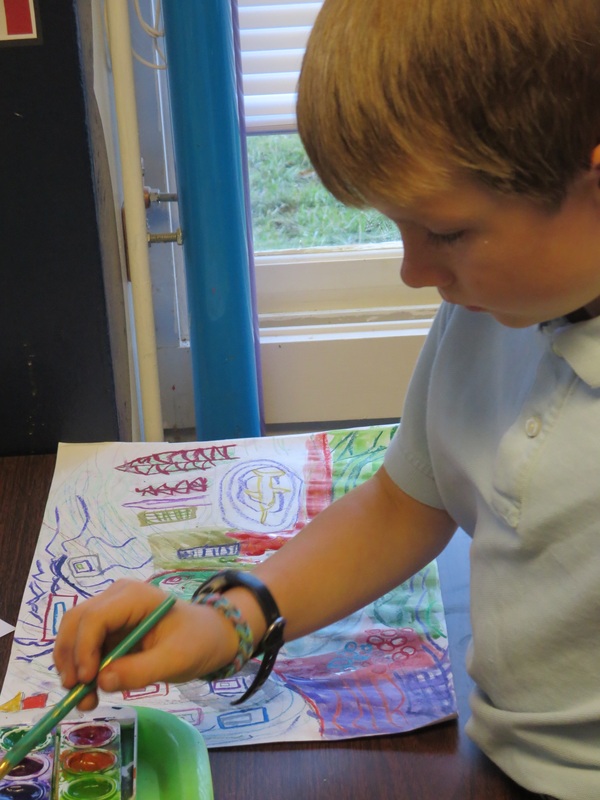
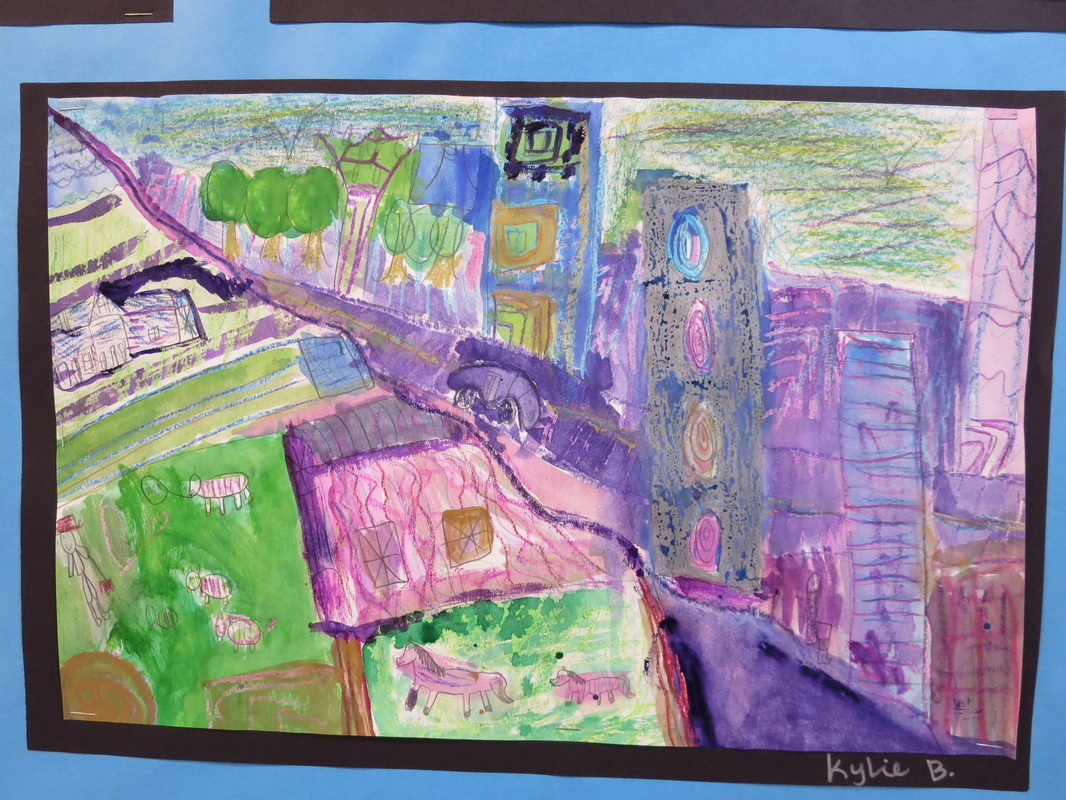
These landscape paintings took the students about 7 classes to finish and so many students really poured their heart into their artwork. I saw 5th graders totally immersed in the process and lots of students being courageous trying new techniques.
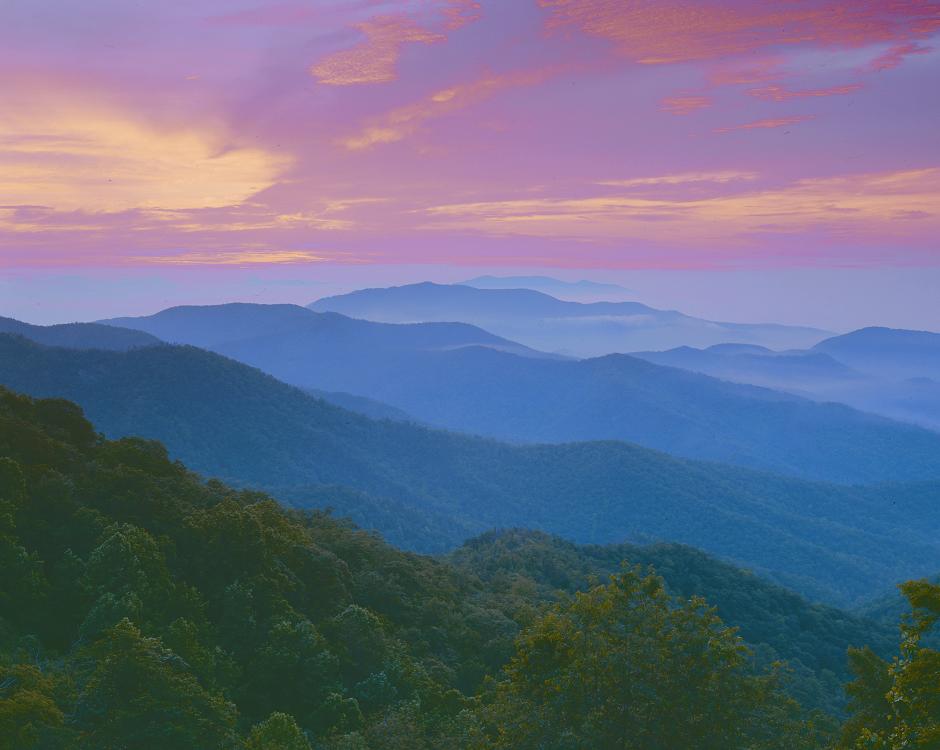
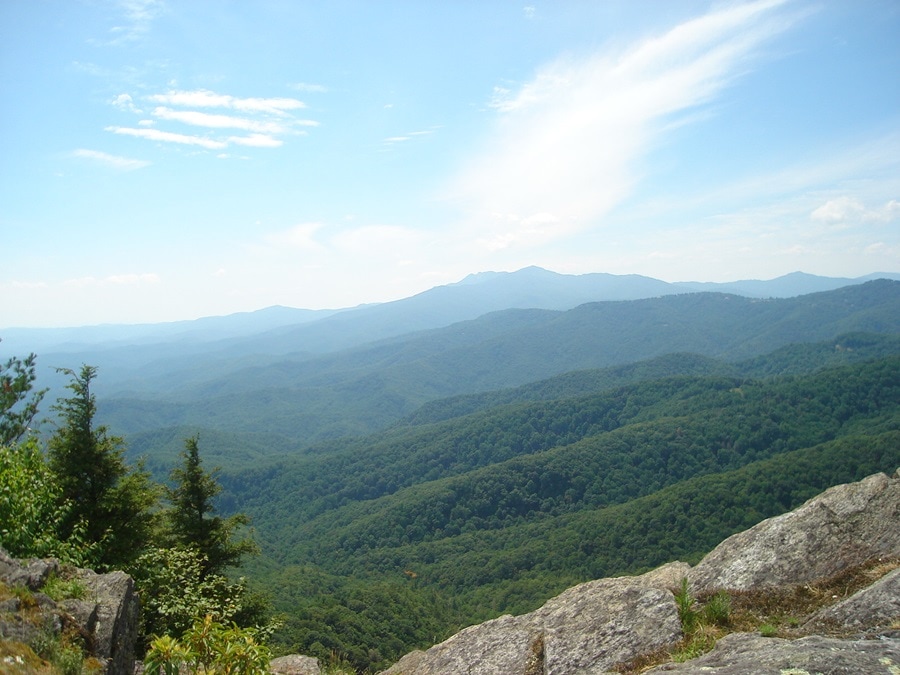
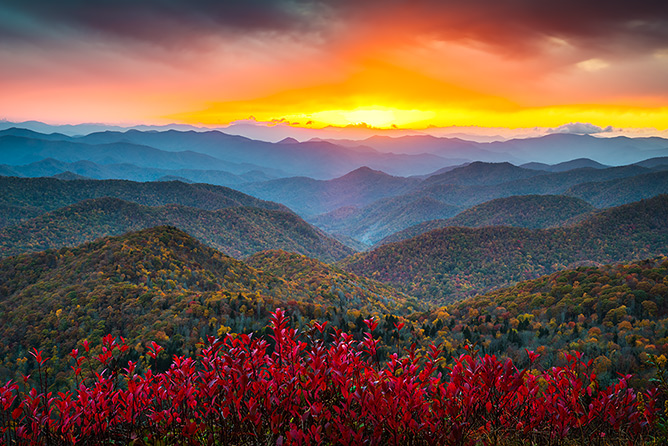
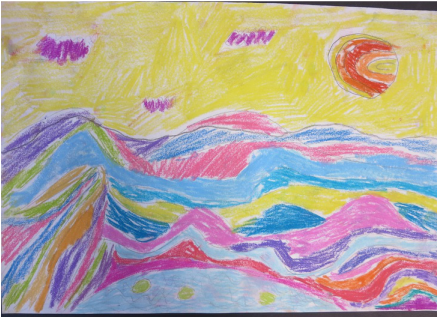
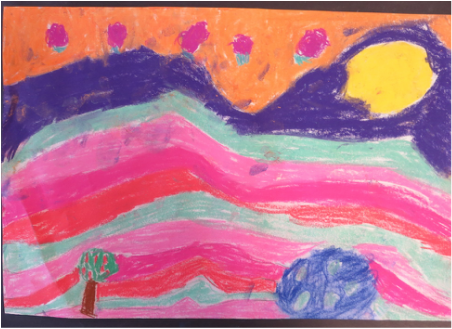
We began this project by looking at photographs of the lovely landscape where we live. Our school is less than a mile from the Blue Ridge Parkway and being in Asheville, we are a few minutes drive from these gorgeous mountain views.
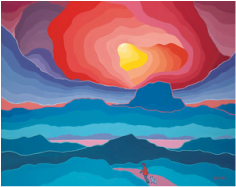
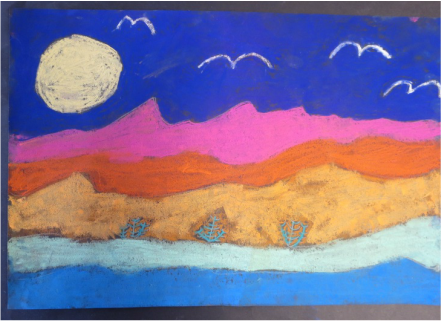
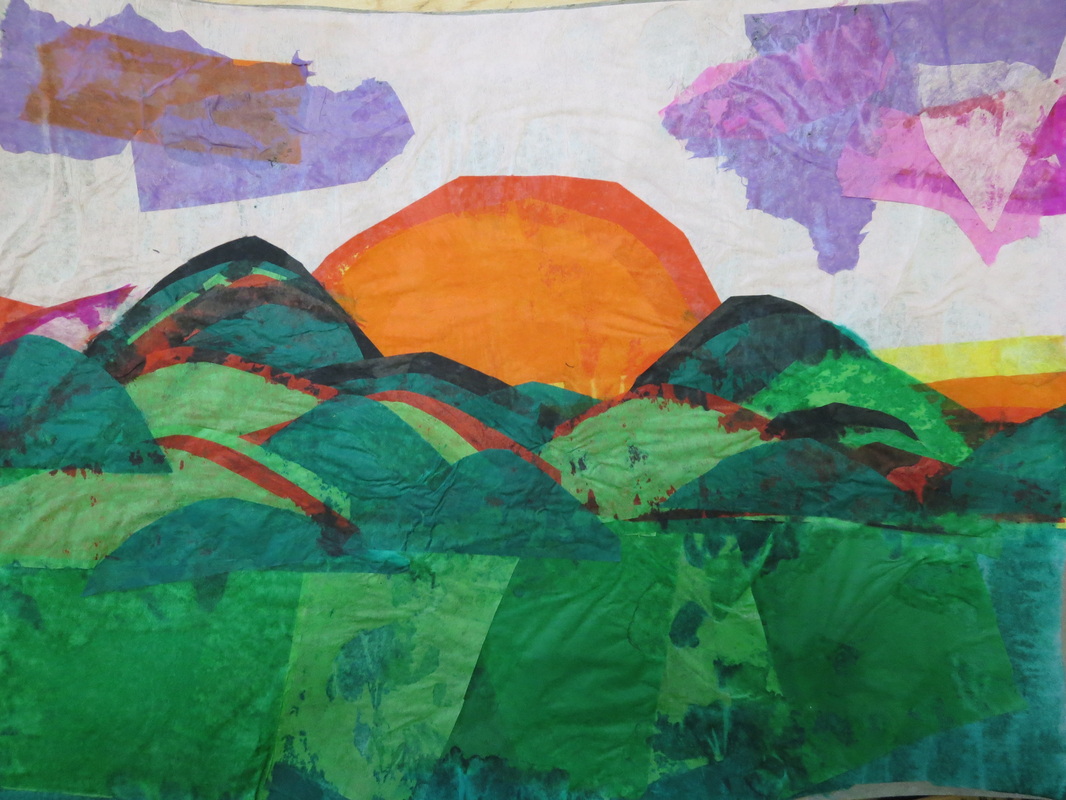
We looked at photographs of mountain landscapes during sunrise, mid-day and sunset. I helped direct a conversation about the three layers that are seen in each (background, midground, foreground) and about how during the different times of day, the colors are different in each layer.
These landscape paintings took the students about 7 classes to finish and so many students really poured their heart into their artwork. I saw 5th graders totally immersed in the process and lots of students being courageous trying new techniques.
We began this project by looking at photographs of the lovely landscape where we live. Our school is less than a mile from the Blue Ridge Parkway and being in Asheville, we are a few minutes drive from these gorgeous mountain views.
We looked at photographs of mountain landscapes during sunrise, mid-day and sunset. I helped direct a conversation about the three layers that are seen in each (background, midground, foreground) and about how during the different times of day, the colors are different in each layer.
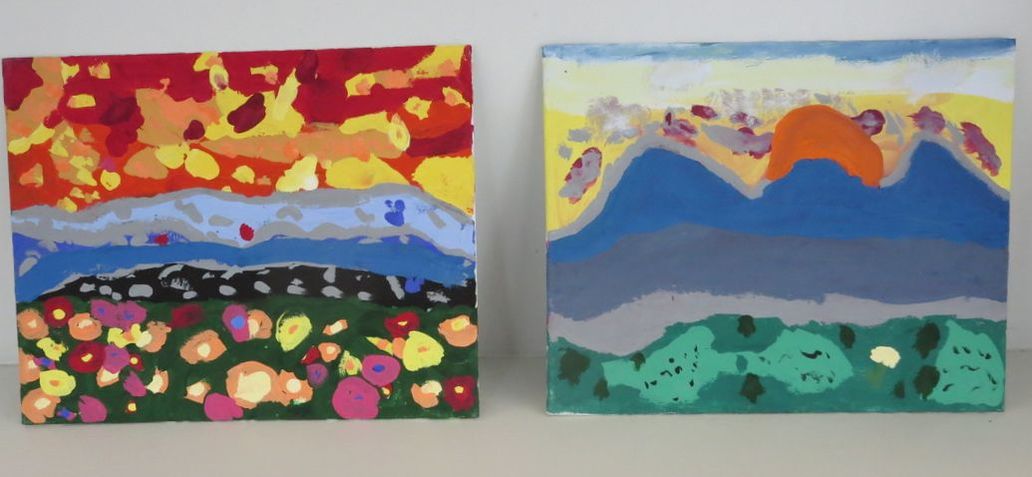
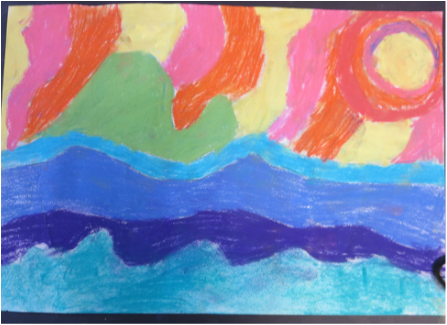
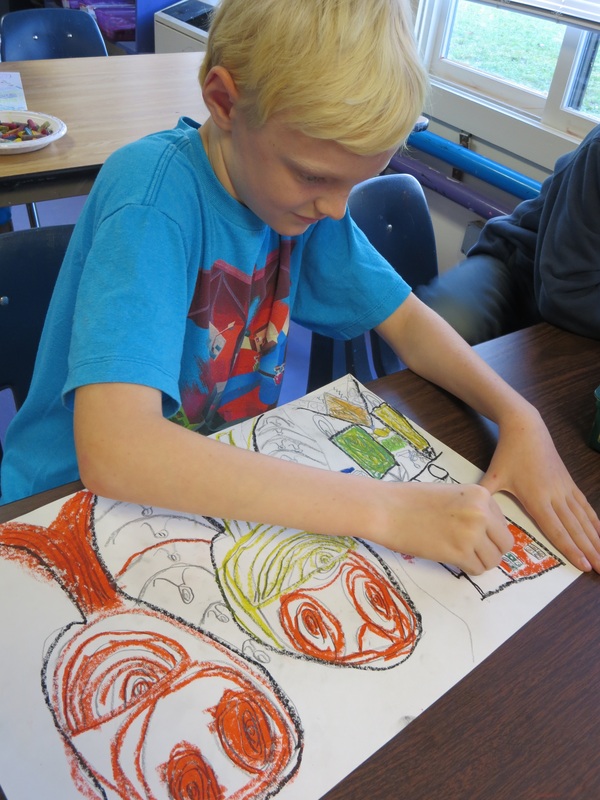
Students began this project by drawing a sketch first and using colored pencils to show what colors they would be using. I told them that I should be able to tell what time of day it was just by looking at their sketches and seeing what colors they selected.
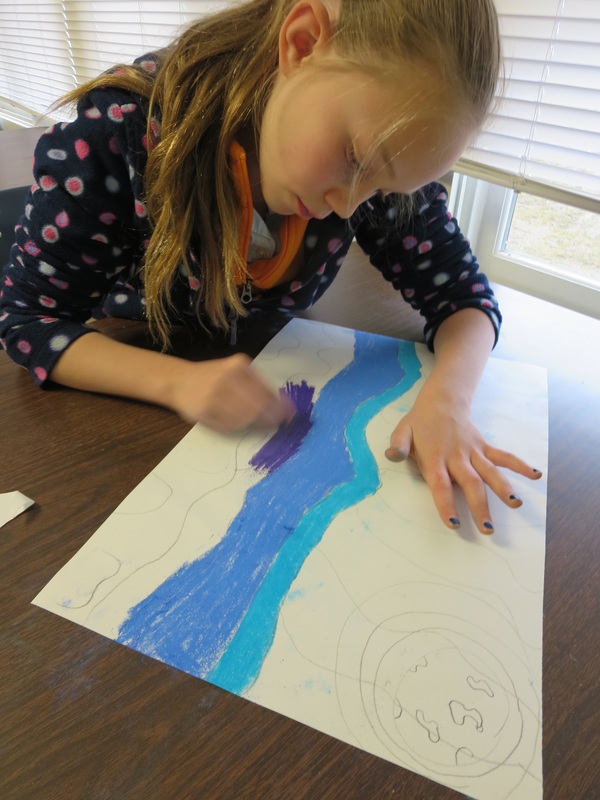
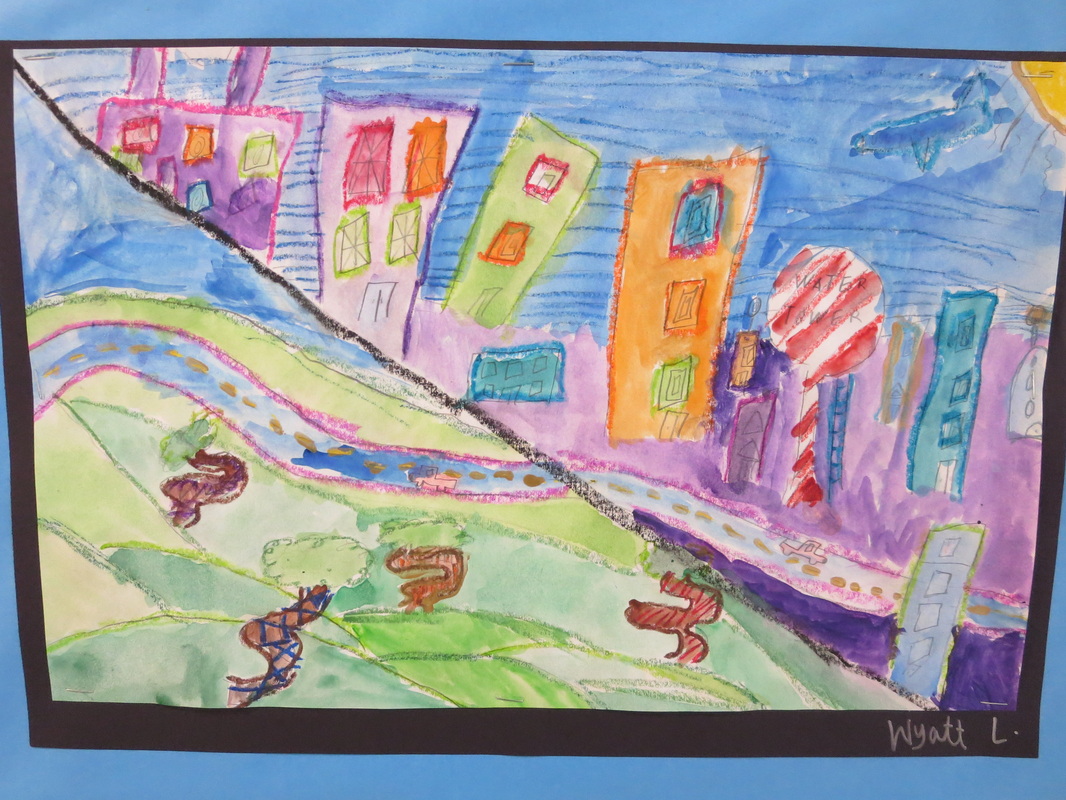
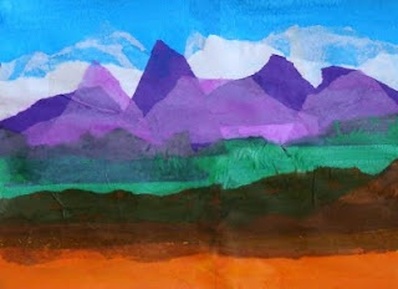
Next they drew two lines across their canvases to separate the image into the three layers-background, midground, foreground.
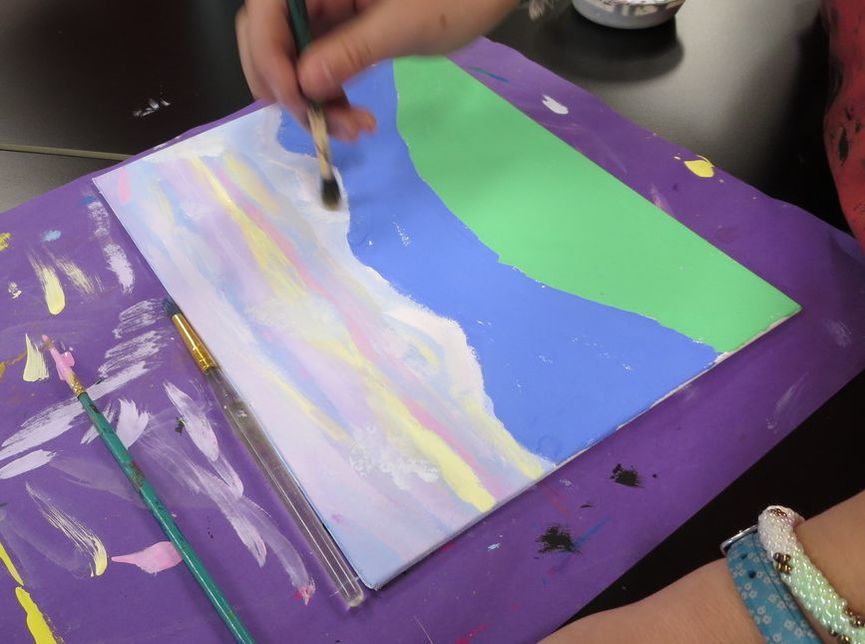
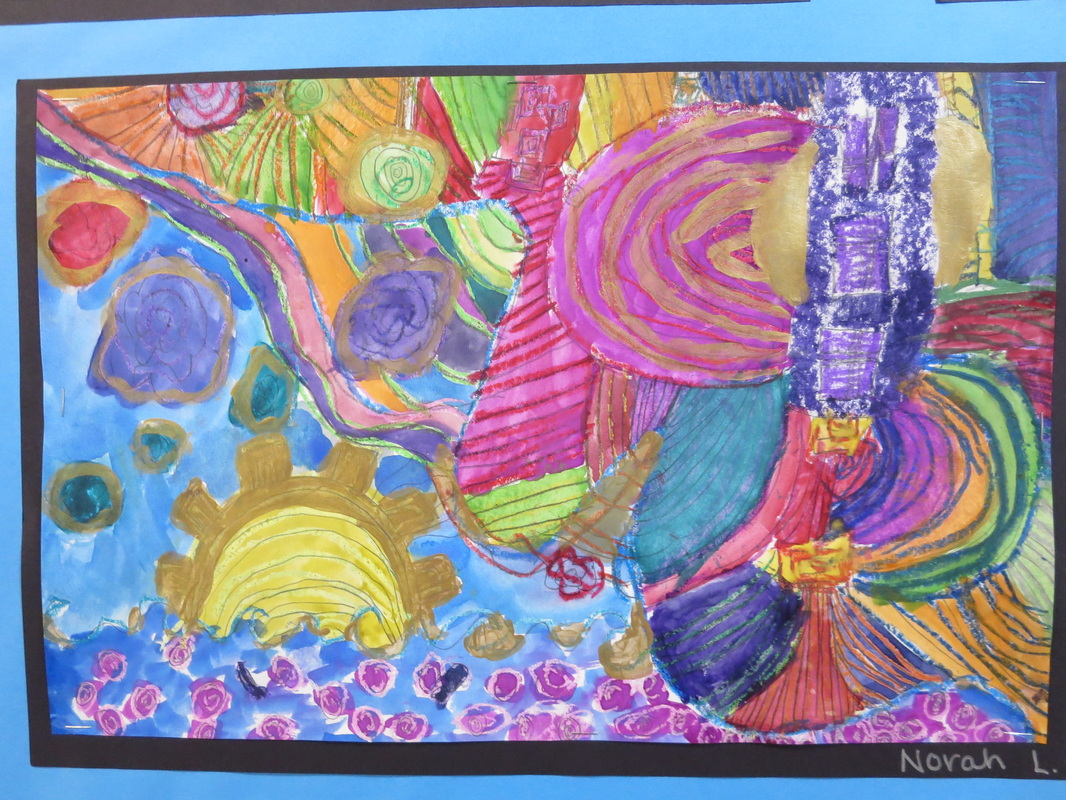
I'm annoyed that I didn't take any photos of the next step, but they each selected just one color for each layer and painted in each layer. Many of the kids were very confused about this step and ha a hard time grasping why they would choose just ONE color to paint a layer when there are obviously so many more colors.
I reassured them that many artists work in a similar way and that it provides a base color as they add in more layers and details of other colors.
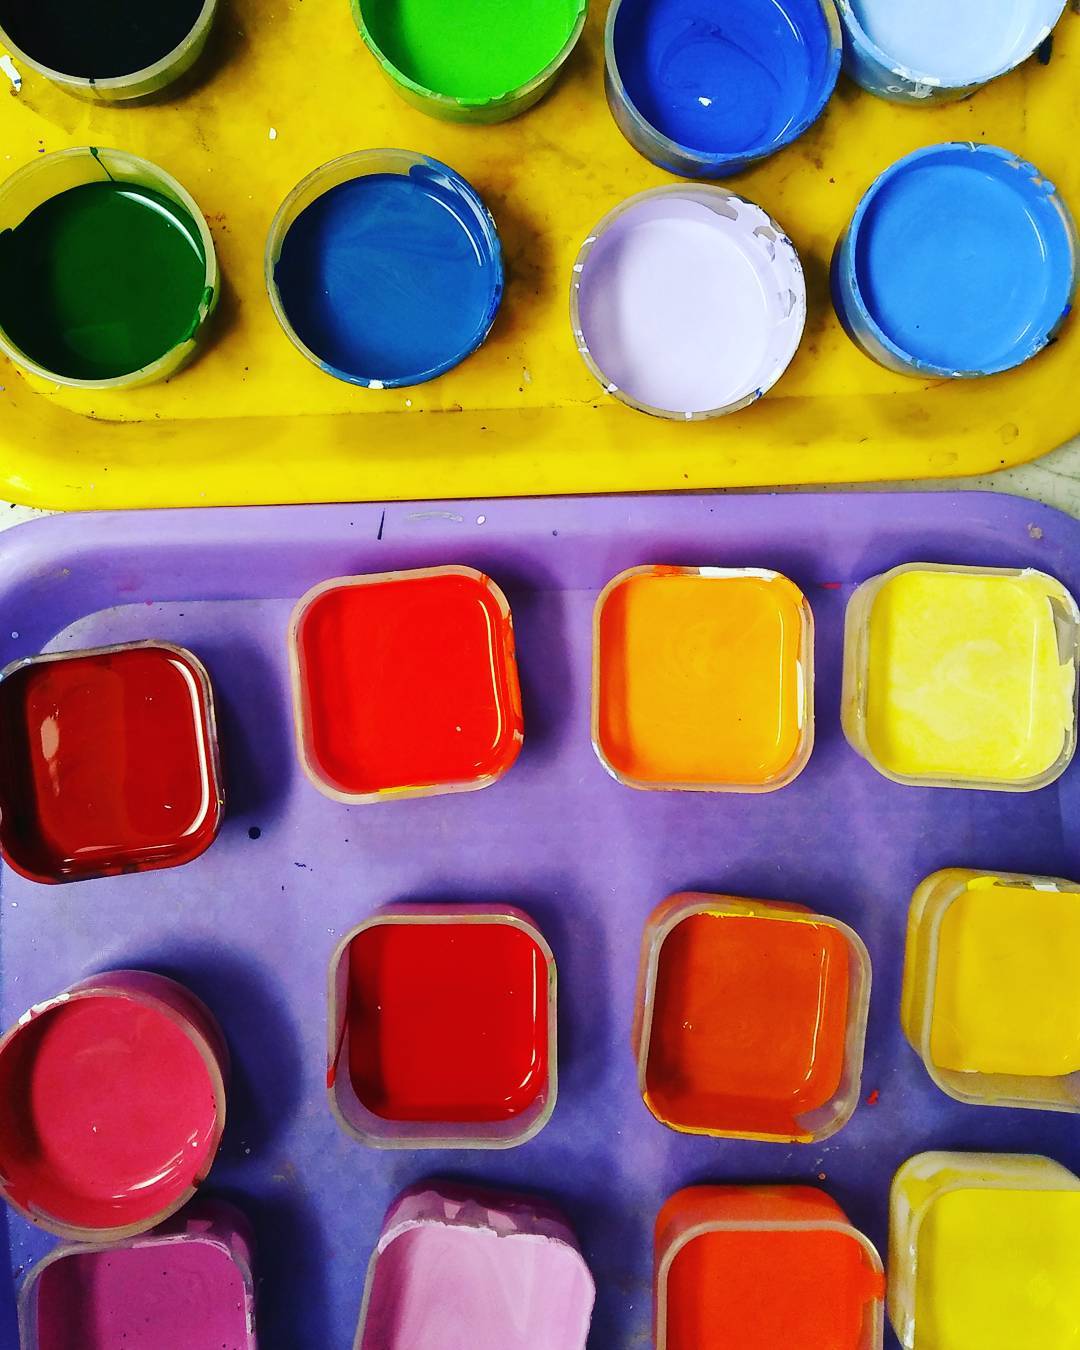
We used acrylic paints for this project that I pre-mixed. I had about 30 different colors set out for them. I just put lids on them between classes to keep them wet.
Next they drew two lines across their canvases to separate the image into the three layers-background, midground, foreground.
I'm annoyed that I didn't take any photos of the next step, but they each selected just one color for each layer and painted in each layer. Many of the kids were very confused about this step and ha a hard time grasping why they would choose just ONE color to paint a layer when there are obviously so many more colors.
I reassured them that many artists work in a similar way and that it provides a base color as they add in more layers and details of other colors.
We used acrylic paints for this project that I pre-mixed. I had about 30 different colors set out for them. I just put lids on them between classes to keep them wet.
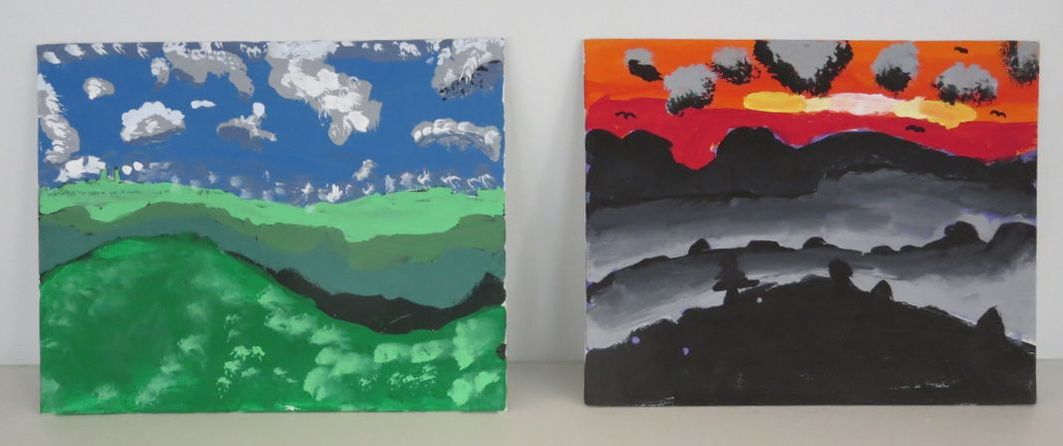
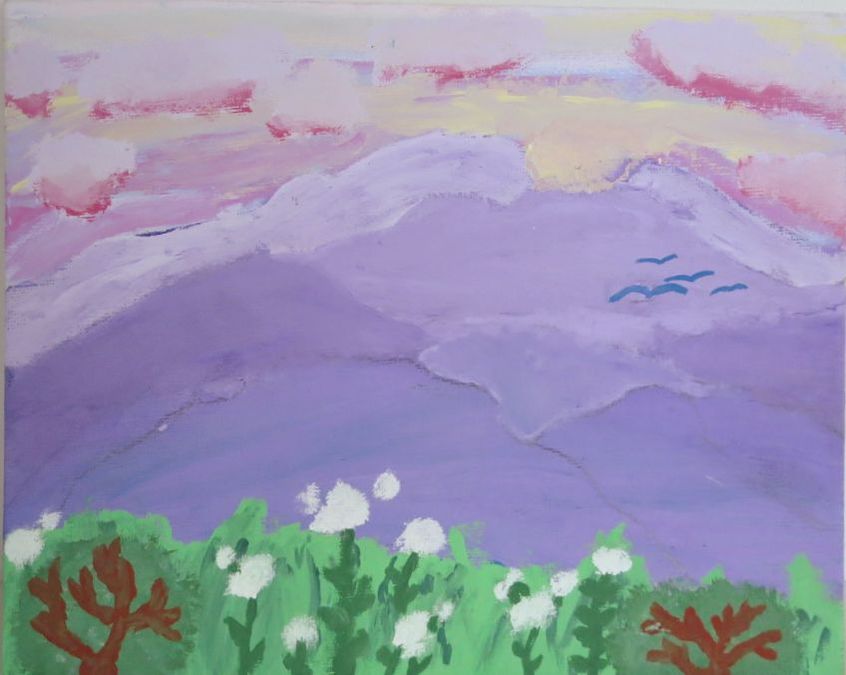
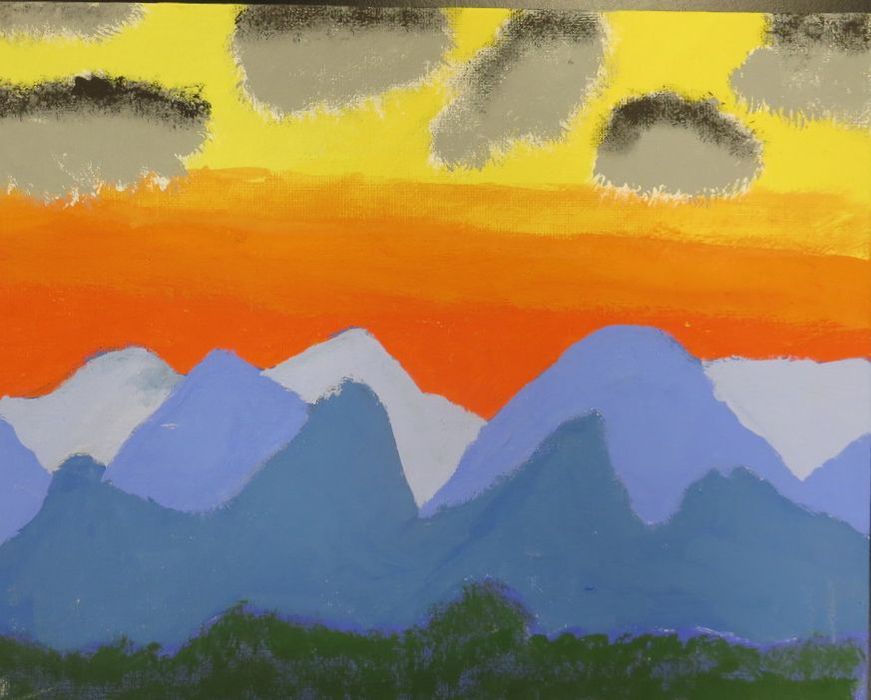
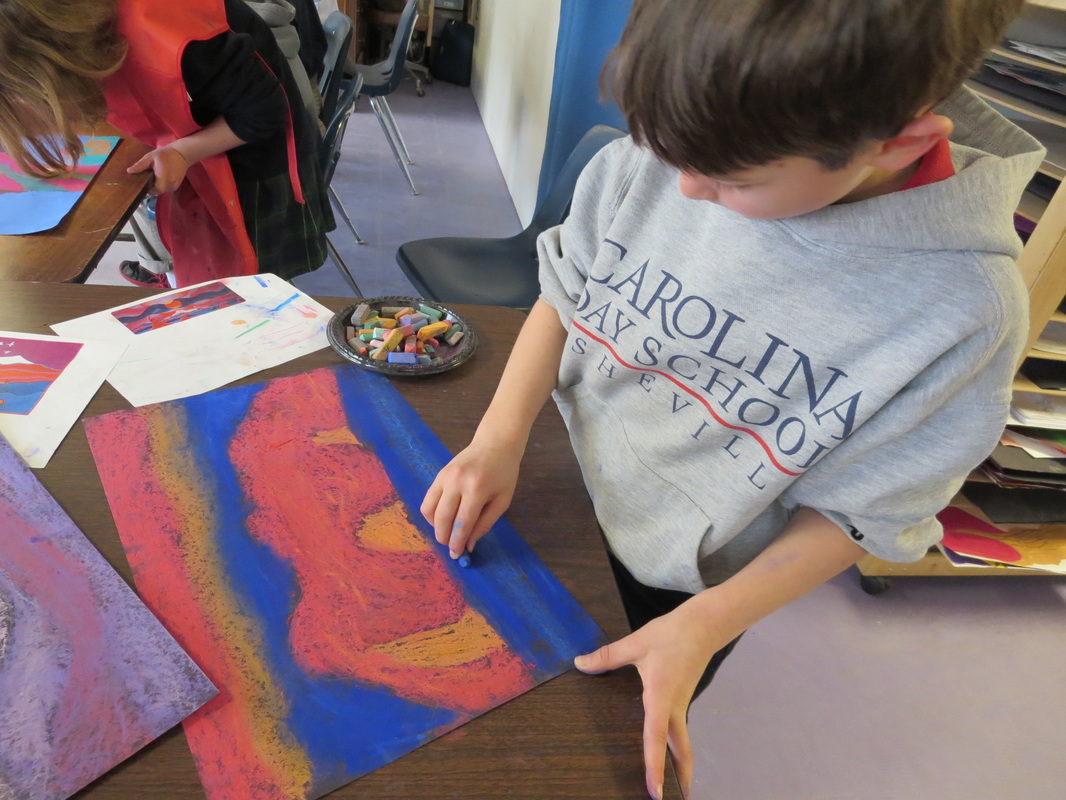
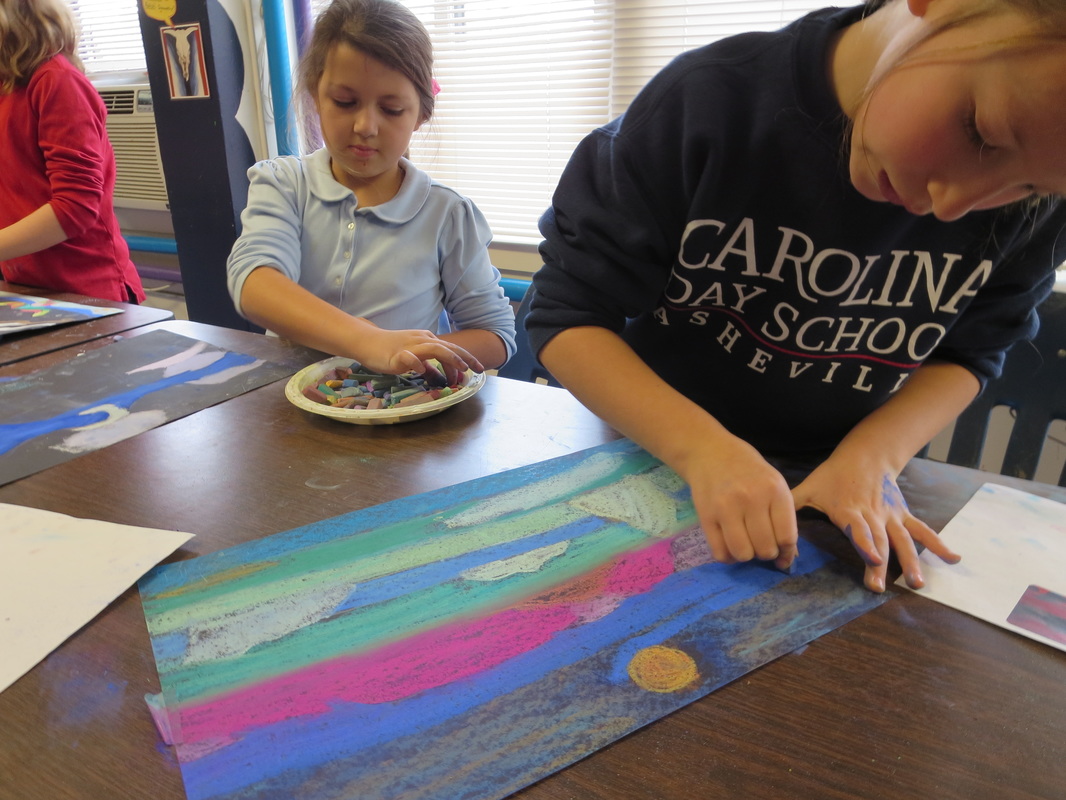
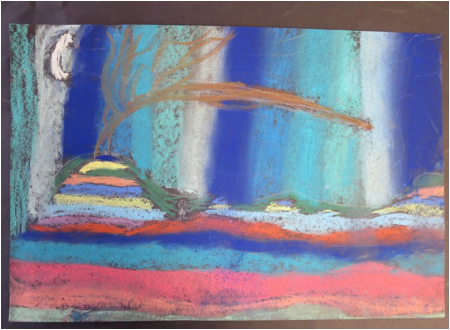
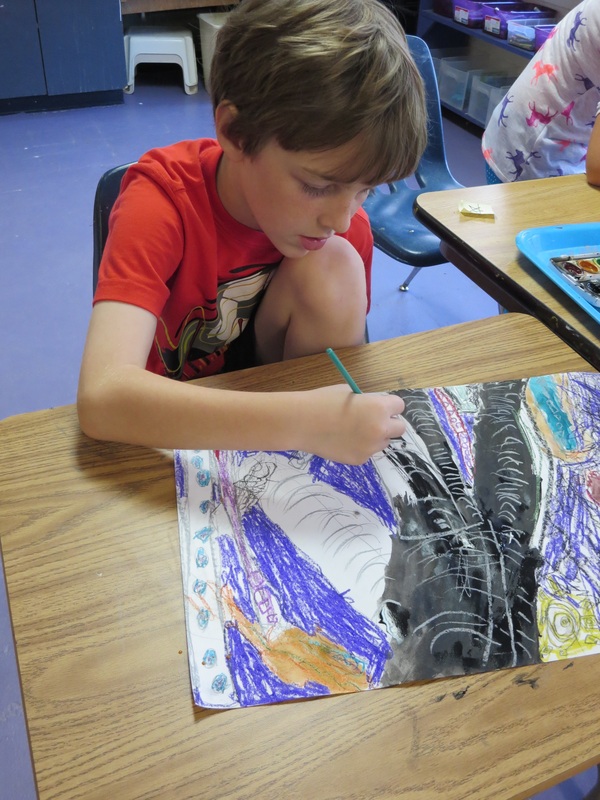
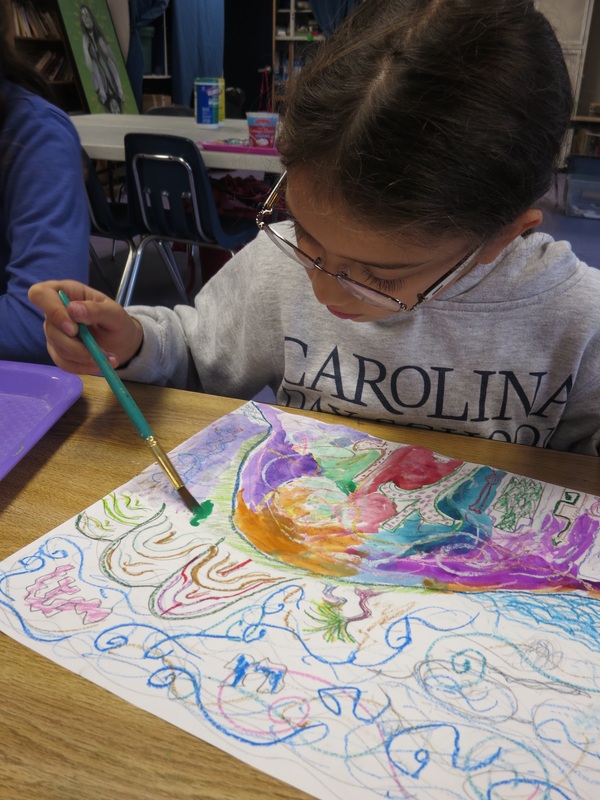
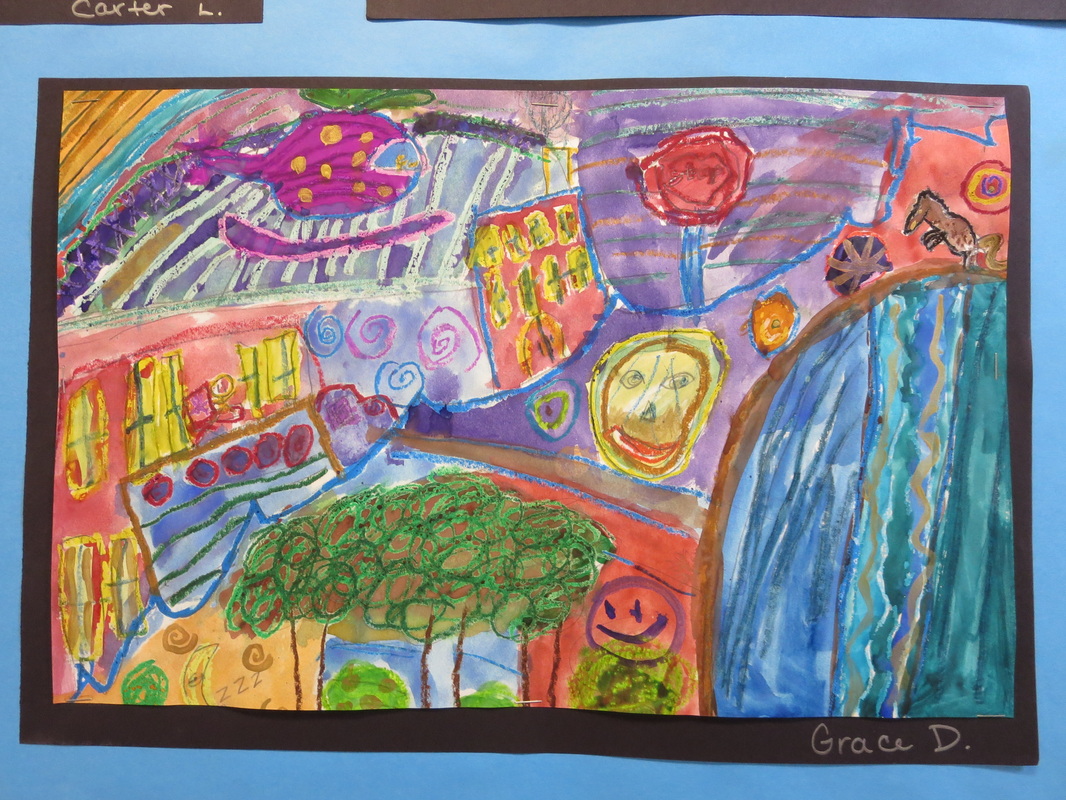
Next, we began adding other colors and details to the background. They started by painting the colors that are seen in the sky (not the clouds) and practiced blending the colors together with wet paint and water. Once that was finished, the students added the clouds. They focused on the main color of the clouds and added shadows. Most students spent 2-3 whole class periods working on the background. After we were completely finished with this project and I asked students their favorite part of this, almost all students said the sky was the most fun (and most challenging).
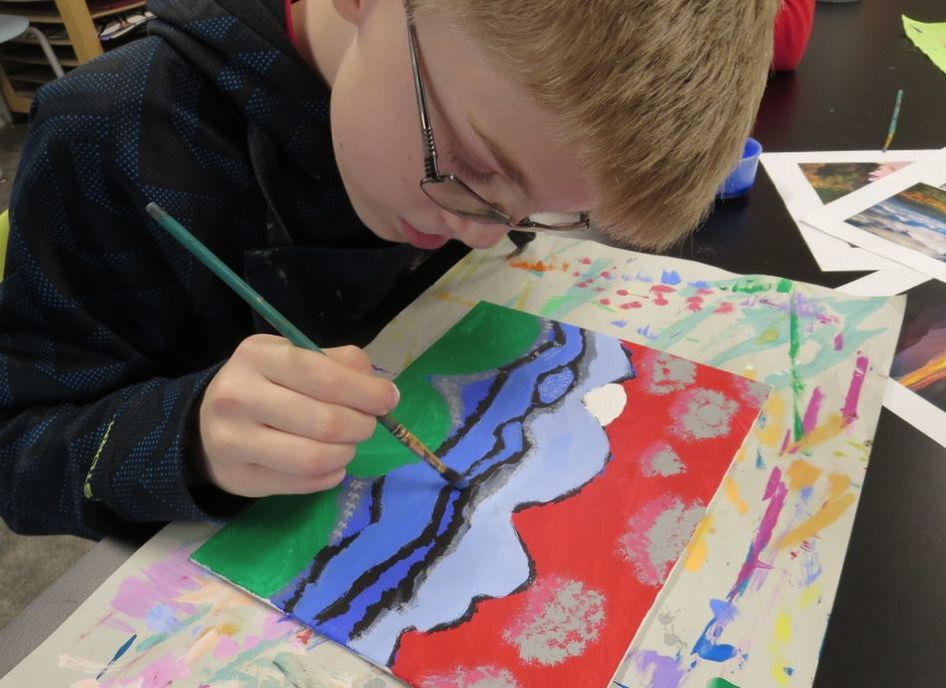
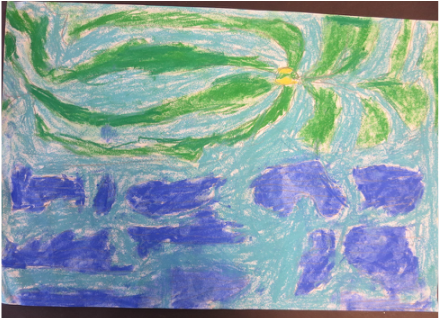
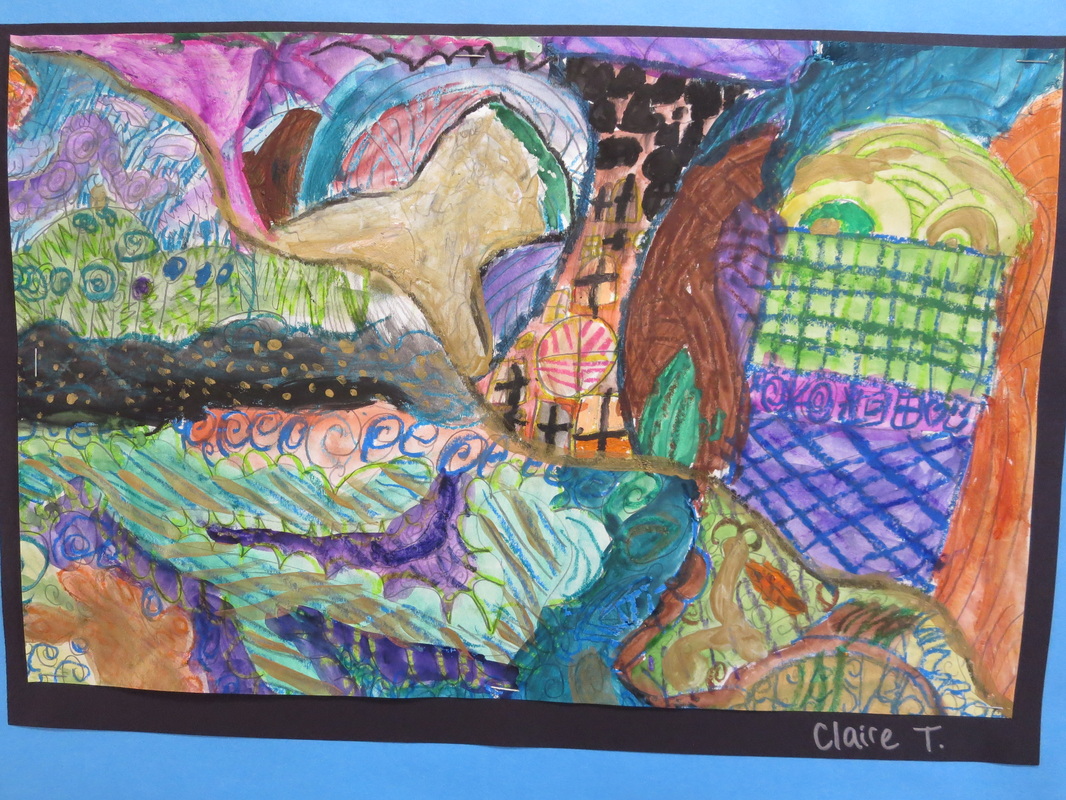
Students used the same technique on their midground and foreground. We talked about painting in the base colors that they see then adding in details and shadows.
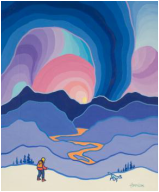
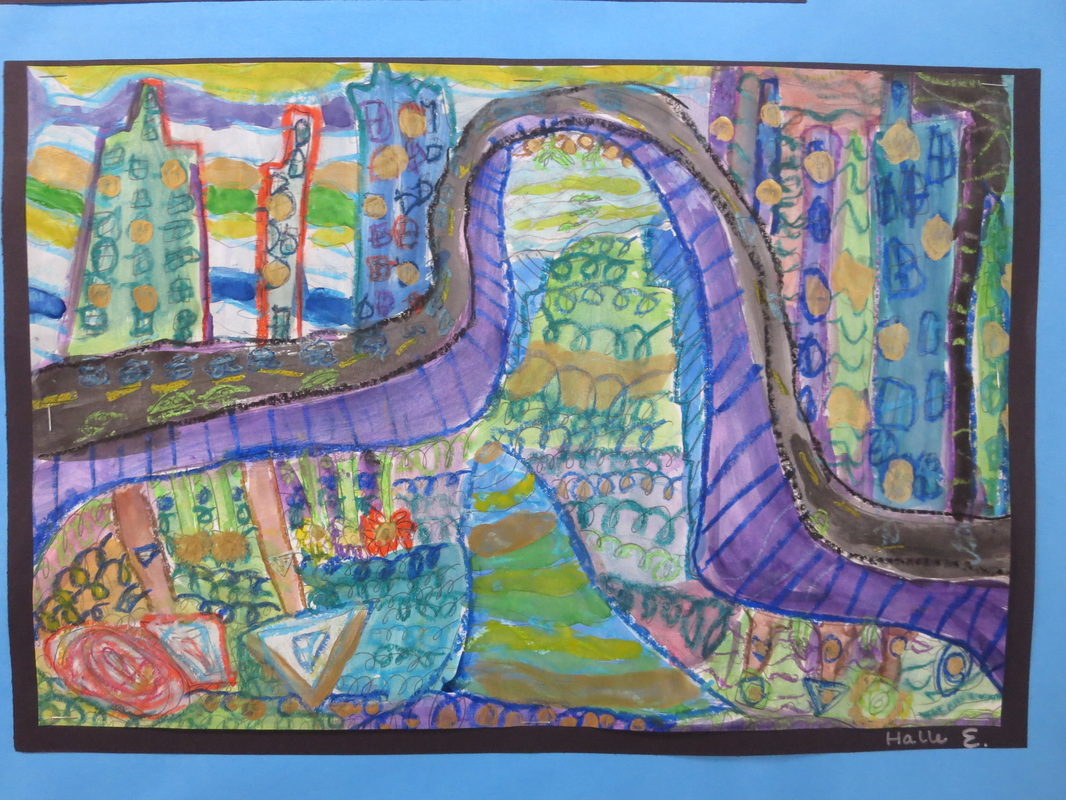
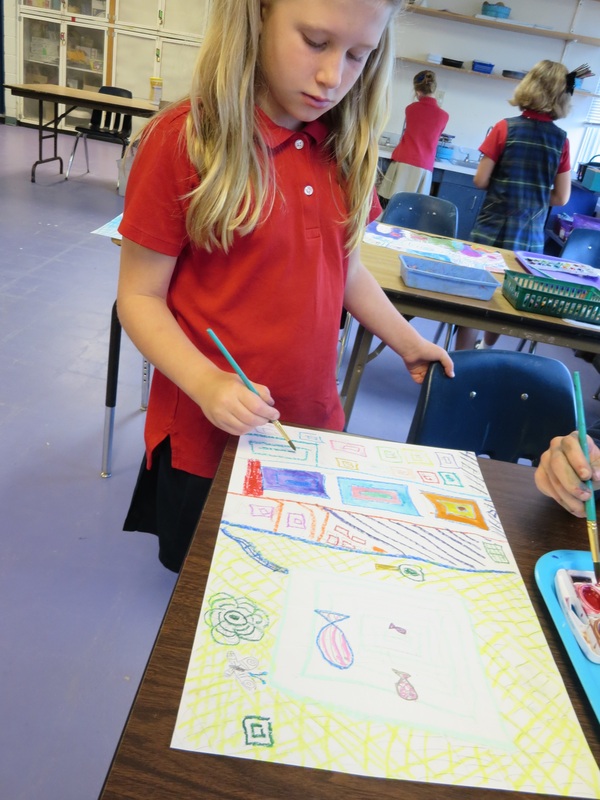
On the foreground, students made sure to make the trees, flowers, etc that were further back smaller than what was closer.
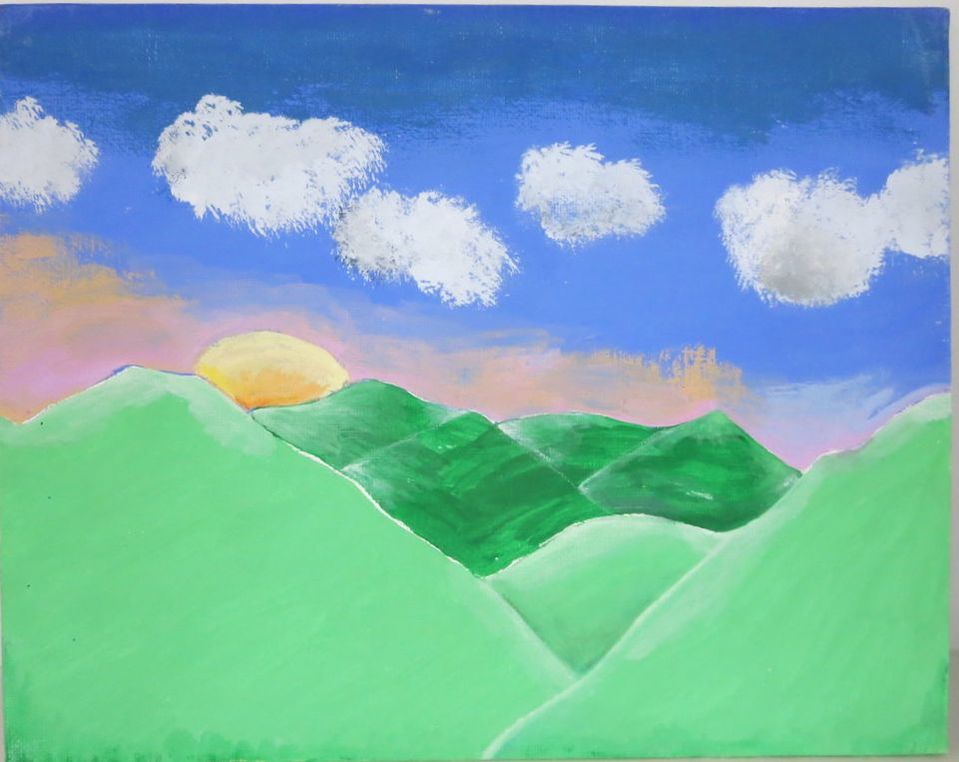
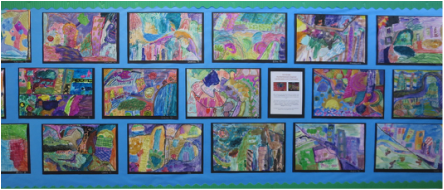
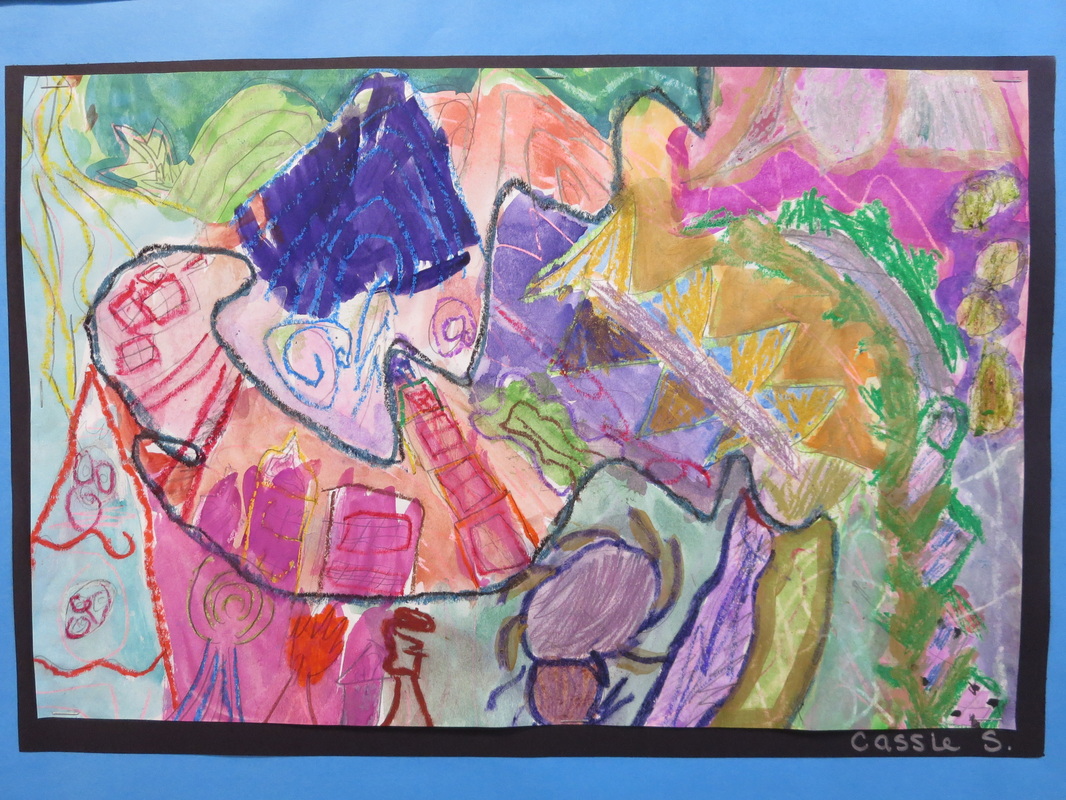
I absolutely LOVE how these landscapes turned out. Each student's unique style really shines. They worked hard and were very engaged during these paintings. I am a very proud art teacher!
On the foreground, students made sure to make the trees, flowers, etc that were further back smaller than what was closer.
I absolutely LOVE how these landscapes turned out. Each student's unique style really shines. They worked hard and were very engaged during these paintings. I am a very proud art teacher!


 RSS Feed
