Annie Monaghan's Art Room
  • Home
  • Elementary Art
  • Middle School Art
  • Camp projects
  • Lesson Plans
  • About Me
  • My Artwork
  • Art is everywhere!
  • Contact me
  • Professional

ABSTRACT ART GALORE

1/8/2020

0 Comments

 
Picture
I'll be honest and say that when I was growing up and even through my college career as an art major, I never used to appreciate abstract art.  I always thought it was kinda pointless and silly.  Over the last few years though, I've really learned to love it.  The more I learn about it, the more I appreciate it and I've found that it's a style of artwork that is super fun and expressive to make and kids love it too.  It's a great way to be free and uncritical of oneself while creating!

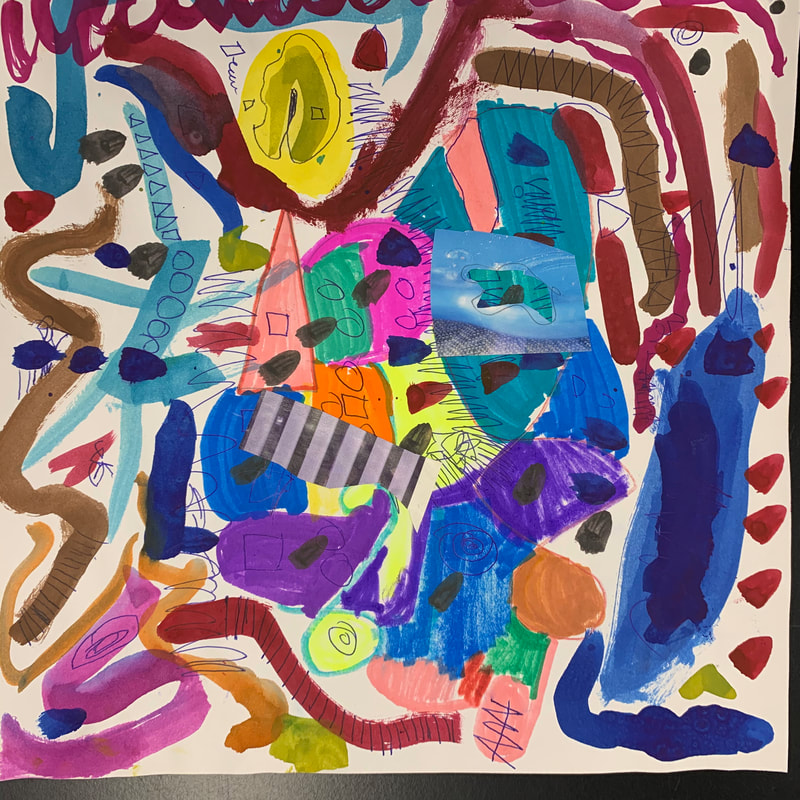
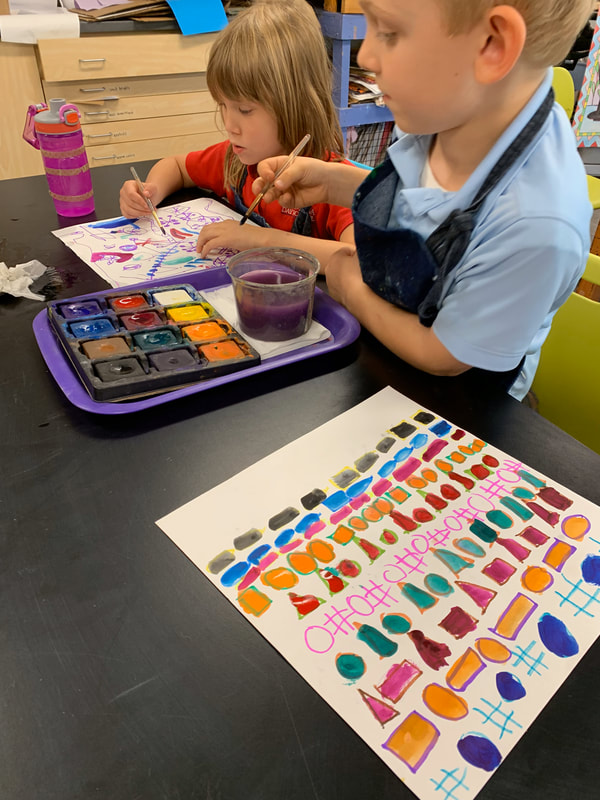
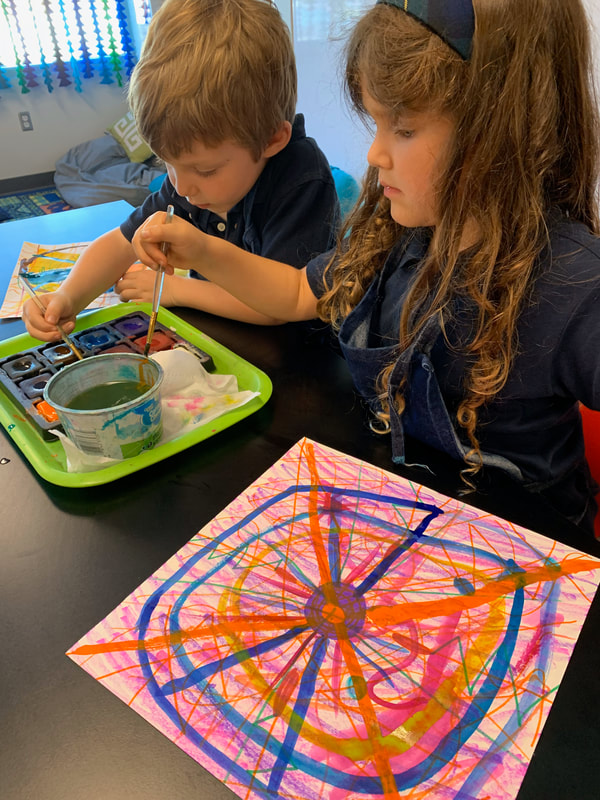
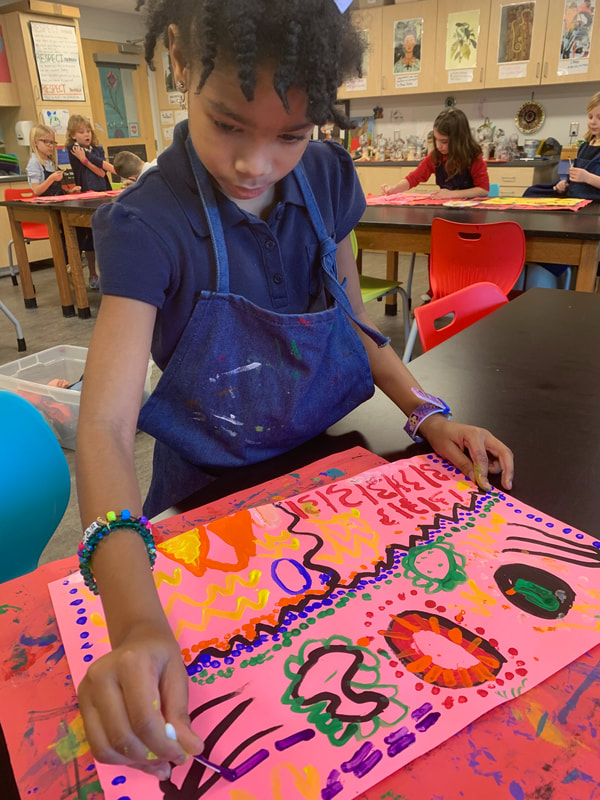
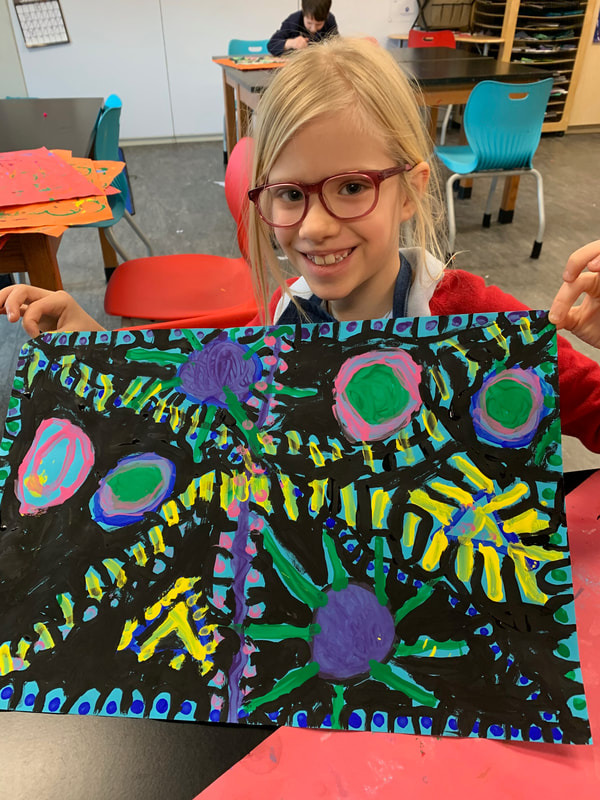
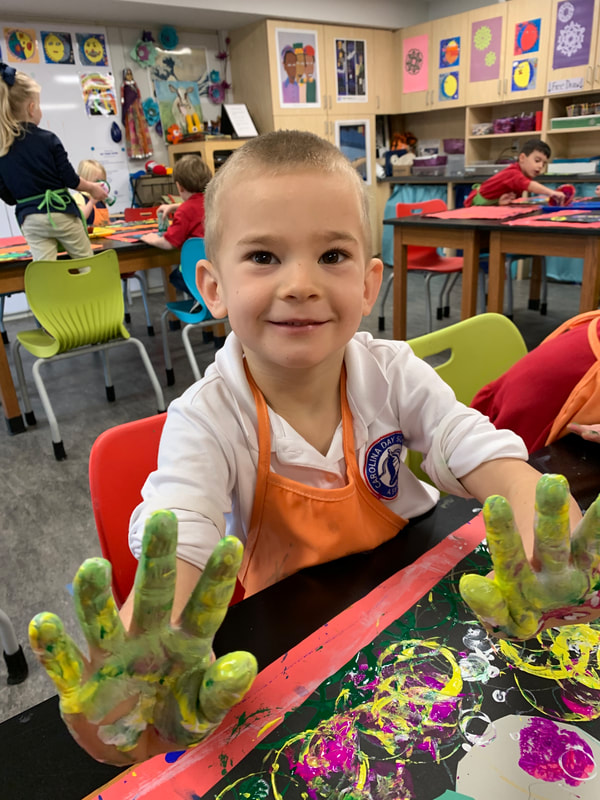
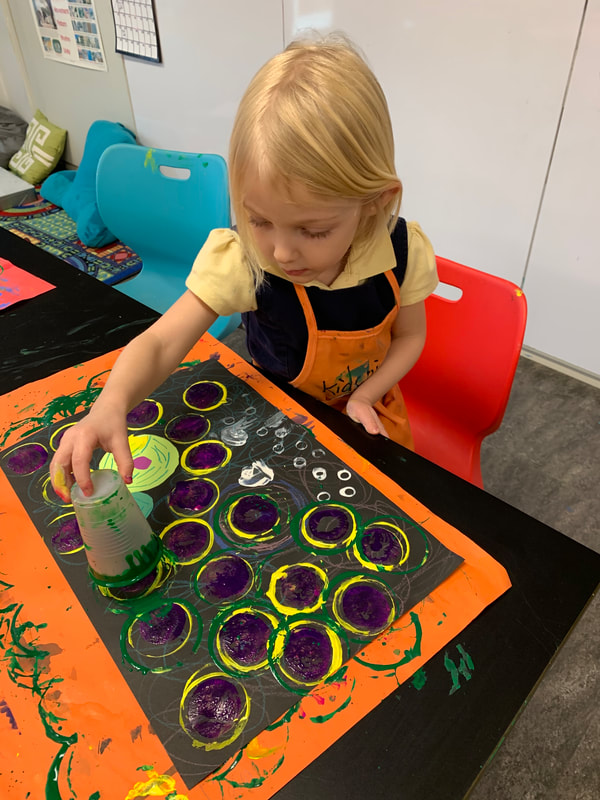
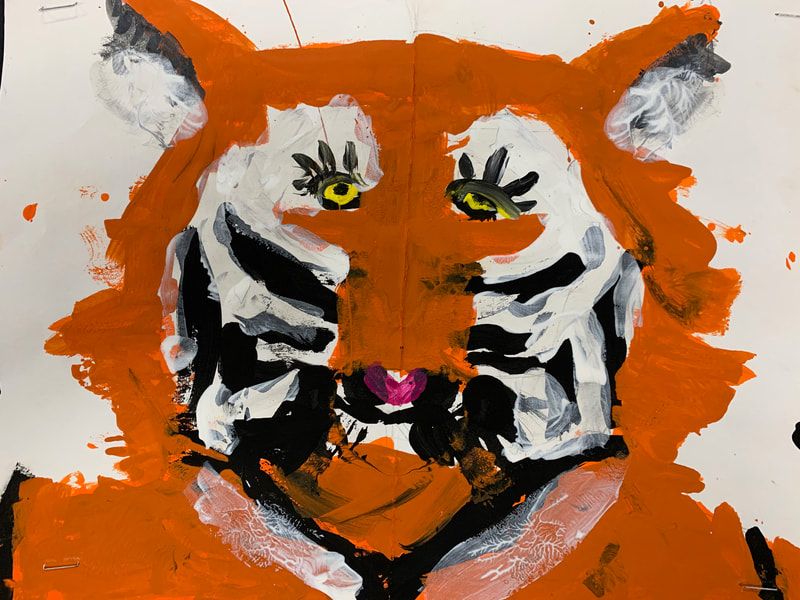
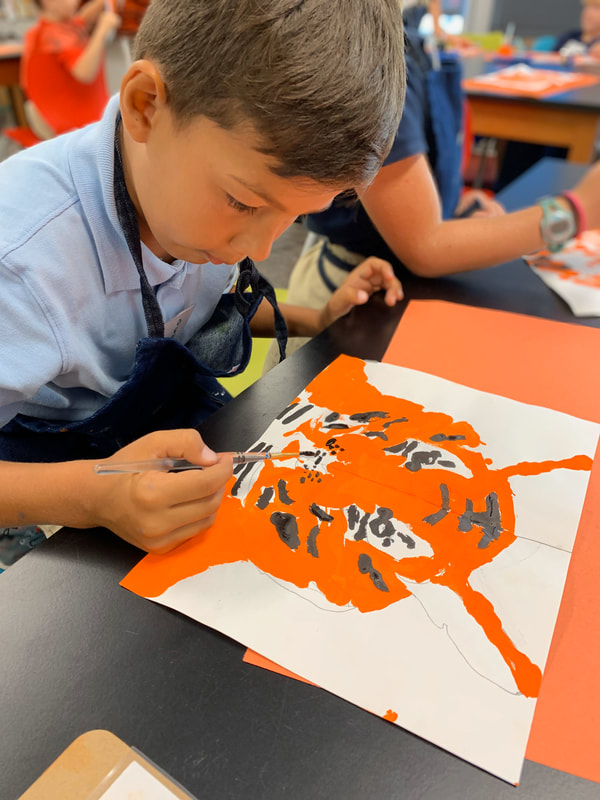
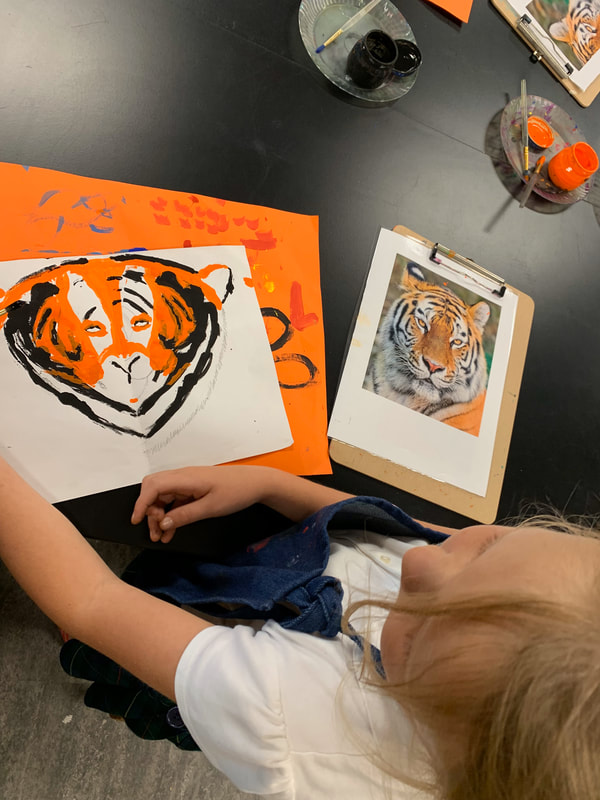
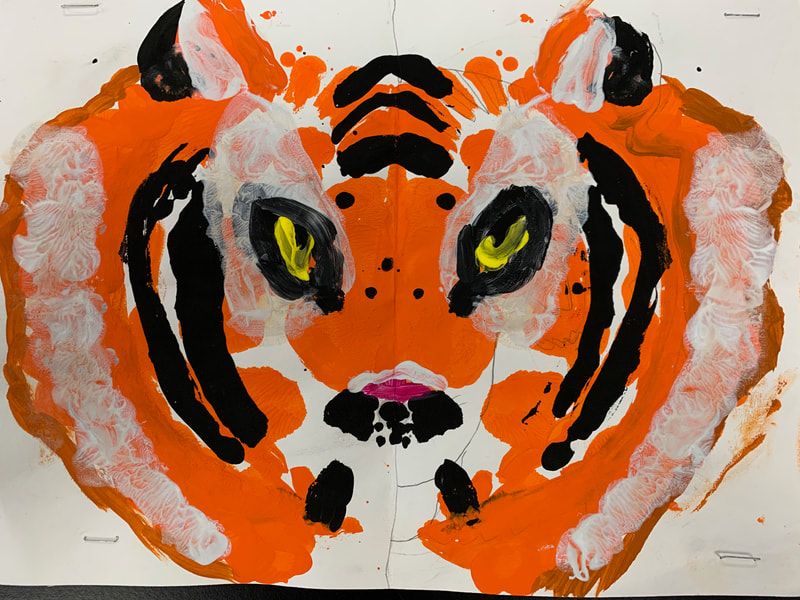
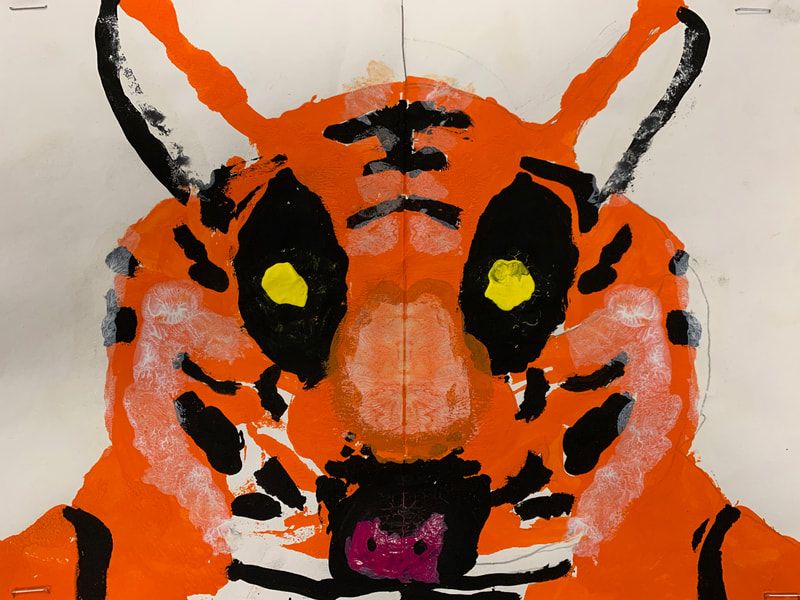
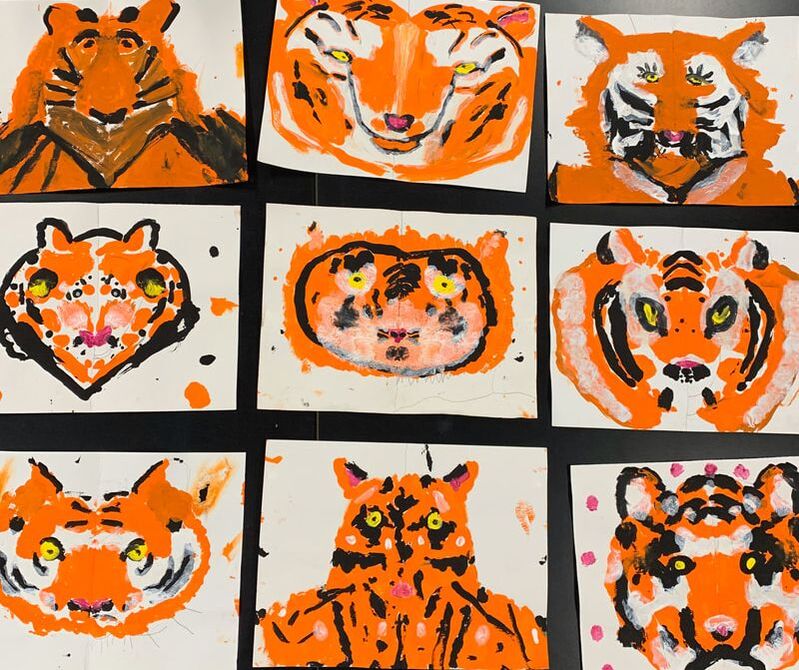
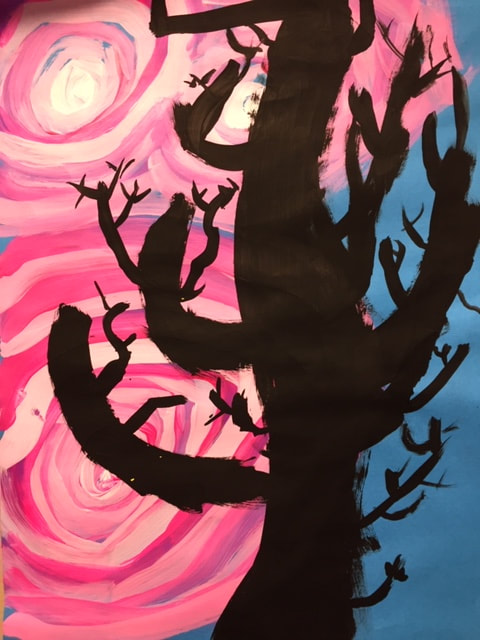
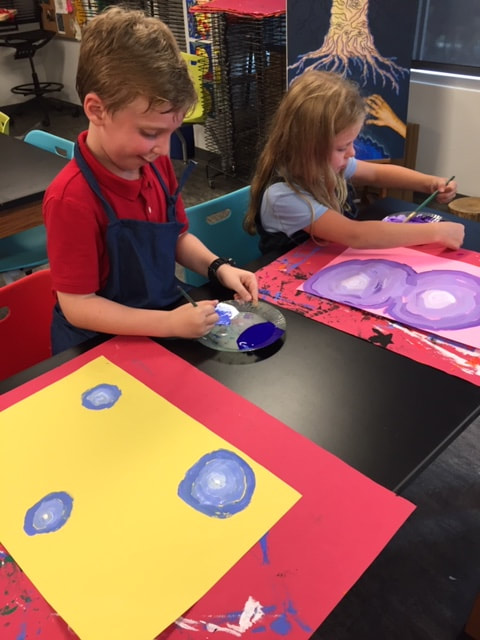
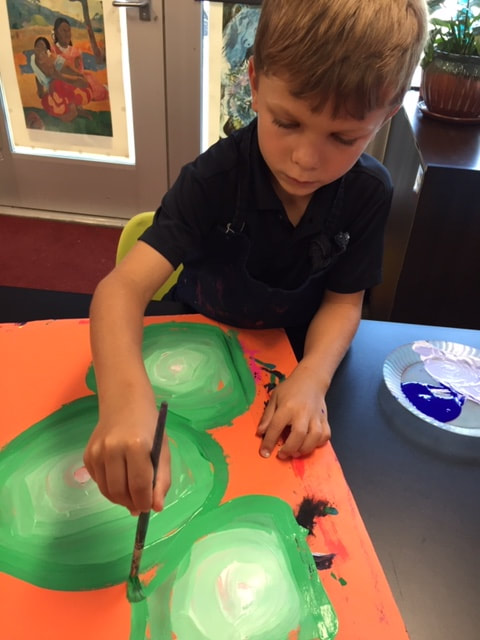
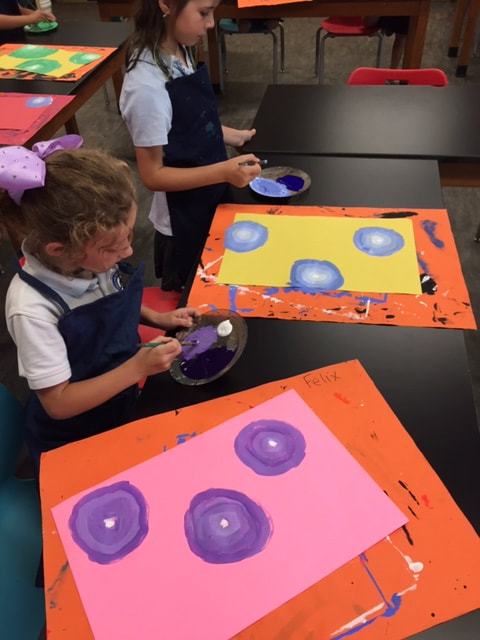
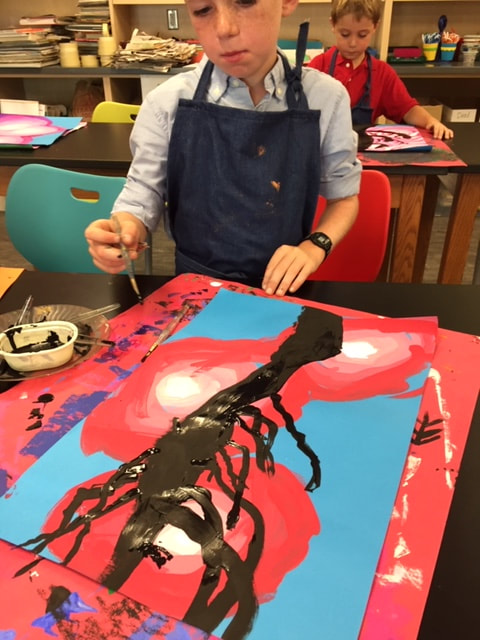
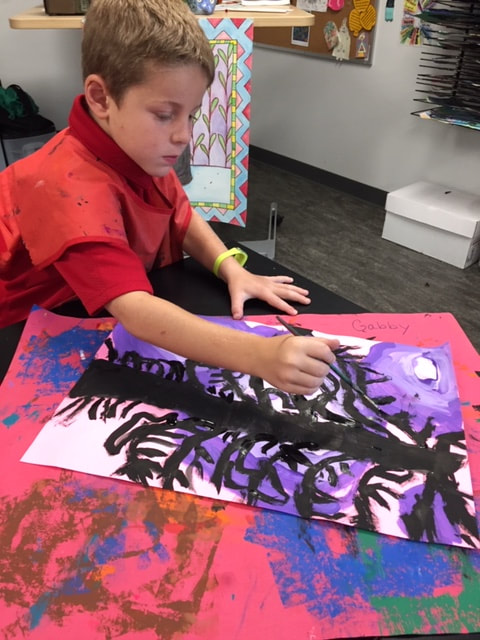
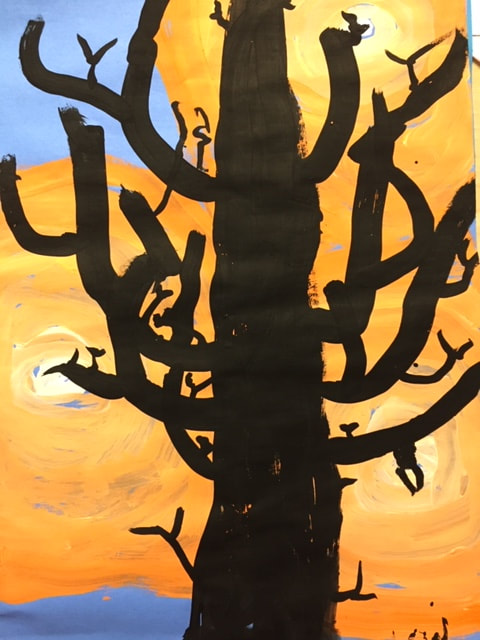
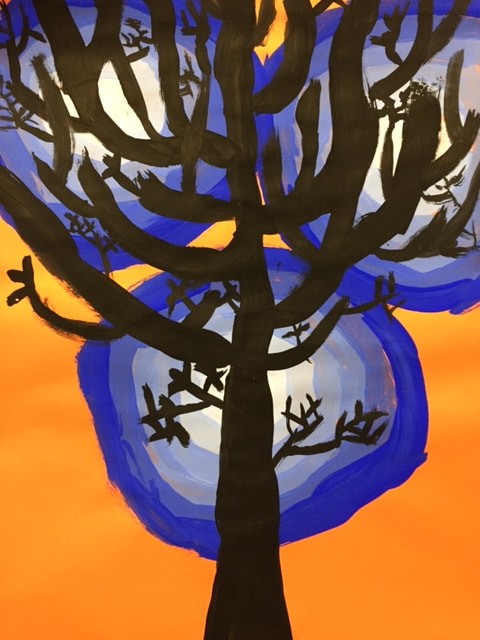
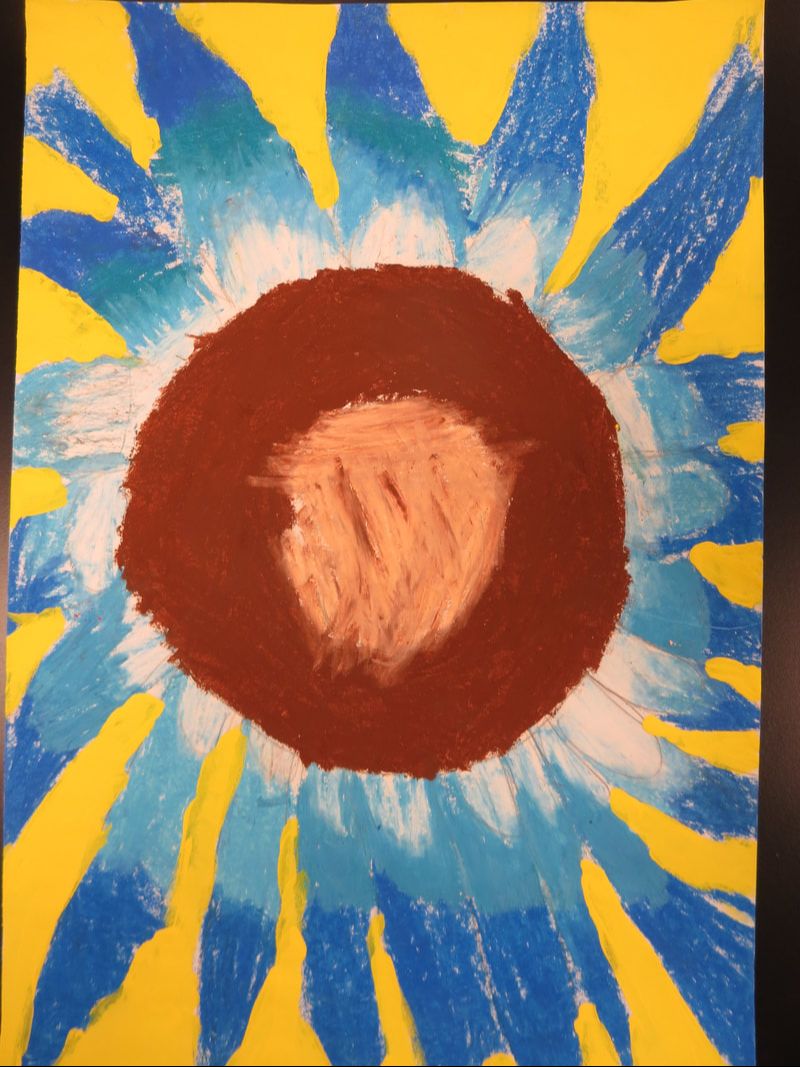
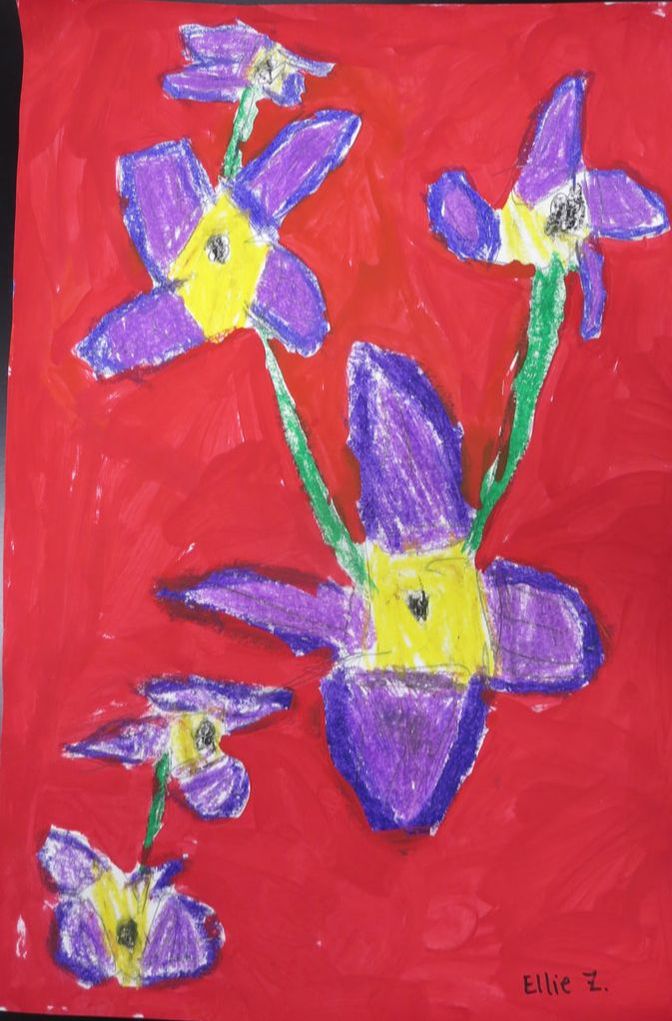
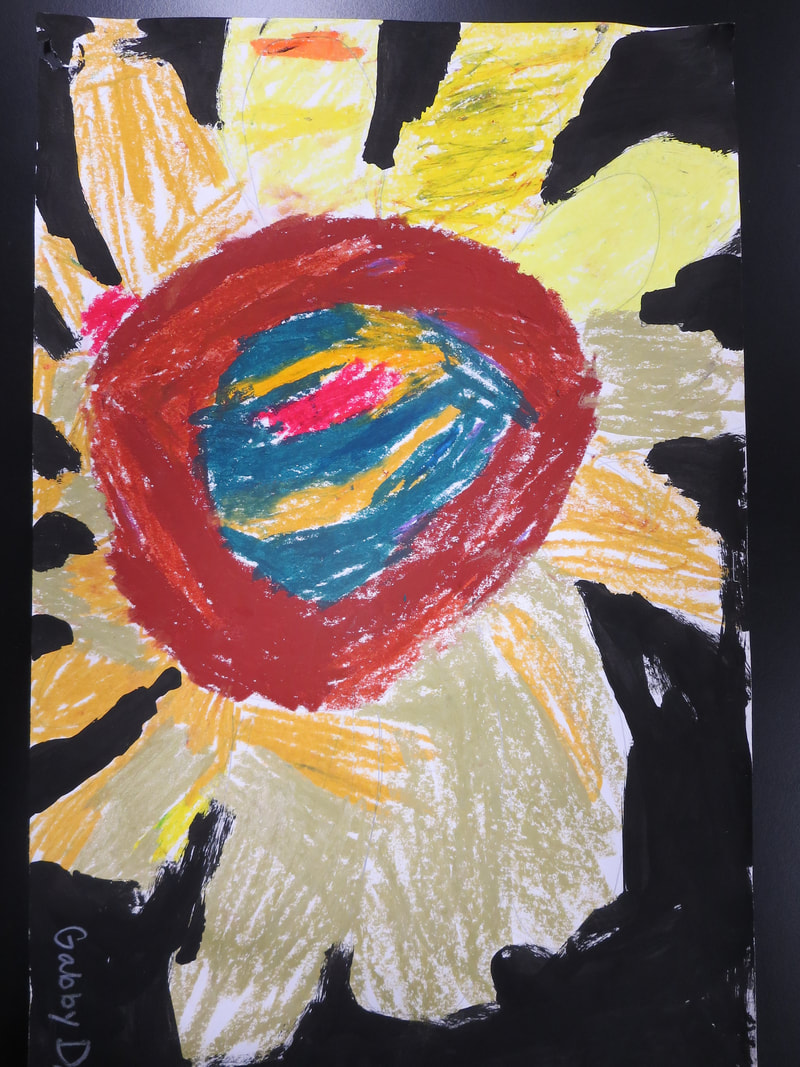
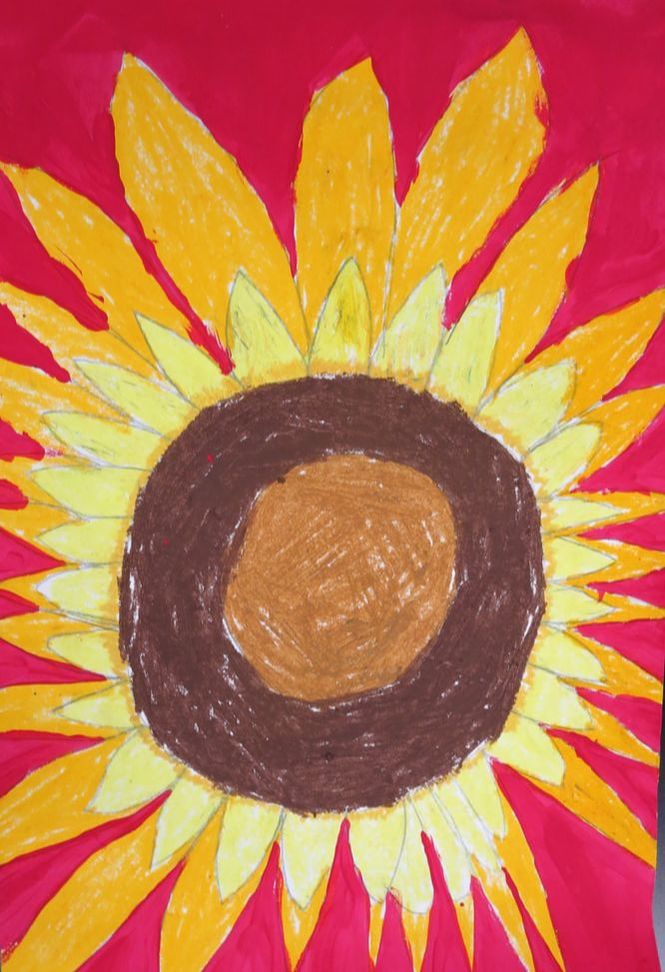
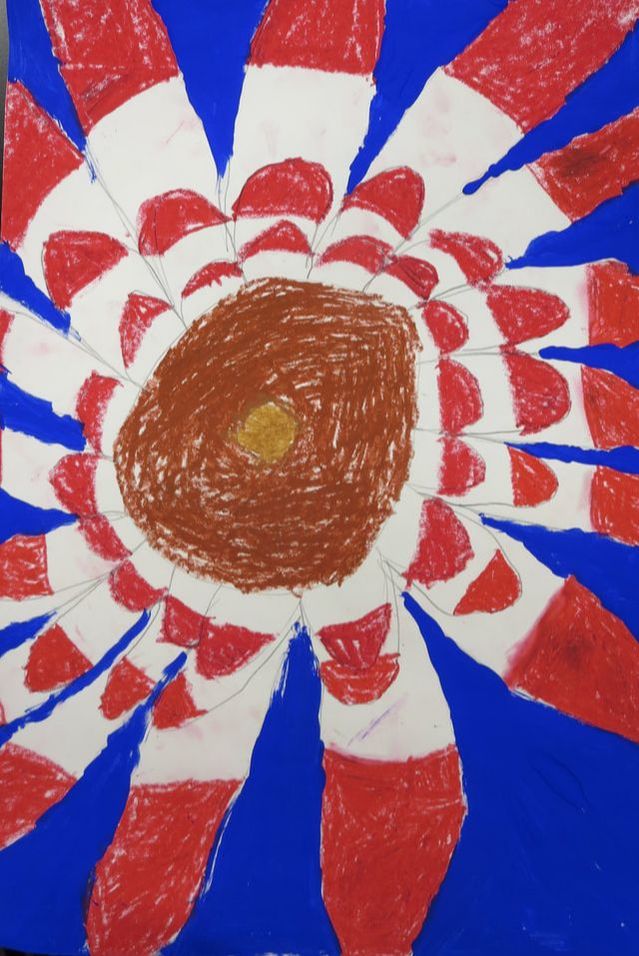
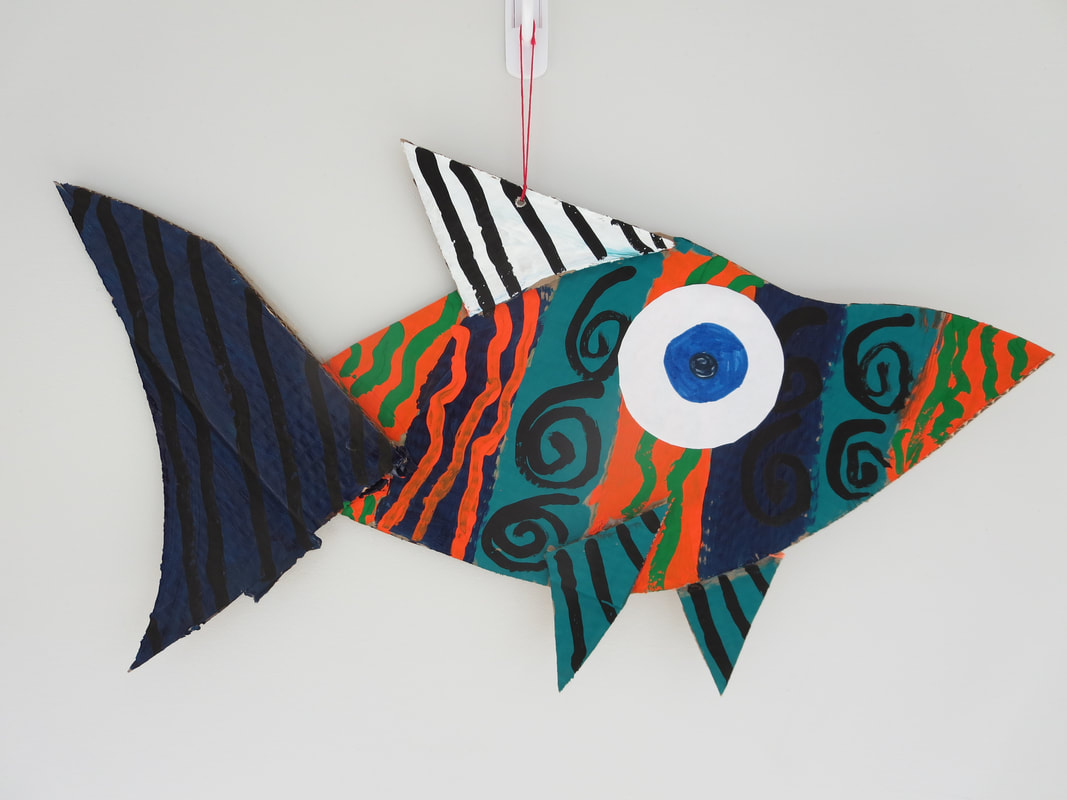
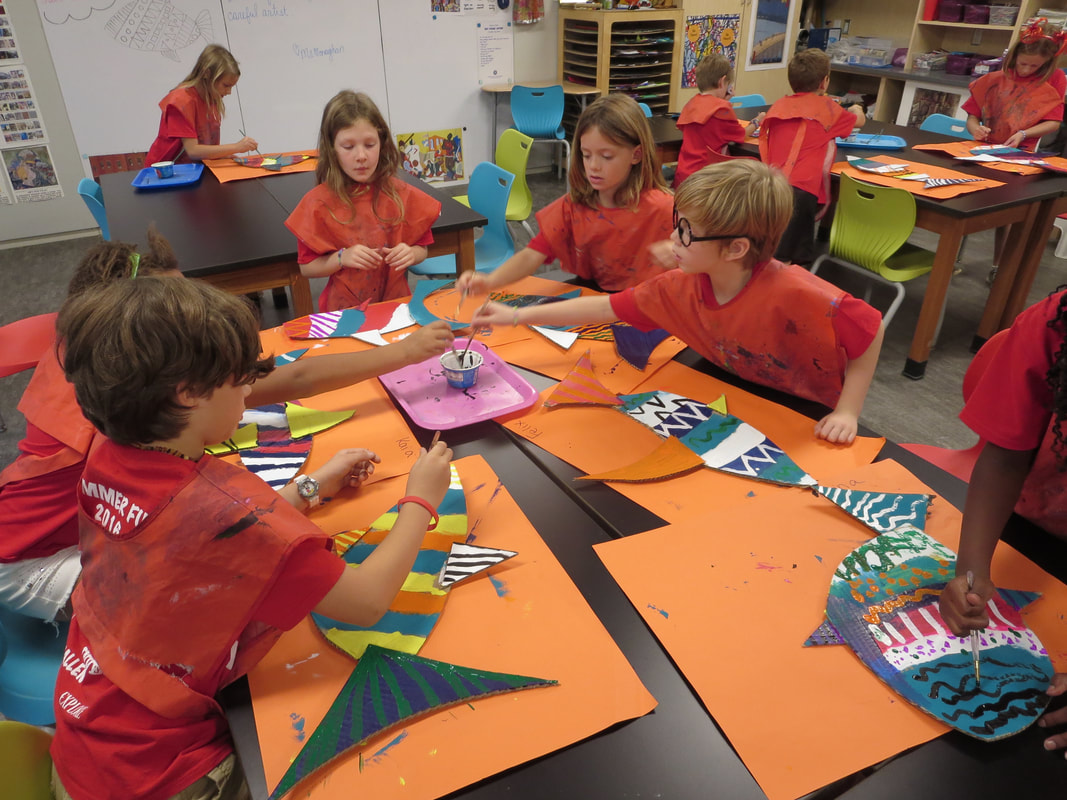
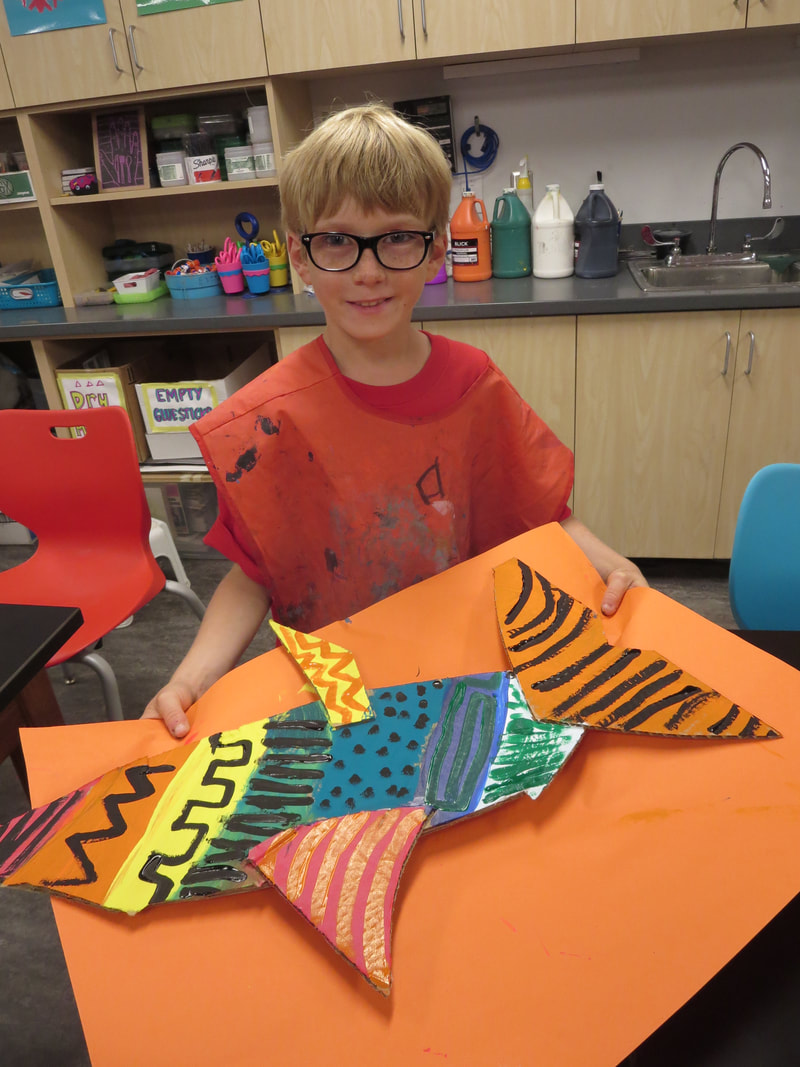
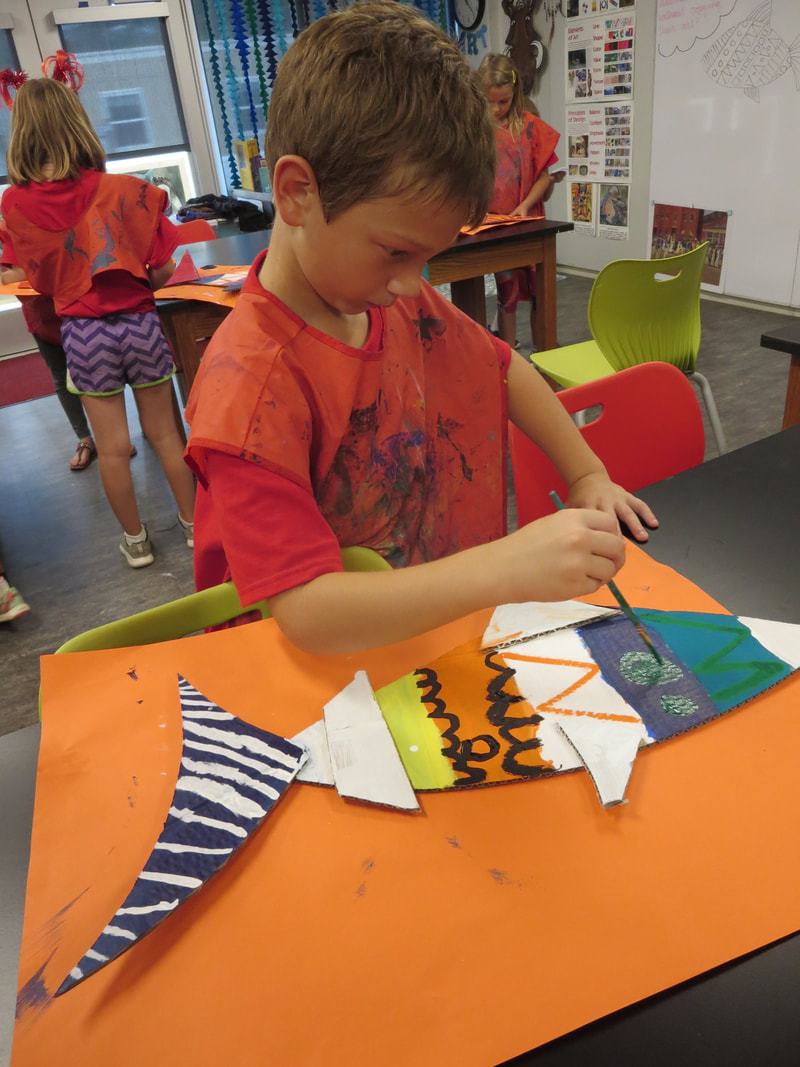
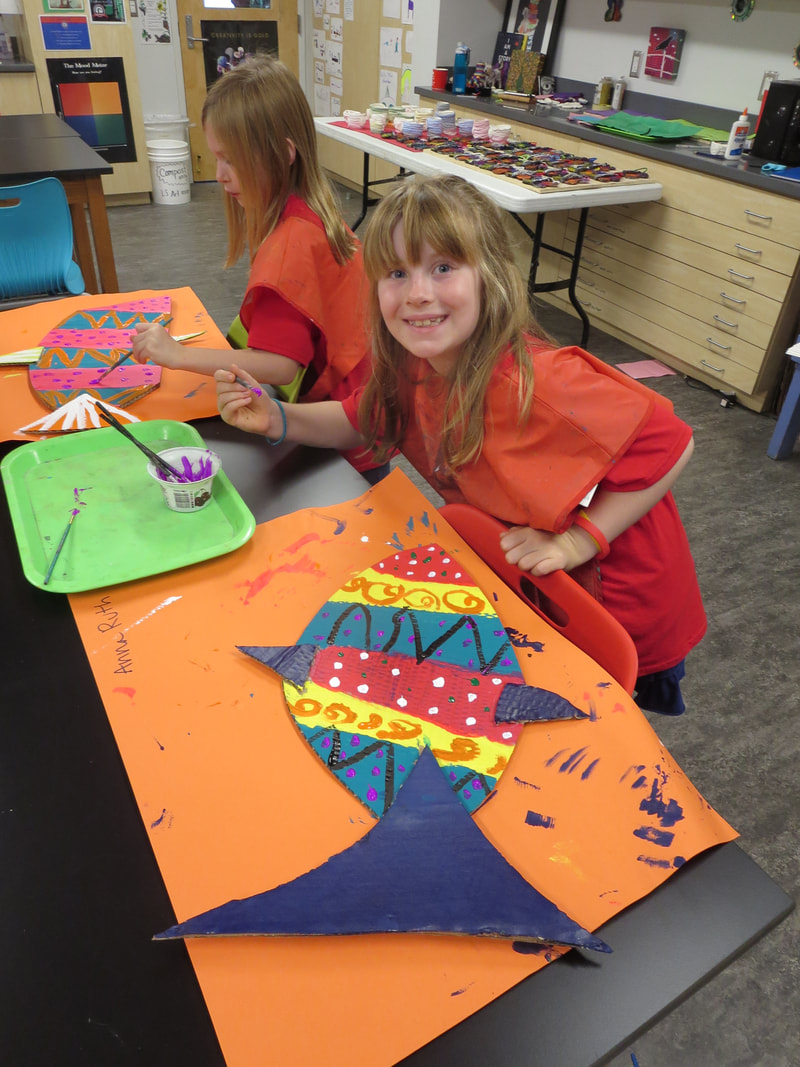
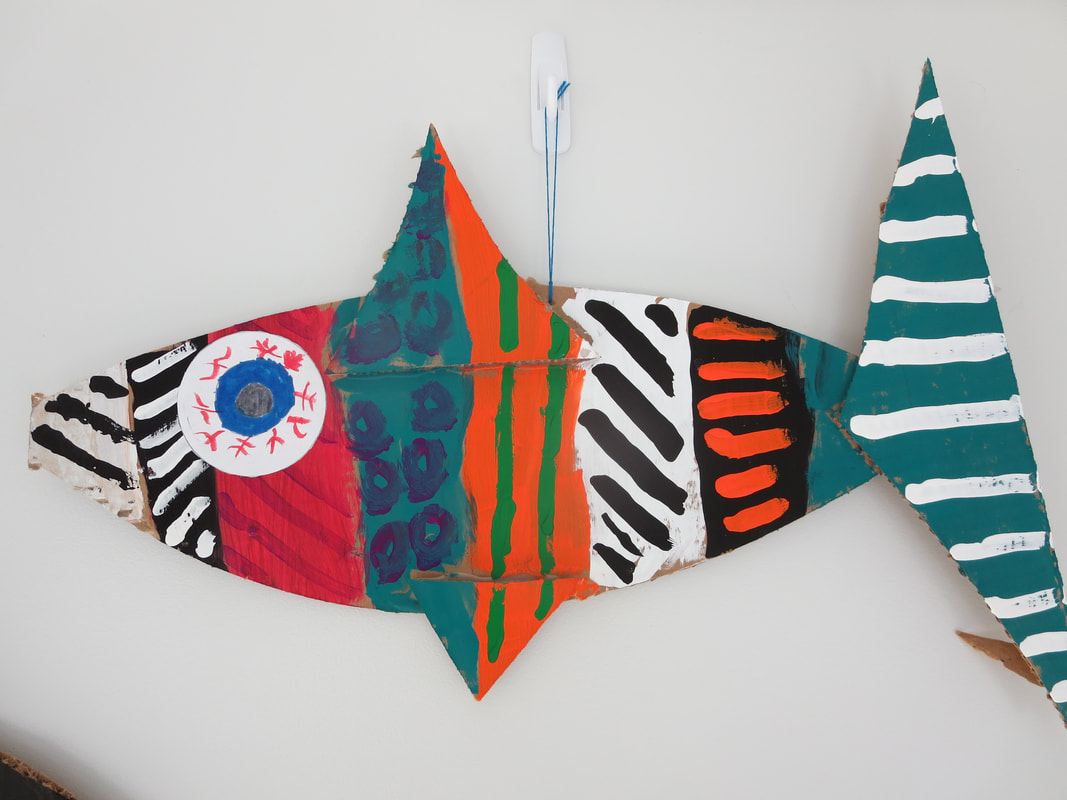
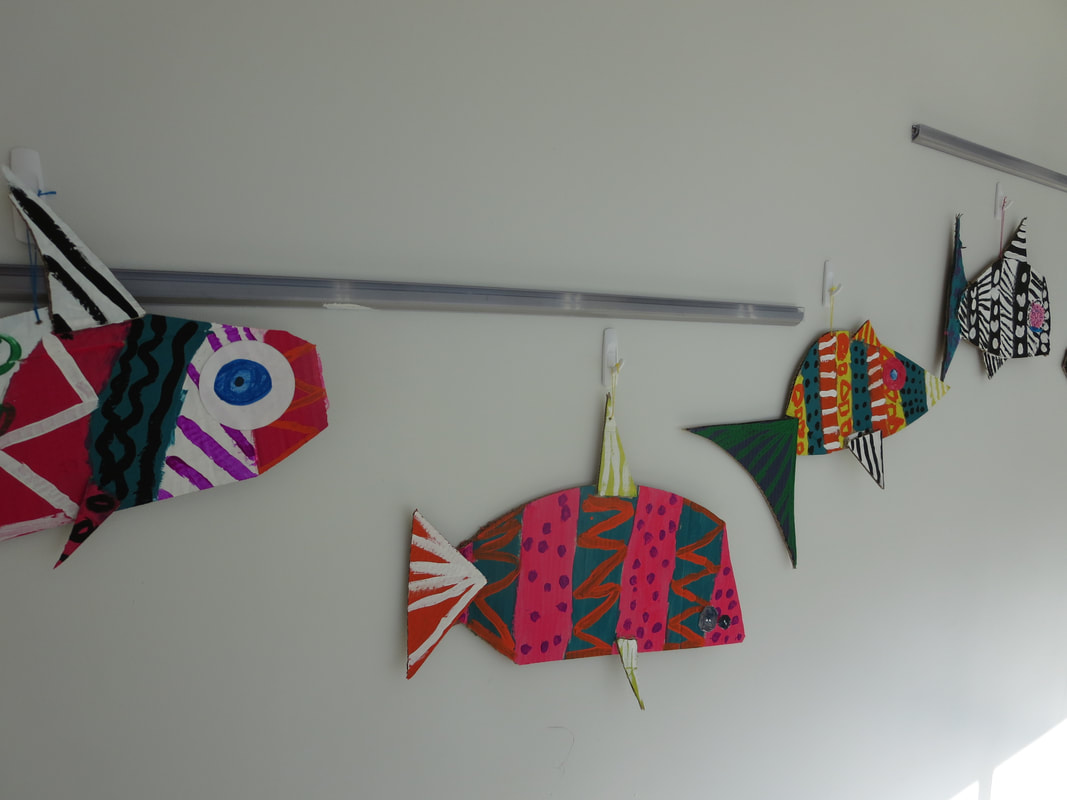
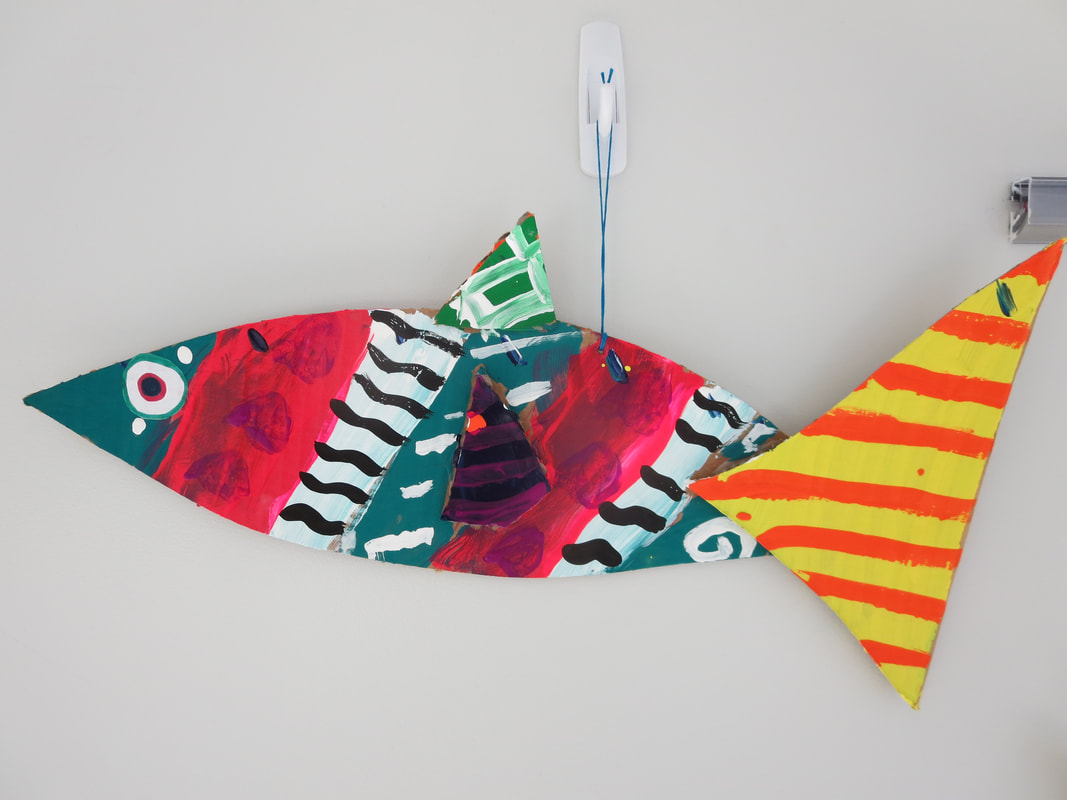
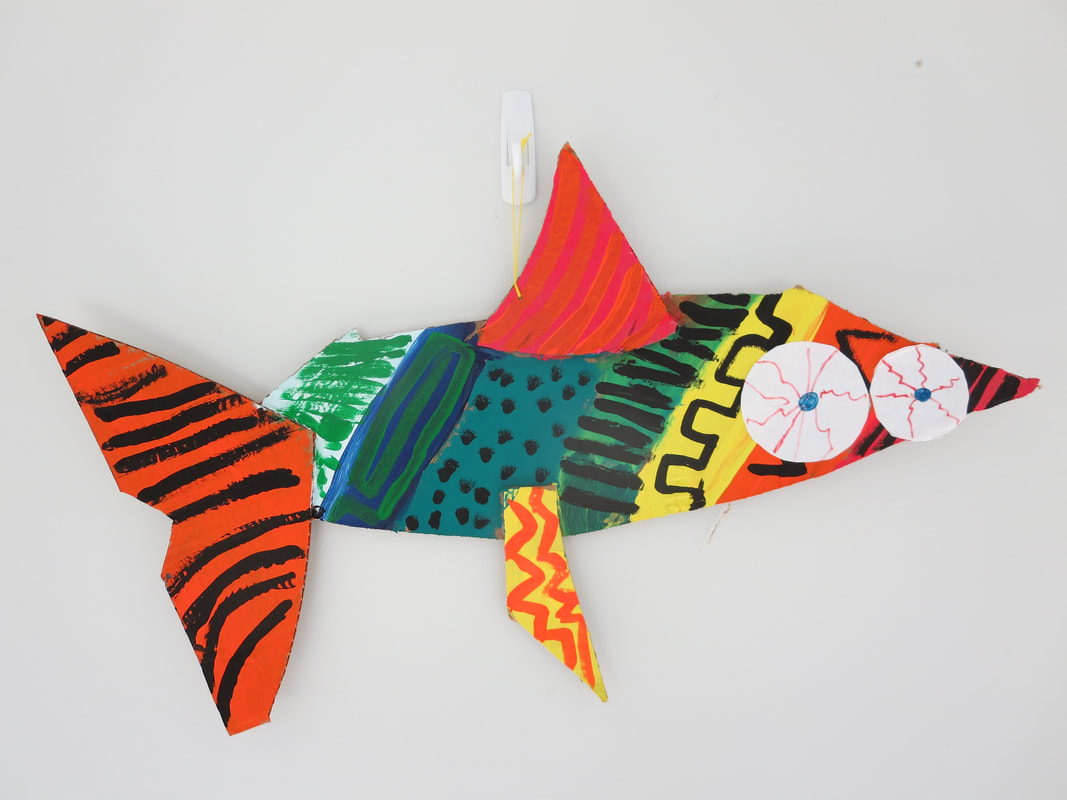
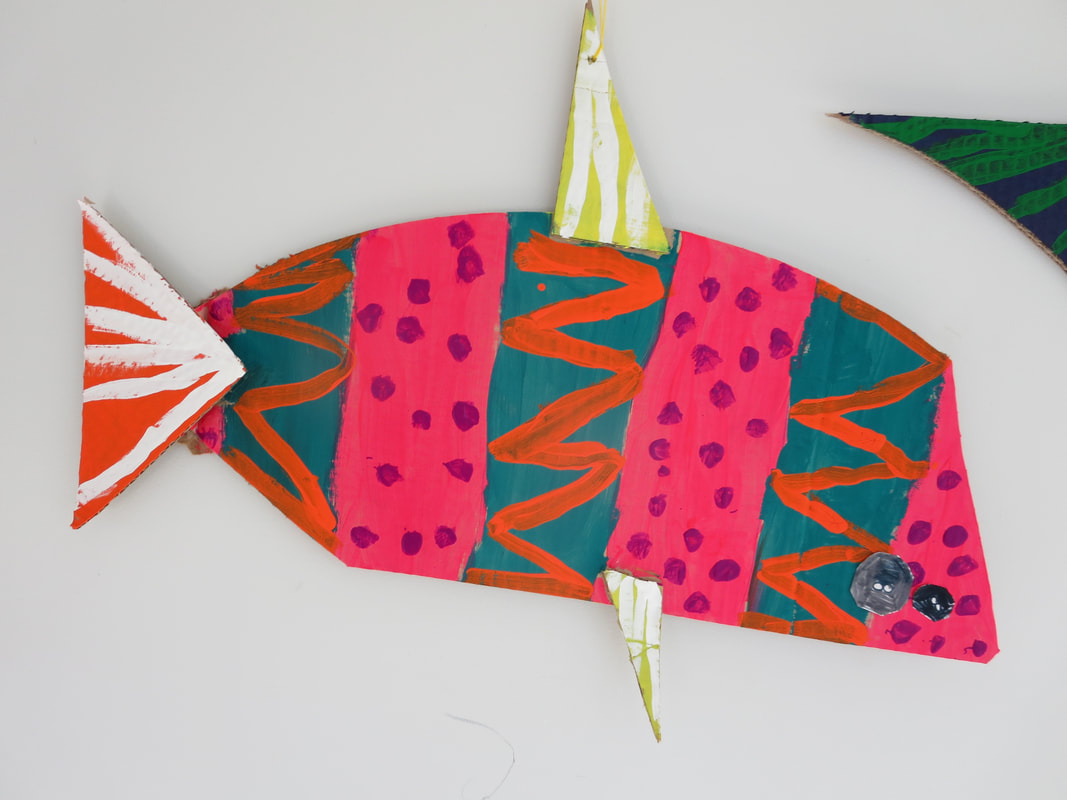
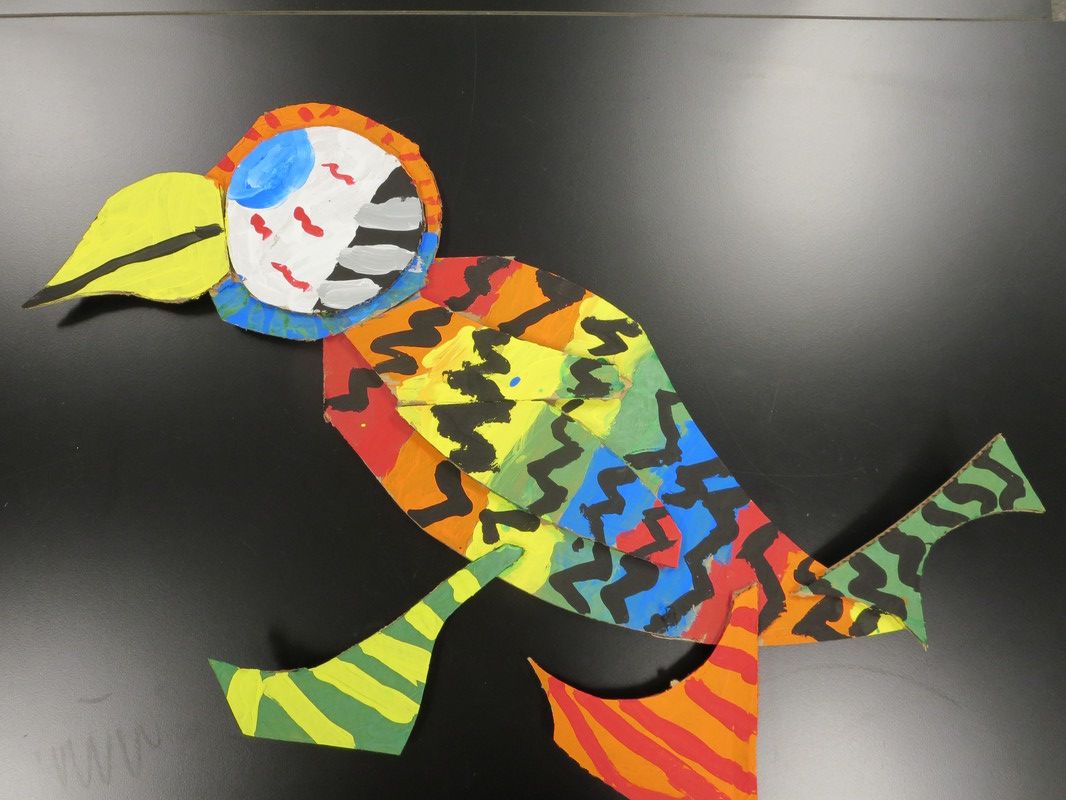
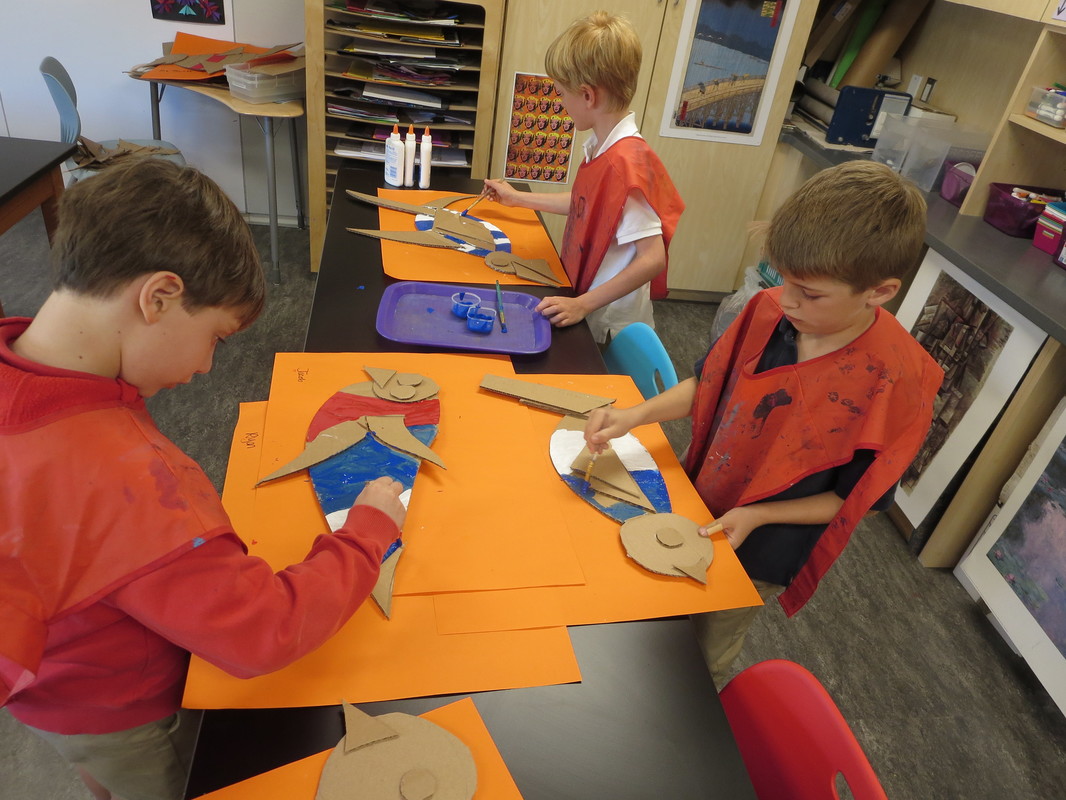
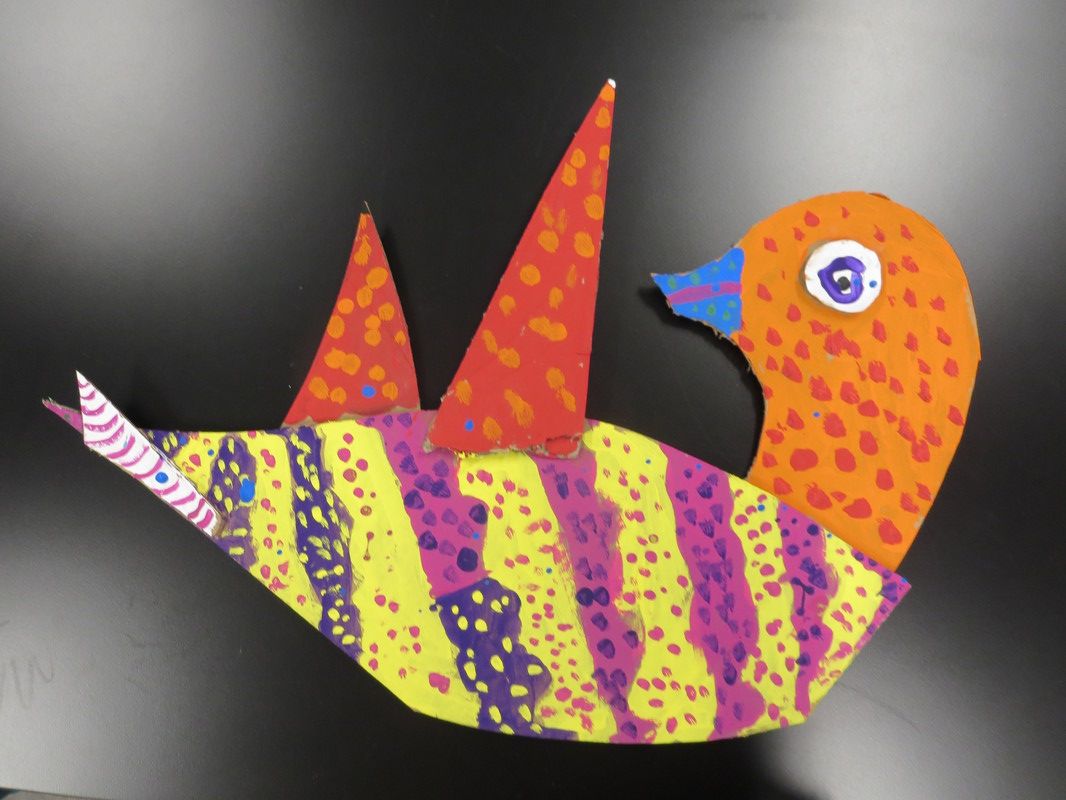
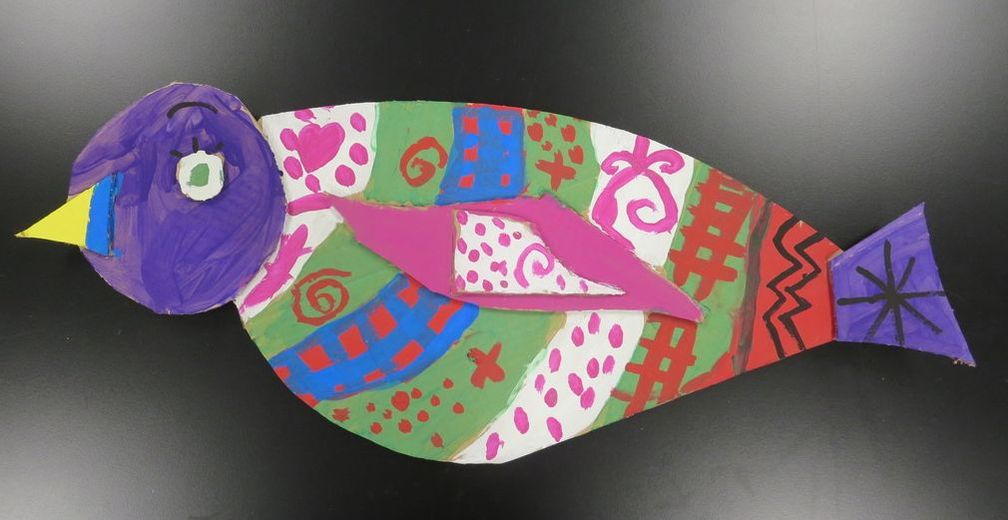
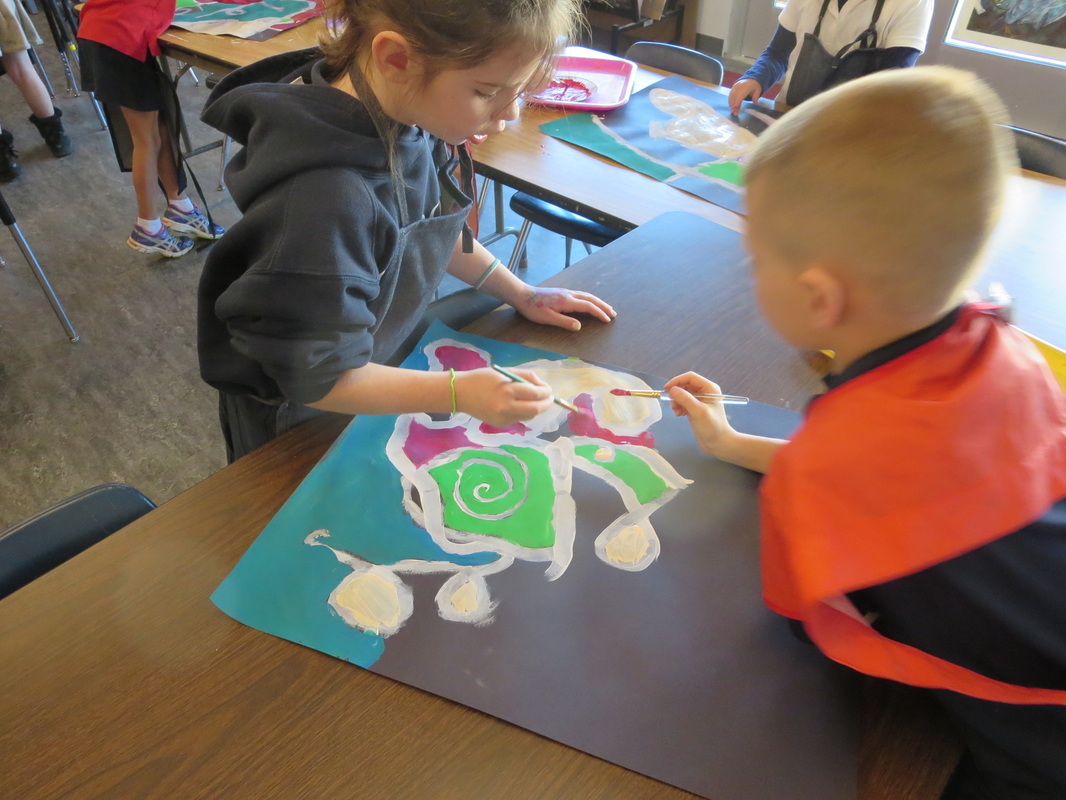
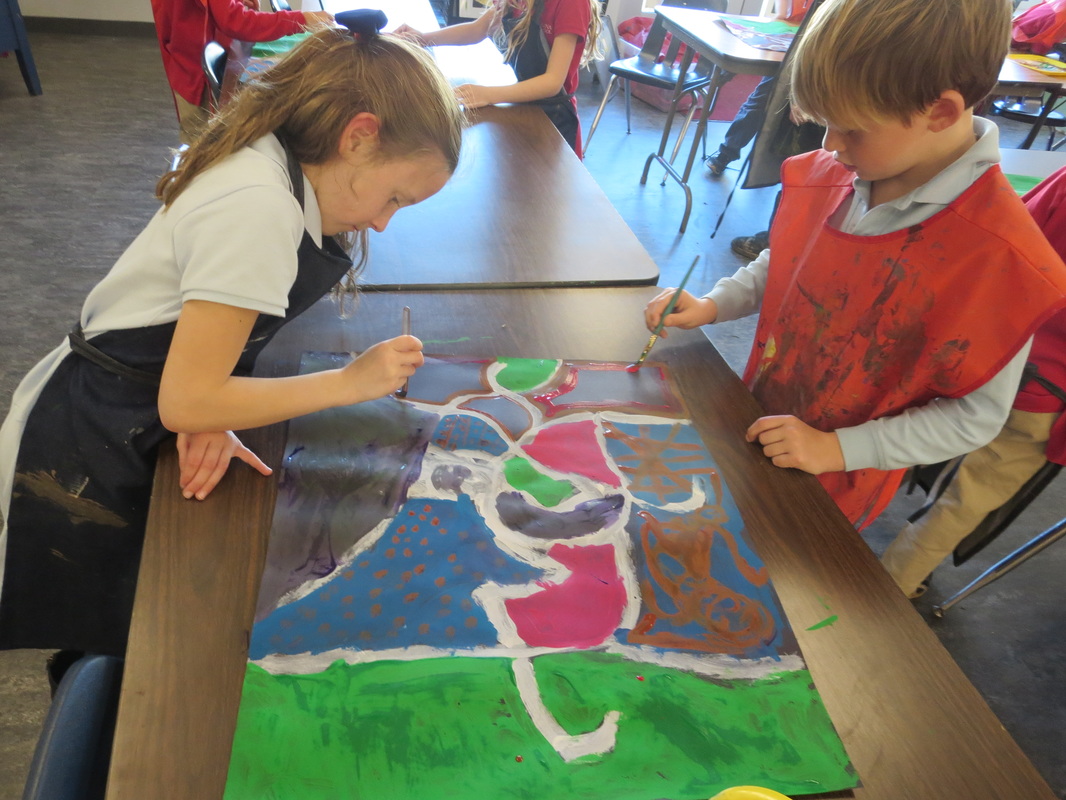
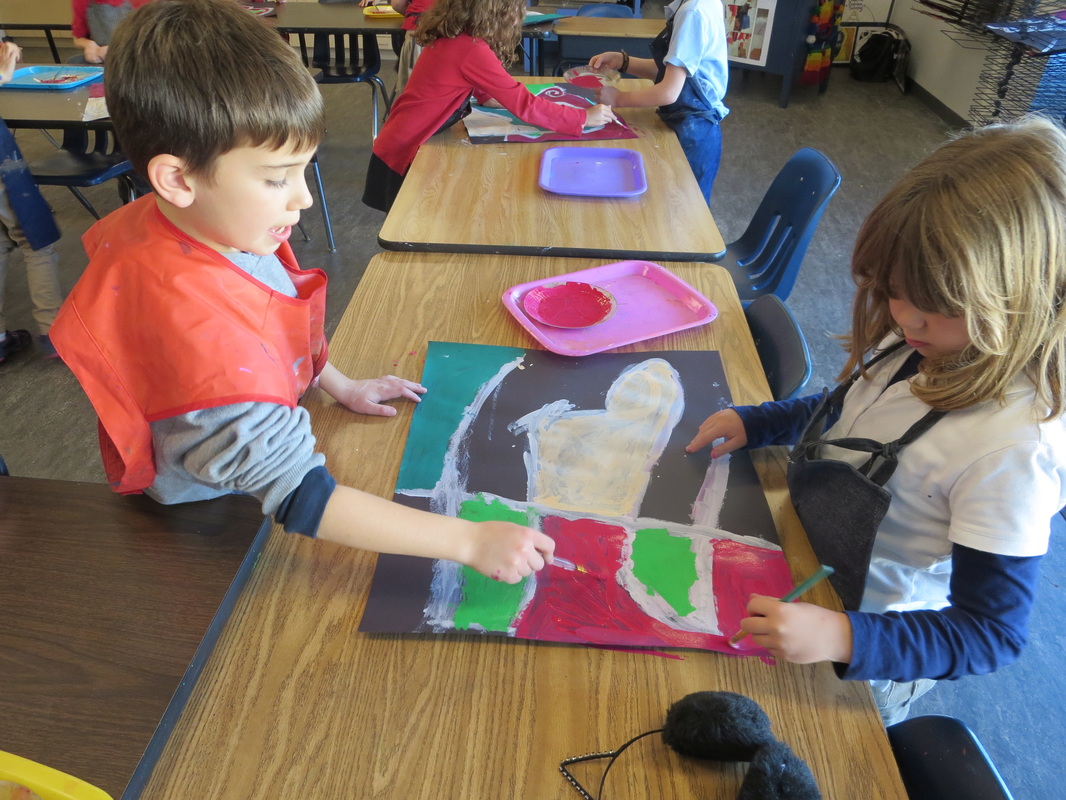
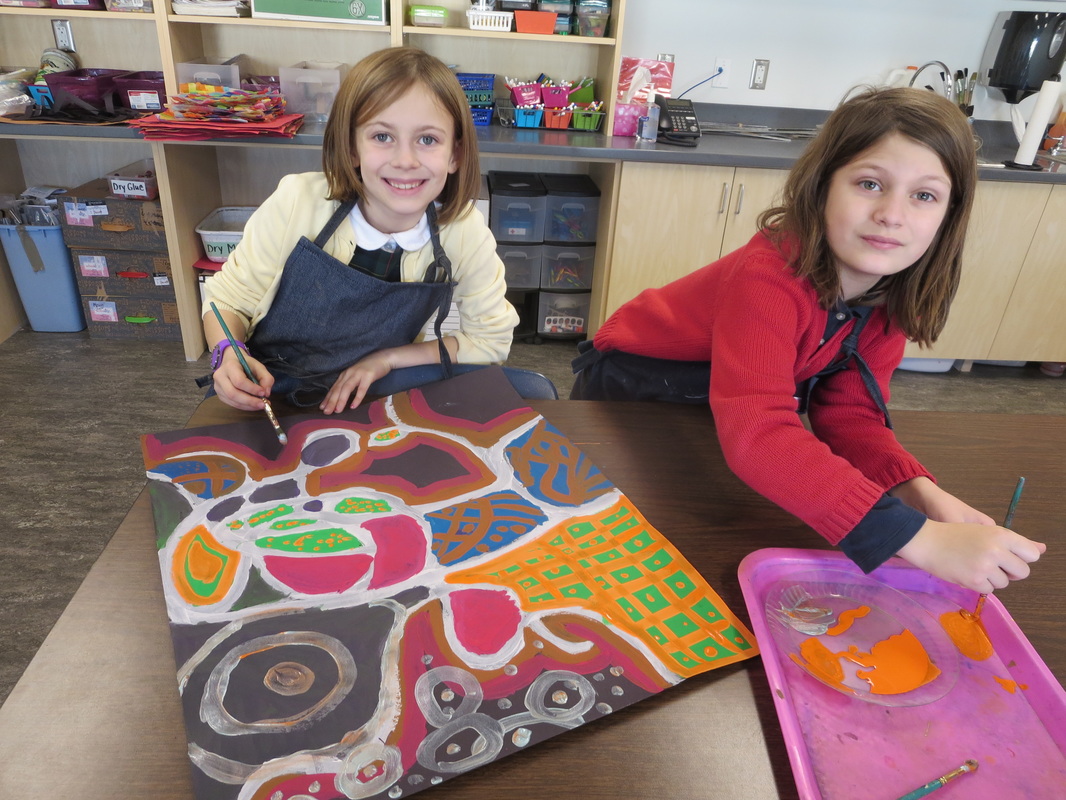
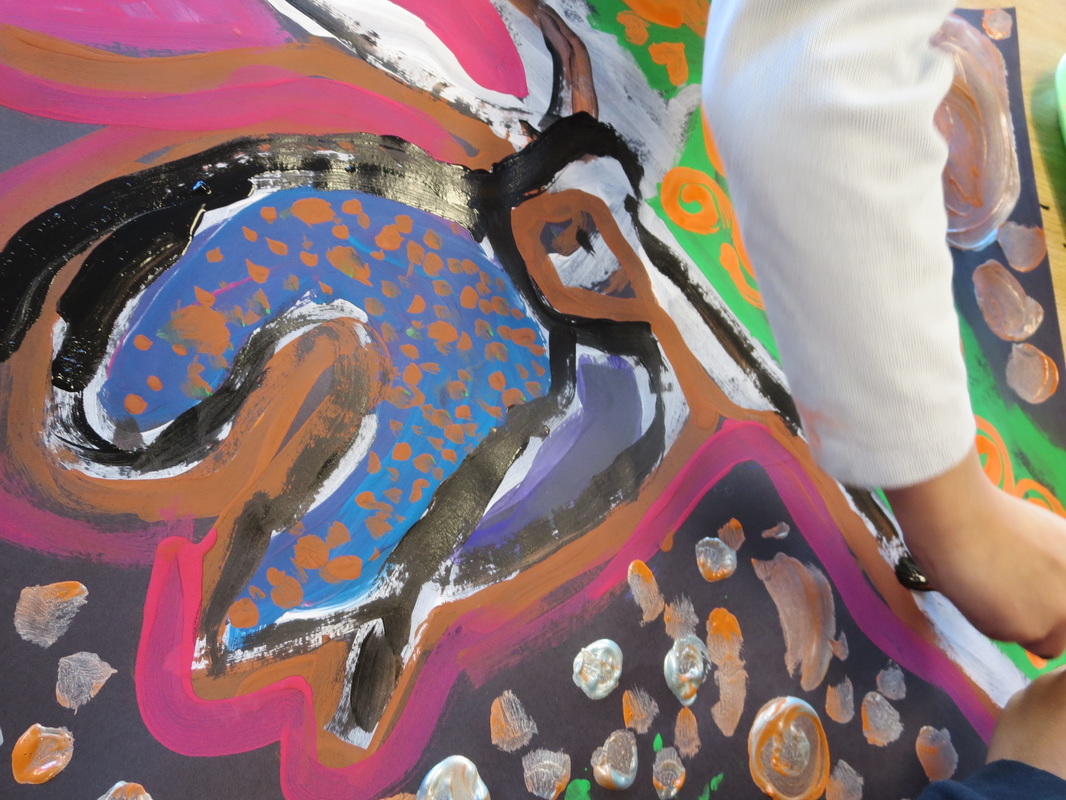
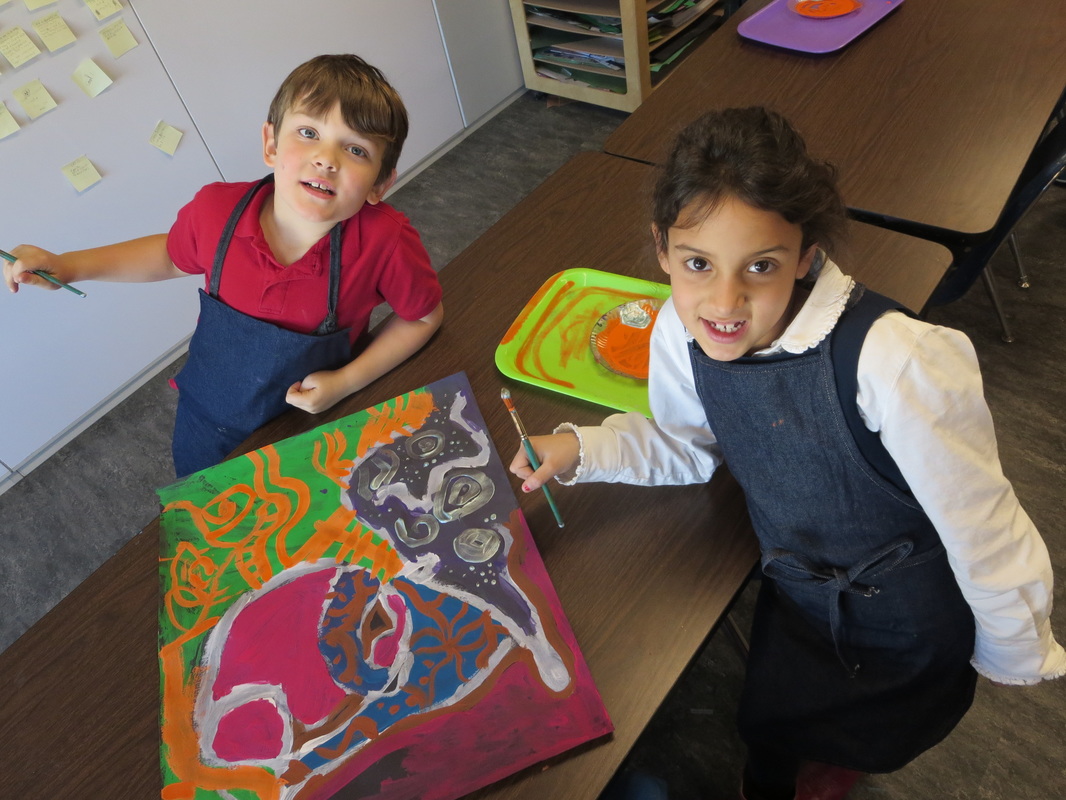
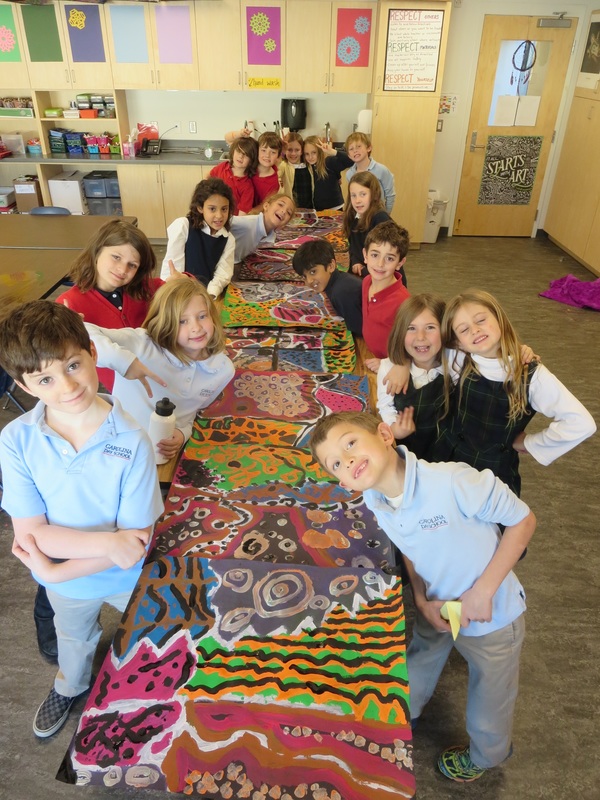
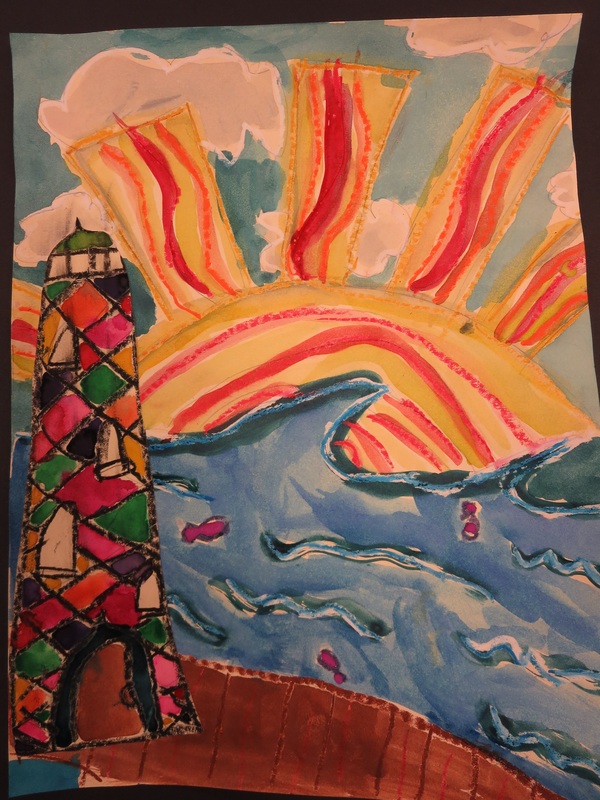
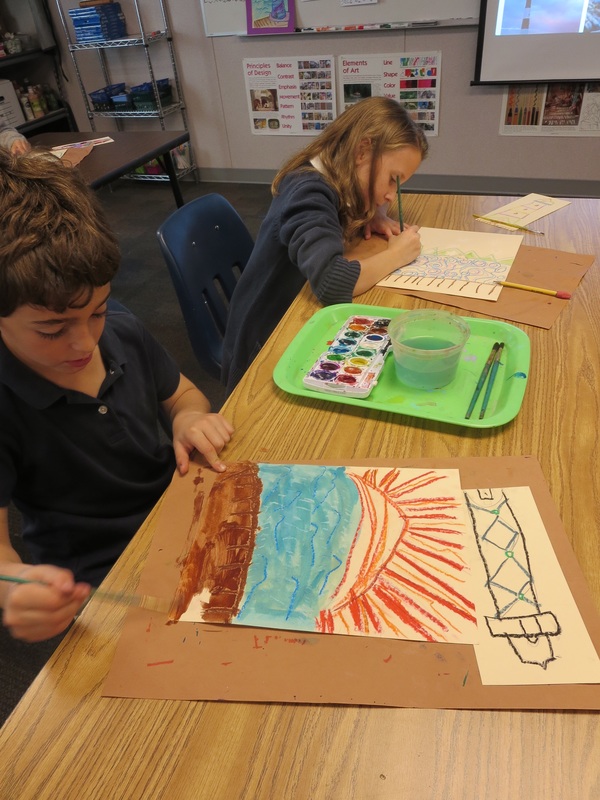
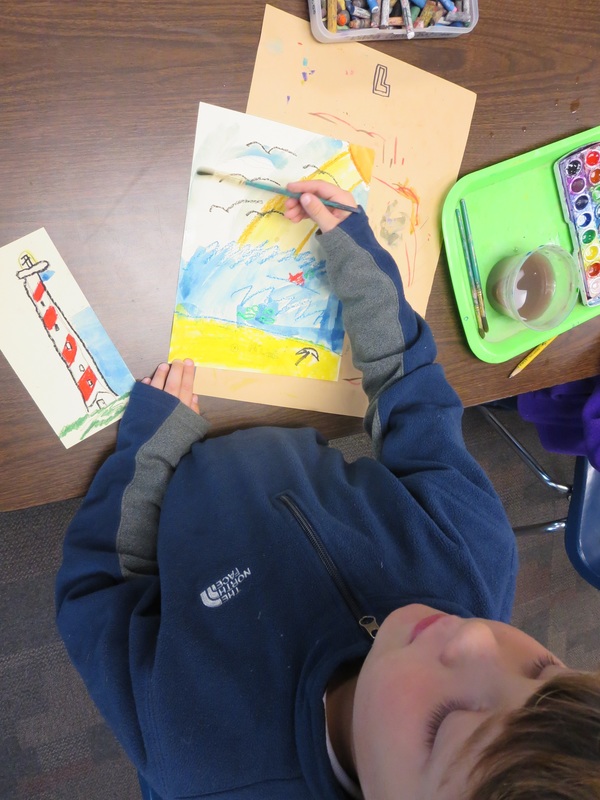
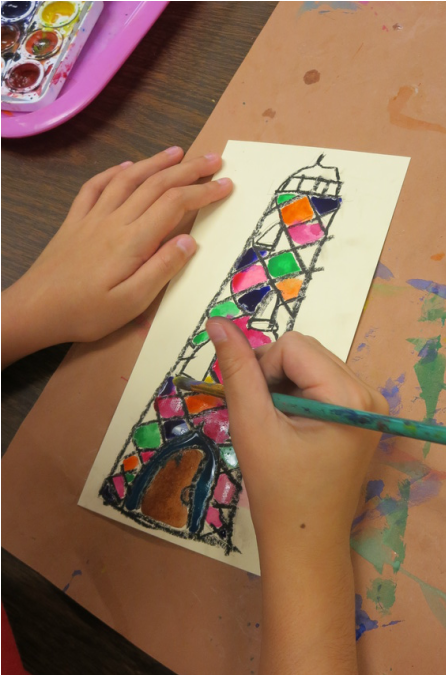
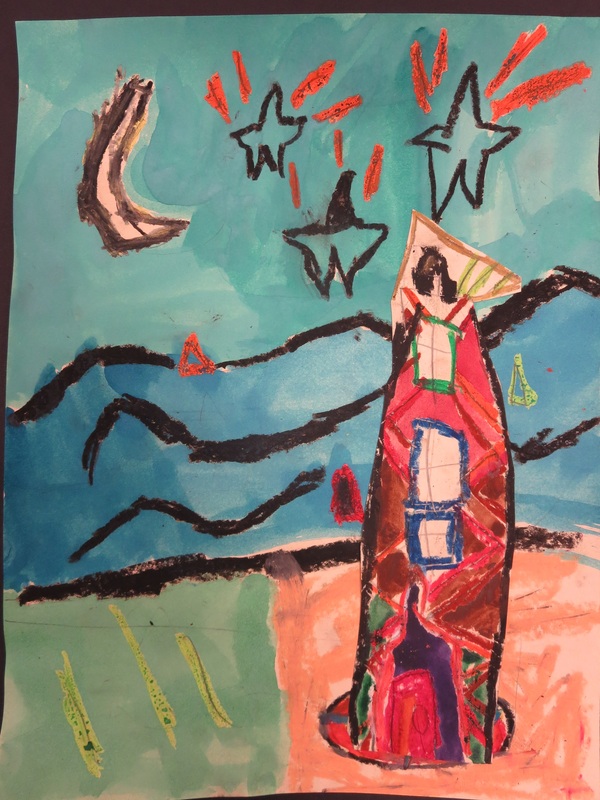
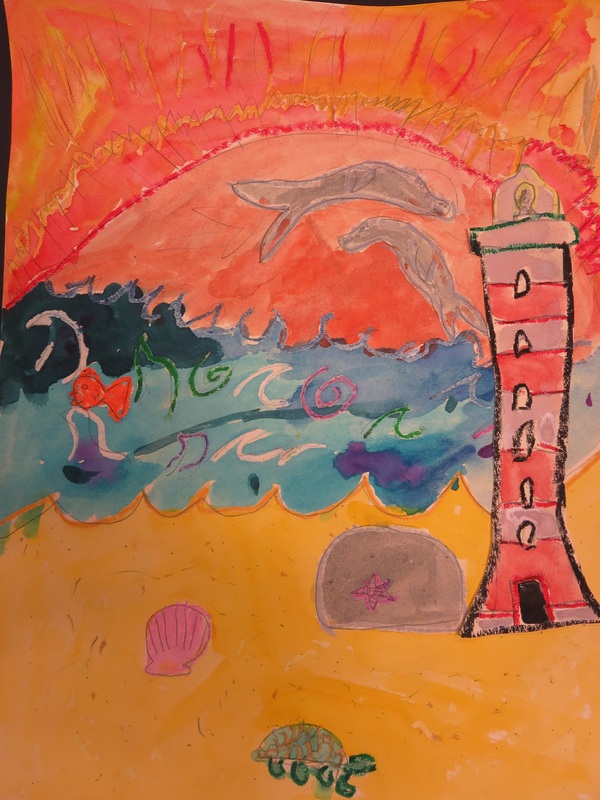
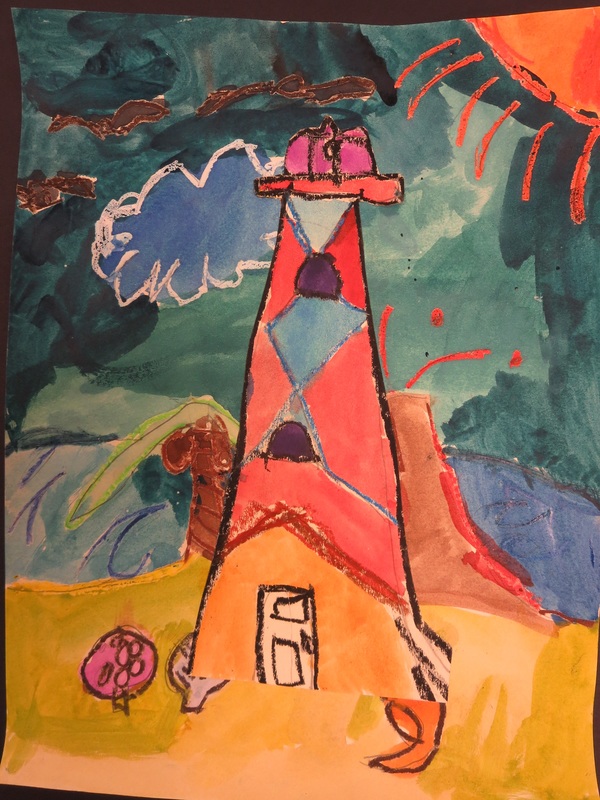
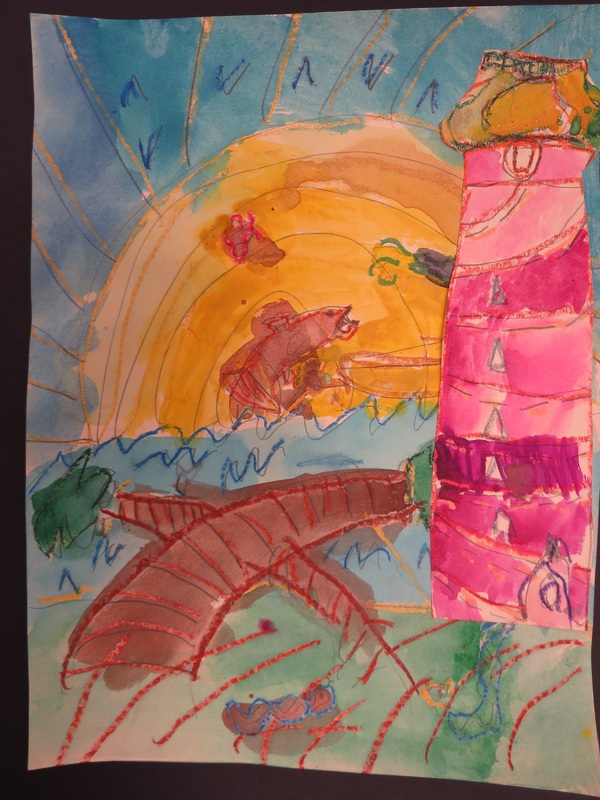
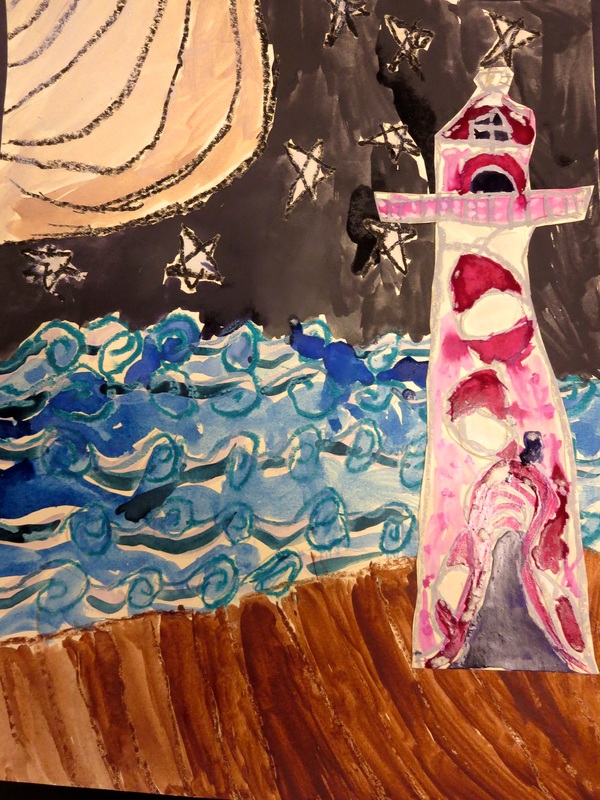
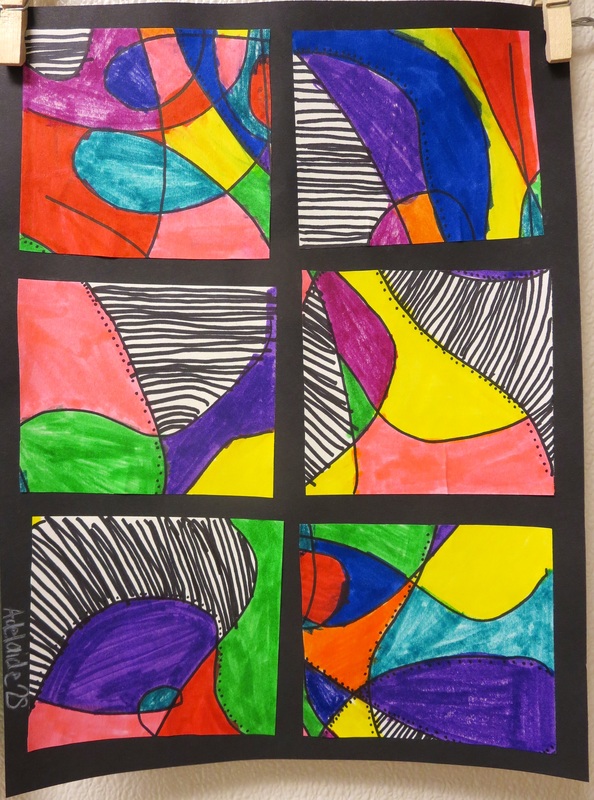
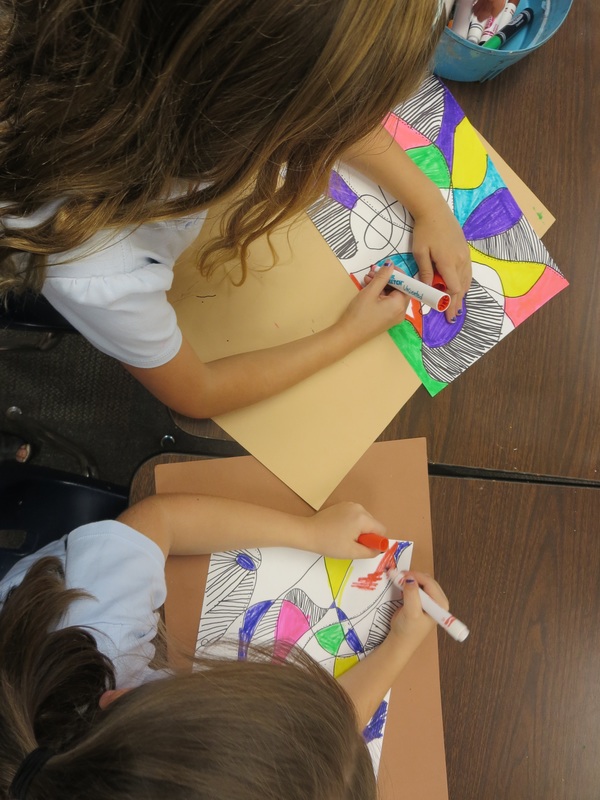
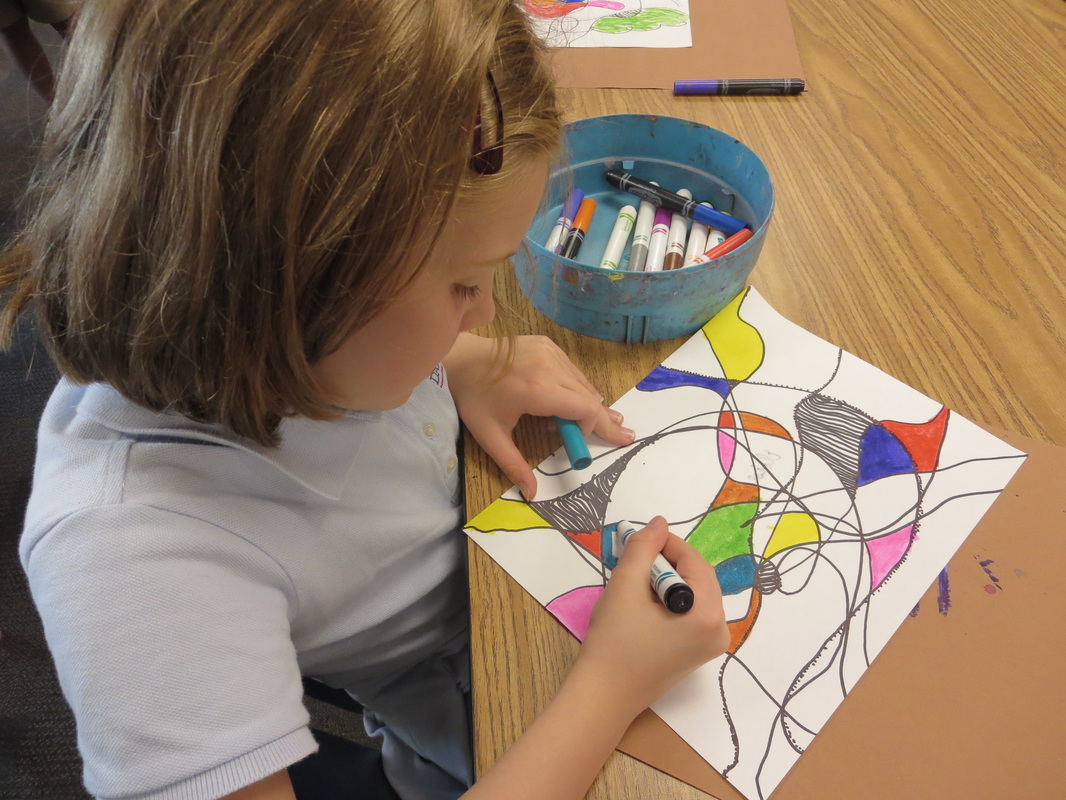
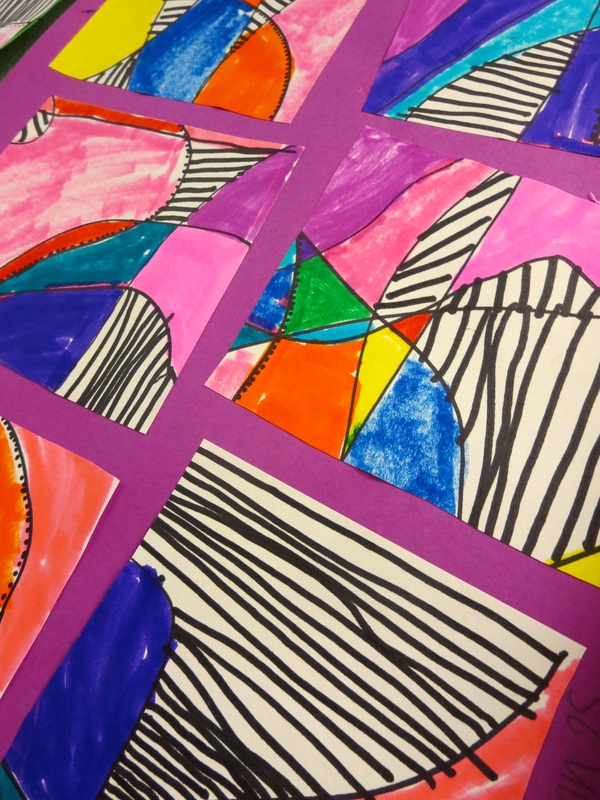
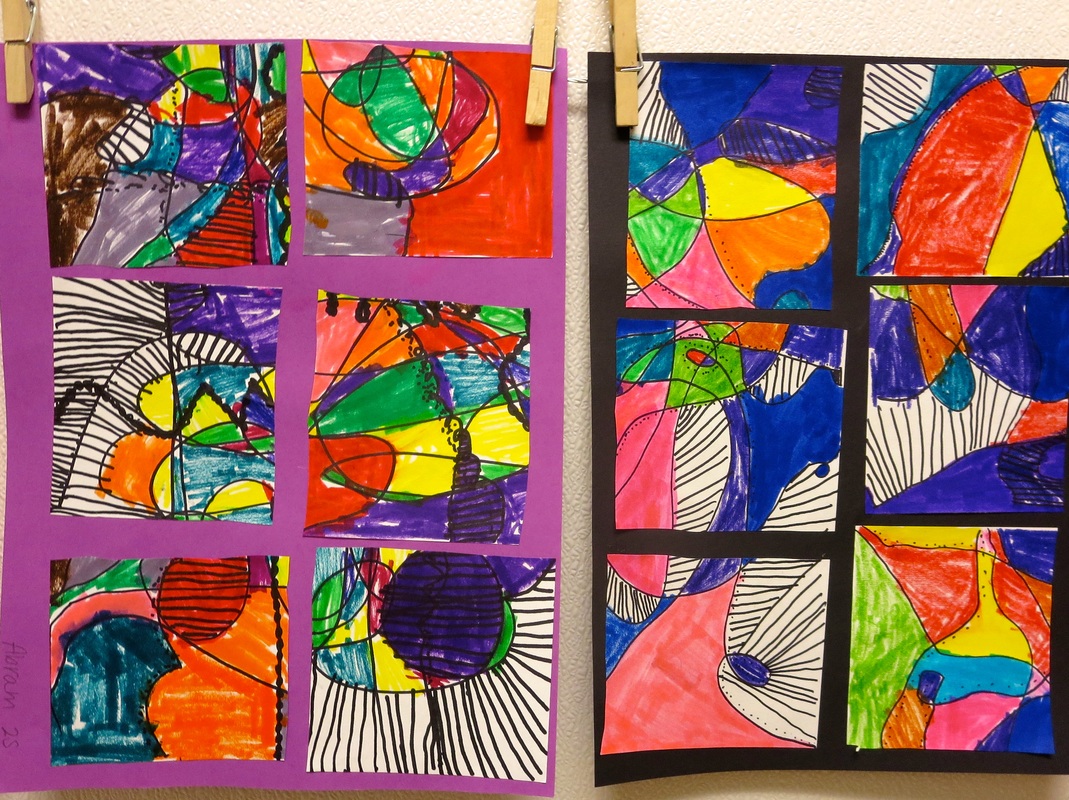
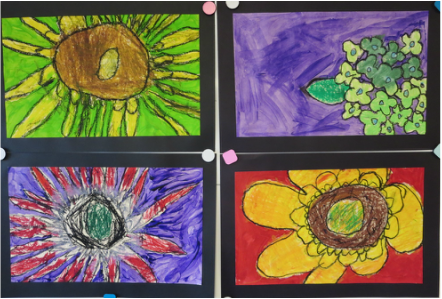
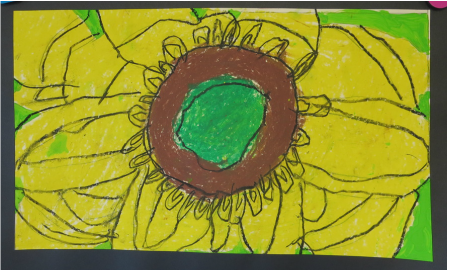
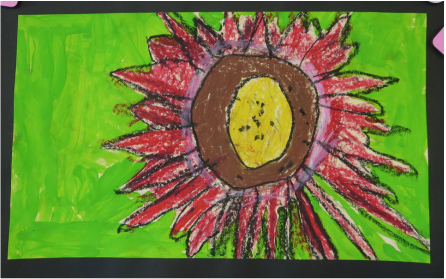
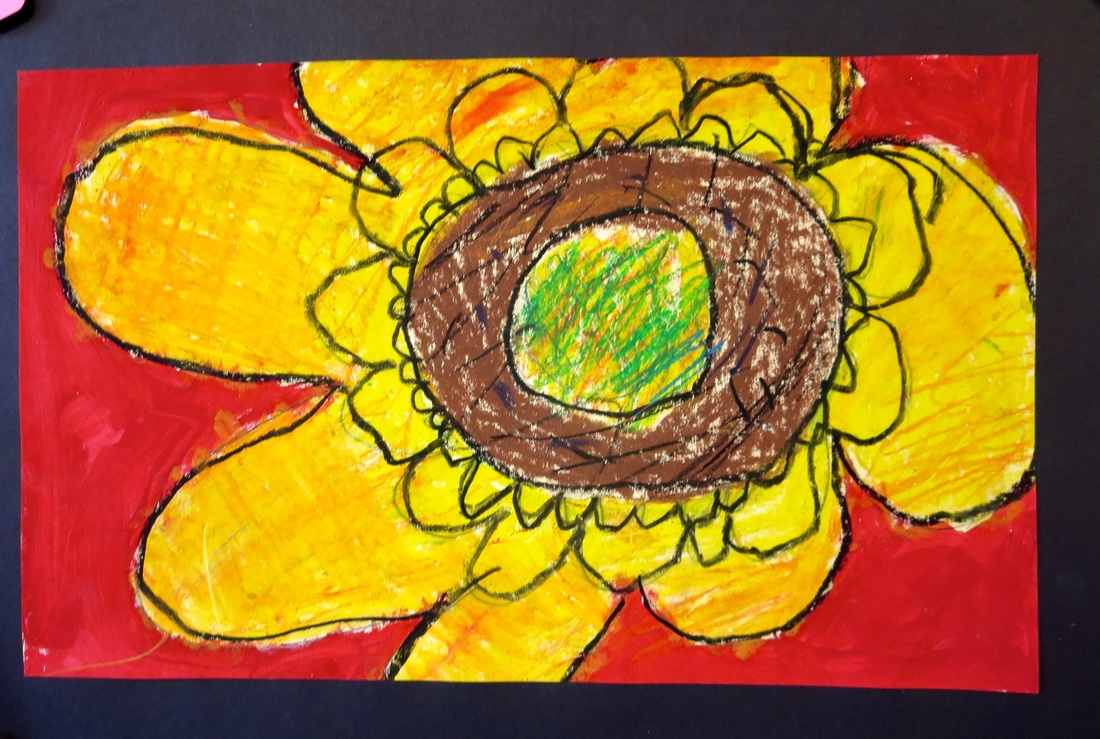
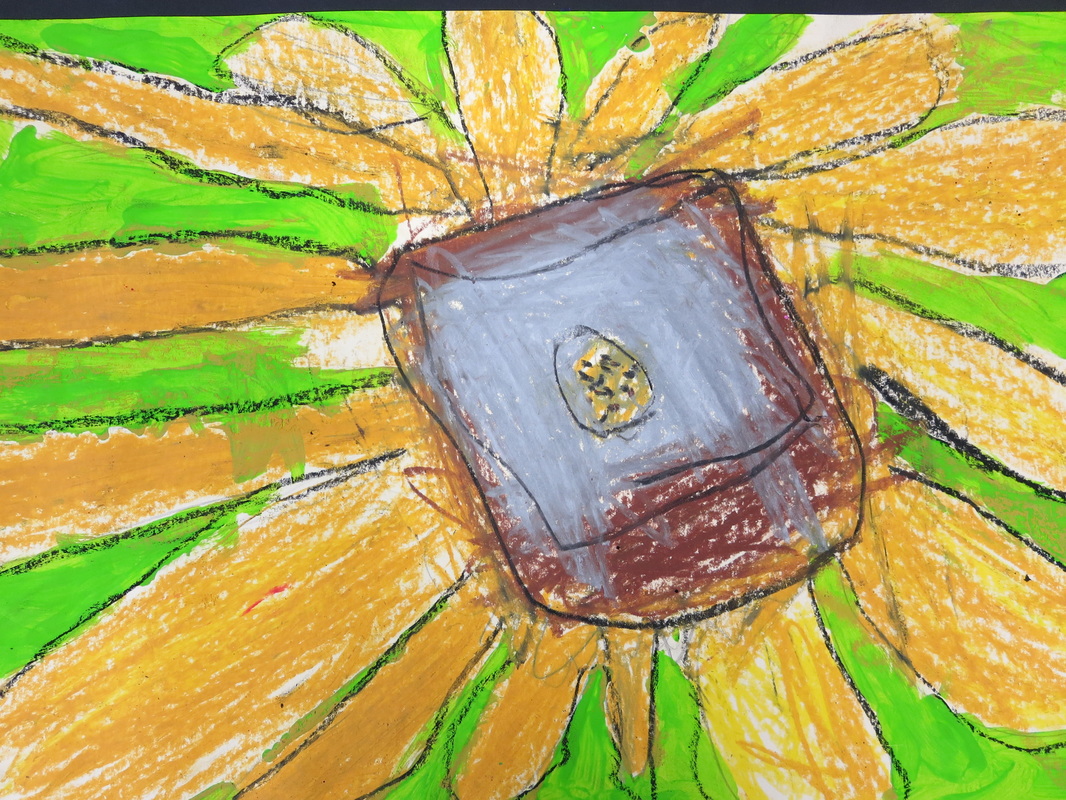
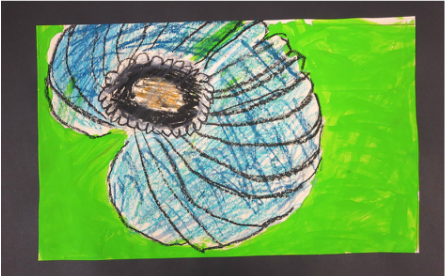
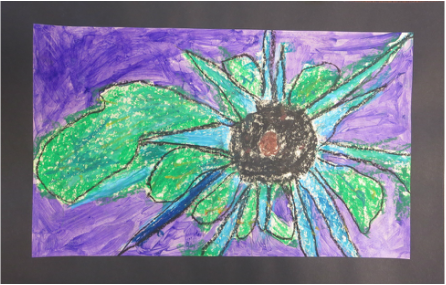
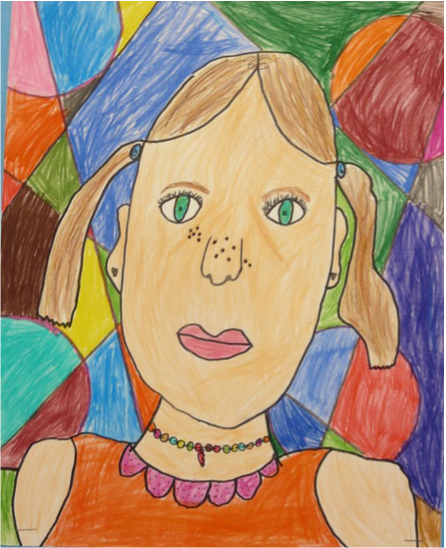
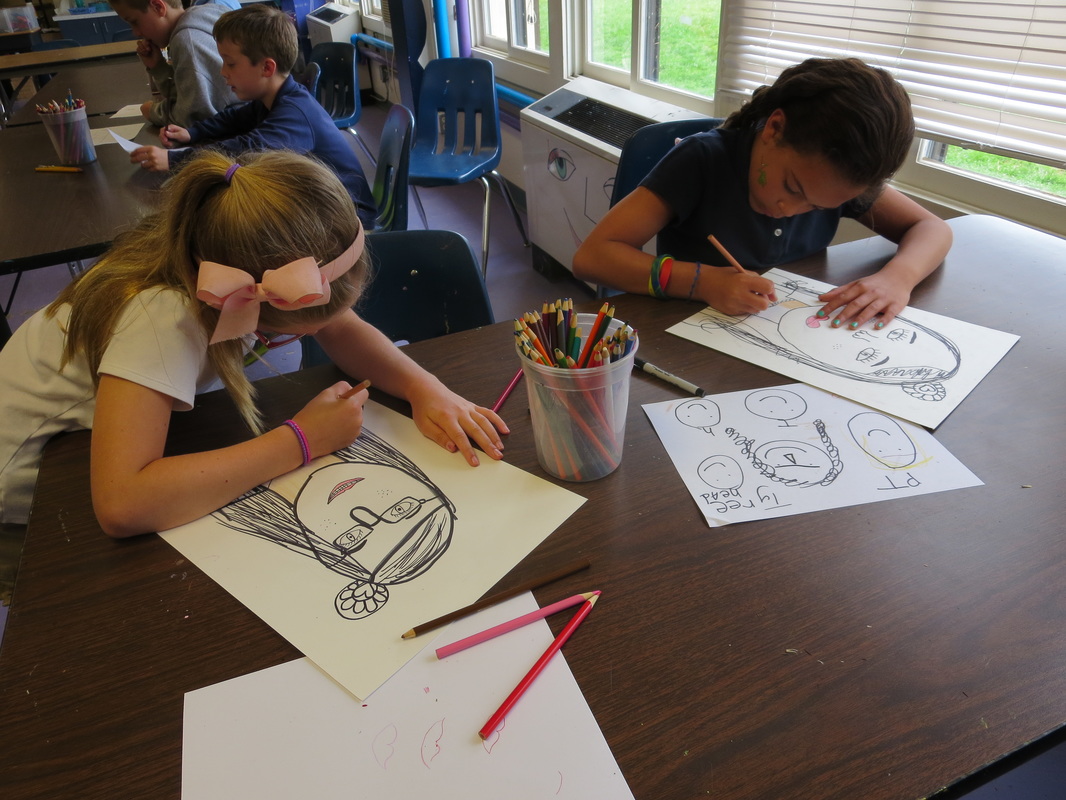
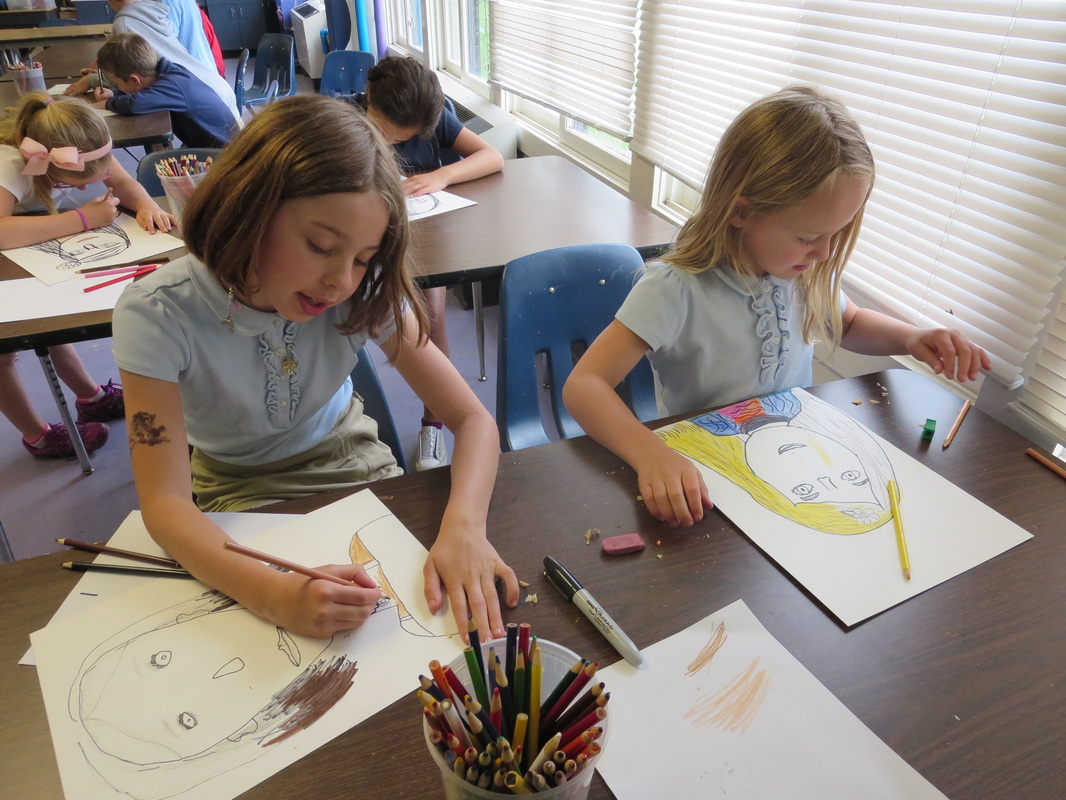
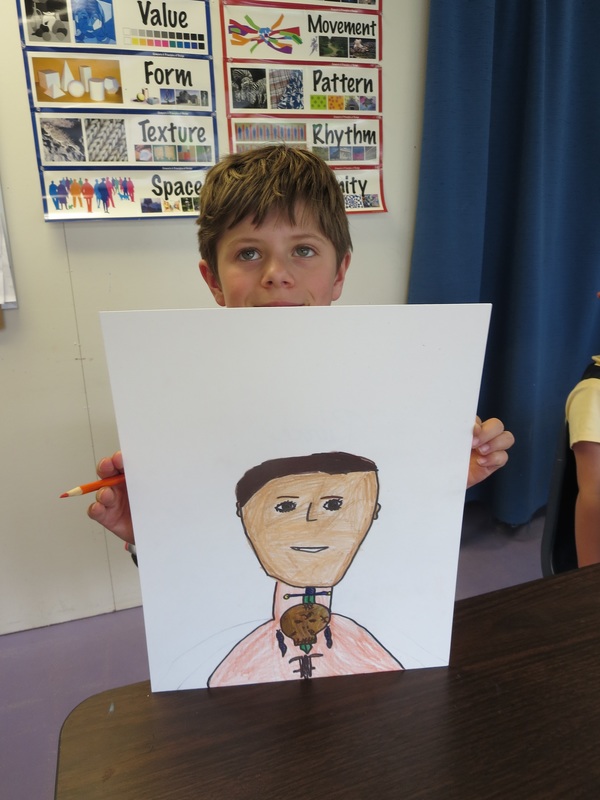
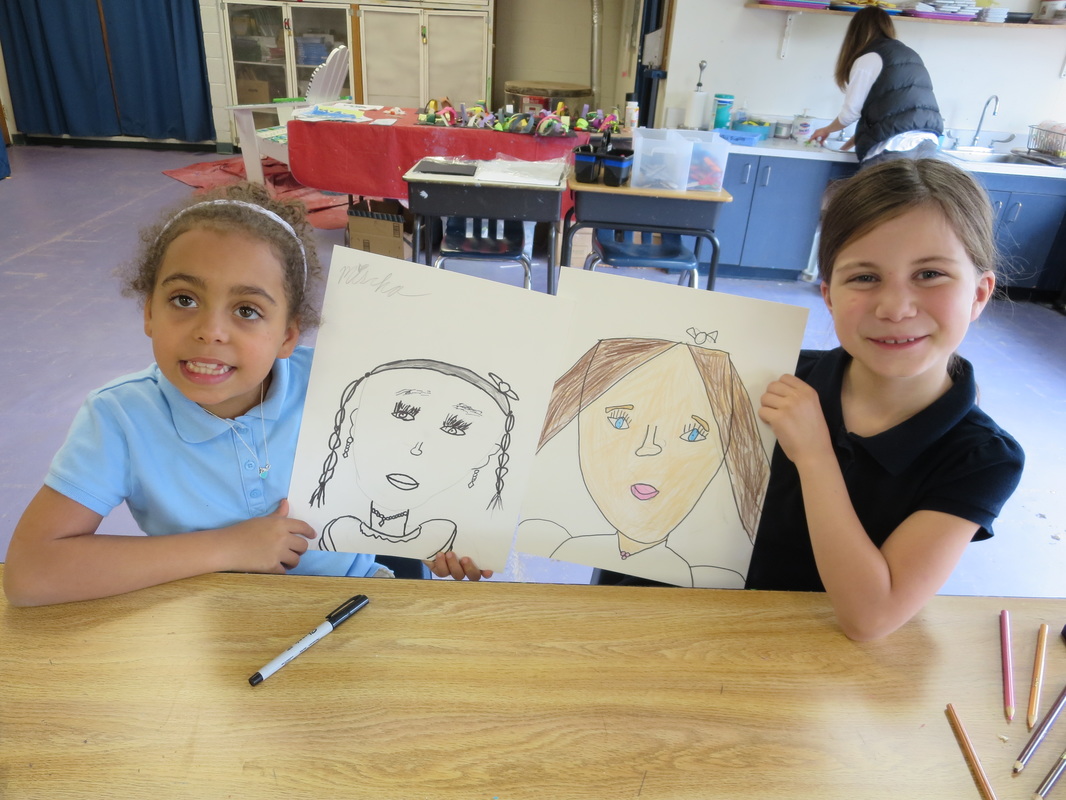
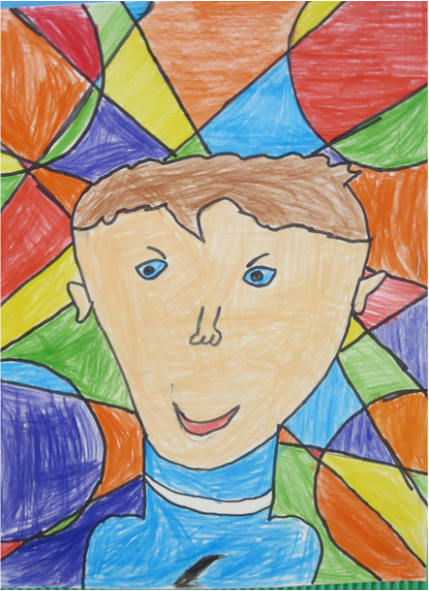
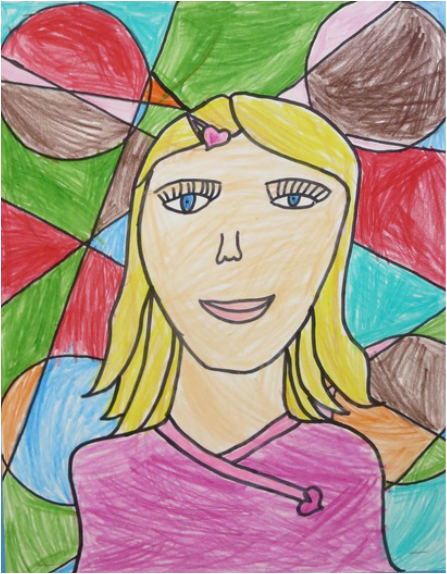
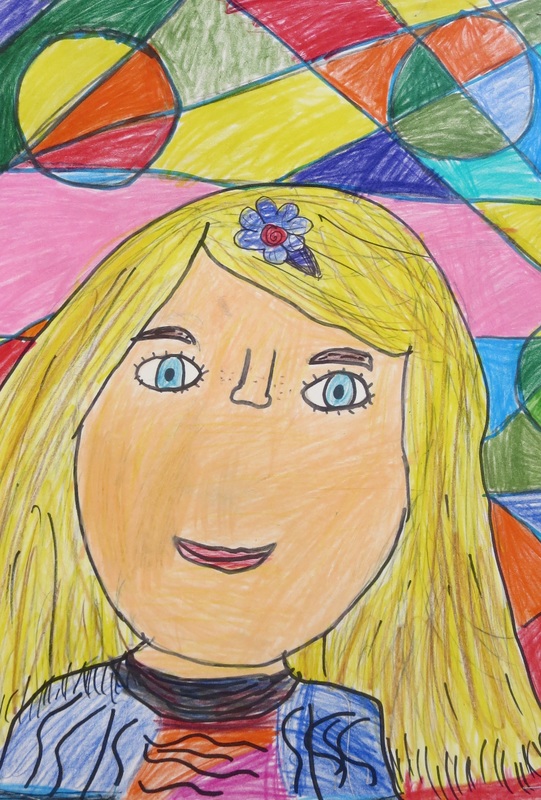
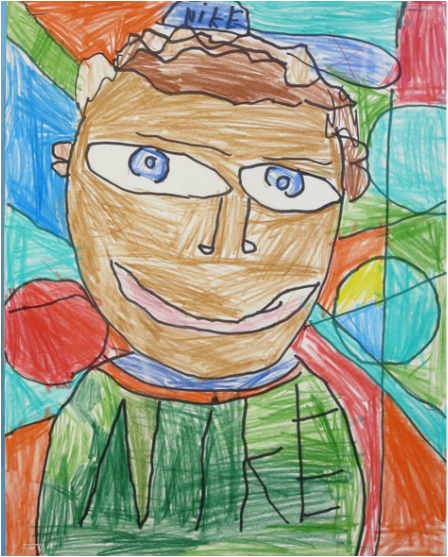
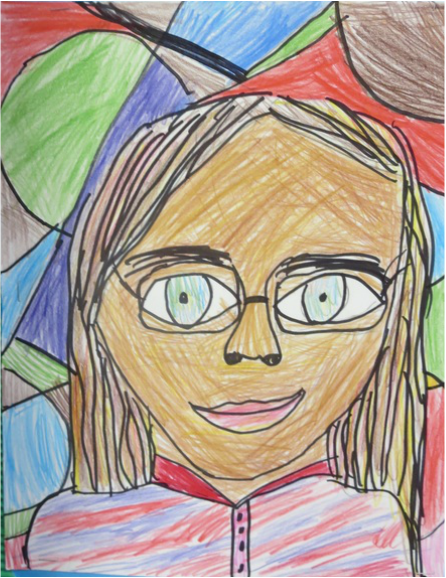
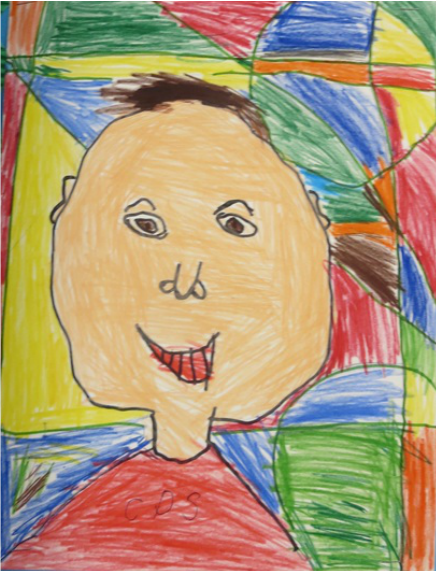
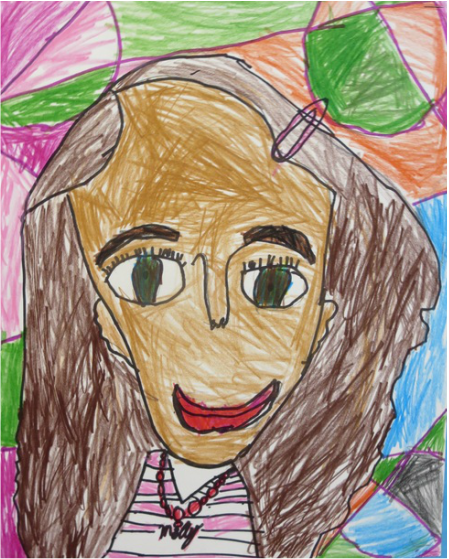
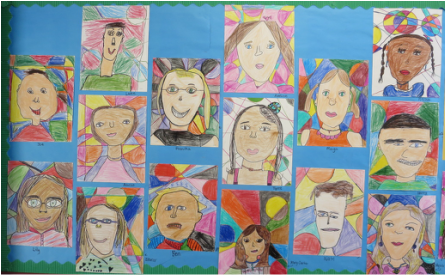
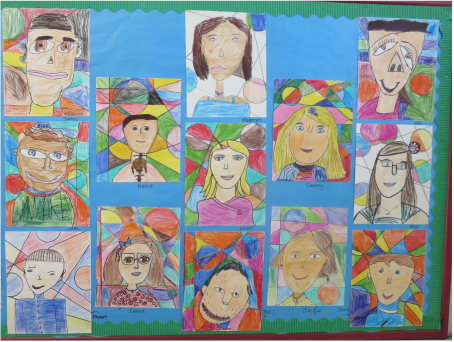
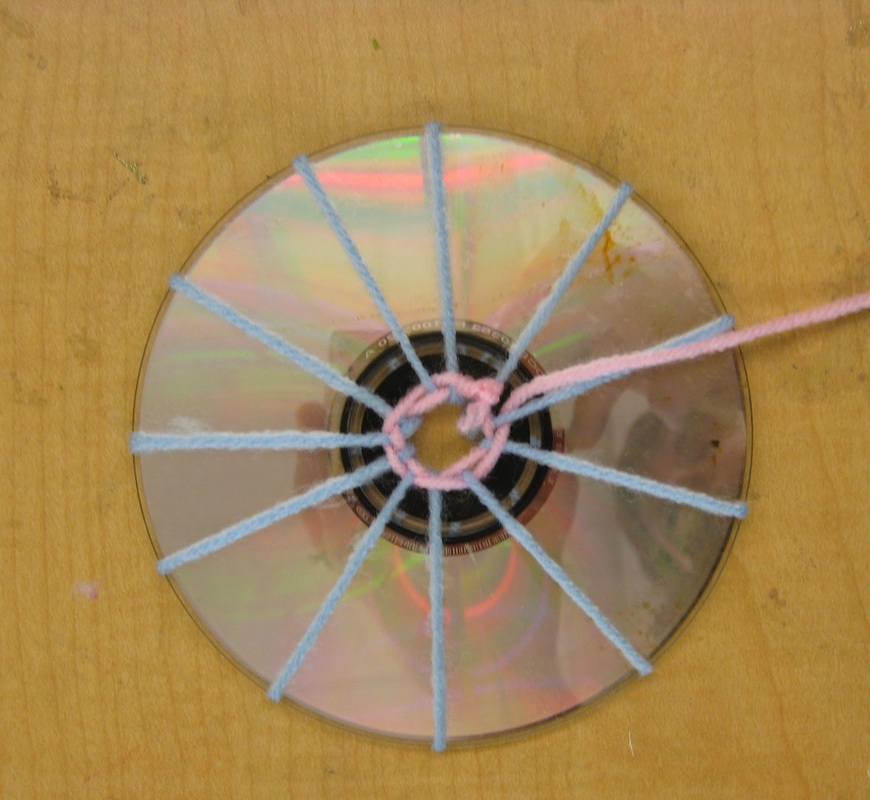
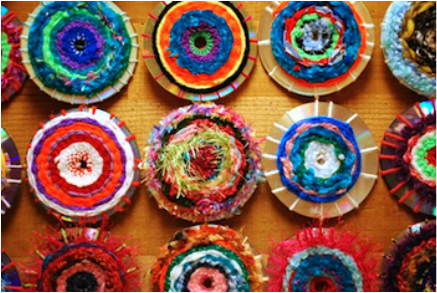
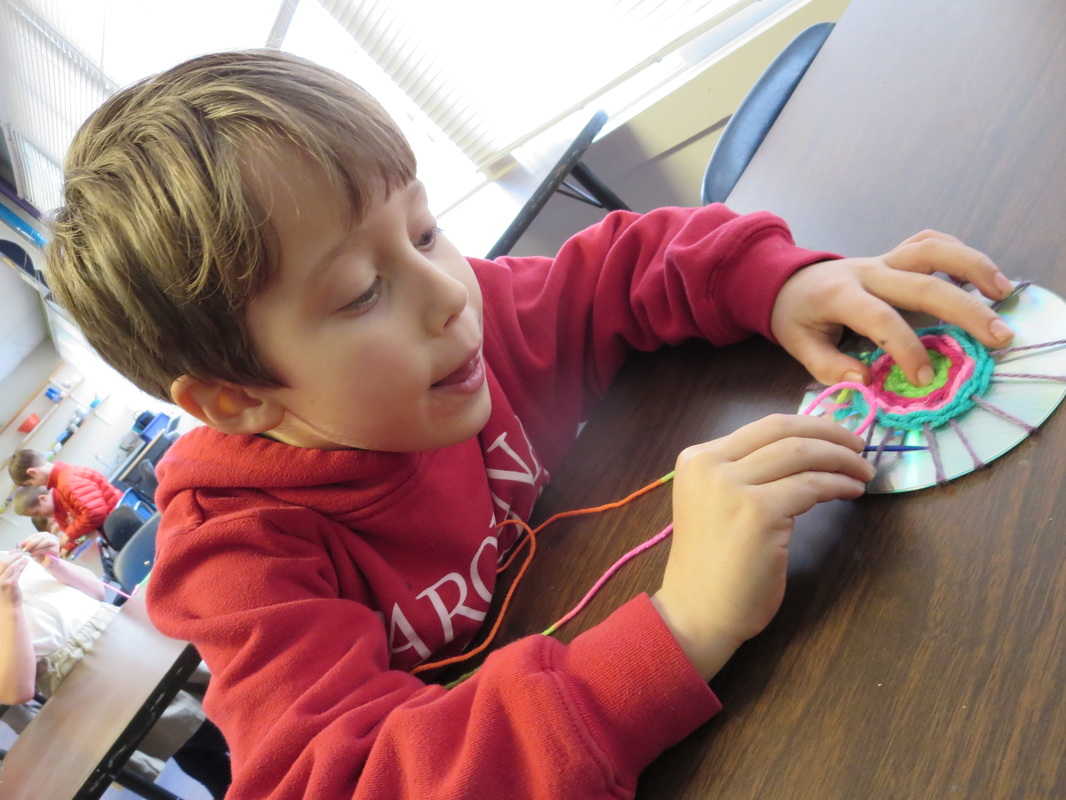
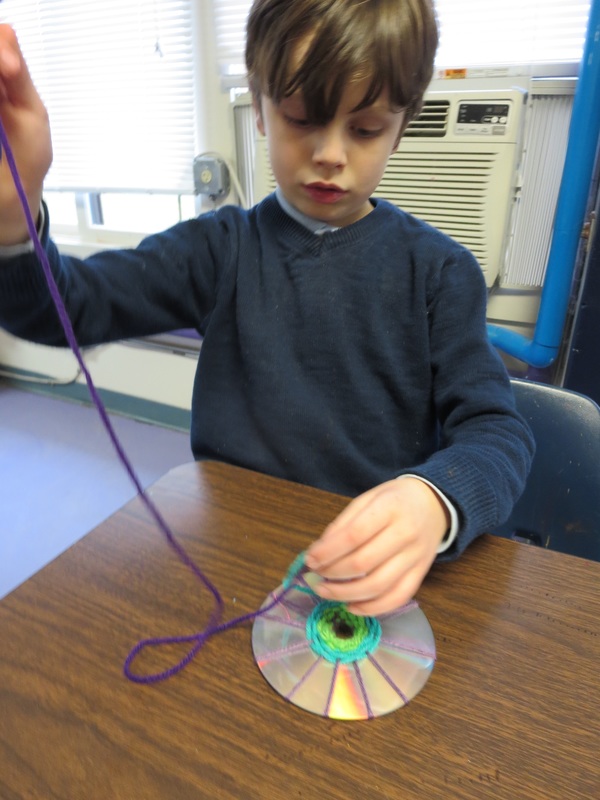
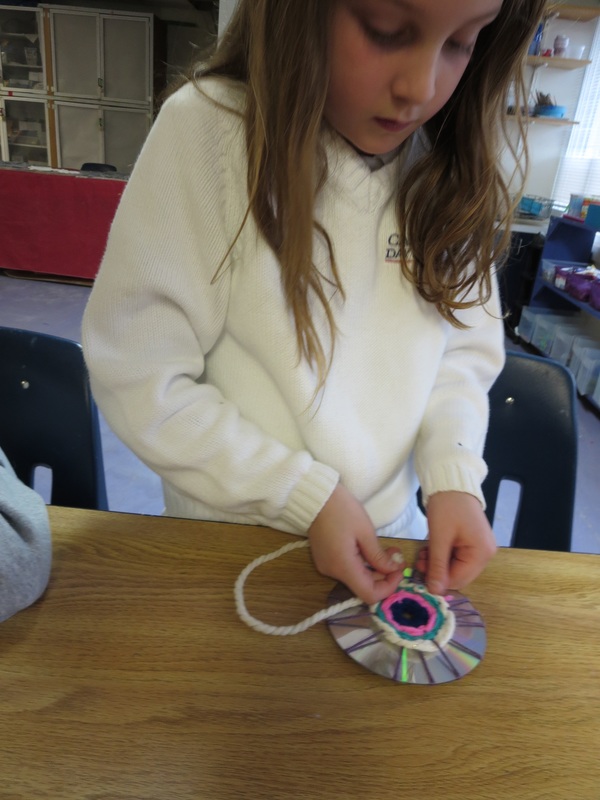
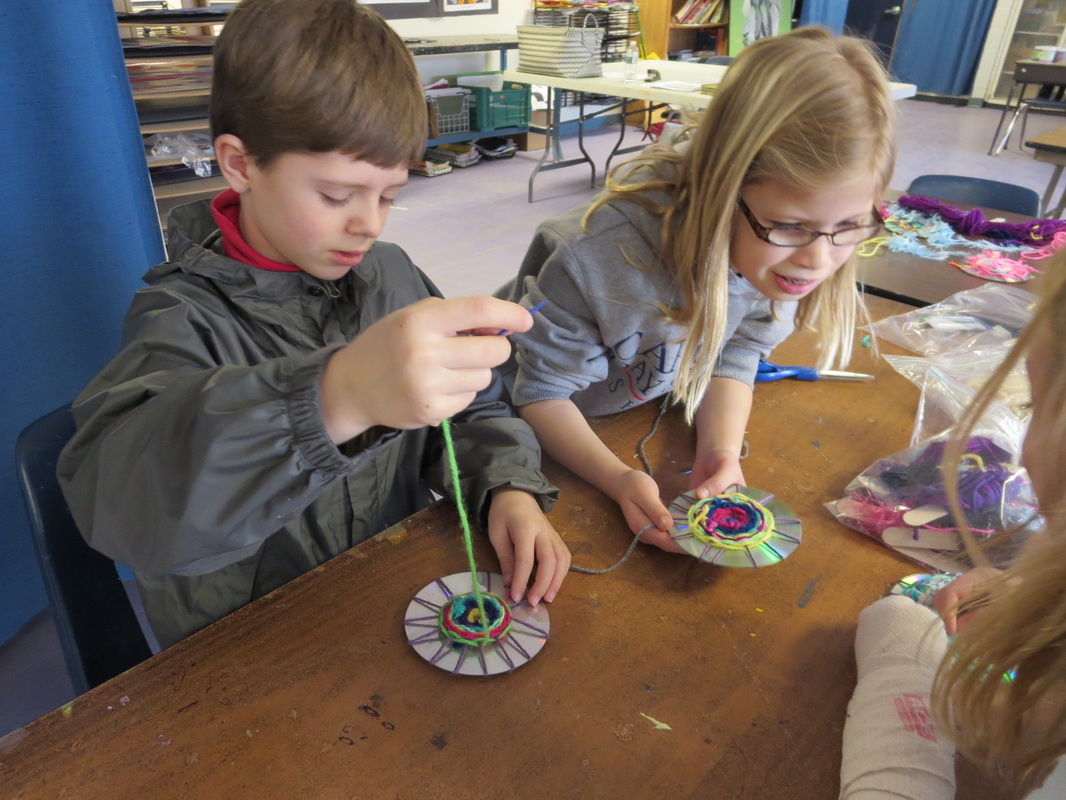
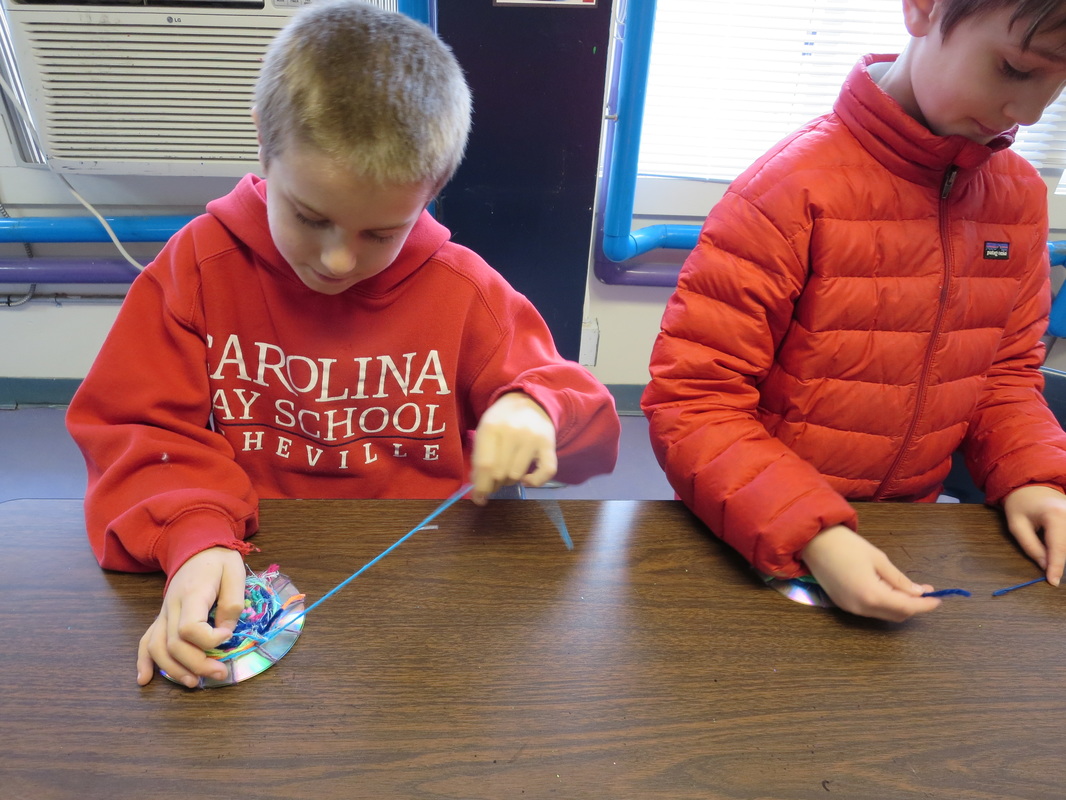
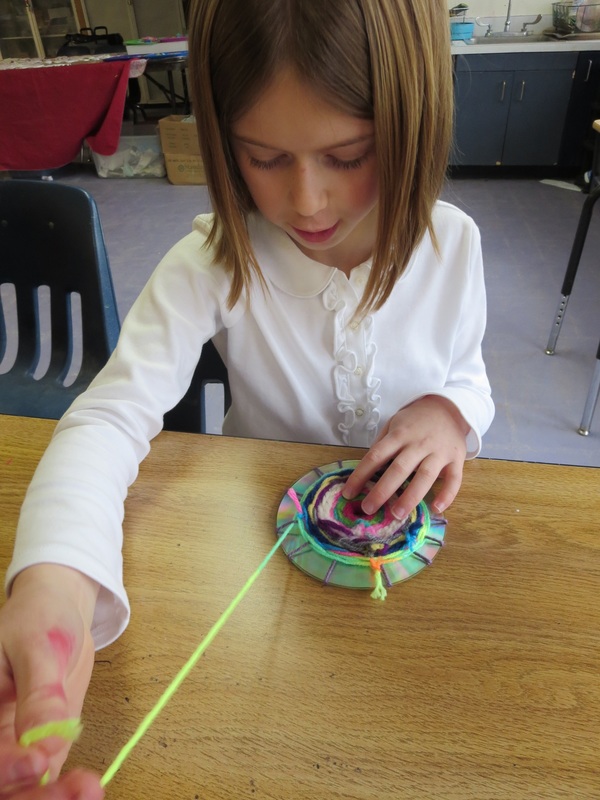
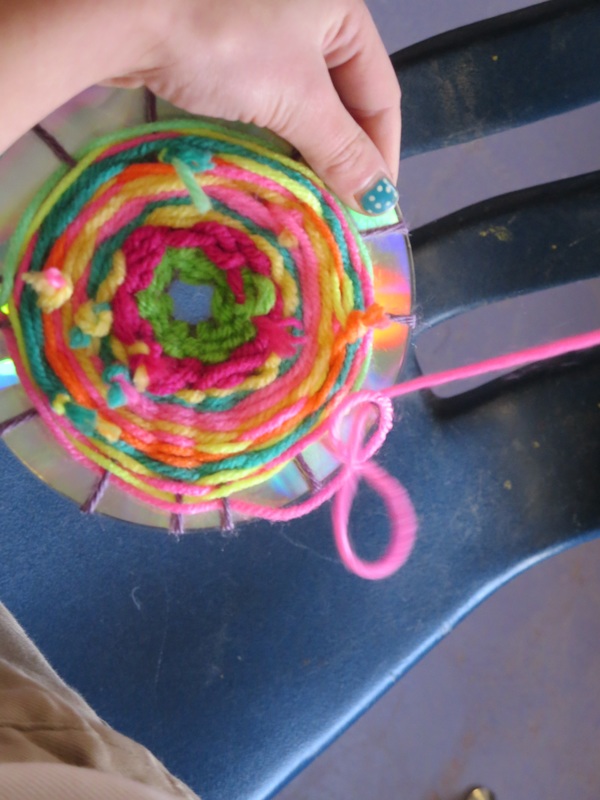
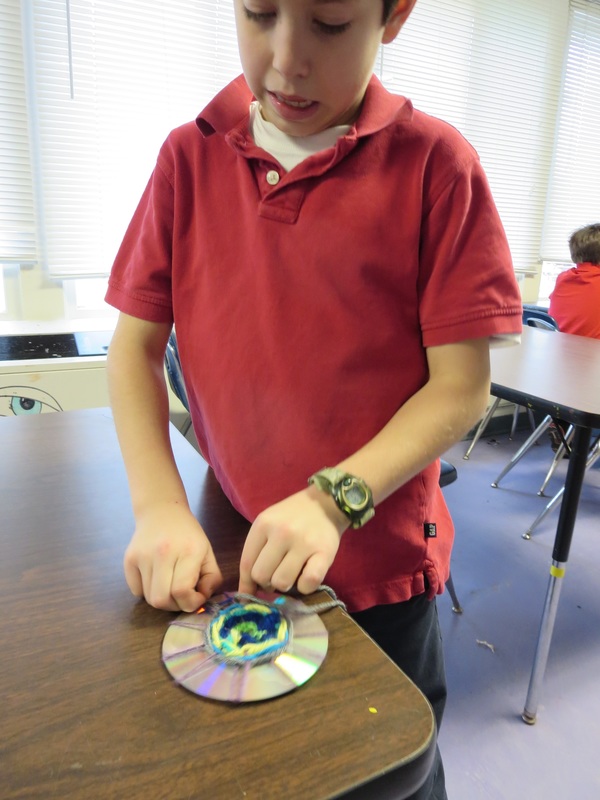
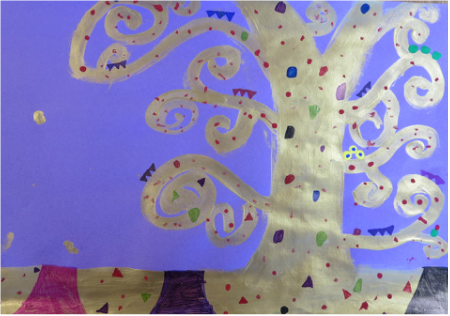
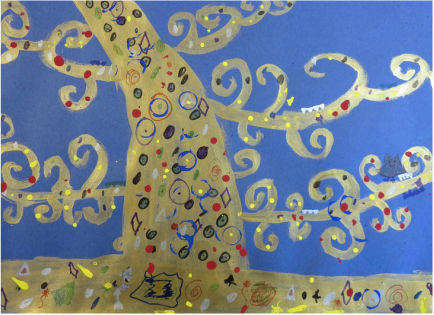
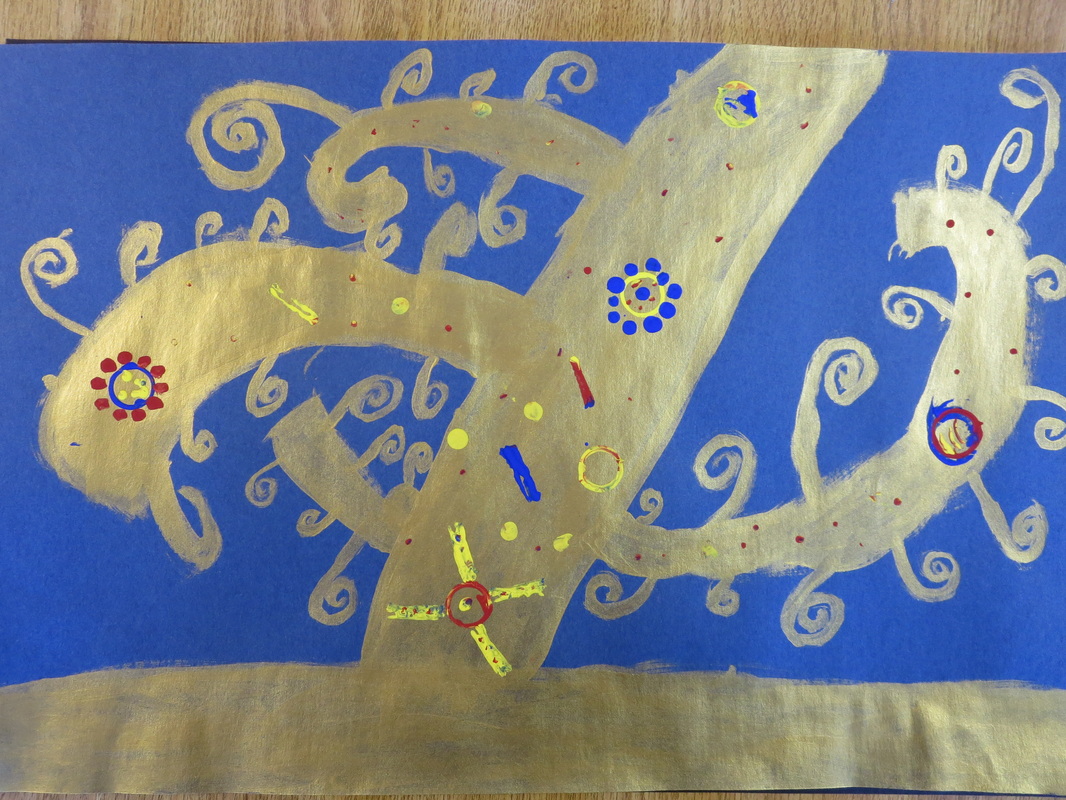
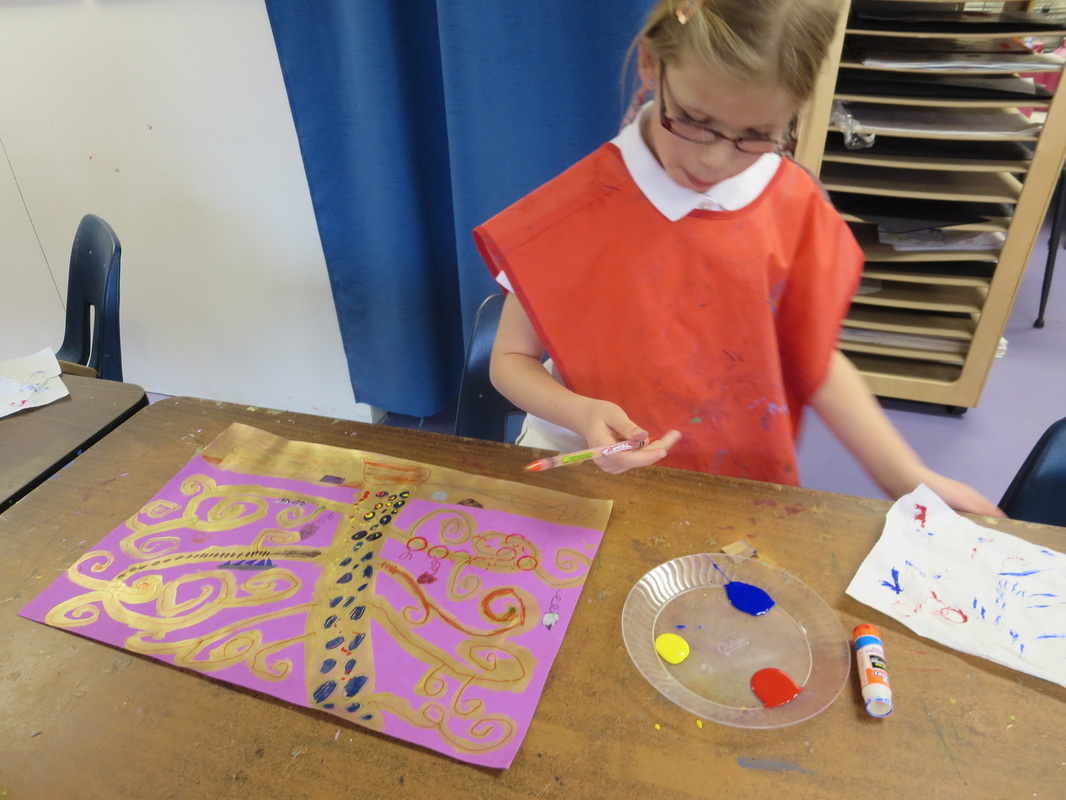
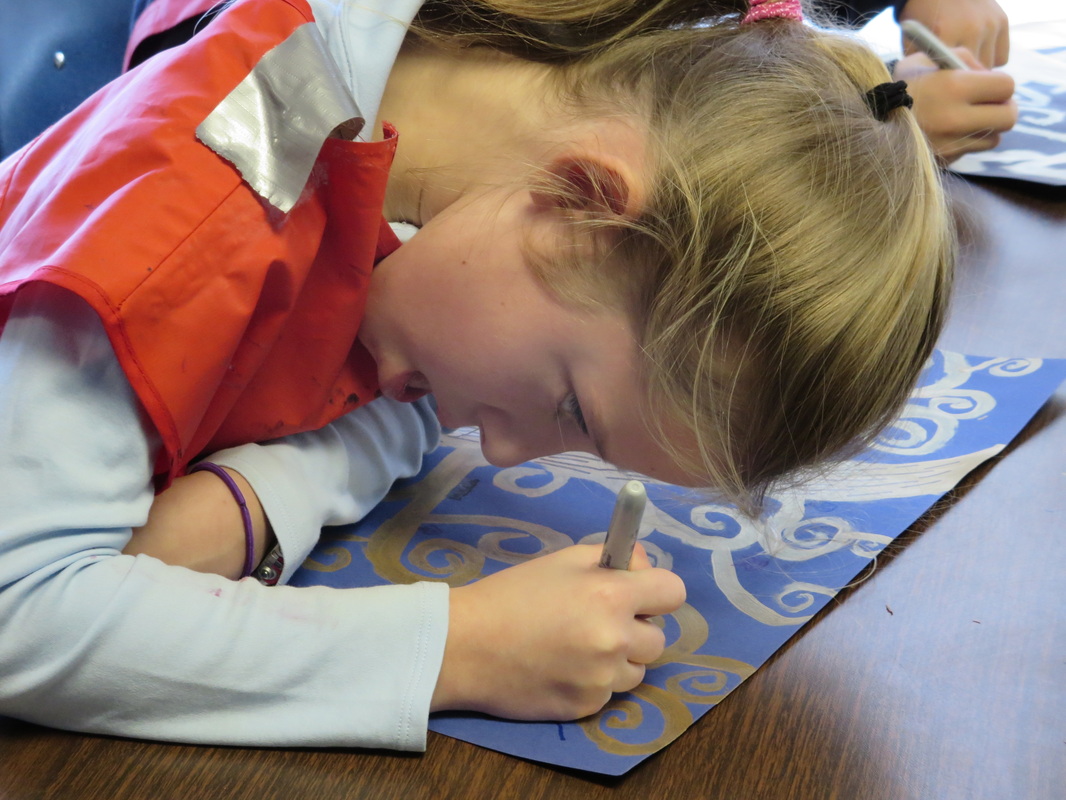
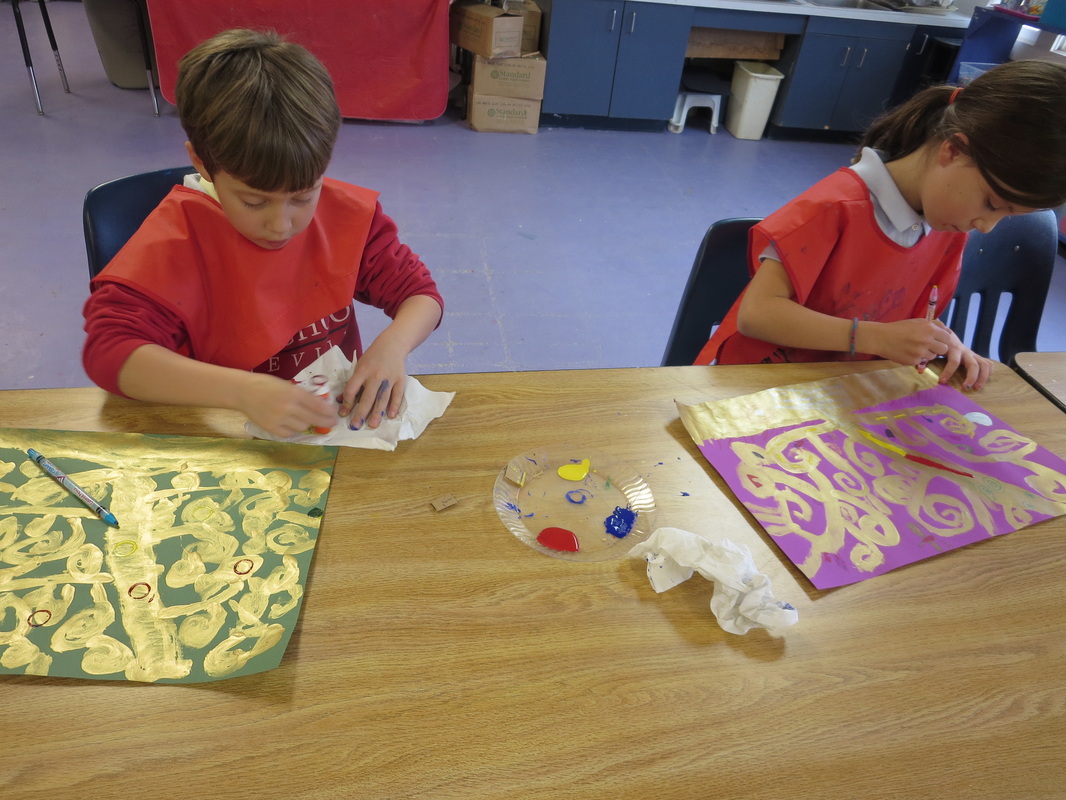
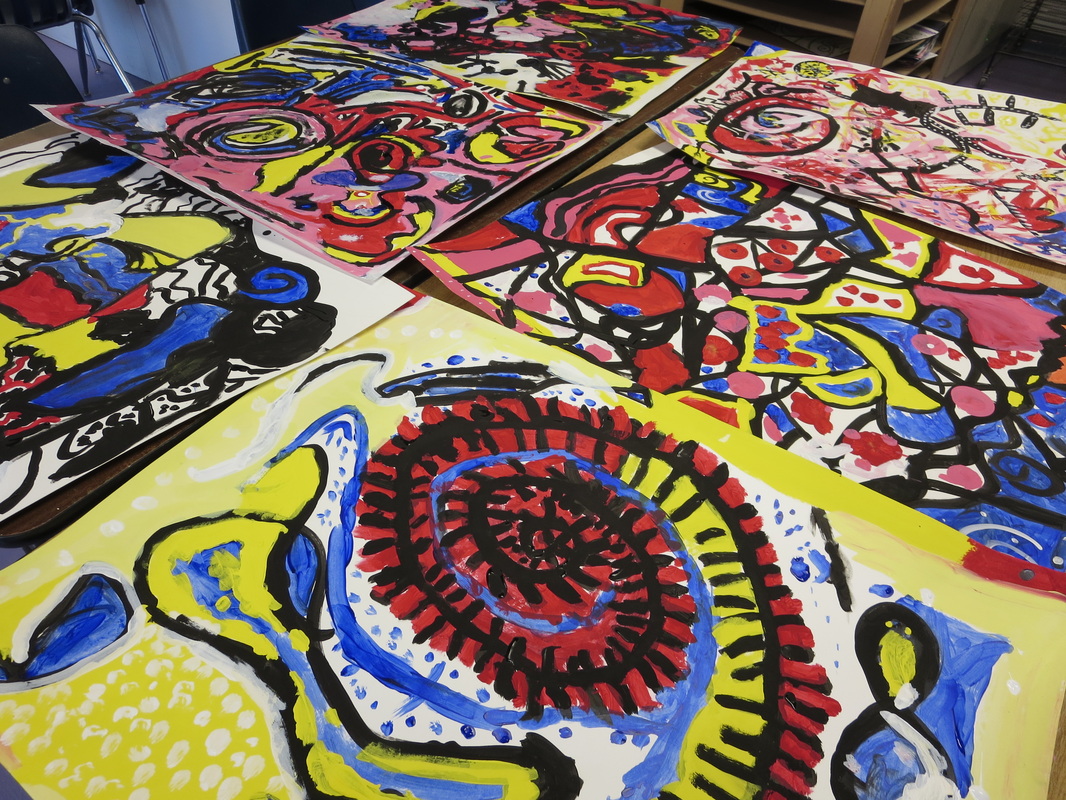
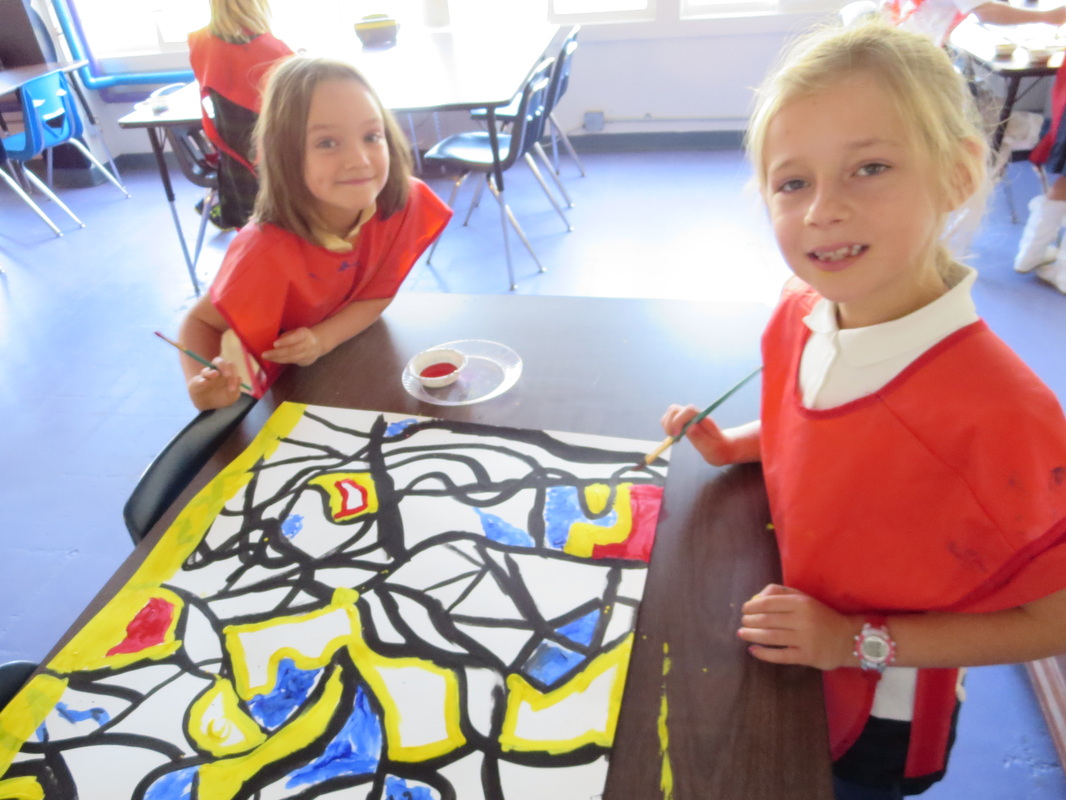
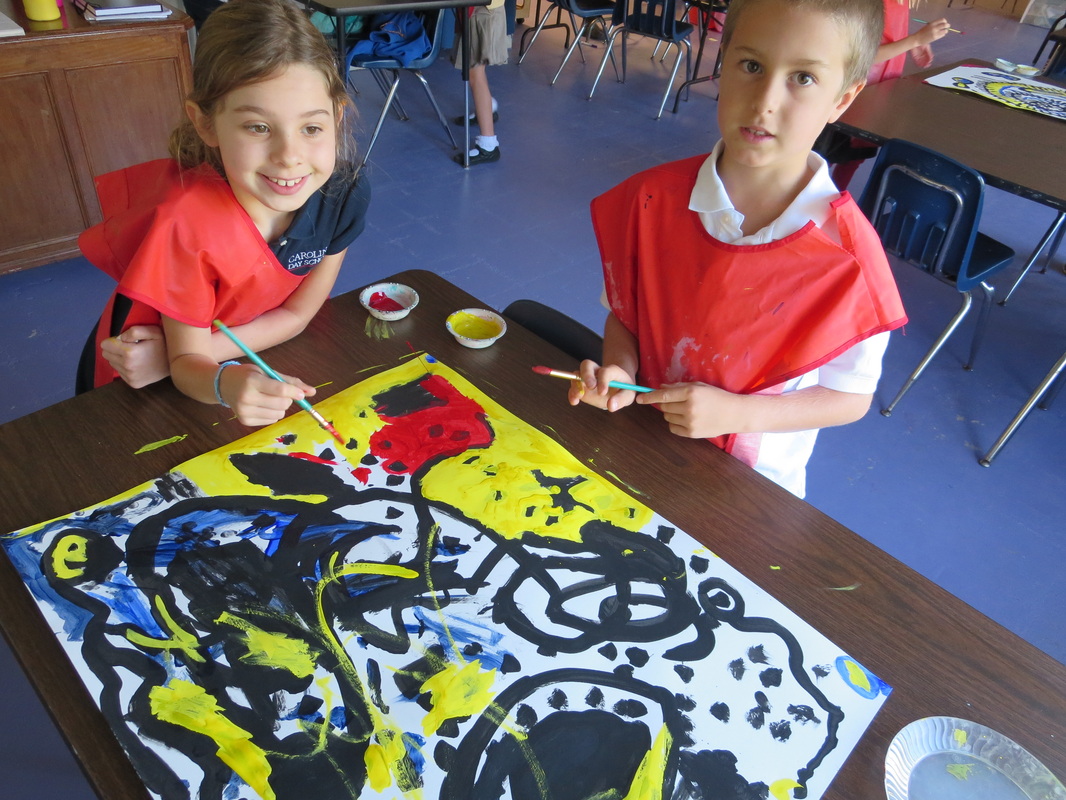
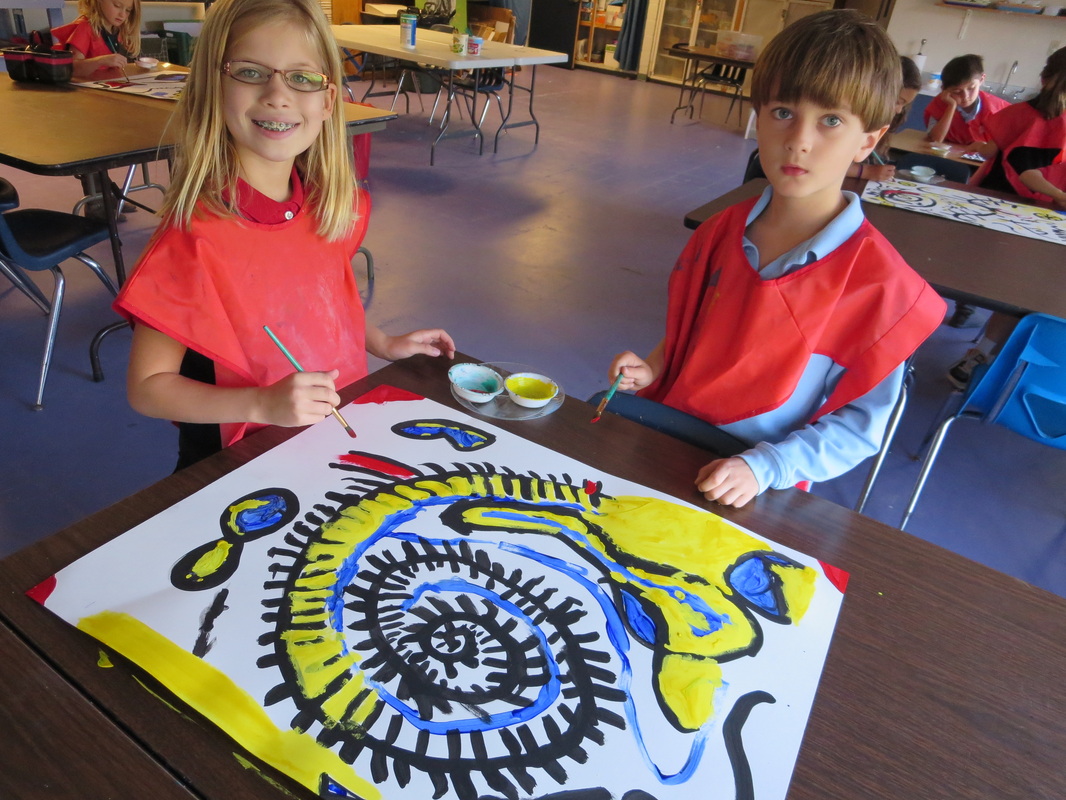
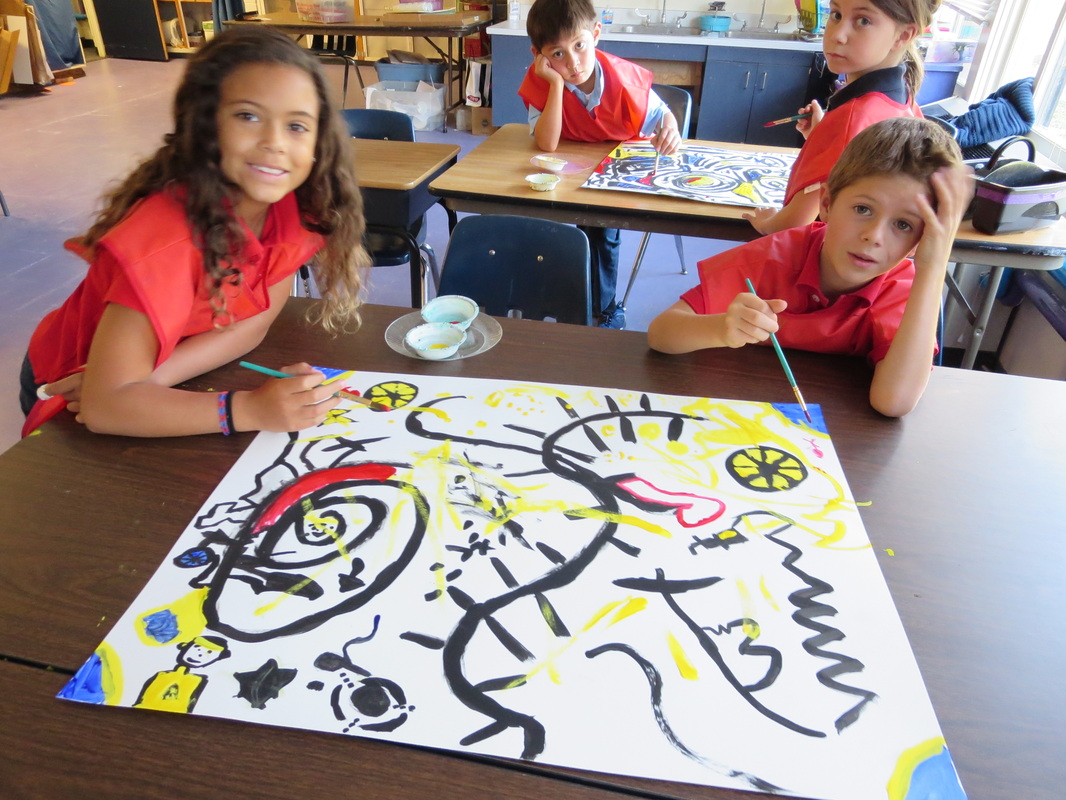
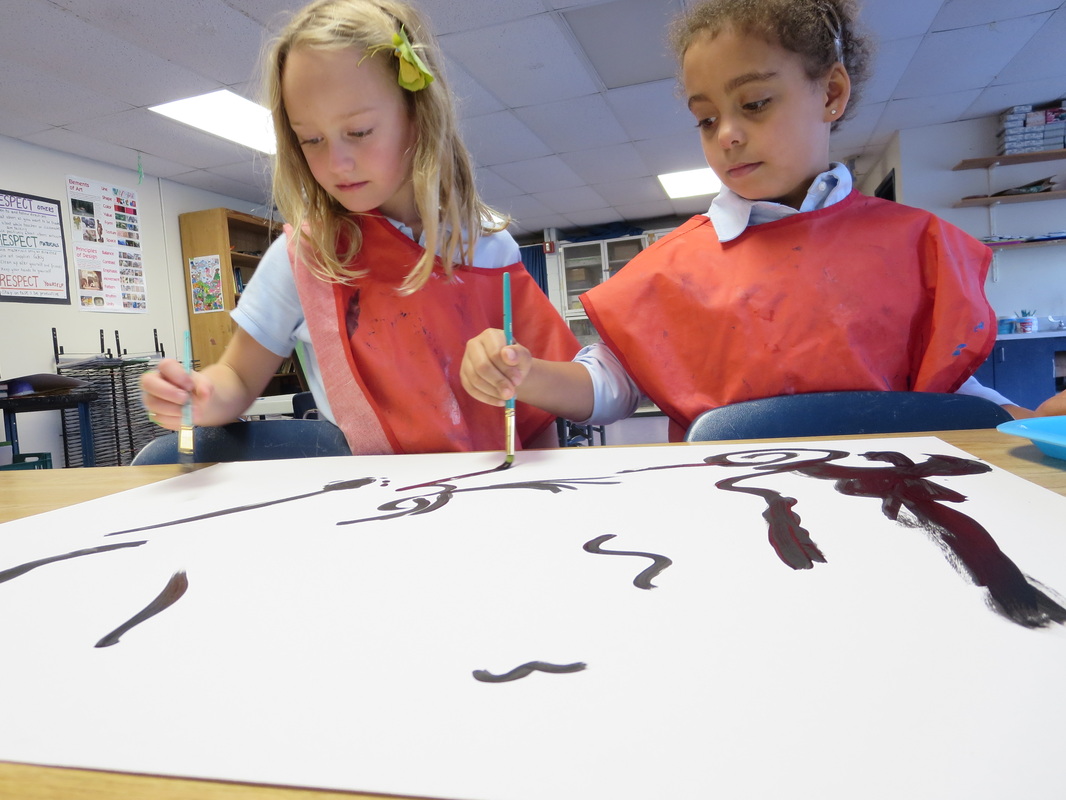
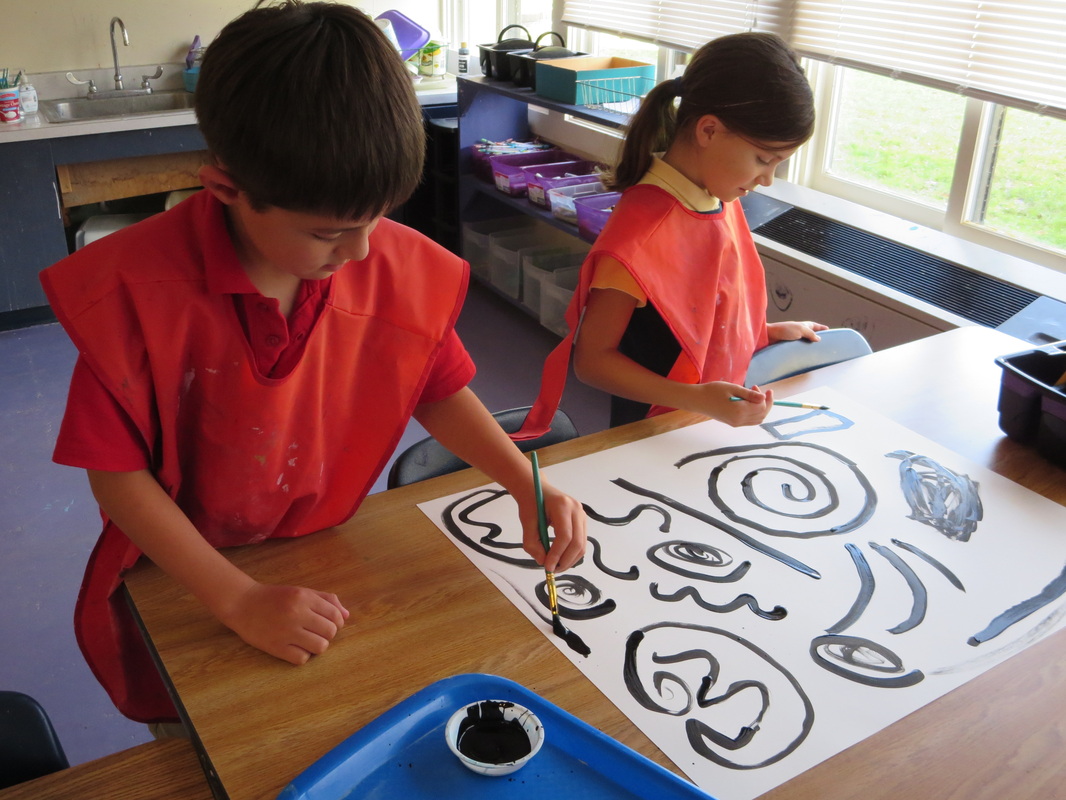
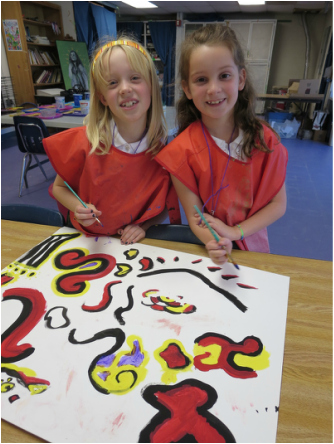
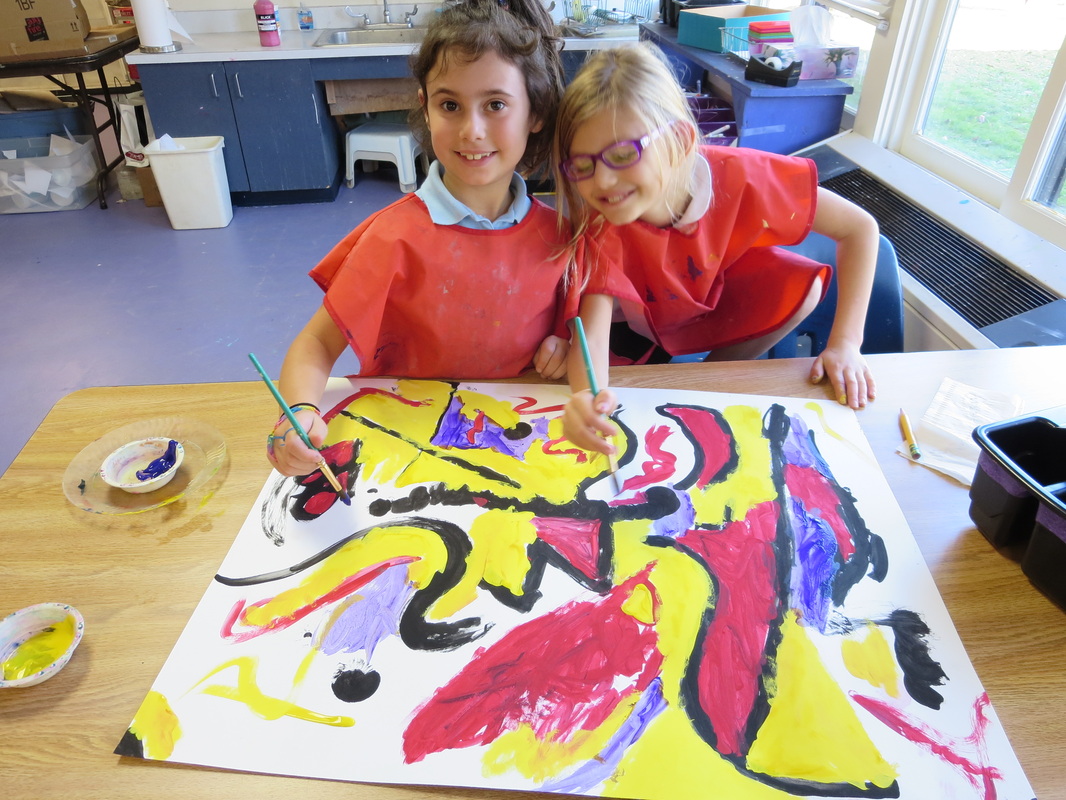
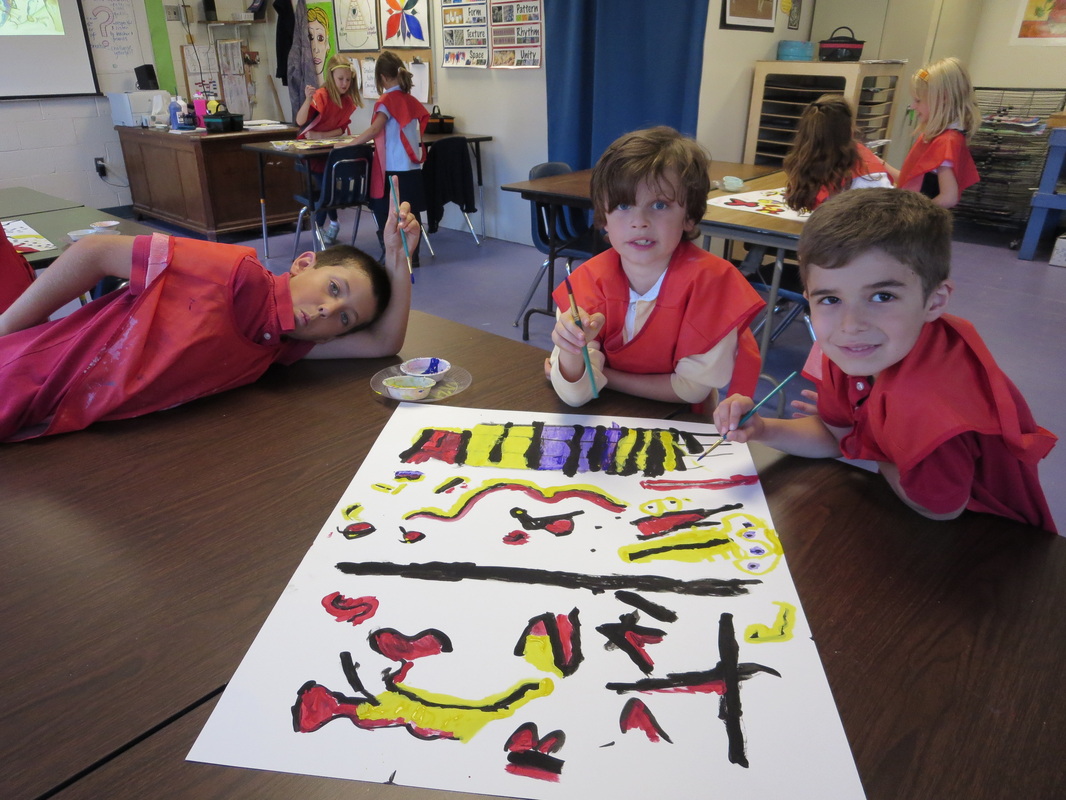
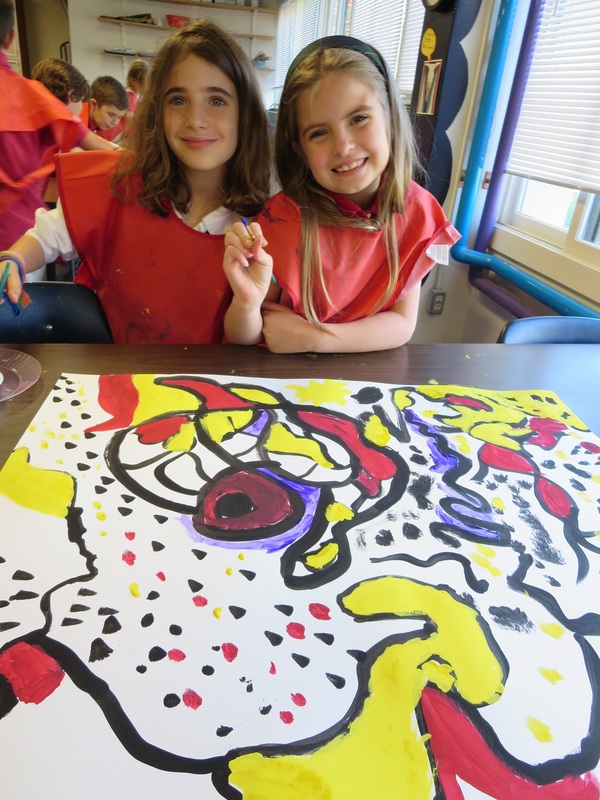
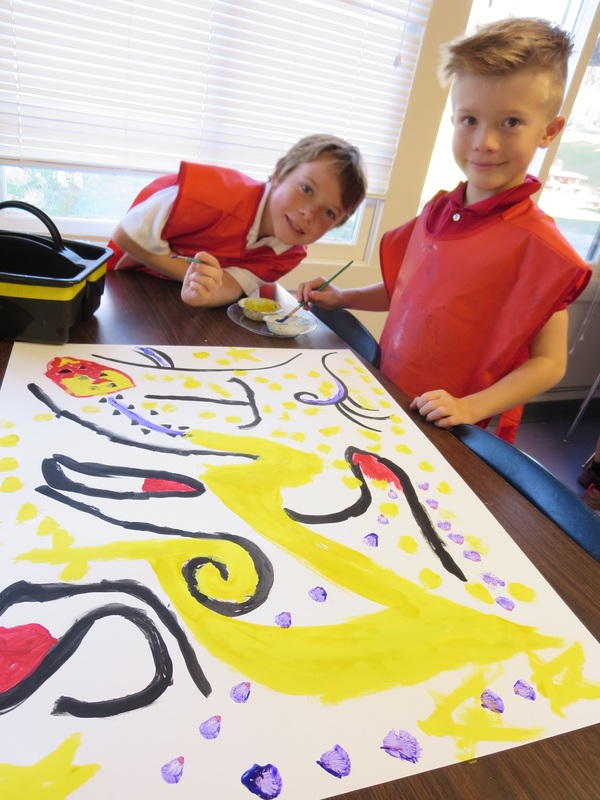
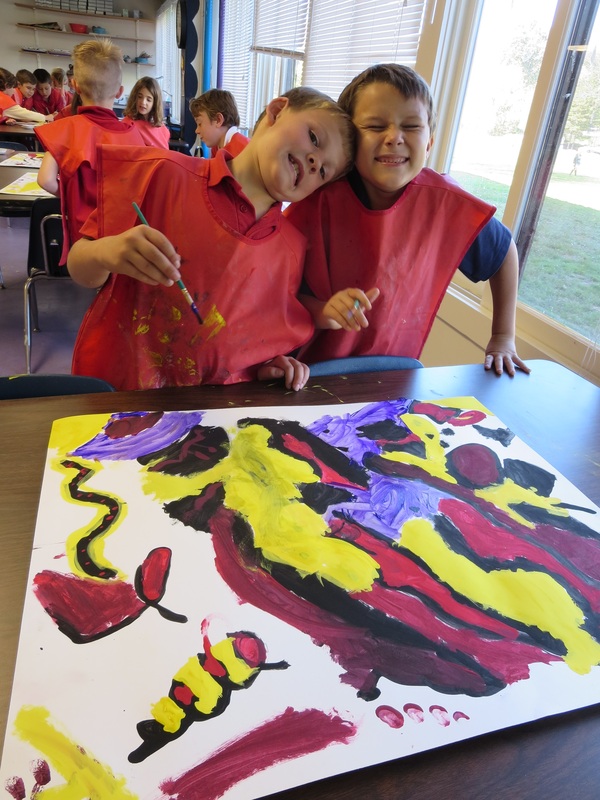
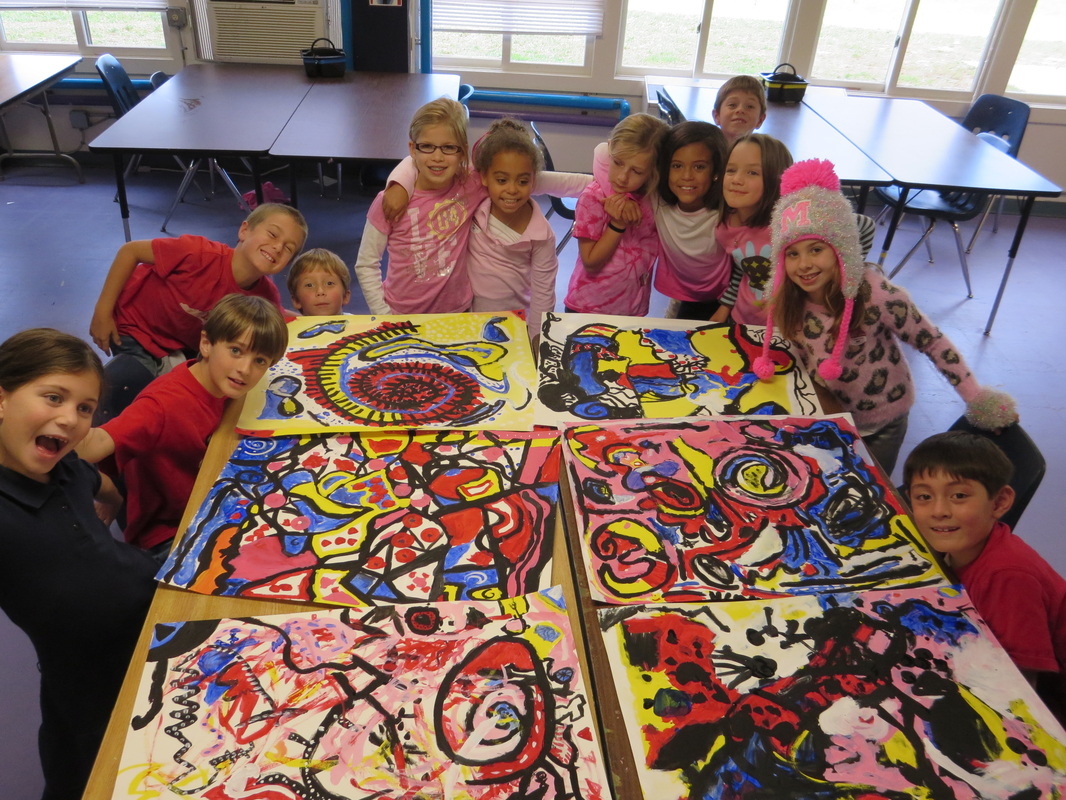
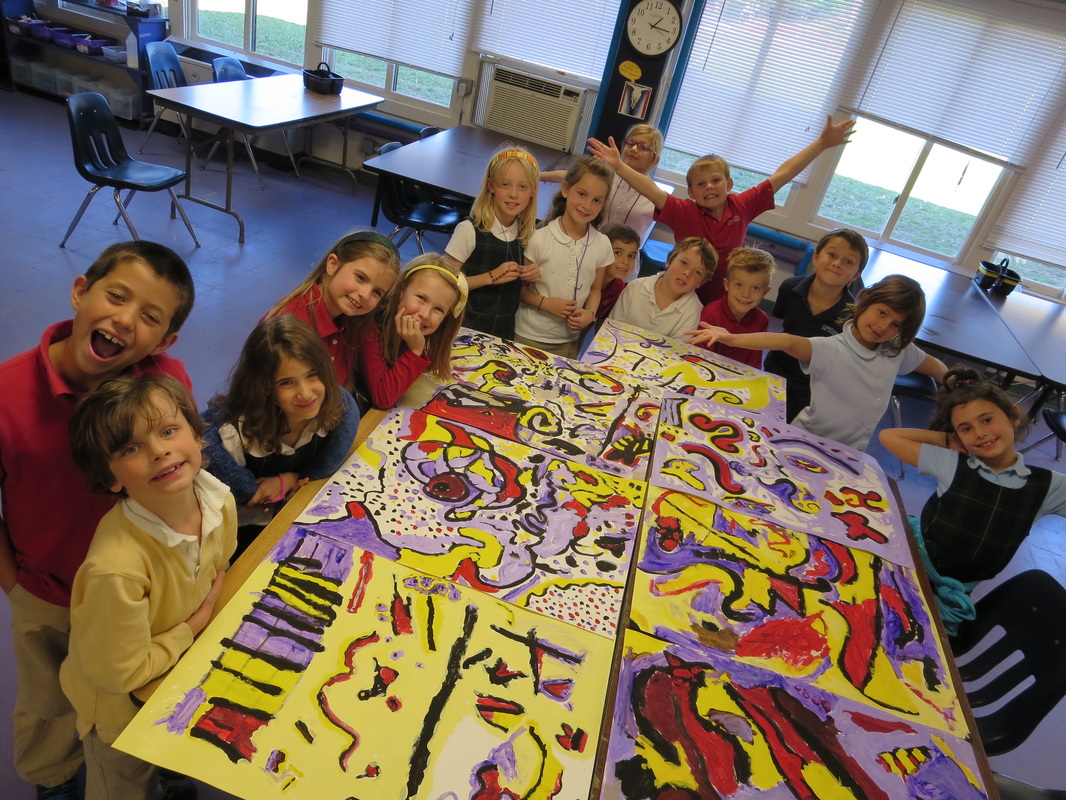
I've been doing abstract artwork with Pre-K, Kindergarten,1st and 2nd graders and just having the best time teaching it.  Each grade has used a different process and different materials.  The basic goal is to do lots of layers of lines, shapes, and colors to build up an aesthetically pleasing piece of artwork that was super fun to make.  

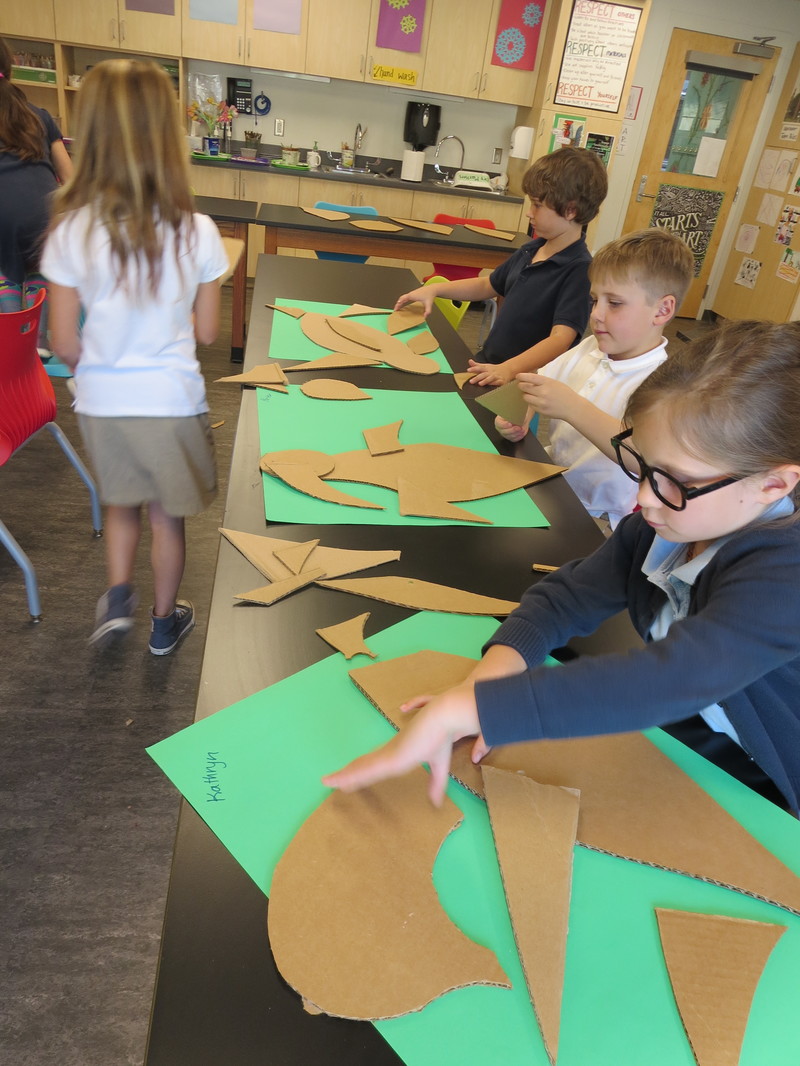
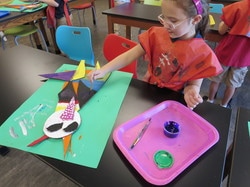
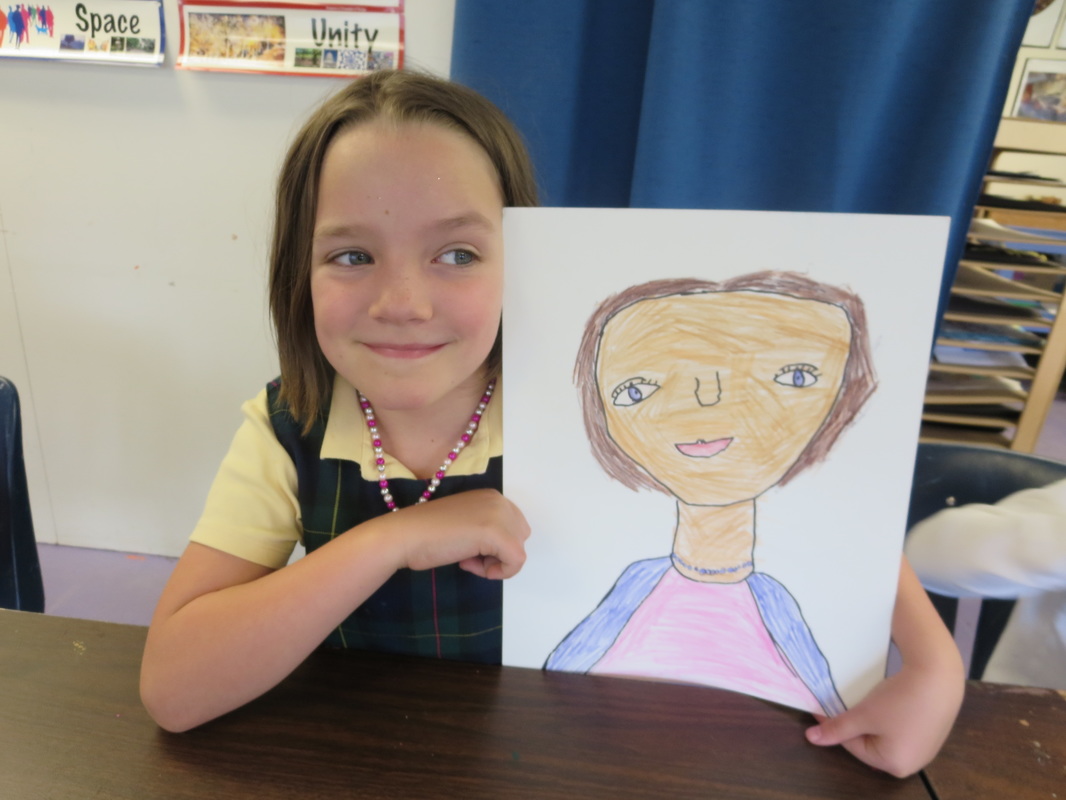
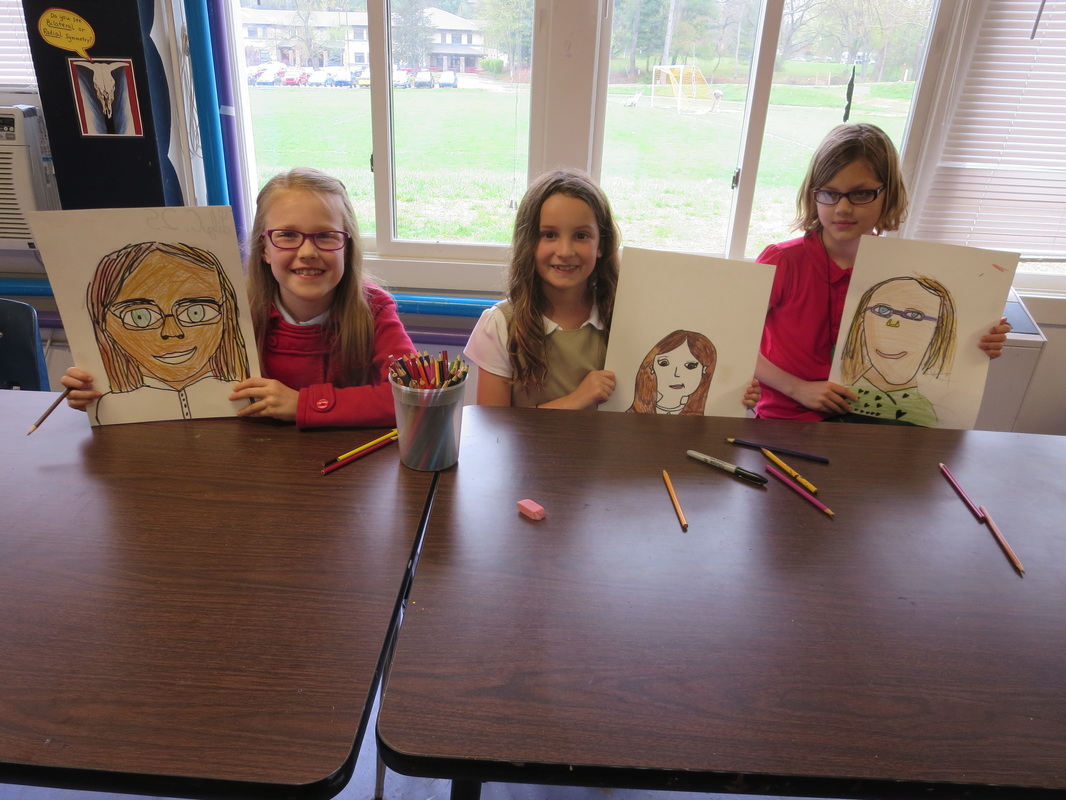
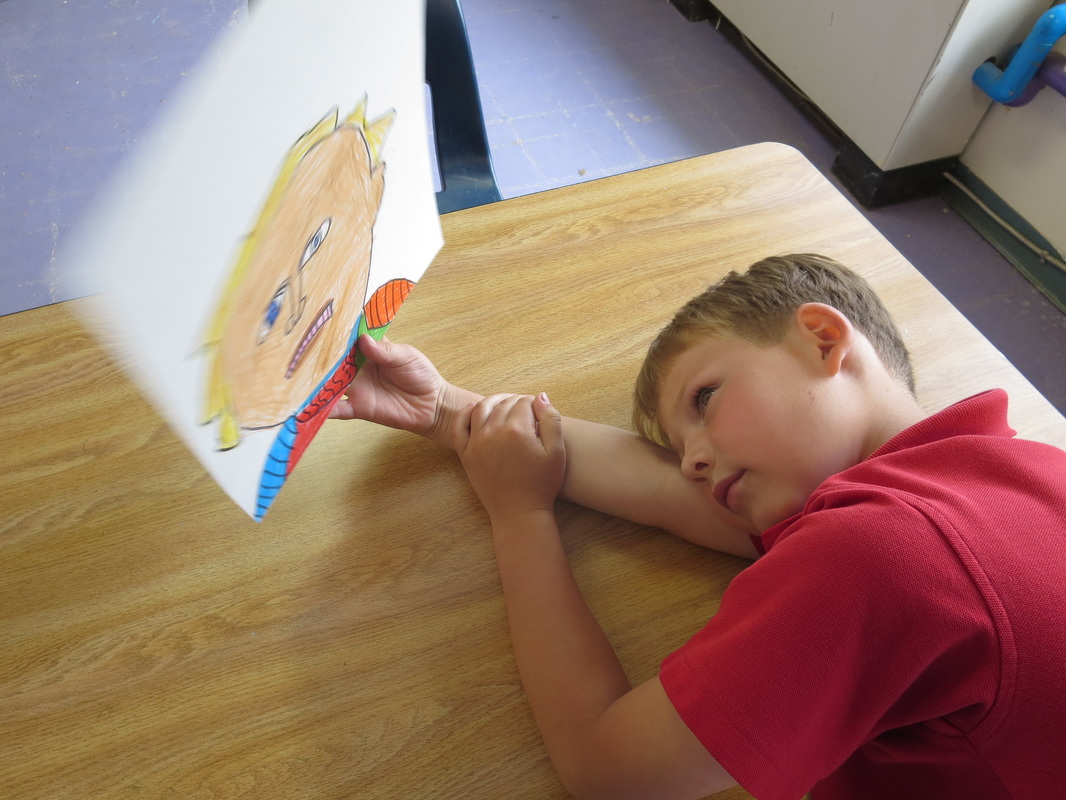
​Enjoy these photos of the process and final work. 
Picture
Picture
Picture
Picture
Picture
Picture
Picture
0 Comments

2nd grade symmetrical rub paintings

10/8/2019

0 Comments

 
Picture
Second grade artists had a great time learning about bilateral symmetry while creating tiger paintings.  I've seen projects similar to this online many times and have always wanted to give it a try.  I'm glad that I finally did.  There are many ways to teach symmetry, and I've taught many of them but have never tried any sort of rubbing technique before now.

I chose the subject matter of tigers because they are bold and have dynamic black, orange and white patterns.  We began by folding a piece of 9" x 12" paper in half and while looking at photos of tigers heads, we drew half of it on one half of the paper.  

Once our drawings were done, the fun began.  Starting with orange paint, students painted a small portion of the painting on one side of the paper, then folded it in half and rubbed the paper together to mirror the image on the other side of the paper.  Students continued doing this for at least three classes using orange first and eventually, black and white.  They finished it off with pink and yellow.  

​This is a process of art that takes patience because it takes a while but it is really fun watching the art come to live. 

Picture
Picture
Picture
Picture
Picture
0 Comments

2nd grade tint study with trees

9/12/2018

0 Comments

 
Picture
Woo-hoo, mixing colors is so much fun!

2nd graders learned how to mix tints during this painting project.  

To get started, students each got to select a color of construction paper for their background color.  I had all of the colors of the rainbow available (plus pink).  After selection their background color, they had about 5 different paint colors to choose from as well.  The paint color was what the would be mixing with white.

I demonstrated how to paint three concentric circles of paint by starting with white and painting three dots spread out on the paper.  Next they took just a tiny bit of the other color on their paintbrush, mixed it completely with the white and used that new color to paint a circle around the white.  This process continued until the circles were so big that they started to overlap.  

I was impressed with how focused the students were on this process.  They were determined and in the zone.  Another proud teacher moment for sure. 
Picture
Picture
Picture
During the next art class, I taught students what the word 'silhouette' means and demonstrated by standing in front of a window with the classroom light on and then turning it off so that they could see my silhouette.  Always exciting!

I showed them how to paint a tree silhouette by starting with a big thick line in the middle of the paper, and adding branches that reach up and out.  The students, again, loved this step of the process as well.

This was such a fun and successful project and only took two class periods!
Picture
Picture
Picture
Picture
Picture
0 Comments

2nd grade observational flowers

11/13/2017

0 Comments

 
Picture


For more information about the process of creating these awesome Georgia O'keeffe-inspired flowers, see my blog post from a few years ago
​ ​http://anniesartroom.weebly.com/elementary-art/2nd-grade-georgia-okeefe-flowers

​

Picture
Picture
Picture
Picture
Picture
0 Comments

2nd grade cardboard fish

11/1/2017

0 Comments

 
Picture
The kids LOVE this project.  This is the second year I've taught it (though last year we did birds) and the students have a blast making them and the results are colorful and exciting.

This project definitely takes a couple hours of prep work by me but is totally worth it.  Before beginning this project, I cut coardboard into a ton of different shapes such as ovals, triangles, diamonds, circles, etc.  I make sure I have a bunch of large body shapes (they are between like 8" to 14") and a bunch of smaller pieces for fins, tails and eyes.  If I have 30 students, I make like 35 of each so that they each have a choice.  Even with box cutters this is pretty time consuming, but that's ok with me.

The first day of this project, students each go to different piles of the cardboard pieces and play with the pieces arranging them until they have a fish shape they like.  I tell each student that they must have a tail and at least two fins.  Once they come up with a design they like, they use Elmer's glue all to attach the pieces.  

The second class, we begin painting.  The tail is one color, the fins are each one color and the body is painted with large stripes.  The stripes can go horizontal, vertical or diagonal, whichever they prefer.  Some students even do squiggly stripes.  

The third class, they use other colors to paint patterns over the stripes.  Also, they paint and attach the eye(s).

This is a super quick, super successful project and I will probably do something like this every year (maybe robots next year?)...
Picture
Picture
Picture
Picture
Picture
Picture
Picture
Picture
Picture
0 Comments

2nd grade cardboard birds

1/10/2017

0 Comments

 
Picture
I love birds!  Very much, which is why I was so happy about finding this blog post on pinterest one day!

I decided to do the project with my energetic 2nd graders and just as I imagined, they loved it!

Before the students arrived for class, I cut up a bunch of different sized and shaped pieces of cardboard.  There were pieces as big as 18 inches and some as small as 4 inches.  I cut out a bunch of organic shapes and a few circles/ovals for eyes.

To begin the project, I showed students a slideshow of some local Asheville folk artists who paint birds and we talked about how the artists simplify the birds into shapes.
local_folk_art.pptx
File Size: 1208 kb
File Type: pptx
Download File

After the slideshow, students rummaged through the cardboard pieces and layered them together to create a simplified bird image.  Once they came up with a design they were pleased with, they used Elmer's glue-all to attach the pieces.
Picture
The next class, after the glue had dried, students began by painting the head one color, the wings one color, the beak one color, the tail one color, etc.  The body was painted in thick stripes of color.

To finish this project, students used other colors to paint patterns over the bird.  

This project was short and sweet, it only took three classes.  The students had a blast and the birds turned out SO cool!
Picture

Picture
Picture
Picture
0 Comments

2nd grade abstract collaboration

2/3/2016

0 Comments

 
((To see last year's post of this project, click here.))

One of our cross divisional Arts team two year goals is to have every grade level from K-12 create some sort of a collaborative visual arts project.  I haven't done this quite yet with every grade yet, but am excited about this abstract collaborative project done for the second year with 2nd grade.

We looked at images of Kandinsky's artwork and together as a team, students spent four class periods creating these large abstract paintings.  For more information about the process, click the link above.
Picture
Picture
Picture
Picture
Picture
Picture
Picture
Picture
0 Comments

2nd grade NC lighthouses

11/13/2015

0 Comments

 
Picture
I LOVE THIS PROJECT!!!  This has definitely been my favorite project that I've taught so far this year.  I am just so proud of the 2nd graders and the beautiful artwork that they created for this project.

Because we live in Western NC, we are, as a community, always seeing and exploring and studying mountains and rivers.  I thought it might be a nice change to discuss Eastern NC as well.  We studied the east coast by designing and painting lighthouses!

Students began this project by drawing  a three layer composition with oil pastels.  The far background (the top of the paper) is the sky.  Some students chose to draw the sun and clouds, others moon and stars, others birds and bugs.  The midground (the middle of the paper) is the ocean.  Some students drew calm seas, some drew boats, others drew aquatic wildlife.  The foreground (the bottom of the paper) is the ground.  Some students drew the beach, others, a field, a city, a boardwalk.  I love how each and every student's three layers turned out so differently!
Picture
Picture
Picture
On a separate piece of paper, students also drew their own lighthouse.  I showed the students a basic technique to draw them, but the students each made theirs very unique.  

To make our artwork bright and colorful, we did layers of watercolor paints on top of the oil pastel.  Because oil and water resist, the oil pastels and create a high contrast, colorful work of art.

To finish this project, students cut out and glued their lighthouse on their mid ground.  

​These turned out sooooo awesome. I want to frame them and keep them forever...
Picture
Picture
Picture
Picture
Picture
0 Comments

2nd grade line study

10/8/2015

0 Comments

 
Picture
Picture
Picture
Next students cut their paper into six same sized squares and rearranged them to create a totally new composition.  They had fun trying different arrangements to see what their art would look like.  On different colors of background paper students glued their artwork down.  
These turned out pretty awesome but honestly, if I do this again next year I might just have them do the drawing and not cut them up.   Before being cut up, these drawings would make wonderful cards or gift wrap! 
Picture
Picture
Picture
Inspired by this image that I found on pinterest (with a faulty link), 2nd grade artists created these fun, colorful drawings.  The focus of this project is line.  To create these, student must draw four lines that bend and curve and zig zag from one side of the page and connect to the other.  Then from the top to bottom of page, students did the same but with six lines.  These lines create a sort of puzzle of organic shapes.  Using  a Sharpie, 2nd graders each picked at least three of these shapes to fill with black stripes.  Most students chose more though.  This created an interesting pattern to start with.  Next students used all of the colors of the rainbow to color in the rest of the sheet of paper.  Other than the striped areas, they were to leave no white paper showing through.
0 Comments

2nd grade Georgia O'Keefe flowers

5/26/2015

0 Comments

 
Picture
To create these beautiful Georgia O'keeffe-inspired drawings, students began by observing (artificial) flowers and doing large pencil drawings on 12" x 18" paper so that the image filled the whole page.  Before beginning, we looked at images of O'keeffe's amazing artwork and reflected on her quote "I found I could say things with color and shapes that I couldn't say any other way - things I had no words for."

The next step was to use acrylic paint to paint the background space of the work.  This was inspired by O'keefe's style of painting her backgrounds very simply and often just one color.  

​Students used oil pastels to color the flowers and outlined with black.  
This project took just two class periods and was very successful.  A great end-of-year project!
Picture
Picture
Picture
Picture
Picture
Picture
0 Comments

2nd grade self-portraits

5/14/2015

0 Comments

 
Picture
Picture
Picture
Picture
Picture
Picture
Picture
Picture
Picture
Picture
Picture
Picture
Picture
Picture
Picture
Picture
Picture
0 Comments

2nd grade cd weavings

3/3/2015

0 Comments

 
Picture
Picture
0 Comments

2nd grade Tree of life

1/13/2015

0 Comments

 
Picture
Picture
Picture
Picture
The tree of life symbolizes the connection between the heavens and the earth.  I discussed what this means with students and told them that heaven for them doesn't have to mean the religious heaven but can also mean the universe or whatever it is that they believe in.  Students seemed to love this idea and one sweet girl said that she believes in dragons and magic so for her the tree of life represents the connections between her life here on earth and the magical, fantastical world of dragons and elves.  I love it!

We also talked about different trees in our lives which have been important.  Students had stories about the trees they climbed at their grandparents, trees that they lay under and read, etc.  It was agreed upon that trees are very special.

We began this project by practicing drawing the tree of life and spirals with paper and pencil.
Next they selected a background color (black, purple, blue, green, or grey) and used gold acrylic paint to make our trees.  The tree trunk had to go to the top of the paper and the spiral branches had to go in all directions and off the page in at least one area.

Next students used Sharpies to add details such as those seen in the original Klimt painting.  Circles, squares, triangles and other shapes create a whimsical environment.

The next class period we spent using pencils, cardboard, old glue stick tops, etc to do printmaking designs on the tree.  This added an extra layer of depth to the image and they had a lot of fun experimenting.

The results are quite stunning.  After finishing their work, students wrote, responding to the prompt "What does the tree of life mean to you?"  That was definitely the icing on the cake.


Picture
Oh Gustav Klimt, my artist heartthrob, how I love thee.... 
 I get so excited about the artwork of Gustav Klimt.  He is my absolute favorite artist and I just can't get enough of the ornate, decorative elements he incorporates into all of his work and the sparkling golden hues....It's like a teenage crush.

REALLY THOUGH.  The Tree of Life by Gustav Klimt, jaw dropping, awe-inspiring beauty.  For this reason and because of the symbology of The Tree of Life,  I felt that this was a very strong lesson for second grade students.  They were very engaged with the project.  I don't think they fell in love with Gustav Klimt quite like their Klimt-obsessed art teacher with Klimt tattoos on her forearms...

Picture
Picture
Picture
Picture
Picture
Picture
Picture
Picture
0 Comments

2nd Grade "Wild" Collages

12/8/2014

0 Comments

 
Picture
I have never seen the 2nd graders have as much fun in art class as they did while working on this project.

A simple, fun project.
After showing students art by my favorite collage artist Sammy Slabbinck, they looked through magazines cutting out anything that reminded them of the word "wild."
After collecting many images, they created a background using magazines and patterned papers.
Using their cut images, they created wild compositions.  Many really got a laugh out of putting animal heads on different creatures bodies.
A super fun project.  Took three 45 minute class periods.
Picture
Picture
Picture
Picture
Picture
0 Comments

2nd grade collaborative kandinsky paintings

11/1/2014

0 Comments

 
Picture
I was exploring the wonderful world of Pinterest a while ago and came across this awesome blog post smART class: Hip Hop Kandinsky murals and was super excited about the project.  I took direct inspiration from this super fun project.  I decided to take it into my own hands and do a similar project with my 2nd graders.

 After looking at and discussing the artwork by Kandinsky, 2nd grade students were paired up or put into groups of three to create a painting together.  The students had to really focus on collaboration and working as a team.  Each time we began with a new color, they had to talk to each other about a few places to paint with that color.  We also talked about being accepting of the others' choices with painting even if it might not be the same as theirs.  Every five minutes or so, I had them rotate the paper (poster board) so that they were constantly looking at it from different angles and painting along their partners painting.
The students said they had never did art with another person before and loved it.
Picture
Picture
Picture
Picture
Picture
Picture
The students started on white paper and began painting with black lines. We talked about what abstract means and to draw lines, shapes, and designs rather than things like cats, houses, and trees.
After using the black, students in one class added red, yellow, and blue. The other class used red, yellow and purple.  This was mostly so that the two classes artwork was slightly different.
Picture
Picture
Picture
Picture
Picture
Picture
Picture
We spent three 45 minute class periods working on these.  Once finished, I put them all together and the students discussed what they found interesting and fun about this project.  

"It's neat how we all had to follow the same directions, but they all turned out really different."

"When they are all next to each other, they look like one big giant painting instead of a bunch of small paintings."
Picture
Picture
0 Comments
<<Previous

    Author

    Annie Monaghan.
    Art lover.
    Art creator.
    Art teacher.

    RSS Feed

    Categories

    All
    1st Grade
    2nd Grade
    3rd Grade
    4th Grade
    5th Grade
    Abstract
    Art History
    Art Videos
    Auction
    Batik
    Cardboard
    Chalk Pastel
    Clay
    Collaboration
    Collage
    Colored Pencil
    Color Wheel
    Contour Lines
    Drawing
    Highlights And Shadows
    Kindergarten
    Landscape
    Mural
    Names
    Notan
    Observational Drawing
    Oil Pastel
    Online Art
    Origami
    Paint
    Painting
    Papier Mâché
    Patterns
    Portraits
    Pre K
    Printmaking
    Relief Sculpture
    Remote Art
    Remote Learning
    Sculpture
    Self Portrait
    Self-portrait
    Sewing
    Shapes
    Sharpies
    Still-life
    Symmetry
    Texture
    Tissue Paper
    Warm And Cool Colors
    Watercolor
    Weaving

Powered by Create your own unique website with customizable templates.