Annie Monaghan's Art Room
  • Home
  • Elementary Art
  • Middle School Art
  • Camp projects
  • Lesson Plans
  • About Me
  • My Artwork
  • Art is everywhere!
  • Contact me
  • Professional

4th grade radial symmetry relief sculptures

11/25/2019

0 Comments

 
Picture
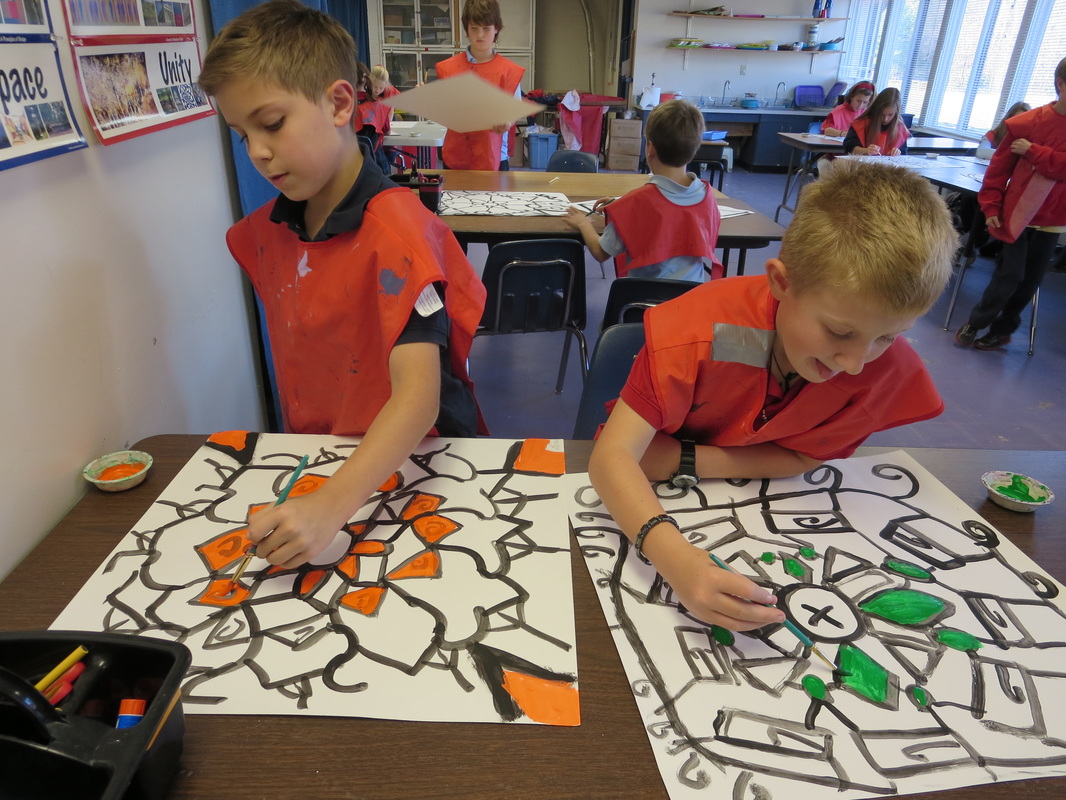
This is a very successful project and one of the few projects that I actually teach every single year.  The kids love doing it and they always turn out gorgeous.  Plus, it's a great math and art connection!

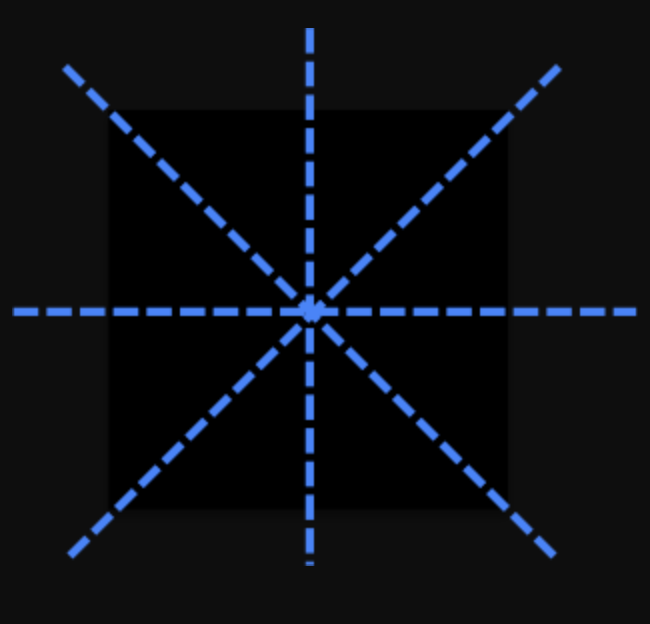
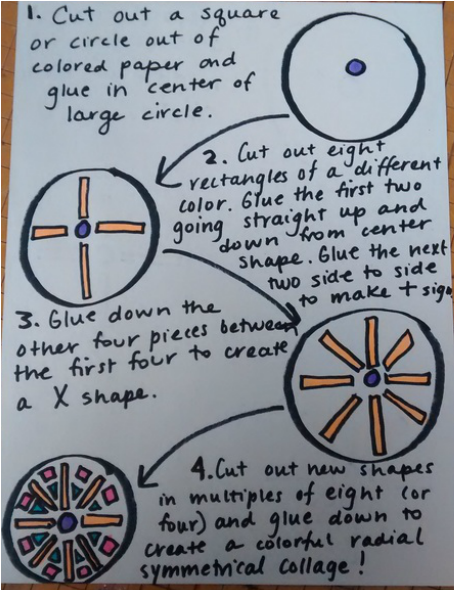
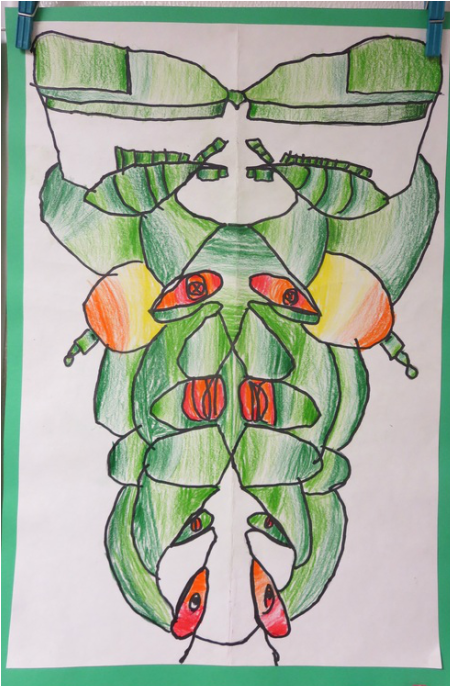
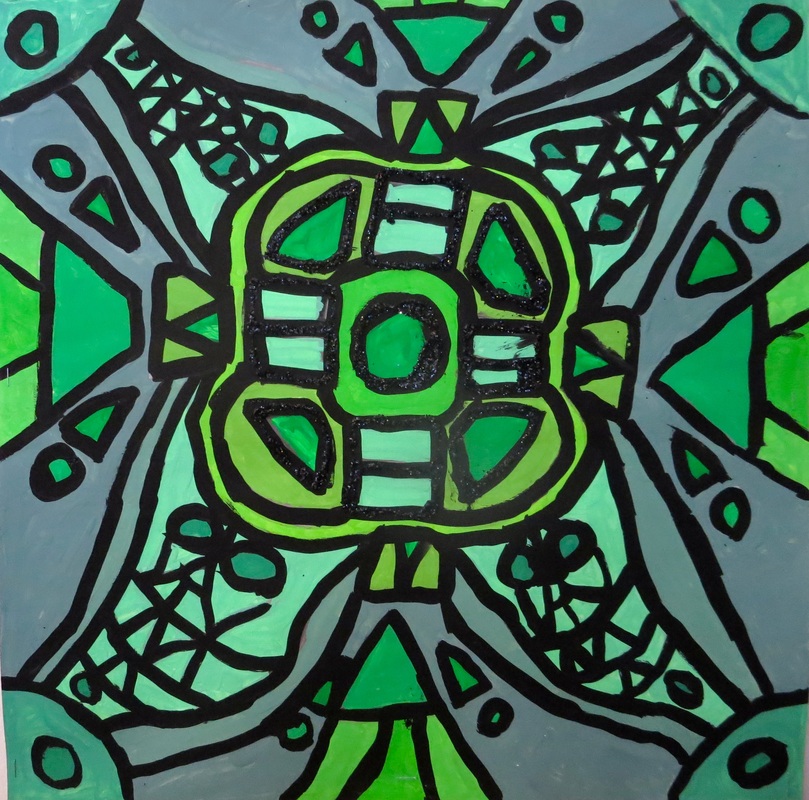
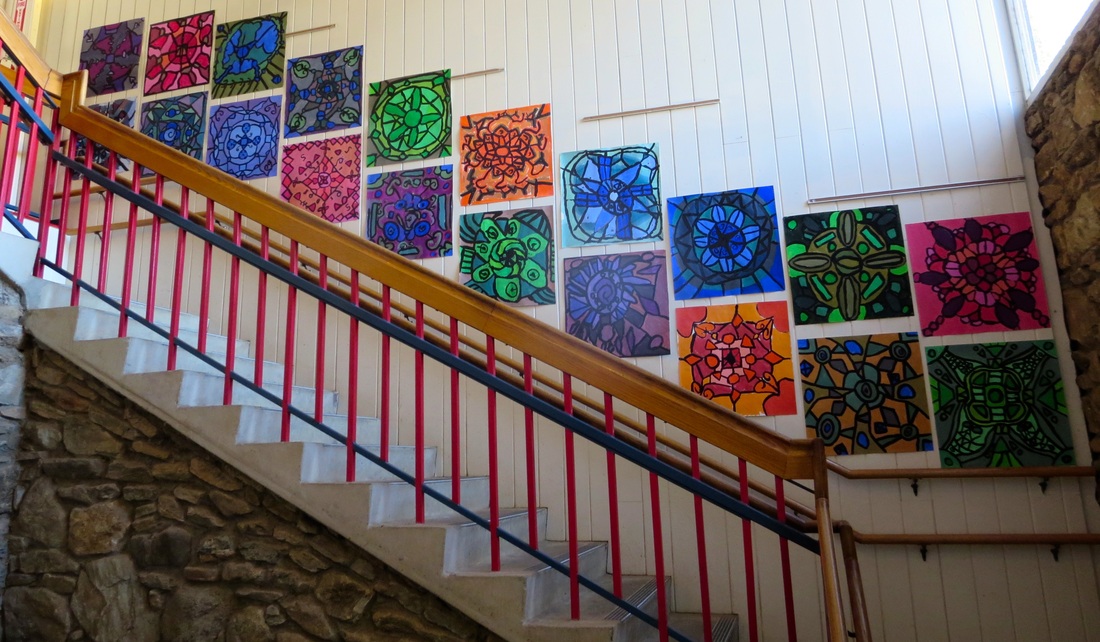
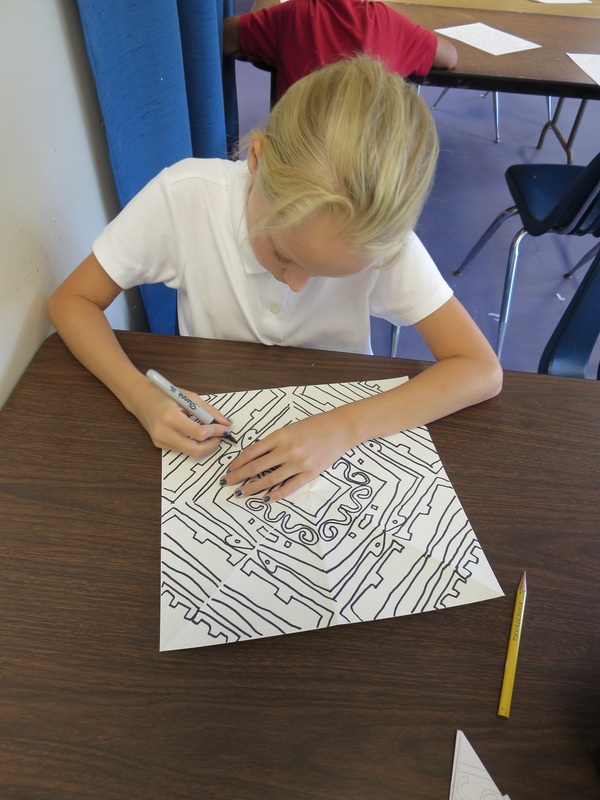
Before beginning, we do a little lesson on radial symmetry (symmetrical in many ways from the center).  I help them remember the name because it radiates out from the center.  Radiate-radial.  Knowing that, the students will create their paper designs in a repeating patter, radiating from the center.  We also learn about relief sculptures.  A relief sculpture is a type of sculpture that is flat on one side and generally hangs on the wall. 

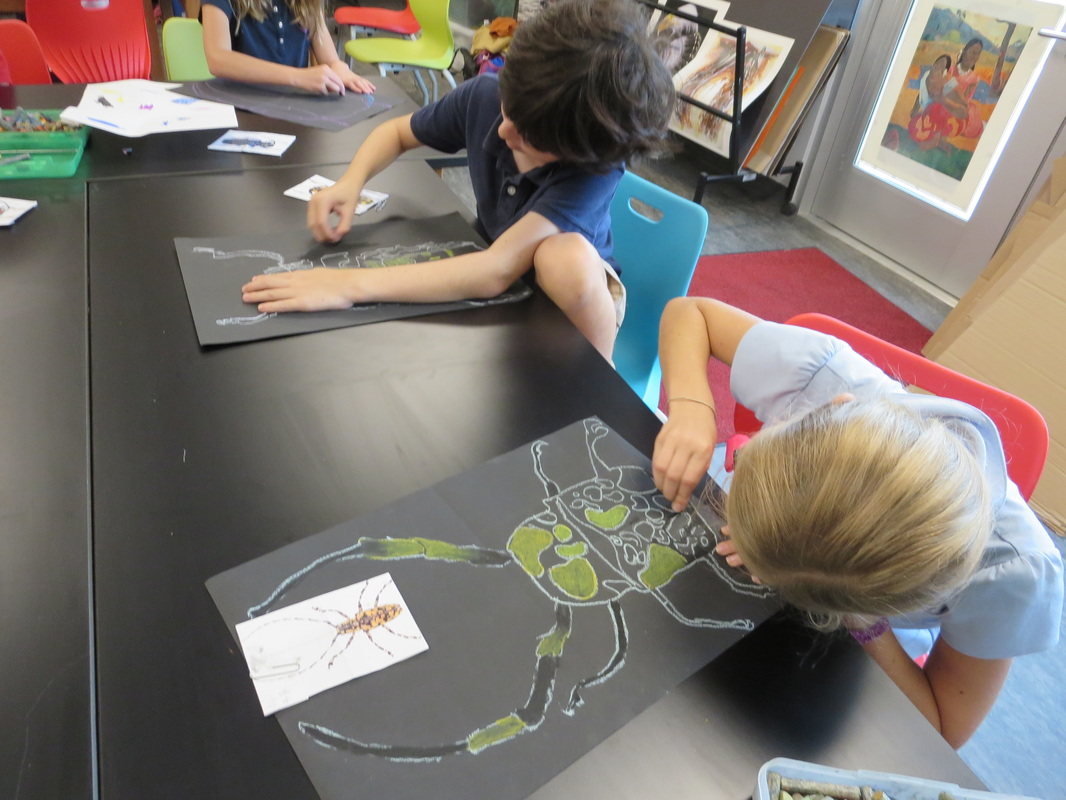
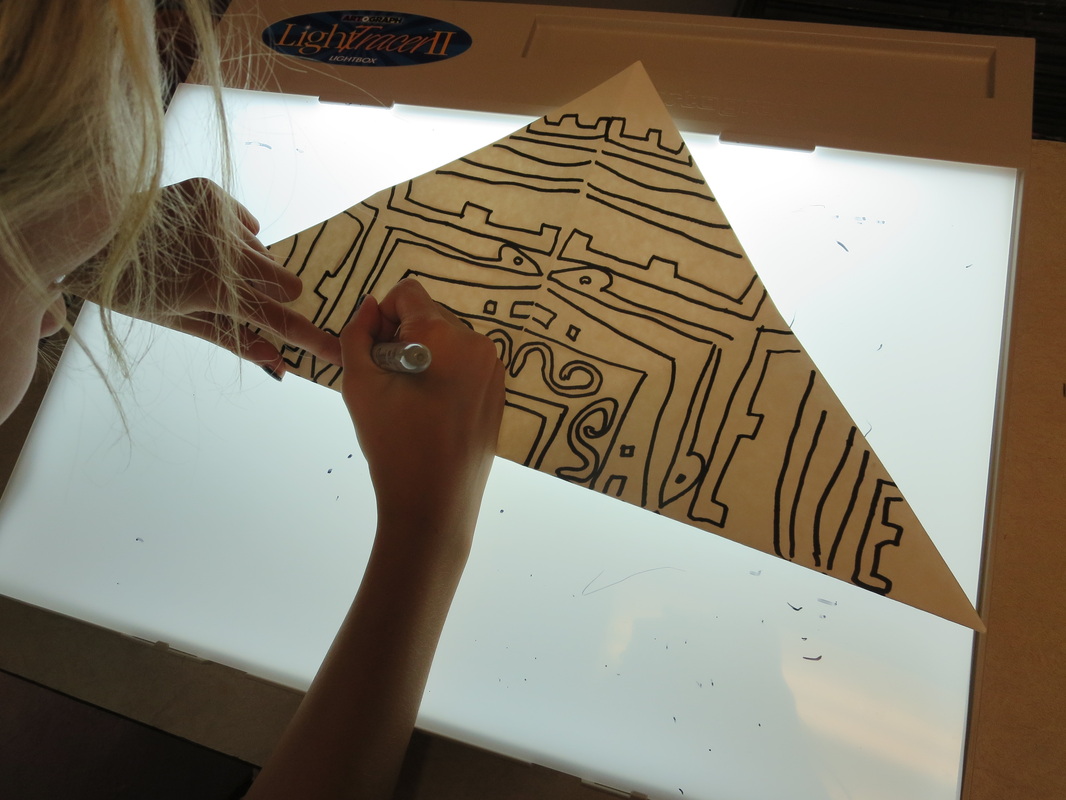
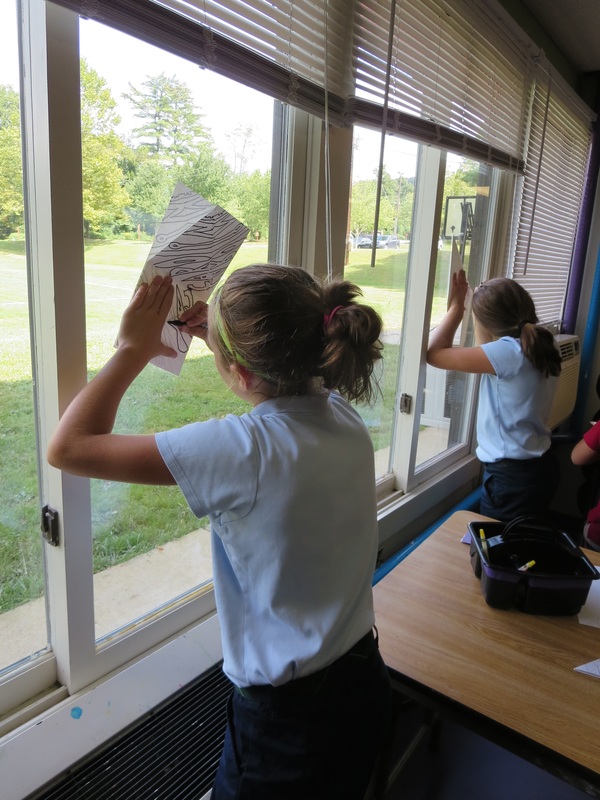
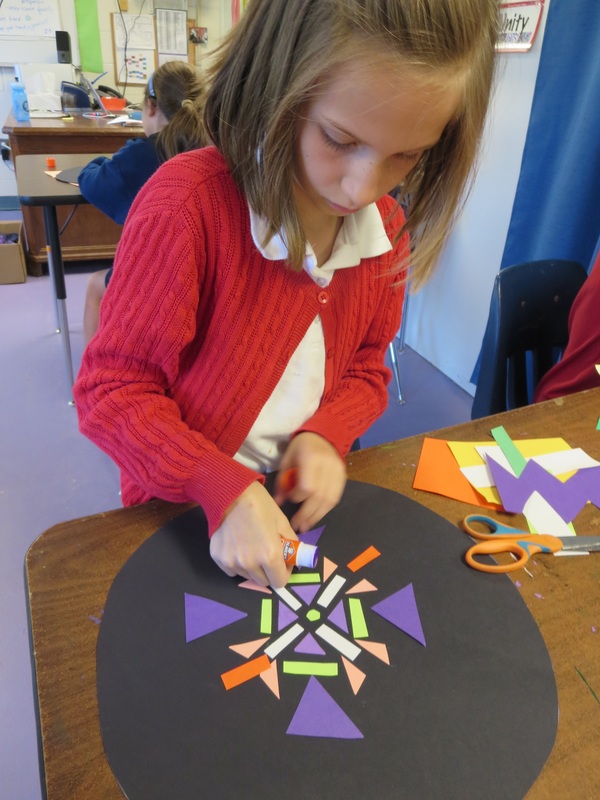
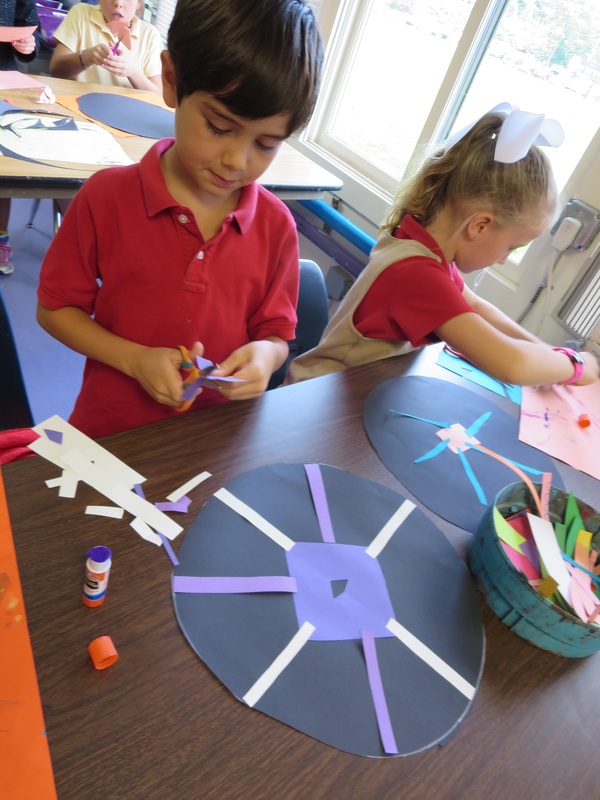
So to set themselves up for success, they begin with a 12" x 12" squad pieces of black paper and fold it as shown below.  Doing so creates creases where it was folded.  These become the guideline to help create a symmetrical piece of artwork. 
Picture
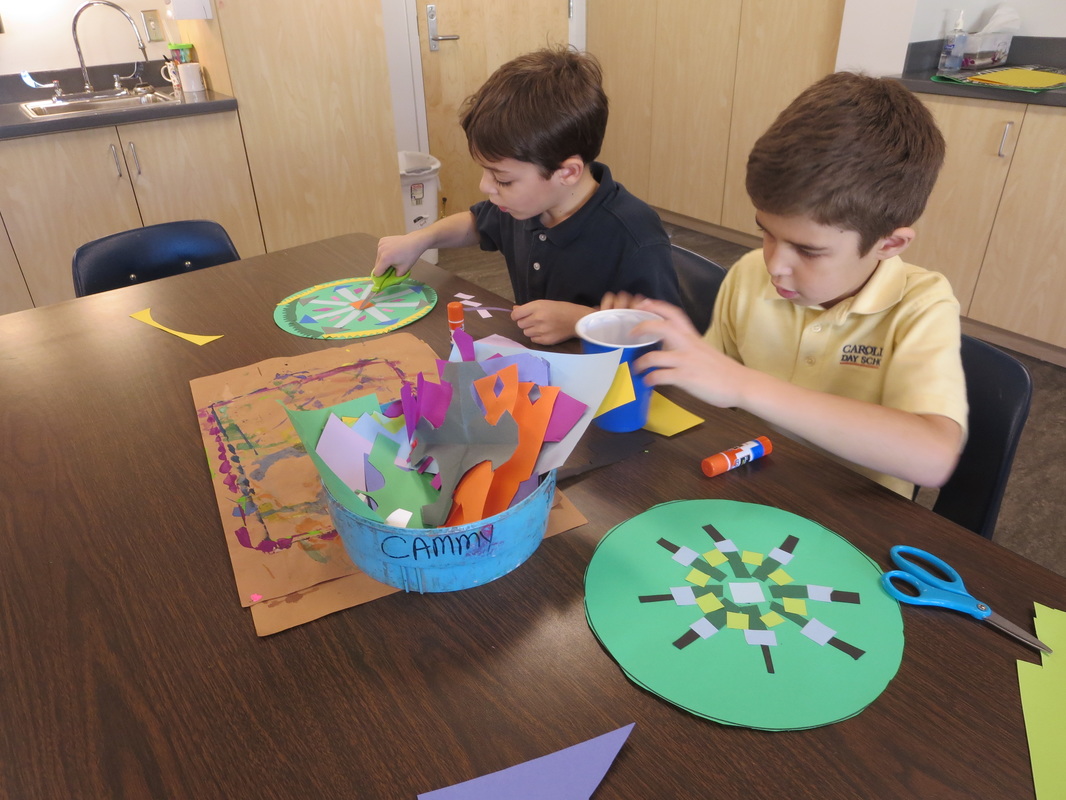
Now, before beginning the really fun part, I usually spend about 30 minutes or so prepping the small colored paper squares for the project.  I use a cutting board to cut a ton of 3" x 3" squares of all different colors.  This way they are prepped and ready to go and I don't have to think about it again.

To teach the students the folds, I actually like to show them the video I posted below.  This allows me to pause, rewind, restart as much as possible and it's awesome because it is a large image for the kiddos to see and learn from.
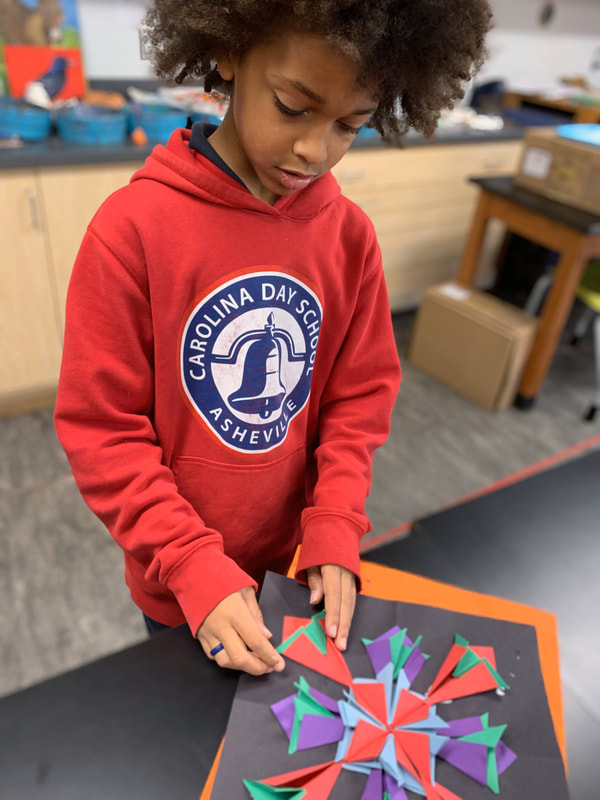
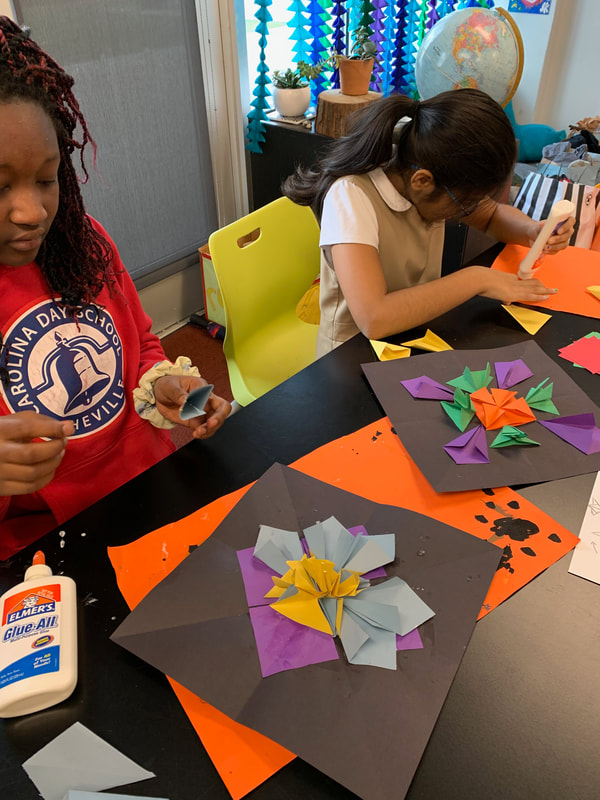
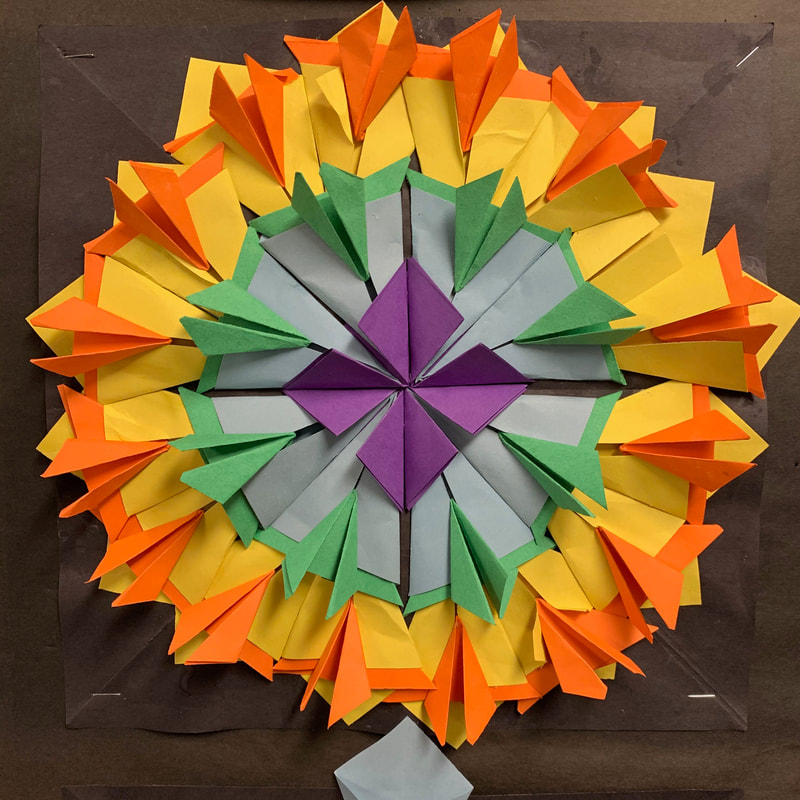
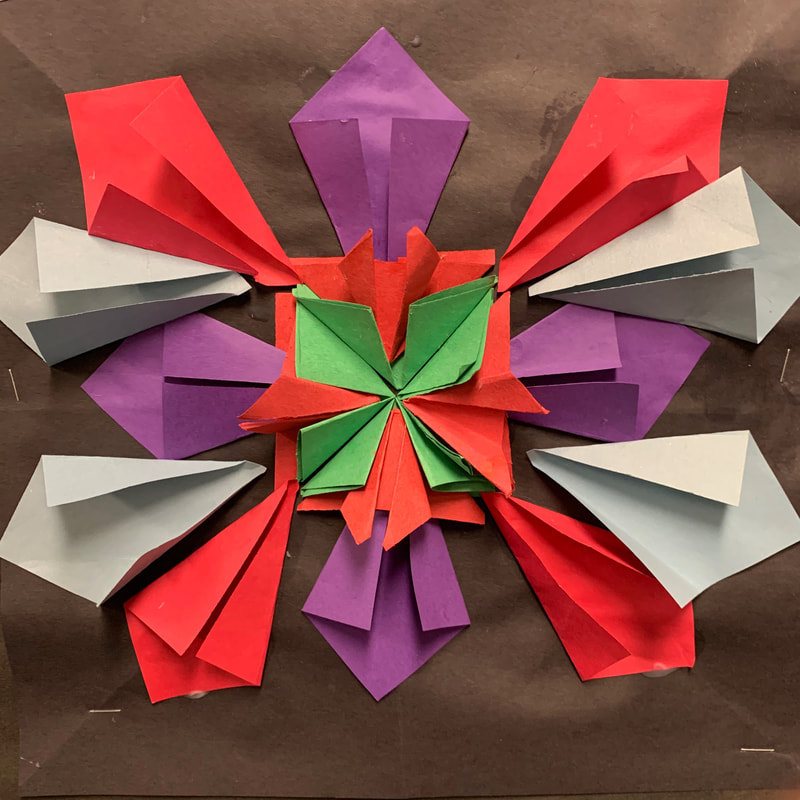
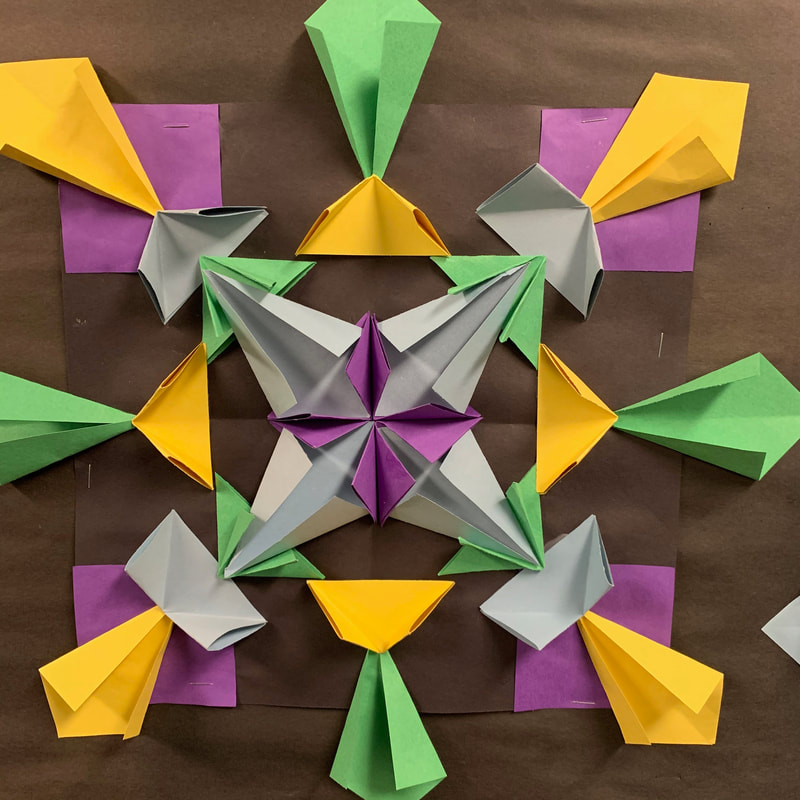
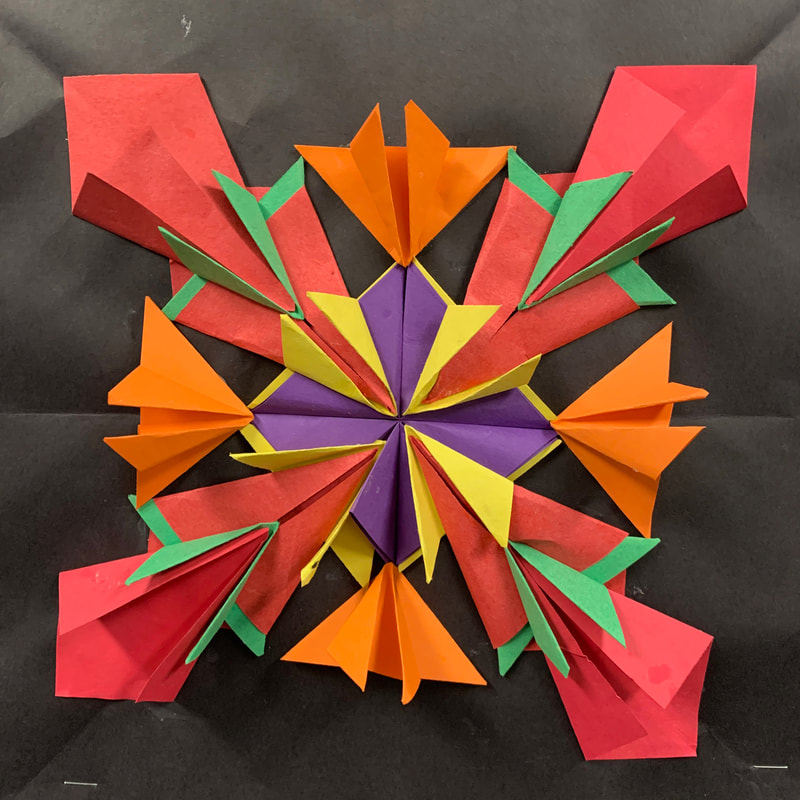
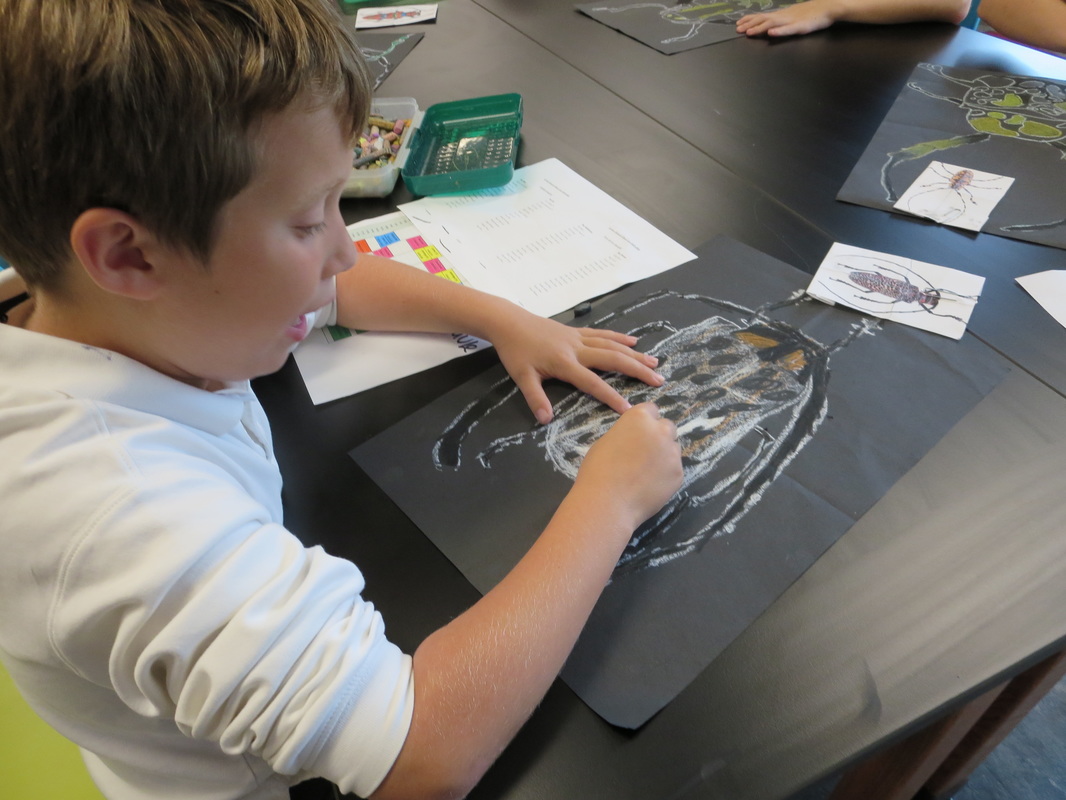
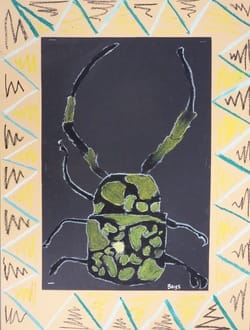
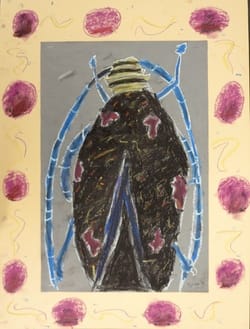
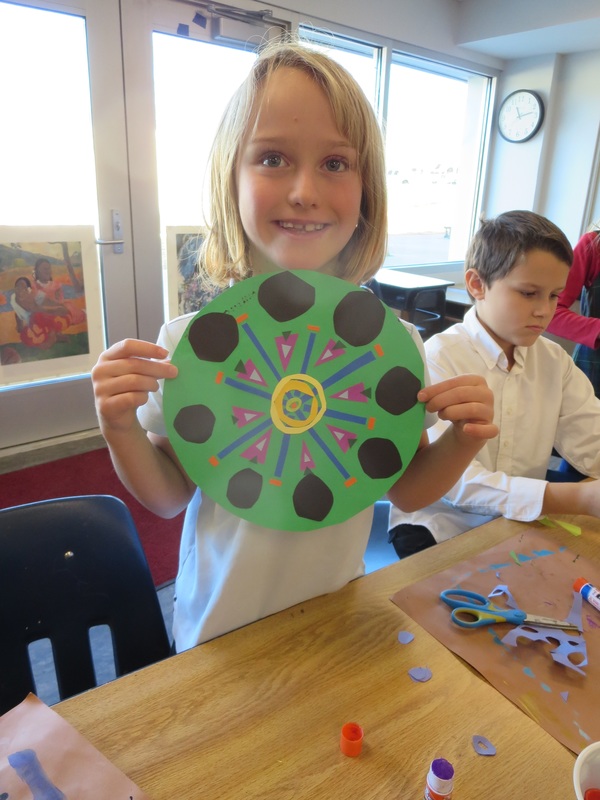
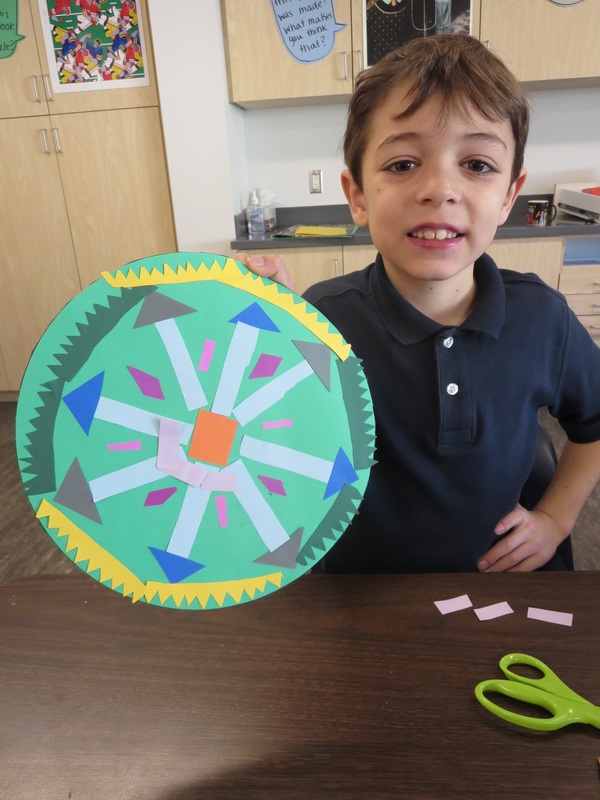
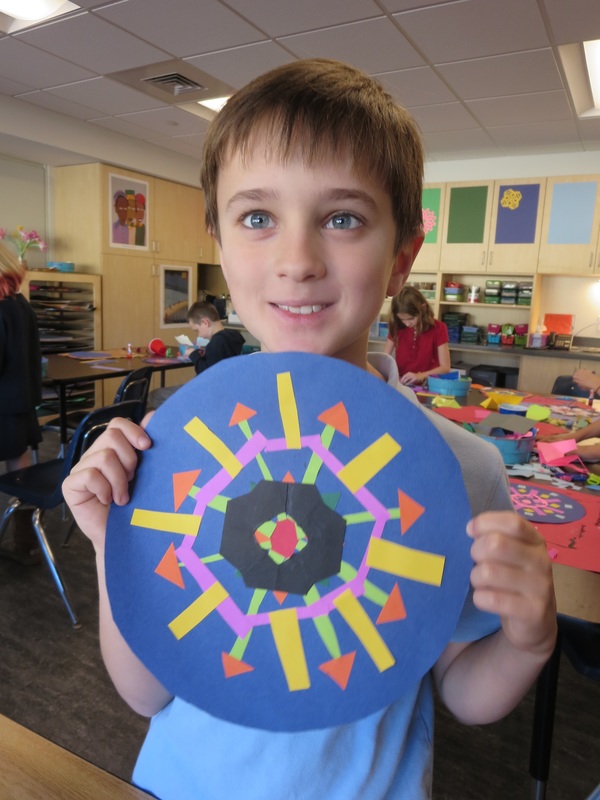
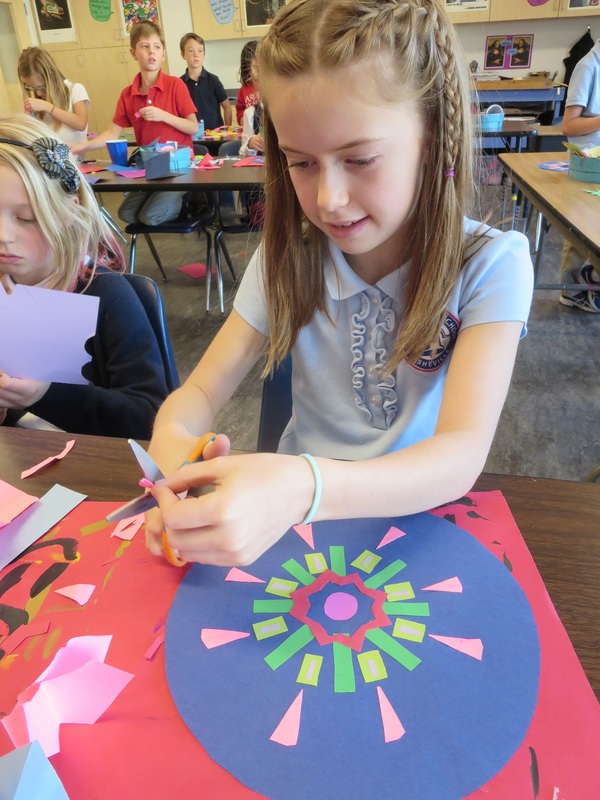
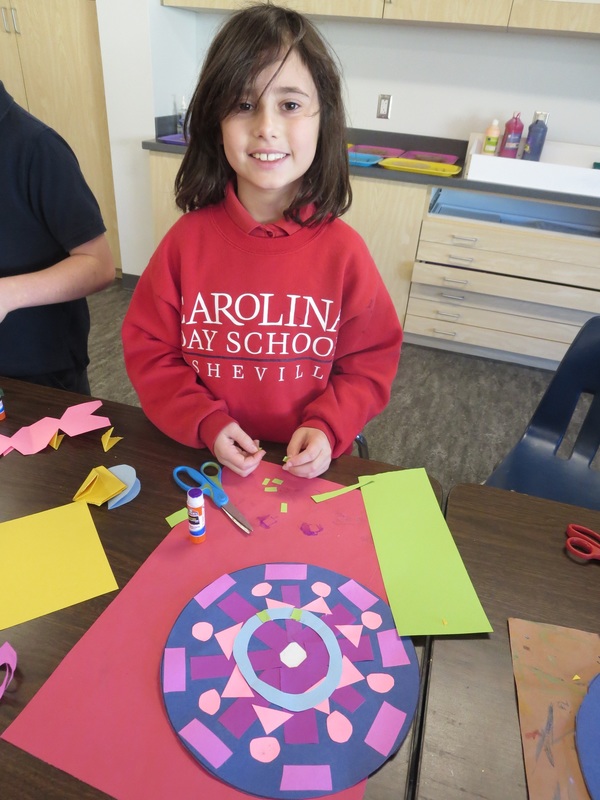
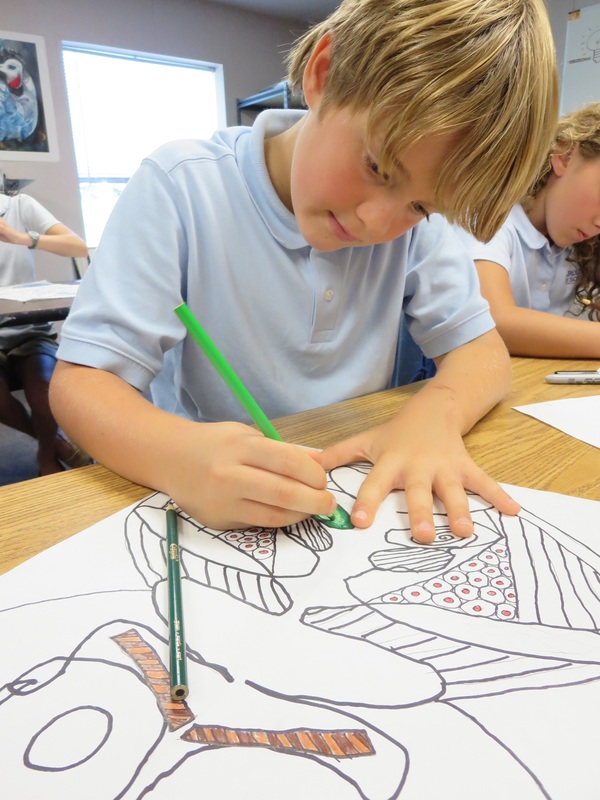
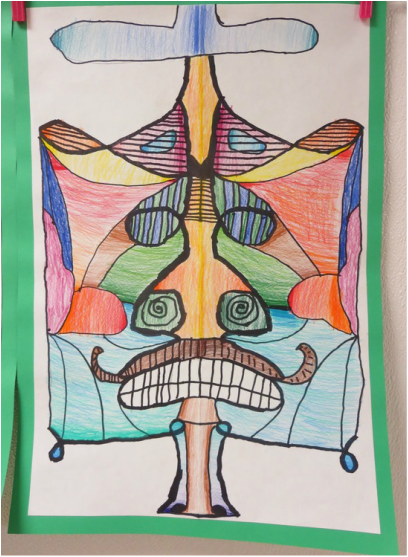
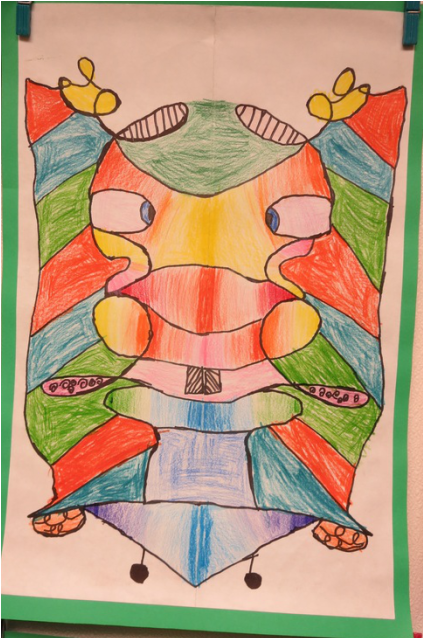
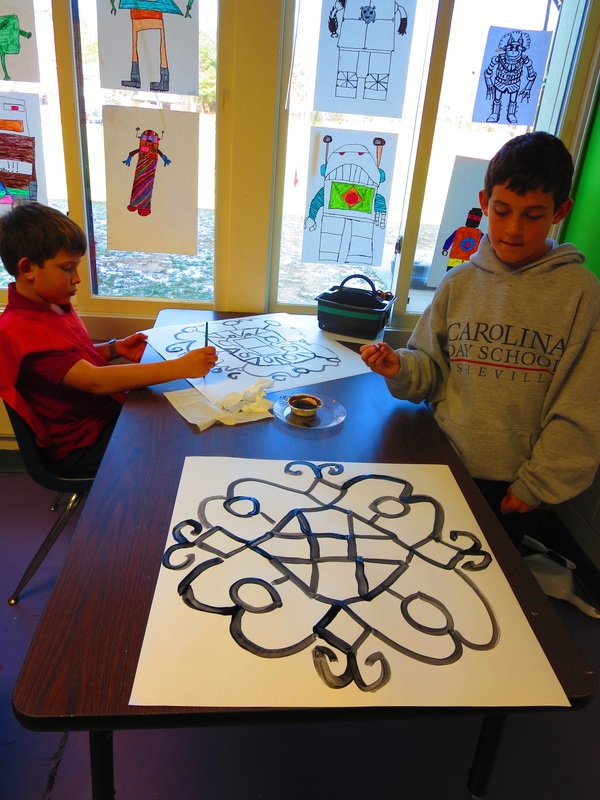
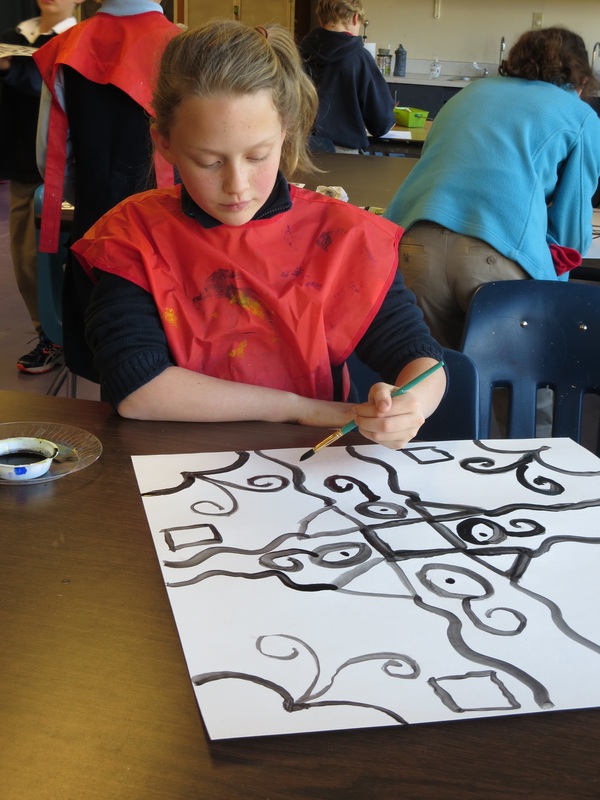
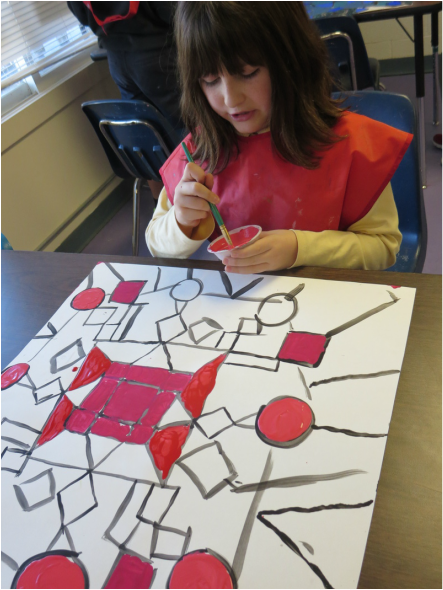
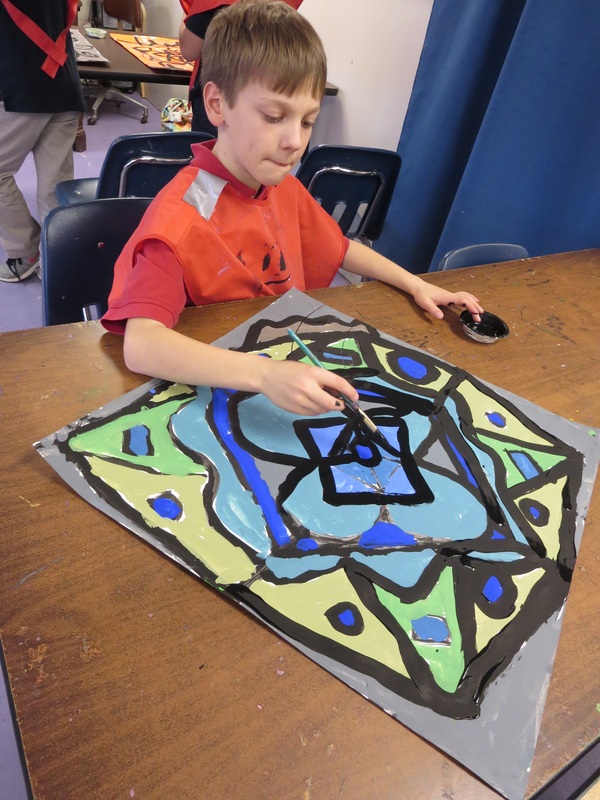
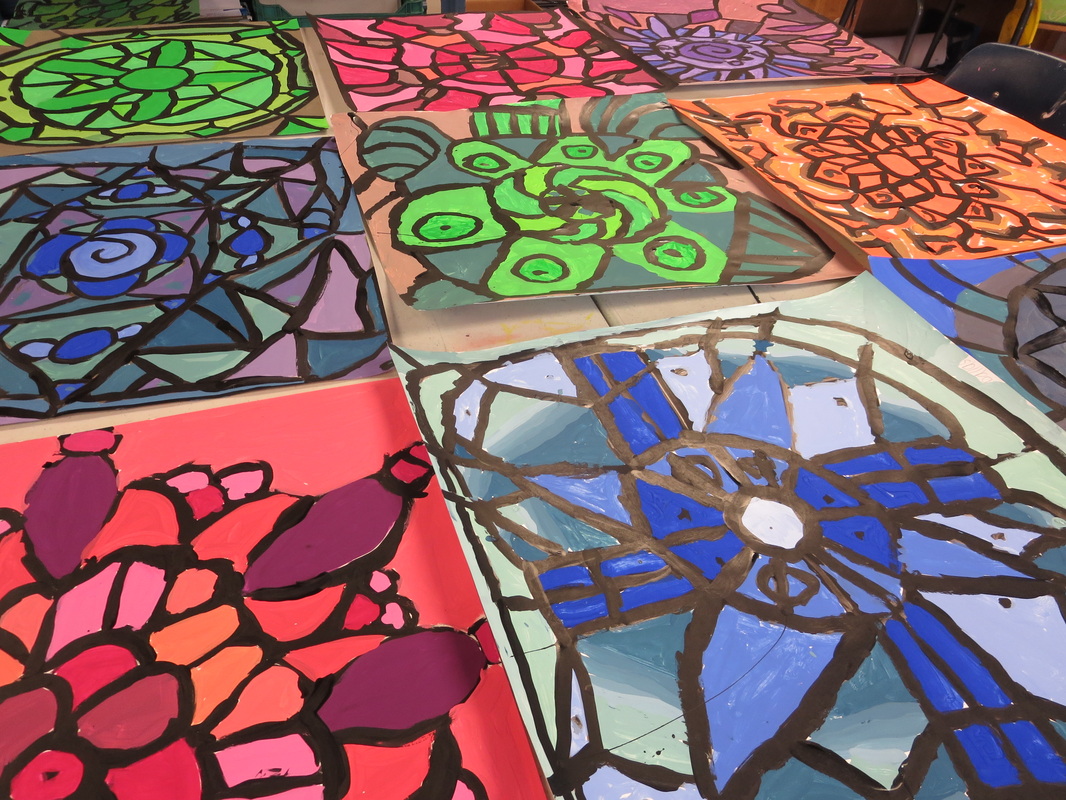
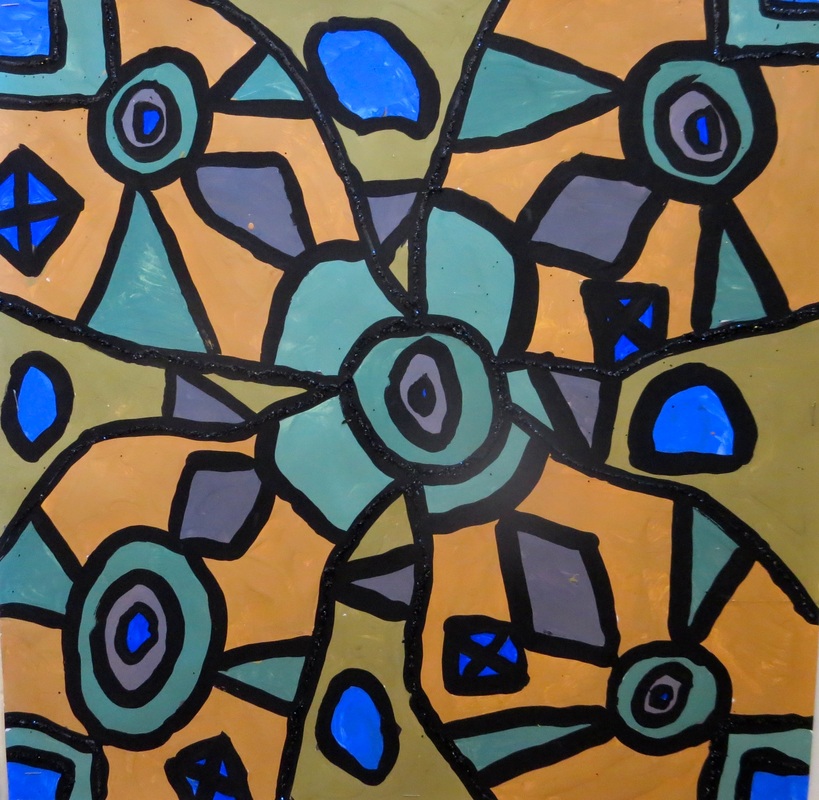
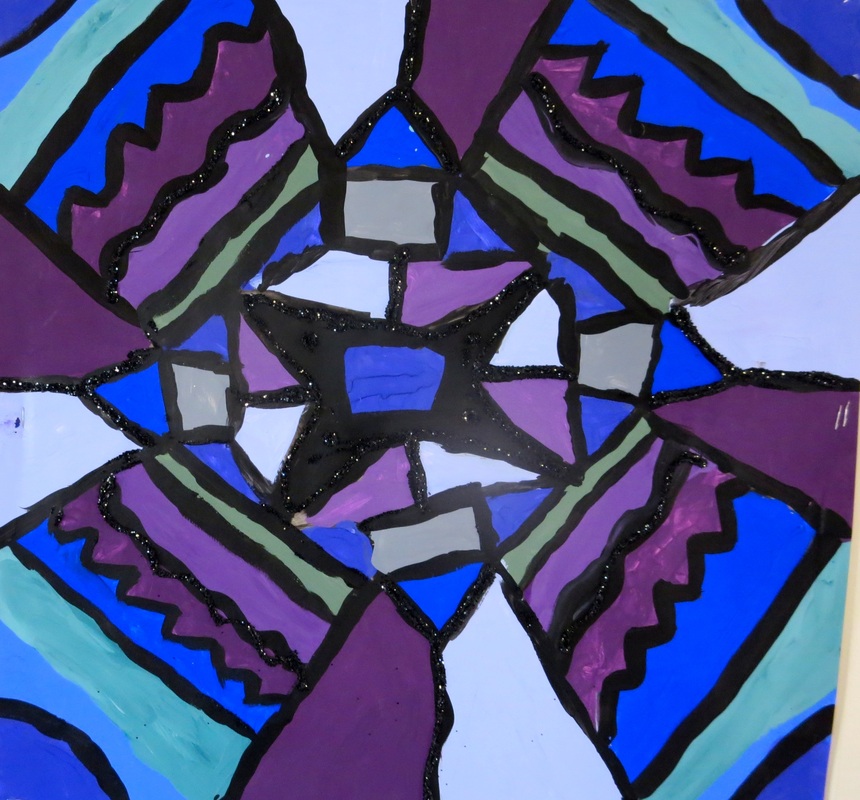
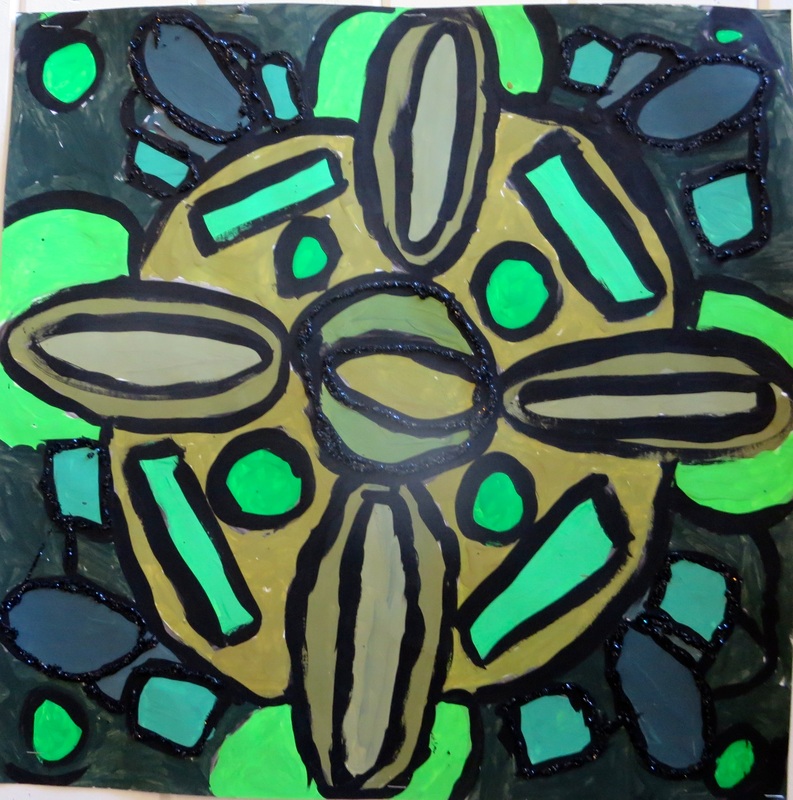
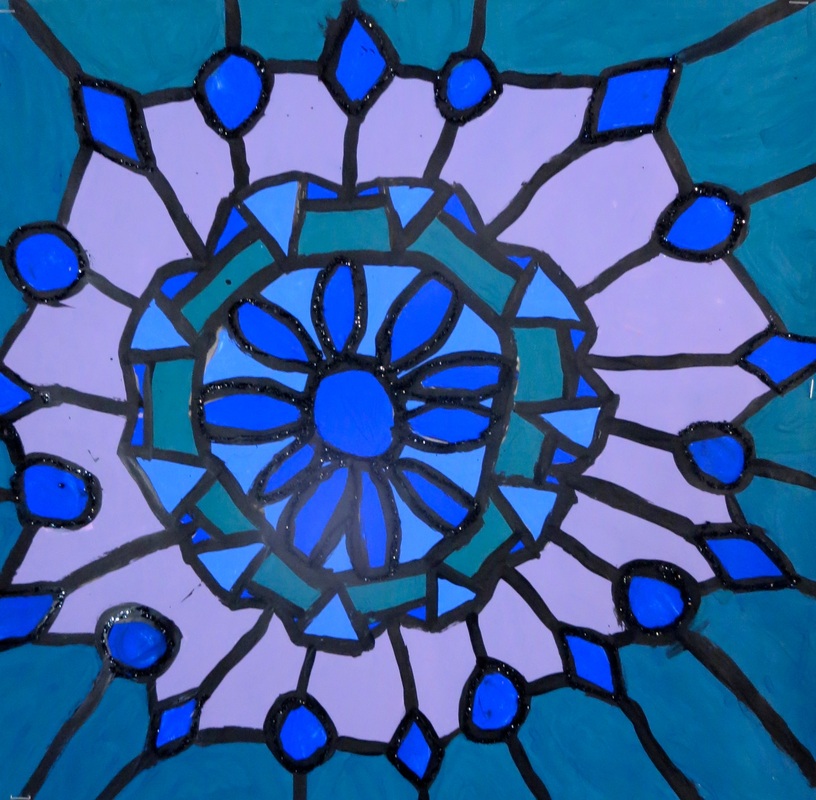
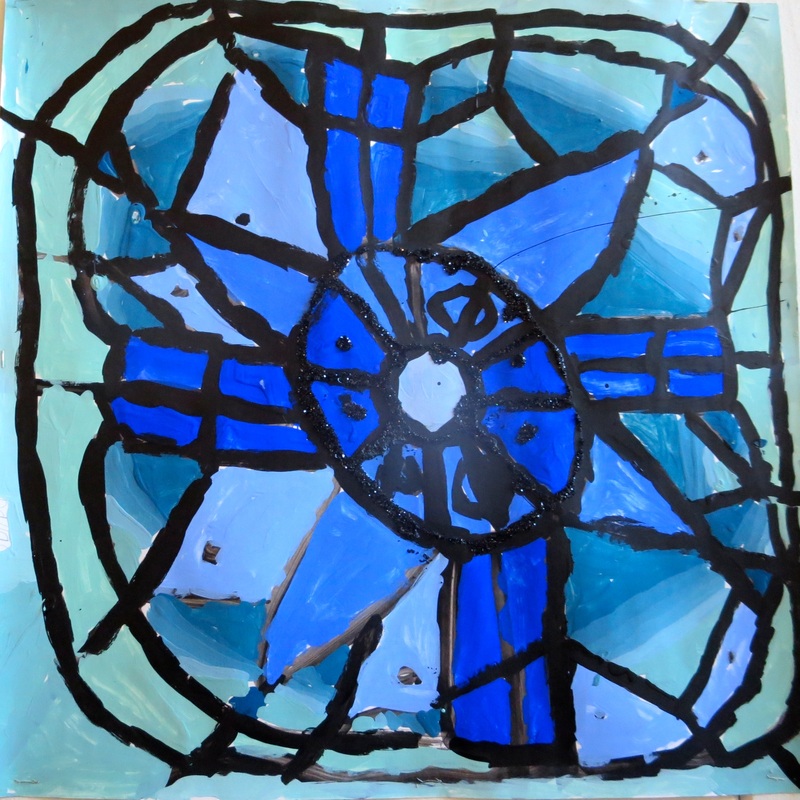
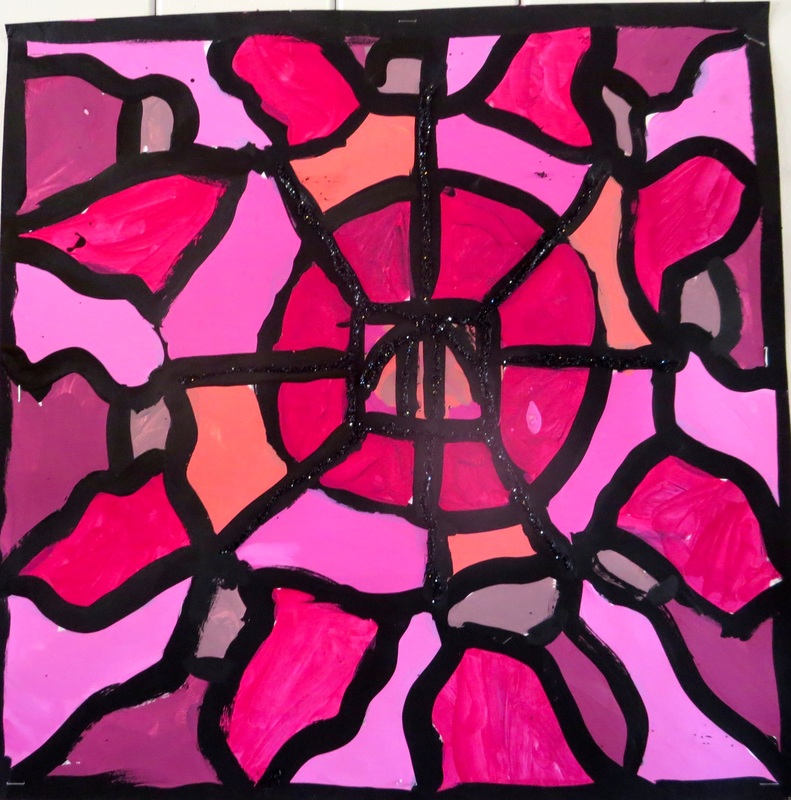
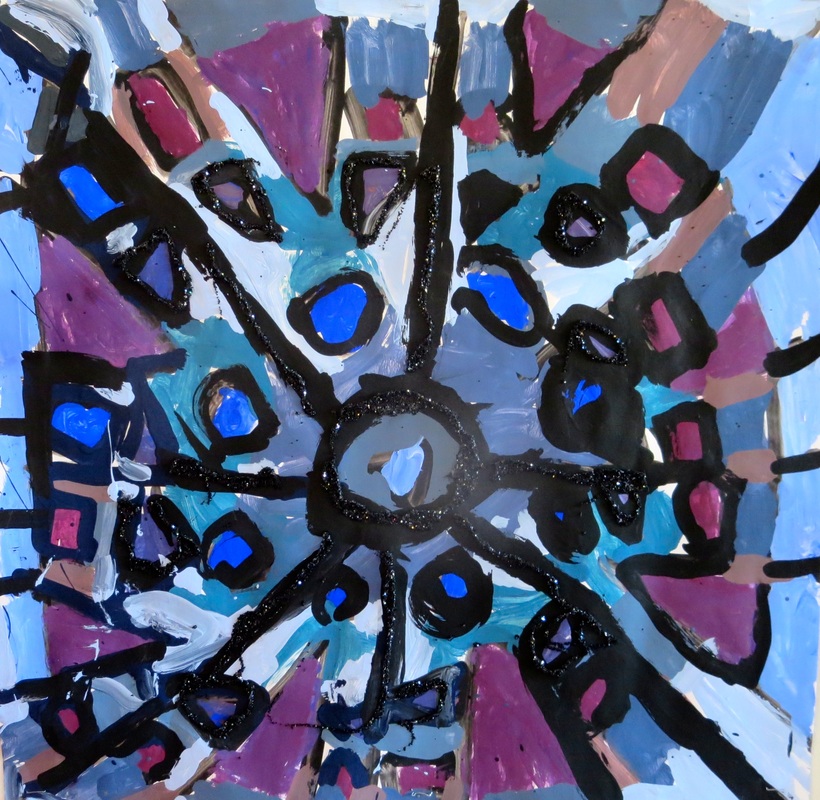
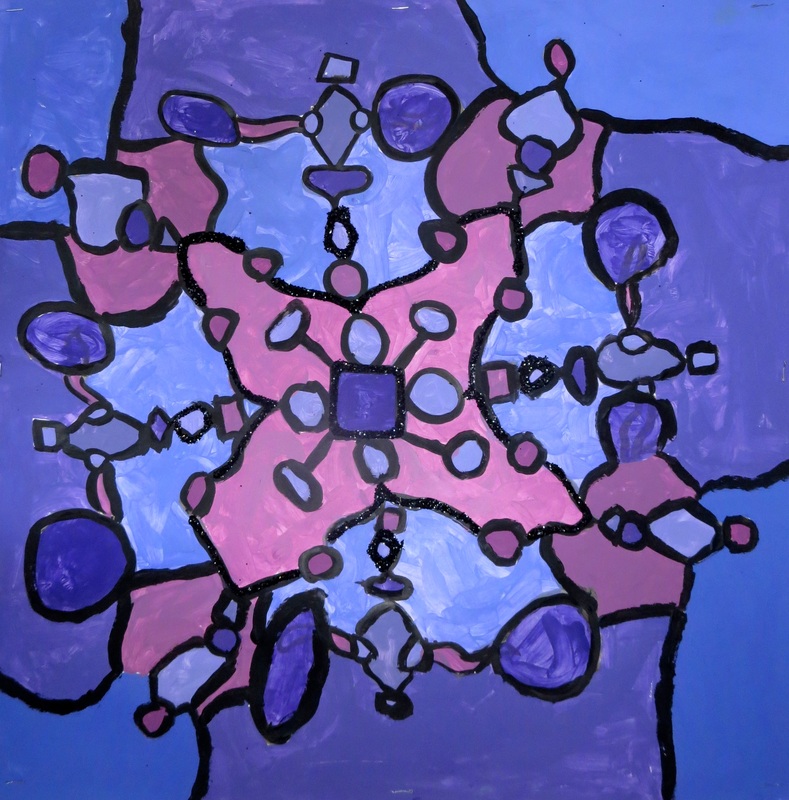
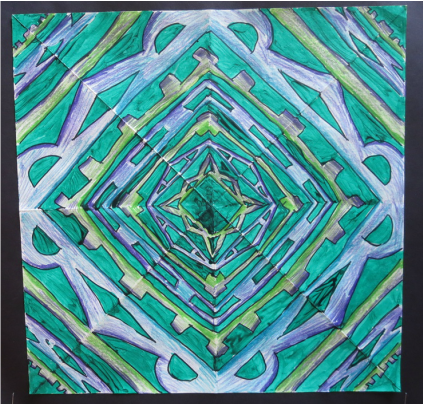
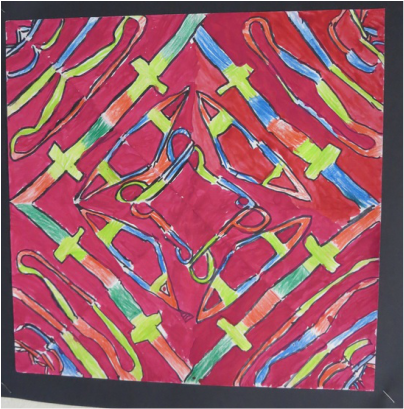
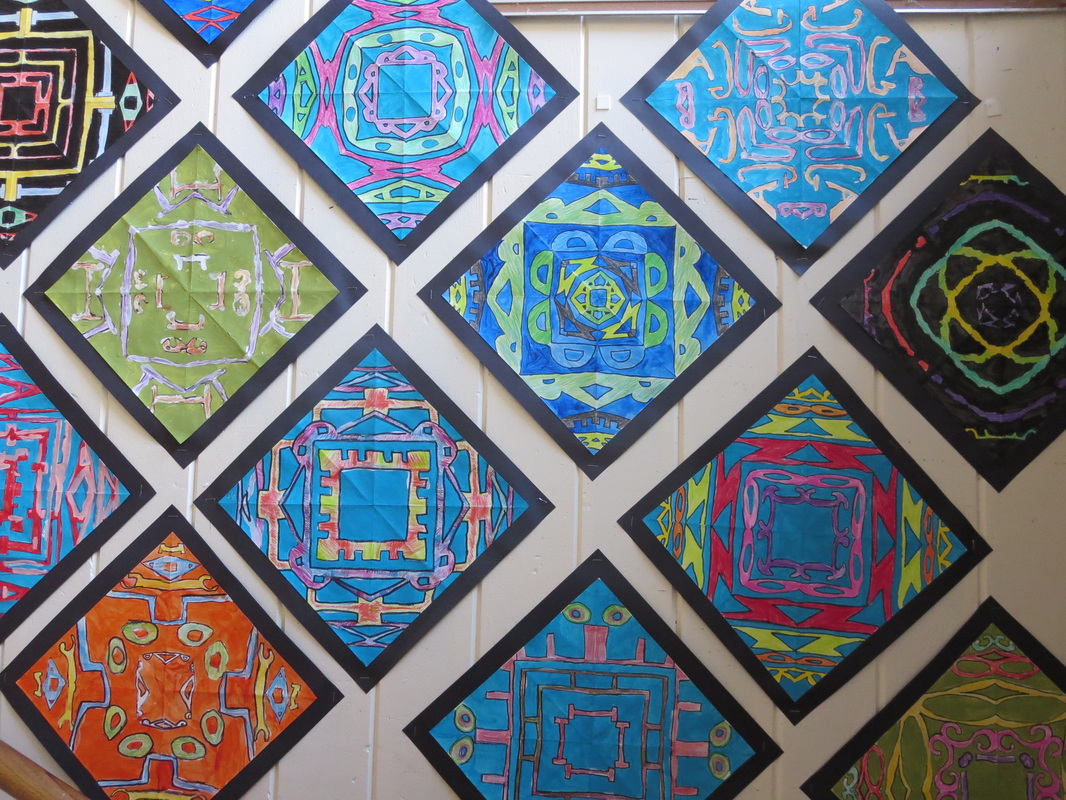
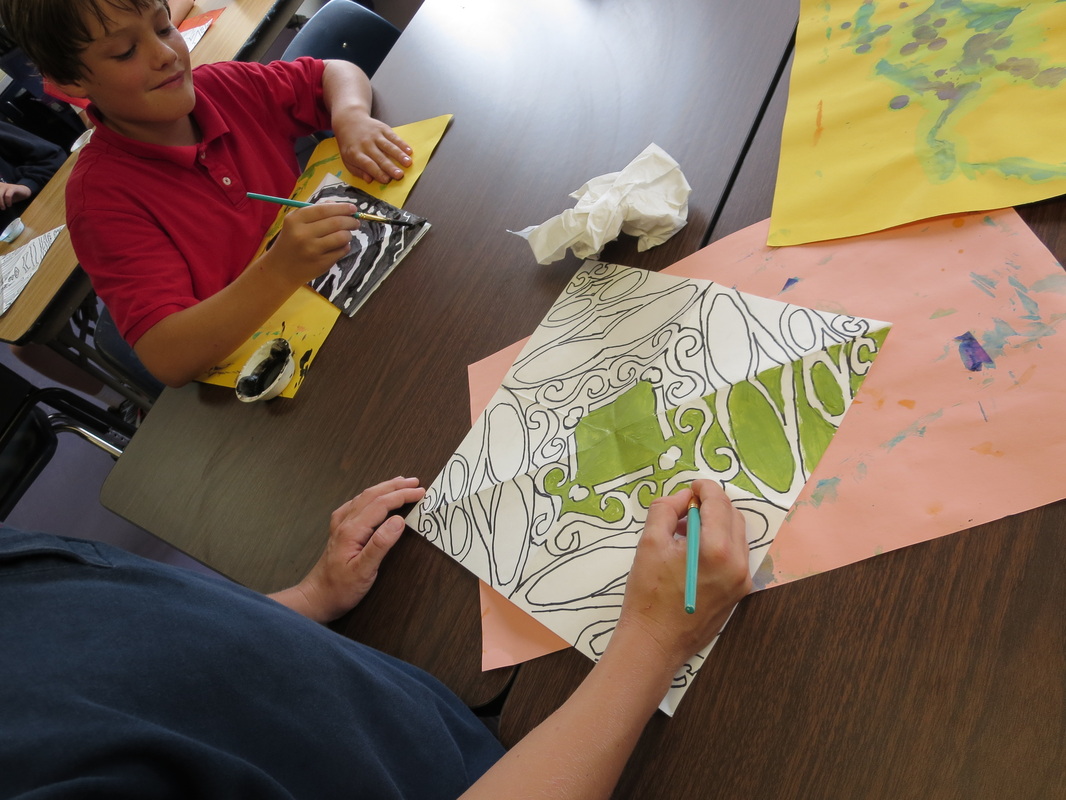
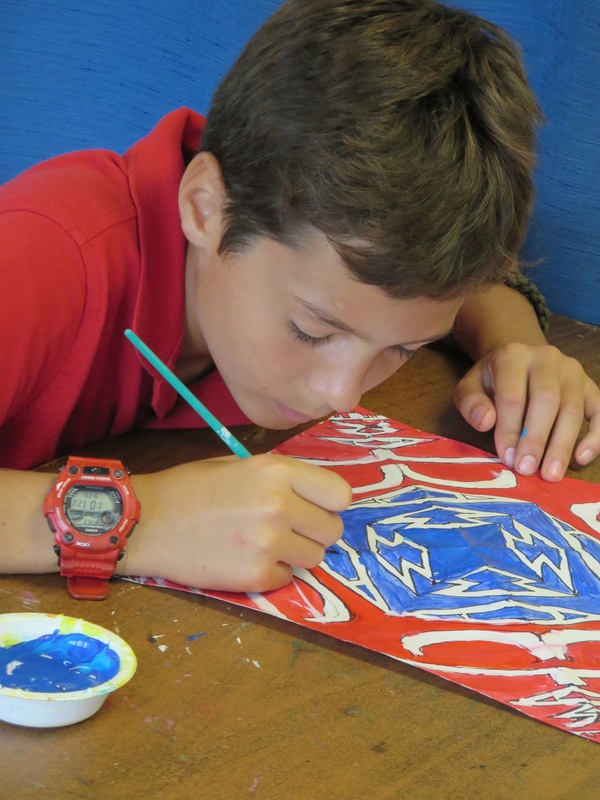
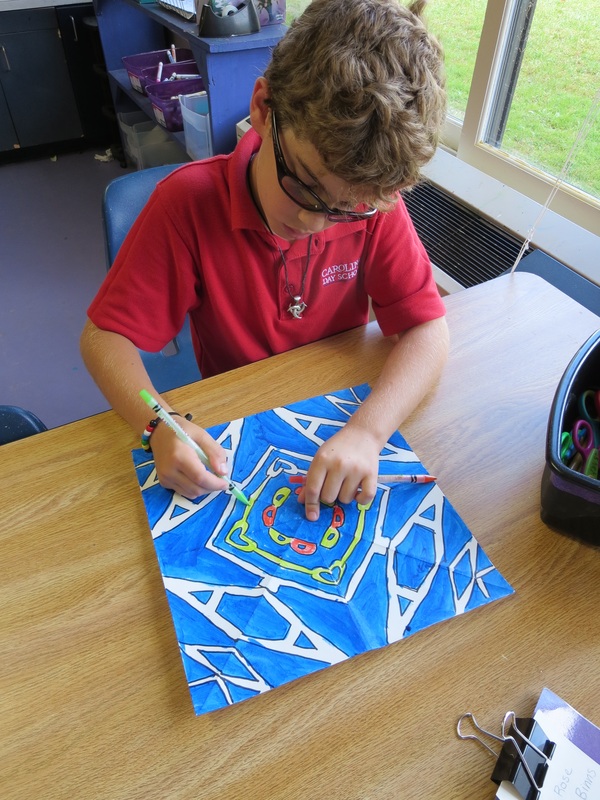
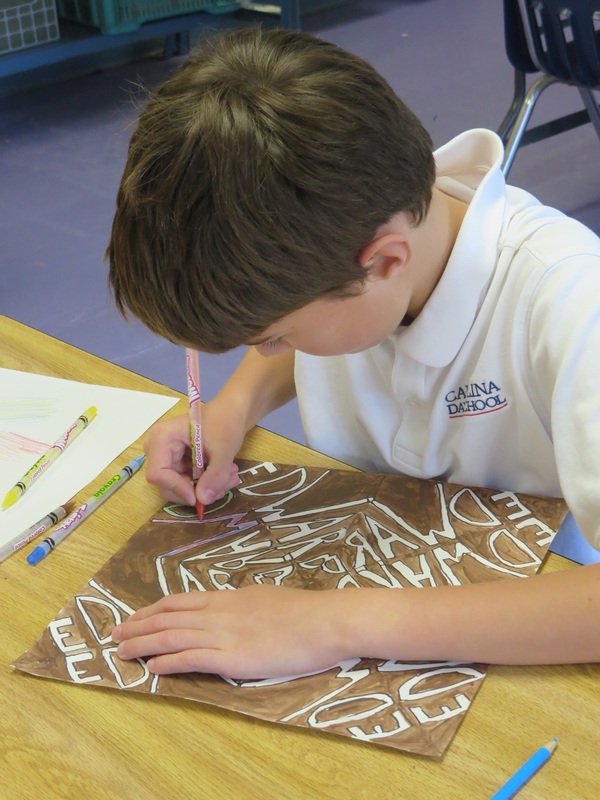
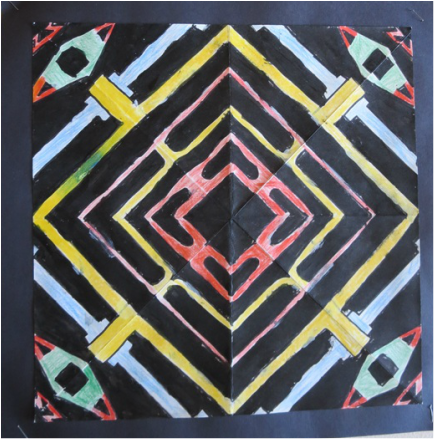
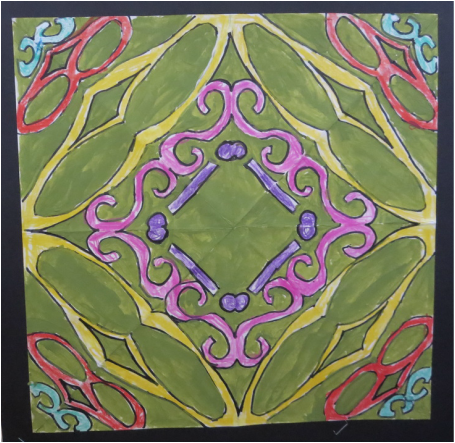
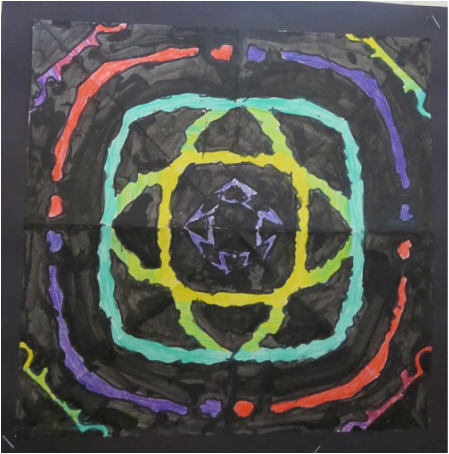
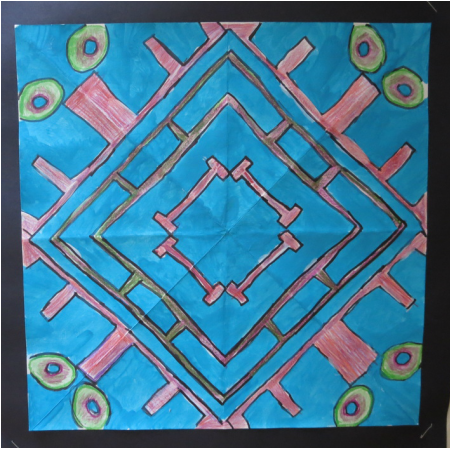
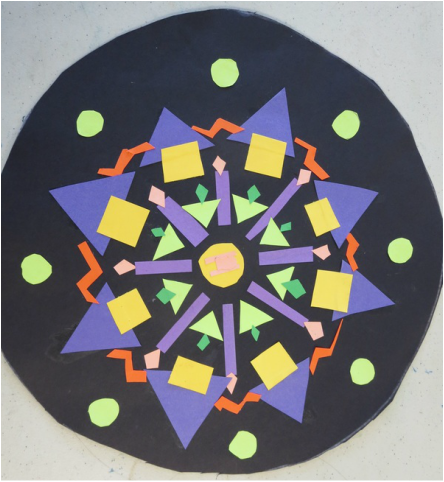
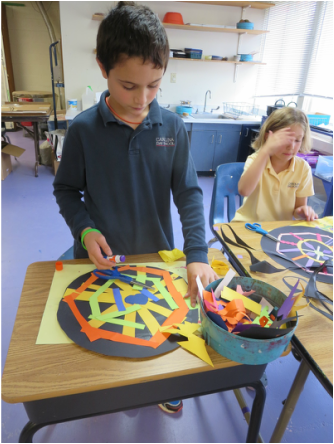
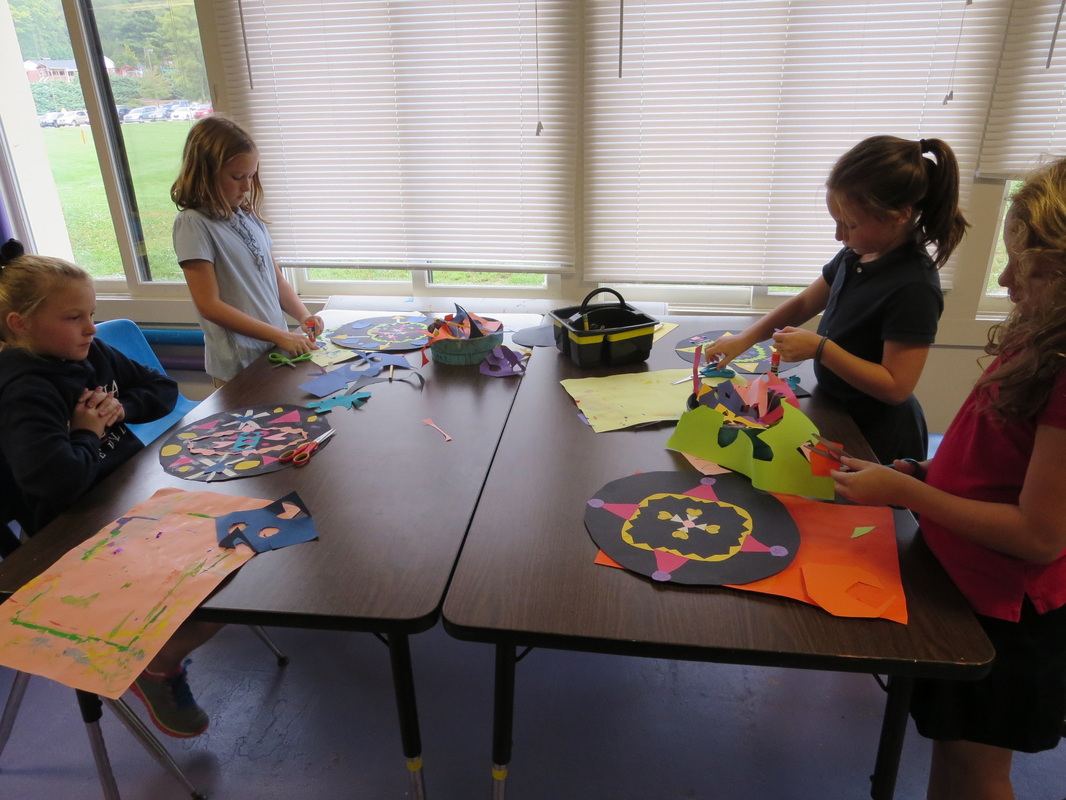
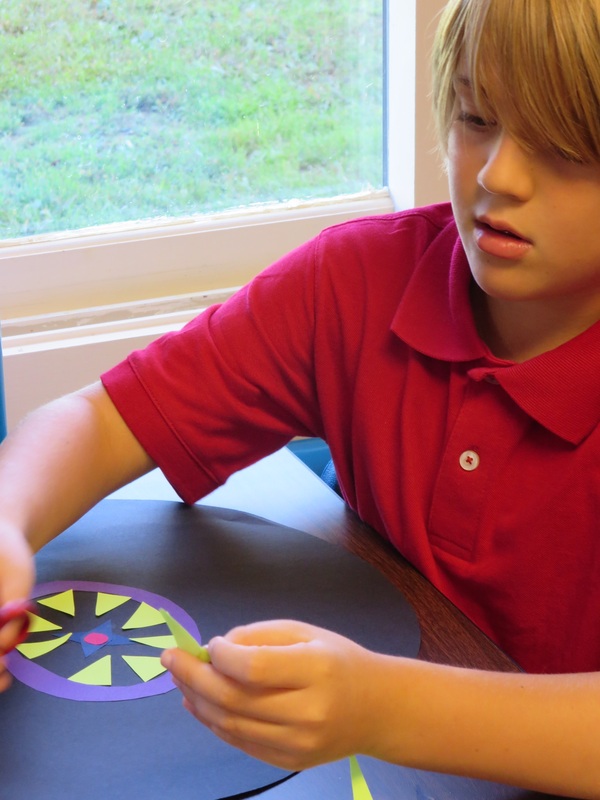
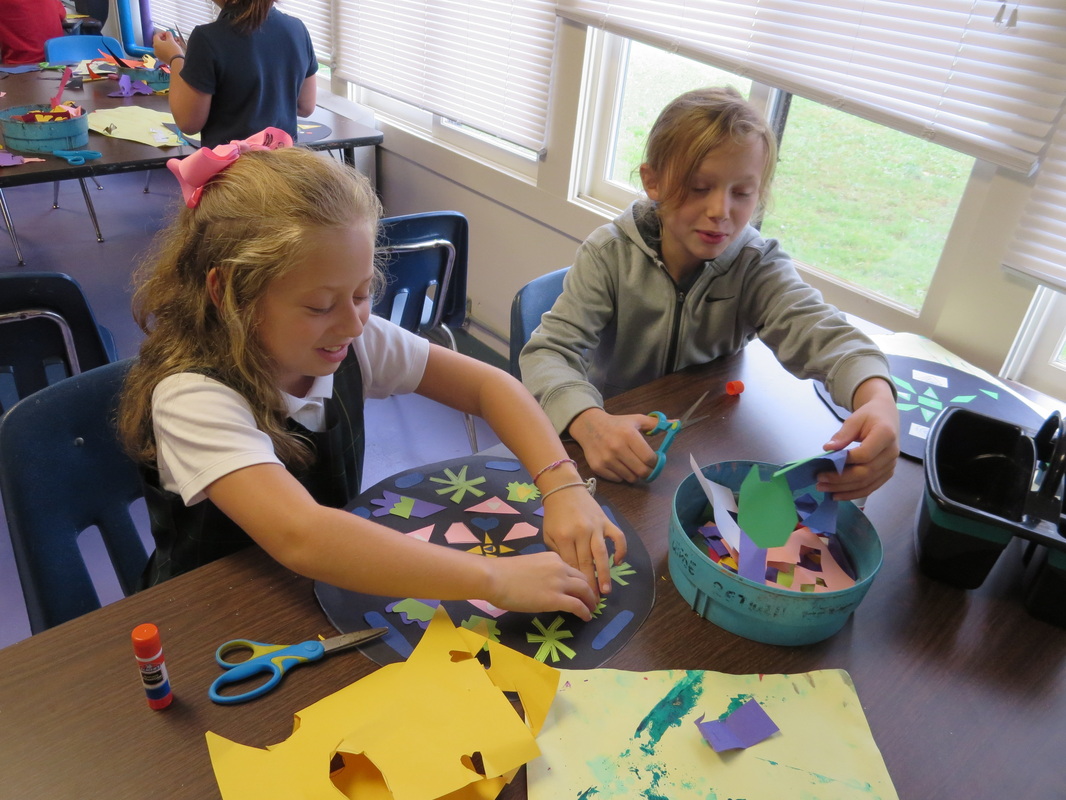
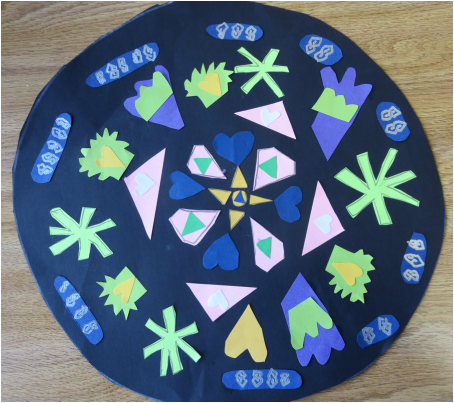
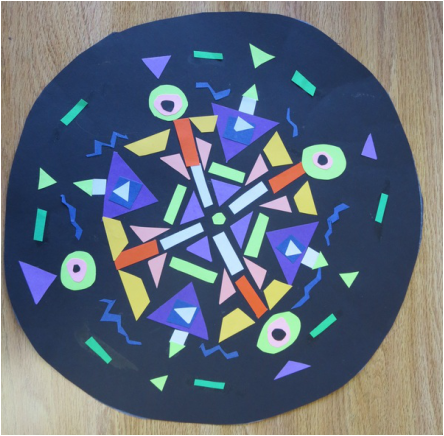
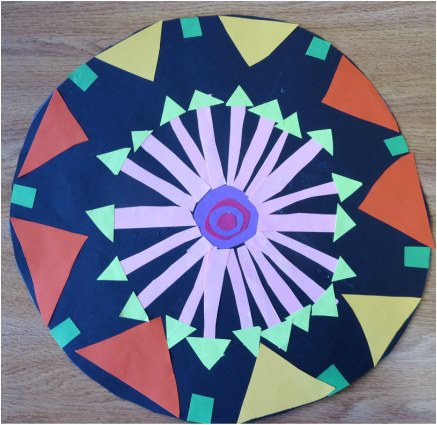
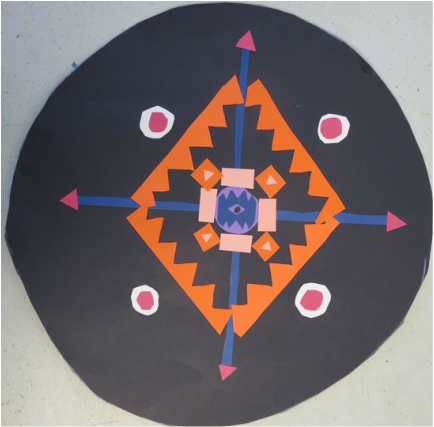
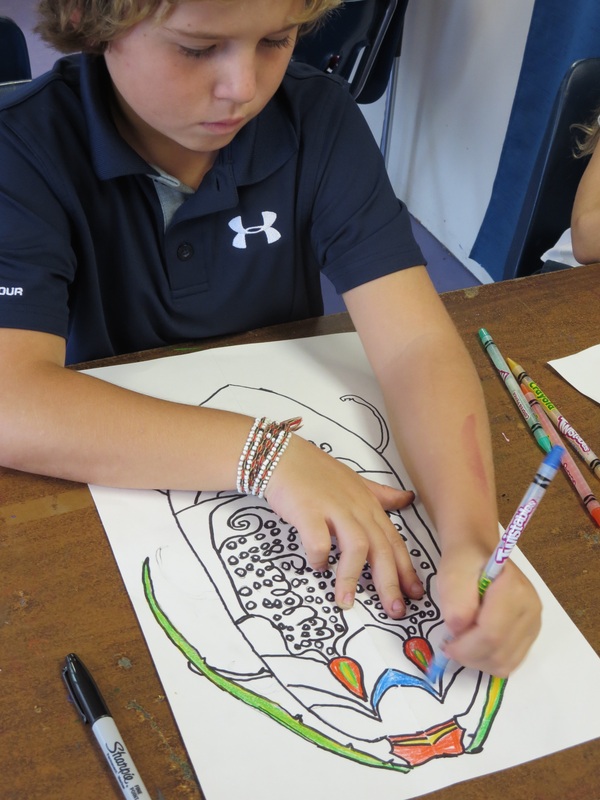
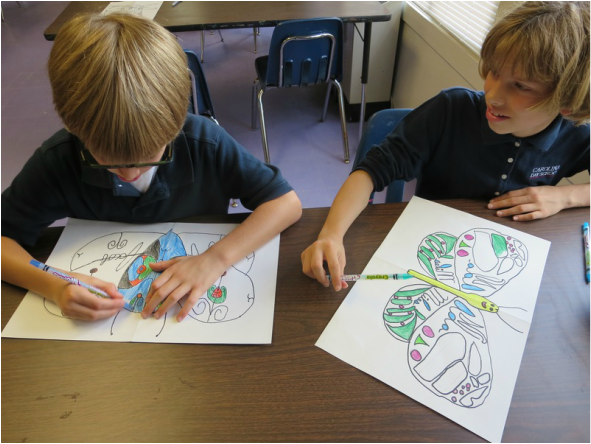
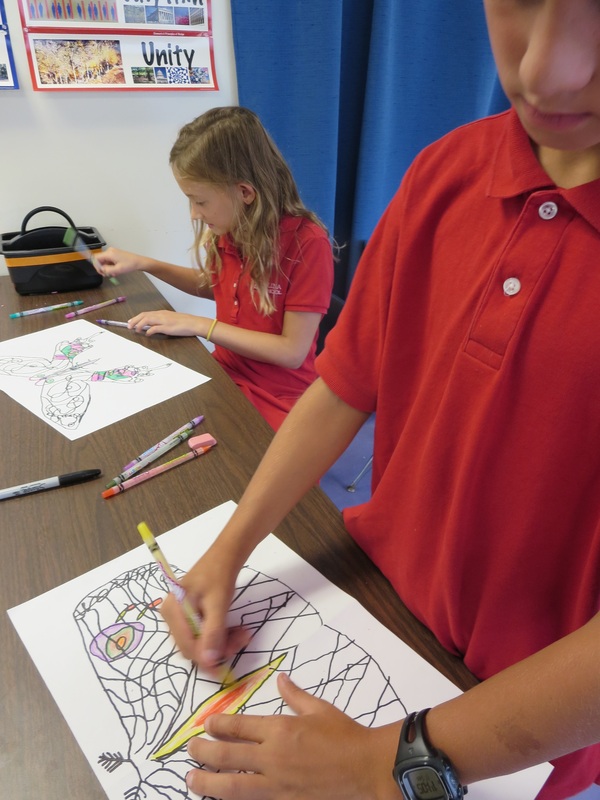
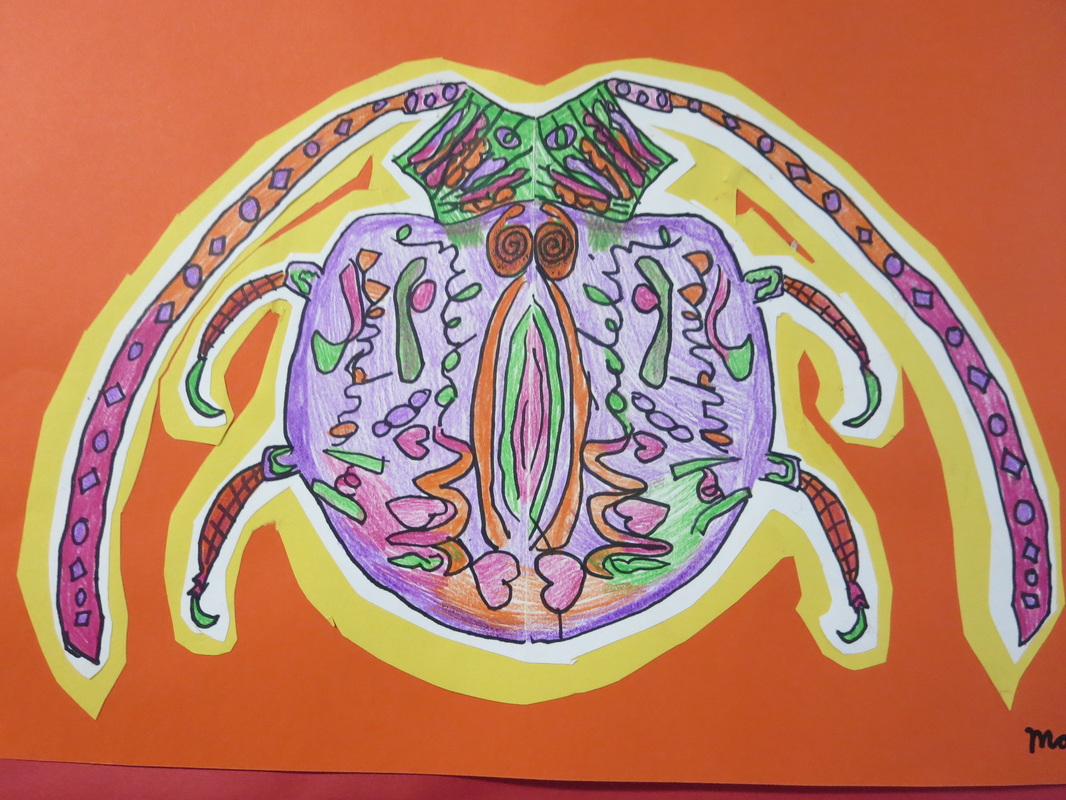
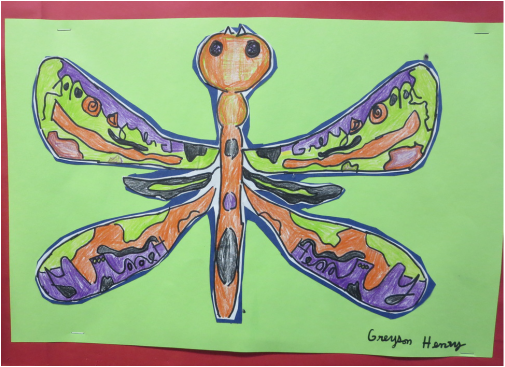
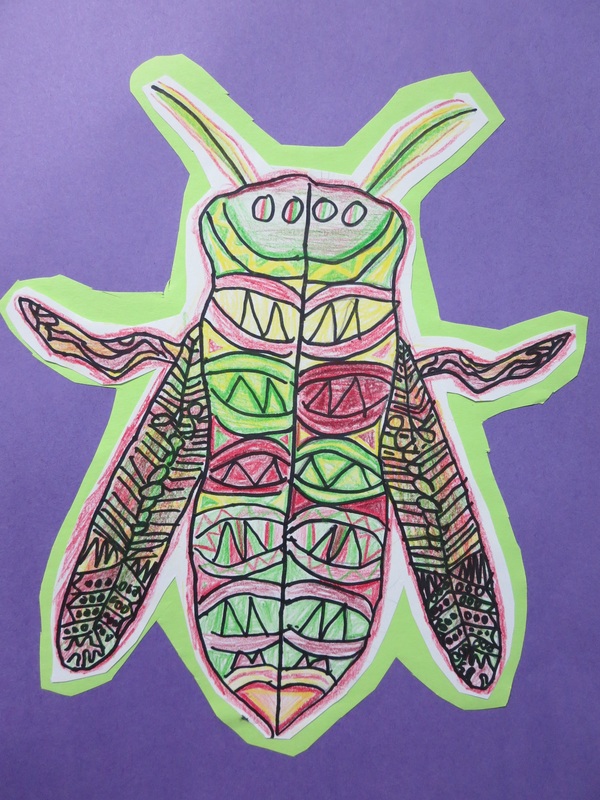
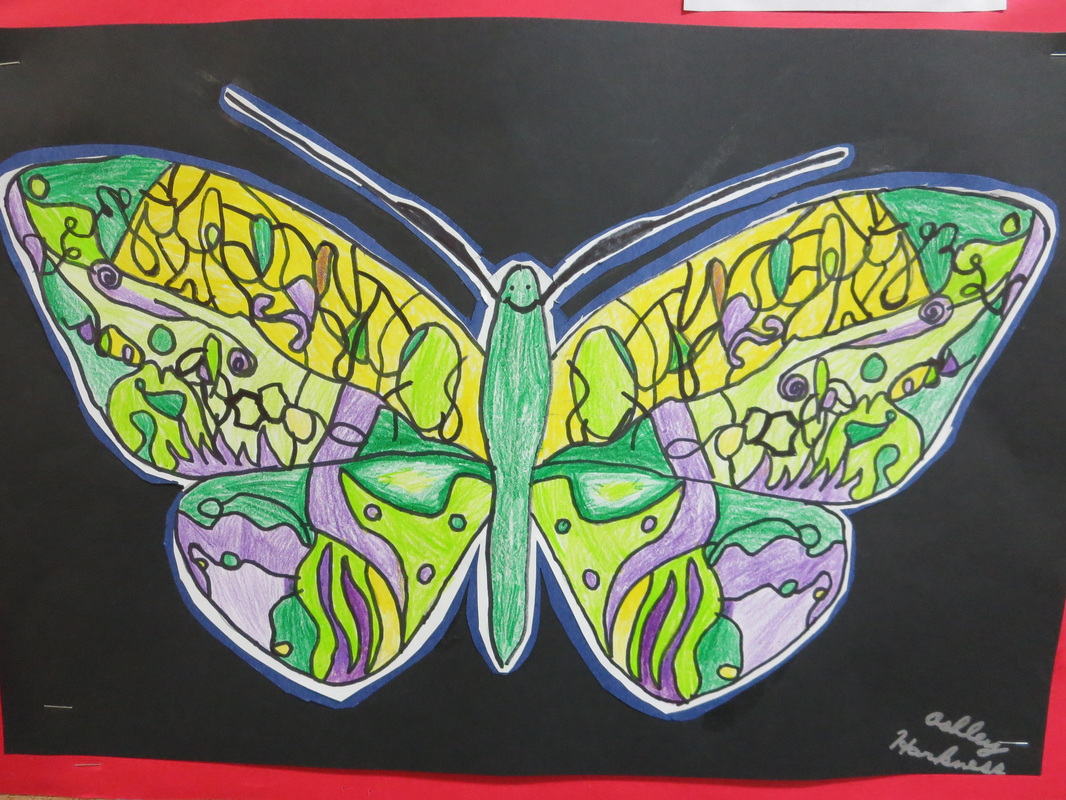
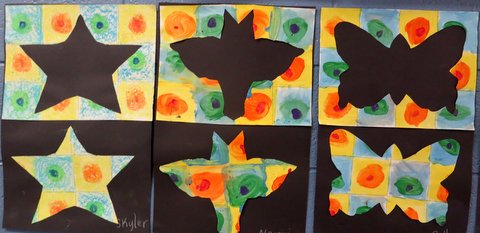
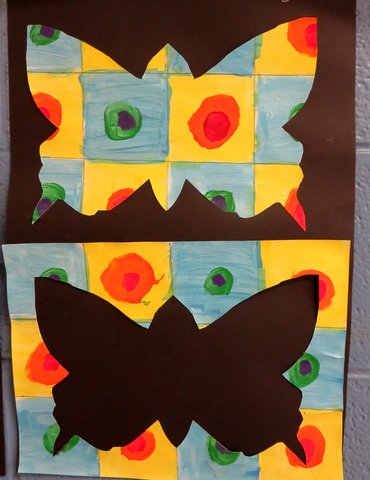
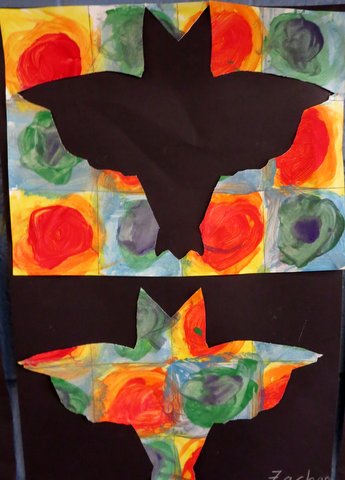
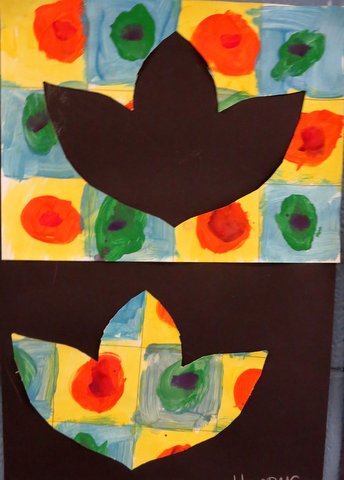
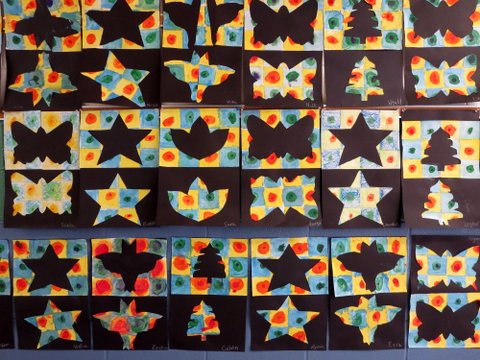
After learning the basic folds, the artists have a great time creating their designs.  They overlap the paper, insert them into each other and glue them down to create unique and colorful designs.  This year when I taught this project, I had them stick to a color palette of 3 or 4 colors.  I love how they turned out with a limited color palette and so did the artists.

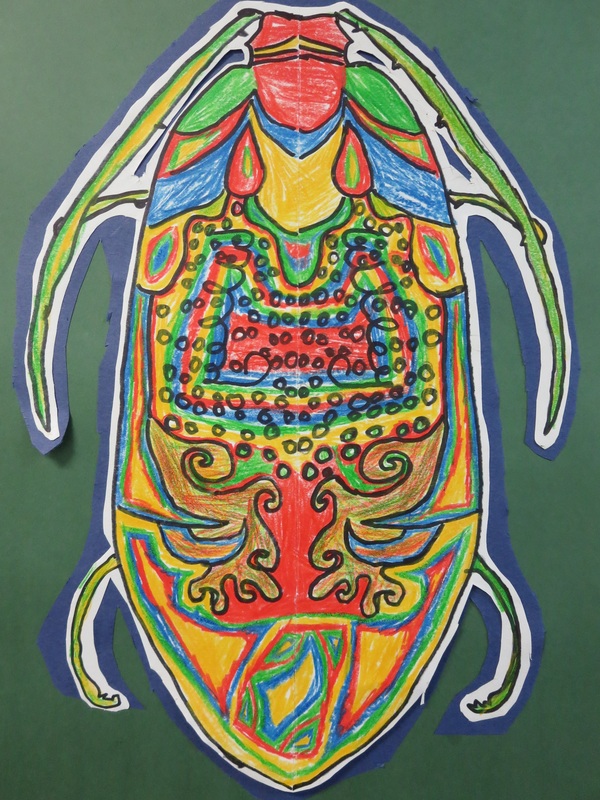
A winning project for sure and one that the kids always love the process and the end result!
Picture
Picture
Picture
Picture
Picture
Picture
0 Comments

2nd grade symmetrical rub paintings

10/8/2019

0 Comments

 
Picture
Second grade artists had a great time learning about bilateral symmetry while creating tiger paintings.  I've seen projects similar to this online many times and have always wanted to give it a try.  I'm glad that I finally did.  There are many ways to teach symmetry, and I've taught many of them but have never tried any sort of rubbing technique before now.

I chose the subject matter of tigers because they are bold and have dynamic black, orange and white patterns.  We began by folding a piece of 9" x 12" paper in half and while looking at photos of tigers heads, we drew half of it on one half of the paper.  

Once our drawings were done, the fun began.  Starting with orange paint, students painted a small portion of the painting on one side of the paper, then folded it in half and rubbed the paper together to mirror the image on the other side of the paper.  Students continued doing this for at least three classes using orange first and eventually, black and white.  They finished it off with pink and yellow.  

​This is a process of art that takes patience because it takes a while but it is really fun watching the art come to live. 

Picture
Picture
Picture
Picture
Picture
0 Comments

4th Grade symmetrical beetles

10/18/2016

0 Comments

 
Picture
For this project, 4th Grade students learned about bilateral symmetry by doing oil pastel drawings of beetles.

To begin this project, each student got to select an image of a beetle that they liked.  I had color printed images of about 20 different beetles for students to choose from.
Once they selected their image, I showed them how to fold the paper on the line of symmetry down their beetle so that once folded, the image was mirrored on each side of the paper.  Next they folded the image in half long ways.
One 4th grade class used black paper for the project and the other gray.  We used 12"x18" construction paper.  After folding the photograph image, students folded their construction paper in the same manner.  In half long ways, then short ways to create four quadrants.

To begin the drawing, students kept the beetle image folded so that they were looking at the top right quadrant and I demonstrated how to fill the space on the same quadrant of the construction paper using this grid drawing technique to make the image much larger.
​First, 4th graders drew their image with pencil.  They did both right hand quadrants then opened the paper up and drew the rest of the beetle.
Picture
Picture
Picture
Picture
After completing the pencil drawings, students used oil pastels to create these colorful beetle beauties.

The first step with oil pastels was to pick a color that would show up well on the construction paper and outline the beetle.  

Next, I really emphasized that the students be observational artists and try to mimic the colors that they saw in the photographs.  This meant that students had really think about WHERE they were using WHAT colors.  This also meant that students had to layer colors and blend colors.  

The last step of this project was to create a fun colorful border.  Not every one had a chance to do this because they took longer on their beetle drawing, but most had time.

We used 18"x24" construction paper to make the borders.  Students used oil pastel to make colorful repeating patterns to go around their beetle drawings.  I love how they turned out with the beetles.

I was super proud of the 4th graders on this project!  The beetles turned out great and it was really neat watching the students really focus on replicating detail that they saw in the photographs!  Fun project!
Picture
Picture
Picture
Picture
0 Comments

3rd grade radial symmetry collage

1/5/2016

0 Comments

 
Picture
Third grade students have been having fun creating radial symmetrical paper collages in art.  They each began with a 10" circle piece of paper and after watching demonstrations of how to create a radial symmetrical design, students began collaging. For this project, I tried to provide the students with the least about of direction as needed.  I have found with radial symmetry, less is more.  I had each students begin by cutting out a circle or square (any size or color) and glueing that in the middle of the large circle they are using for the background piece.  Next each students must cut out 8 rectangles (again, any size or color) and placed them around the center shape to cut the area into eight similar size areas.  They began by glueing the first two sticking straight up and down from the center shape.  The next two were glued on the sides, creating a plus sign image.  the other four were glued between those to create an X.  From there, students could cut out any color shapes and sizes and glue them down to create an eight-point radial design.
Picture
We spend 5 class periods on this.  The first two are very basic and goes slowly.  The students are learning how to cut out multiple pieces of the same shape/size and glue them down and students are really just understanding how to create a radial symmetrical design.   The last three classes are spent focusing on using shapes of many different sizes and how to use colors together to make interesting patterns and overlapping. I really push overlapping shapes the last class.

I love teaching this project, I find it amazing how complex and beautiful their designs turn out.  This is a project where every single student is successful and feels good about their artwork at the end.
Picture
Picture
Picture
Picture
Picture
0 Comments

4th grade symmetry masks/monsters

10/7/2015

0 Comments

 
Picture
To start the school year off, 4th graders used their names to create a design with bilateral symmetry.  Last year 4th grade students started the year with a similar project but instead of doing monster/masks, they created insects.  Click here to see.

To begin this, students used Sharpies to write their name in cursive on a long piece of paper that is folded "hot dog style."  The bottom of the name goes onto the fold.  Next, using a window or light box, students trace over the mirrored image of their name onto the other side of the folded paper.  When opened, it makes a symmetrical abstracted line pattern. (the image below is my example)
Picture
The next step proved to be quite challenging for many students.  They had to really push their imaginations to figure out how they could add more lines and shapes to their design to transform it into a sort of face.  I really pushed them to be very creative, get silly, fantastical!  Totally acceptable for the face to have six eyes and two mouths or horns or wings or mustaches...  
Picture
To finish up the project, students used colored pencils to blend colors, create color symmetry, and focus on making different areas of the face really pop.  This entire project took about six or seven 45 minute class periods.
Picture
Picture
Picture
Picture
Picture
Picture
Picture
0 Comments

4th grade radial designs 

1/5/2015

0 Comments

 
Picture
Picture
Picture
As the 4th graders studied the Medieval Times, I felt like that would be a great time to tie in the study of radial design in art class.  We looked at a bunch of pictures of Rose Windows from the Medieval Times and discussed the patterns and colors.  
Inspired by Rose Windows, we did radial designs two ways.  This project here is the more free-flowing, organic radial design project.

We began with large pieces of poster board cropped into squares.  No drawing to begin, rather students used thin black paint and created their own large radial design.  The design must start near the middle and radiate outward and off the page.

After filling the page with black lines, each student selected one base color for their painting.  For every new color mixed, their original base color must be included.  

The students had a fun time experimenting with mixing new fun colors.  What happens when you mix pink and green?  How about purple and blue?  Yellow and brown? 

So for instance, if a student chose blue for their base color, all other colors must be mixed with blue.  blue and white, blue and black, blue and white and black, blue and pink, blue and pink and purple...and on and on.


Picture
Picture
Picture
After fill in the entire page with color, with no white areas showing through, the students repainted over each and every black line to really make those lines bold and separate the colors.  We actually found that by repainting those black lines, it made the colors POP even more.  and all of my students know that I love it when colors POP!

The really fun part of the project was that after they finished the black lines, students all had to use clear gel glue to trace over some of their black lines.  Then.....we added glitter!  At first some students were reluctant to add glitter but in the end, everyone was so happy.  We used black glitter over the black lines so it really accentuated the design rather than drawing attention away.

These look so awesome lining the stairs near my classroom.  On certain days, the sun shines in just right so that I can see a beautiful sparkle all along the artwork.

These forth grade students seemed so proud of their artwork and look forward to bringing them home....

Picture
Picture
Picture
Picture
Picture
Picture
Picture
Picture
Picture
Picture
0 Comments

5th grade name mandalas

10/15/2014

1 Comment

 
Picture
Picture
I was super excited about starting out the school year with this project with the 5th grade students.  I really love radial symmetry and I enjoy teaching it so was quite pleased when the 5th grade students seemed just as into it as I was.

To do this project, you begin with large square pieces of paper.  Fold in half, corner to corner.  Fold in half again, corner to corner, then one more time.  After you've folded it three times, you have a triangle.  On that triangle, you write your name in large bubble letters to fill the entire space.  Then you open the square back up partially and using a light table or sunlight on a window, trace the name drawing.  You continue to do this over and over until all of one side is filled with your name flipped and mirrored.  This creates a beautiful radial symmetry name mandala.

This project was mostly for an introduction to my art class and to learn their names, but we took a bit of time to discuss radial symmetry and how to create bold bubble letters.

After the names are all written with a Sharpie, the students painted in the 'background' with acrylic paint and then added color in the letters with colored pencils.  They were limited to four colors.

The results are amazing.  Each and every single name mandala turned out great.  It is really cool to put two different students with the same name next to each other.  There are two Isaac's, two Taylor's.  Even though they wrote the same name, they turned out totally different.

SUPER FUN PROJECT! 
Picture
Picture
Picture
Picture
Picture
Picture
Picture
Picture
Picture
Picture
Picture
Picture
Picture
1 Comment

October 15th, 2014

10/9/2014

0 Comments

 
Picture
Picture
Picture
Picture
Picture
Picture
Picture
Picture
Picture
Picture
Picture
0 Comments

4th grade bilateral symmetry insects

10/7/2014

0 Comments

 
Picture
Picture
Picture
Picture
Picture
Picture
Picture
Picture
Picture
Picture
Picture
Picture
Picture
Picture
Picture
Picture
Picture
Picture
Picture
Picture
0 Comments

Student teaching at evergreen             Kindergarten cut outs

3/27/2014

0 Comments

 
Picture
The Kindergarten students learned about warm and cool colors by painting a sort of checkerboard pattern using the different color themes.  They did a great job of following directions and had a fun time doing so.  After doing their paintings, at the next class, they learned about bilateral symmetry.   To cut out symmetrical shapes, the students folded their papers in half, traced a half of a template, lined up with the middle fold, and while the paper was still folded, cut out their design.  I mentioned positive and negative space as they worked.  After they cut out their shapes, they glued their background piece on the top of black paper and their cut out shape below.  The results are quite striking.  Although this was quite the formulated project, I felt as though it was the perfect difficult level for the Kindergartners and they rocked it!
Picture
Picture
Picture
Picture
Picture
0 Comments

    Author

    Annie Monaghan.
    Art lover.
    Art creator.
    Art teacher.

    RSS Feed

    Categories

    All
    1st Grade
    2nd Grade
    3rd Grade
    4th Grade
    5th Grade
    Abstract
    Art History
    Art Videos
    Auction
    Batik
    Cardboard
    Chalk Pastel
    Clay
    Collaboration
    Collage
    Colored Pencil
    Color Wheel
    Contour Lines
    Drawing
    Highlights And Shadows
    Kindergarten
    Landscape
    Mural
    Names
    Notan
    Observational Drawing
    Oil Pastel
    Online Art
    Origami
    Paint
    Painting
    Papier Mâché
    Patterns
    Portraits
    Pre K
    Printmaking
    Relief Sculpture
    Remote Art
    Remote Learning
    Sculpture
    Self Portrait
    Self-portrait
    Sewing
    Shapes
    Sharpies
    Still-life
    Symmetry
    Texture
    Tissue Paper
    Warm And Cool Colors
    Watercolor
    Weaving

Powered by Create your own unique website with customizable templates.