
For more information about the process of creating these awesome Georgia O'keeffe-inspired flowers, see my blog post from a few years ago
http://anniesartroom.weebly.com/elementary-art/2nd-grade-georgia-okeefe-flowers
|
For more information about the process of creating these awesome Georgia O'keeffe-inspired flowers, see my blog post from a few years ago http://anniesartroom.weebly.com/elementary-art/2nd-grade-georgia-okeefe-flowers
0 Comments
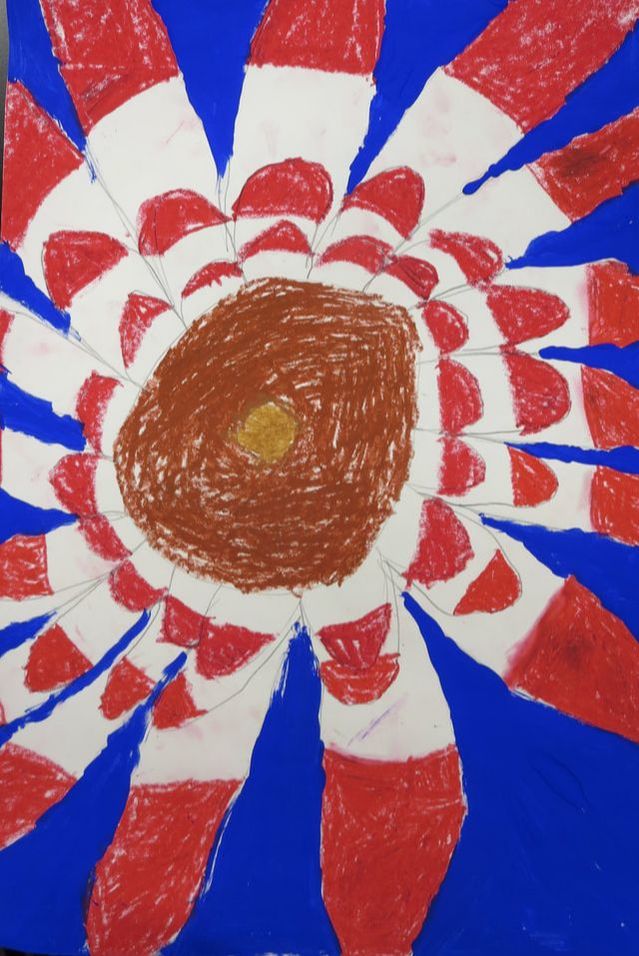
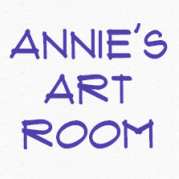
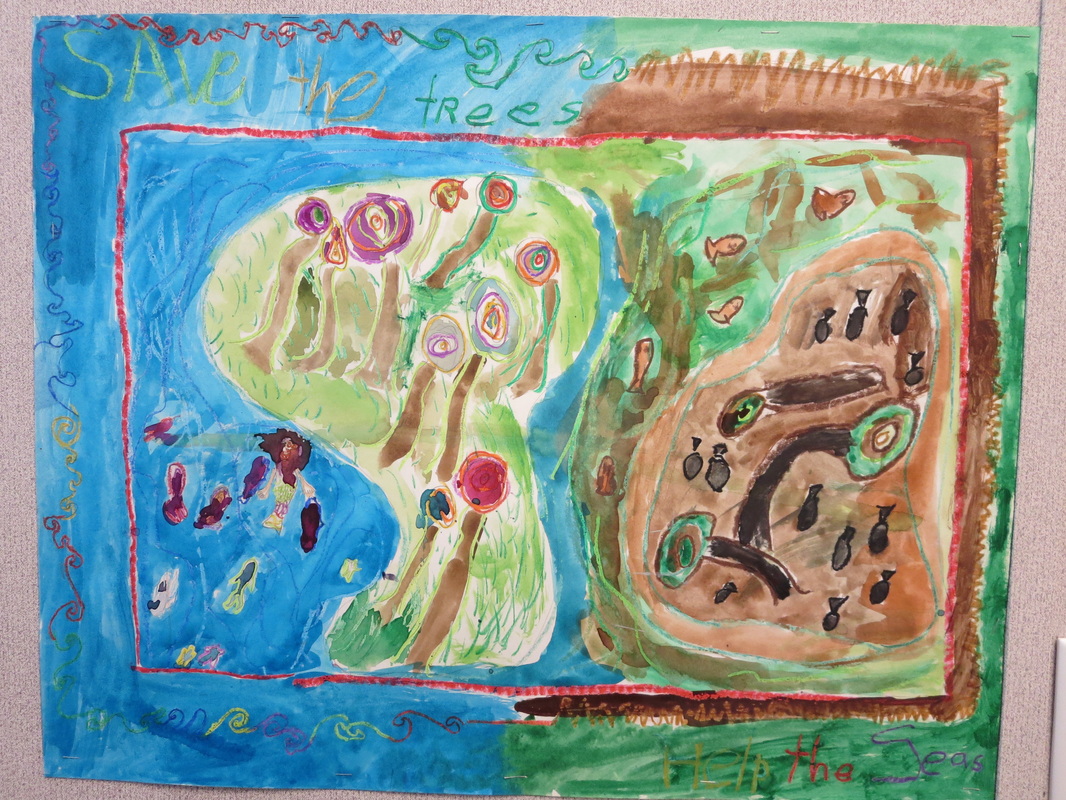
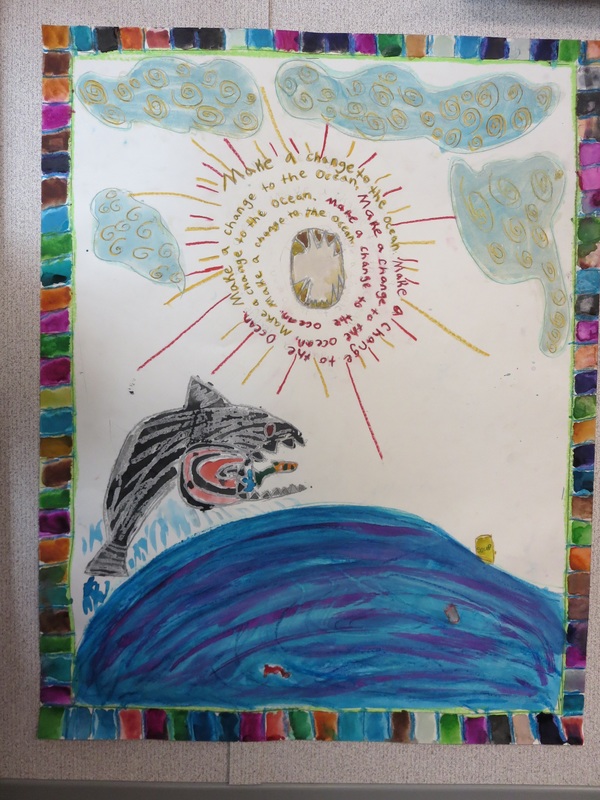
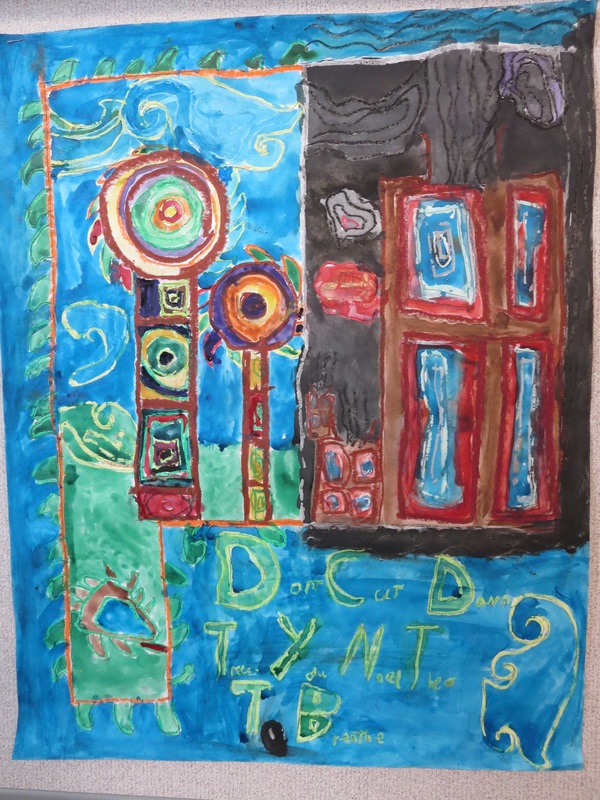
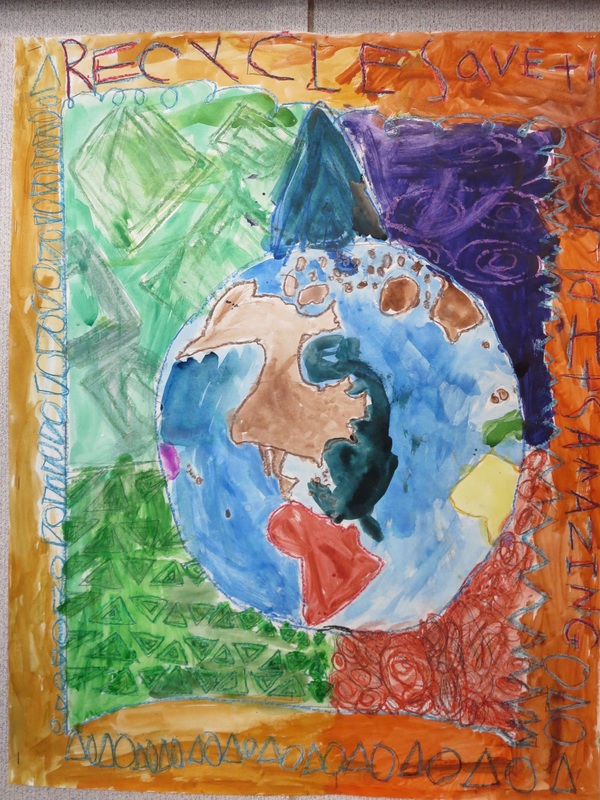
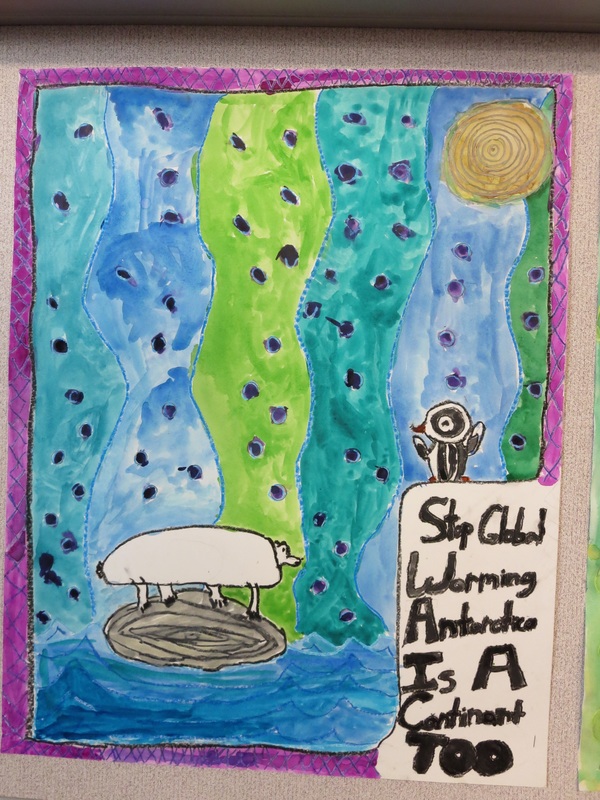
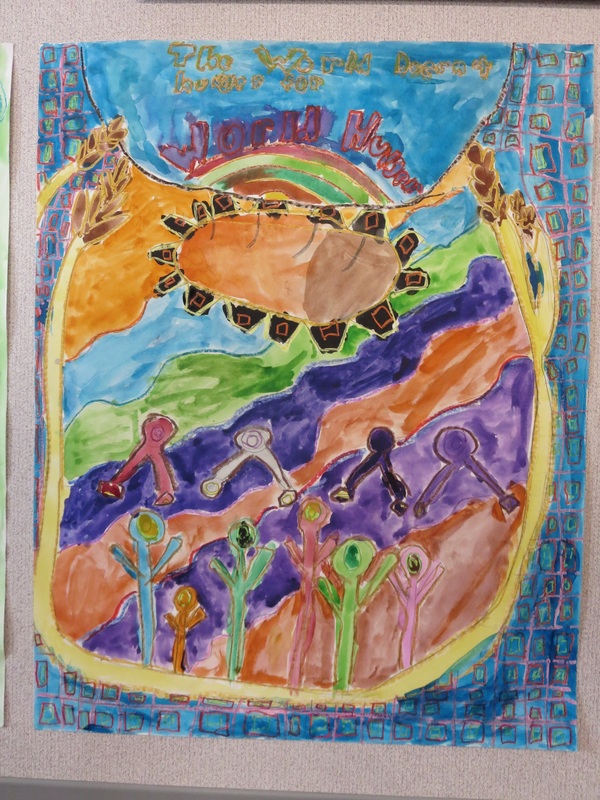
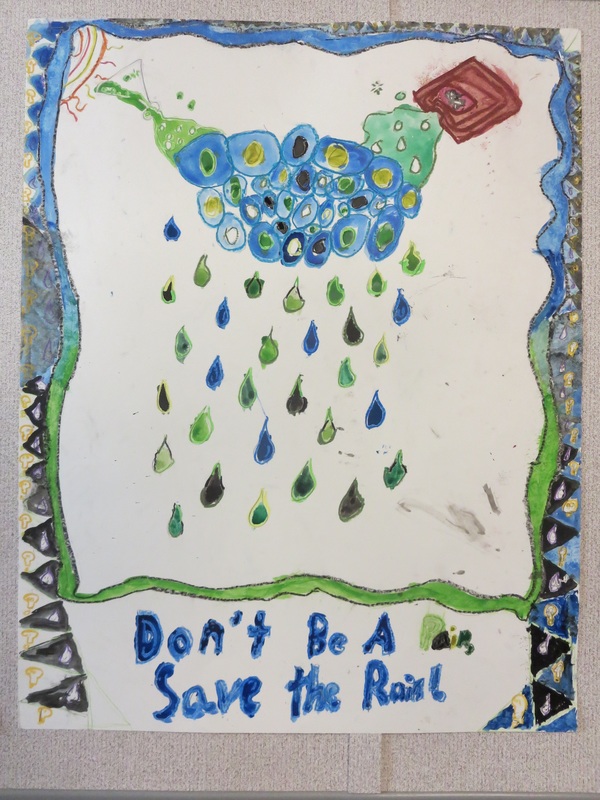
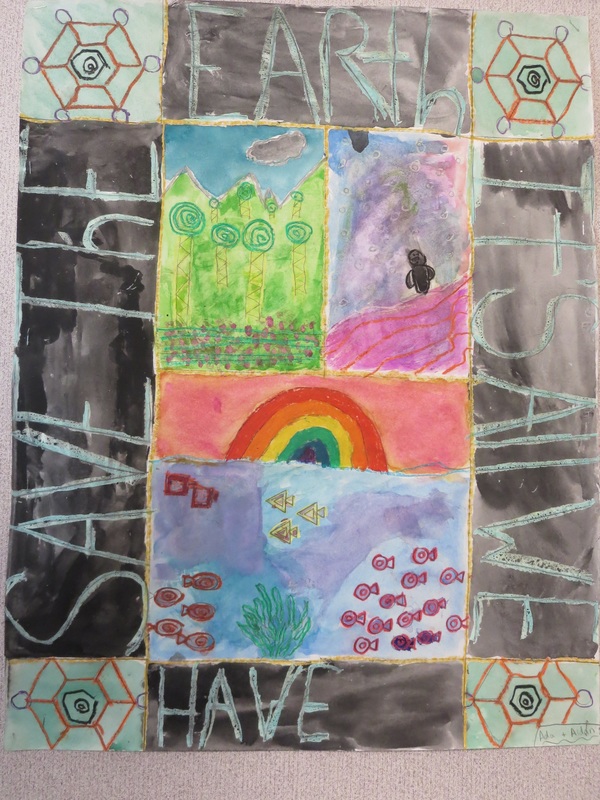
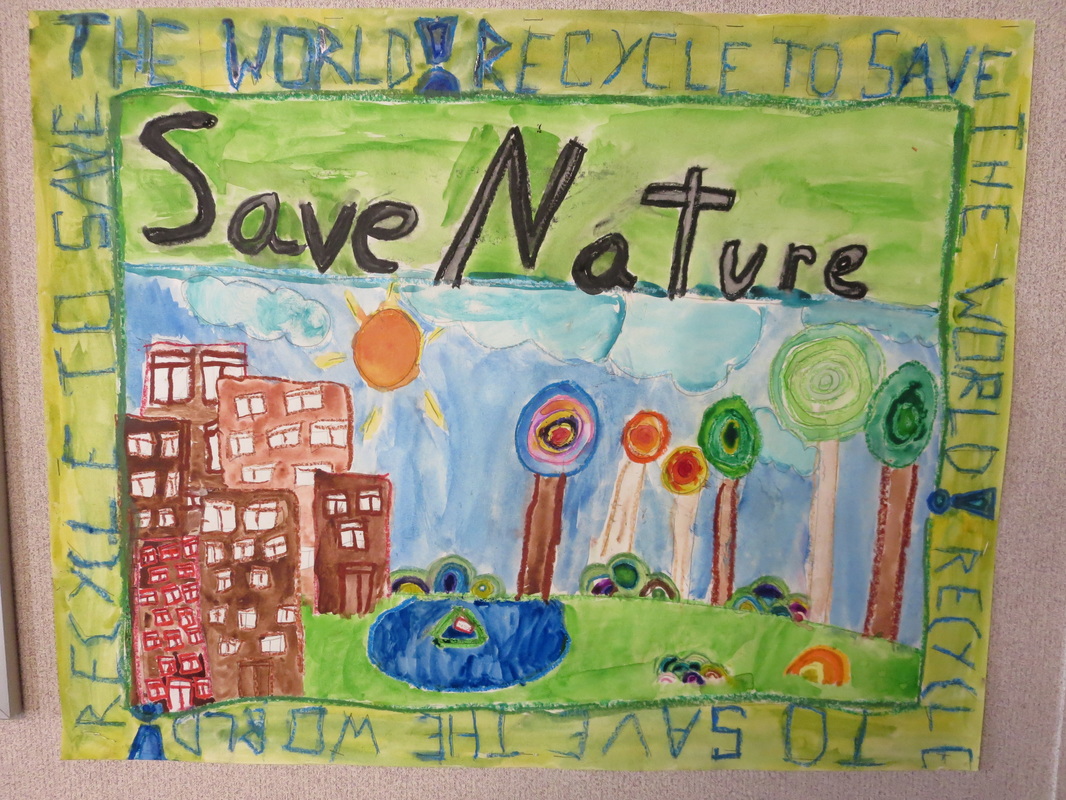
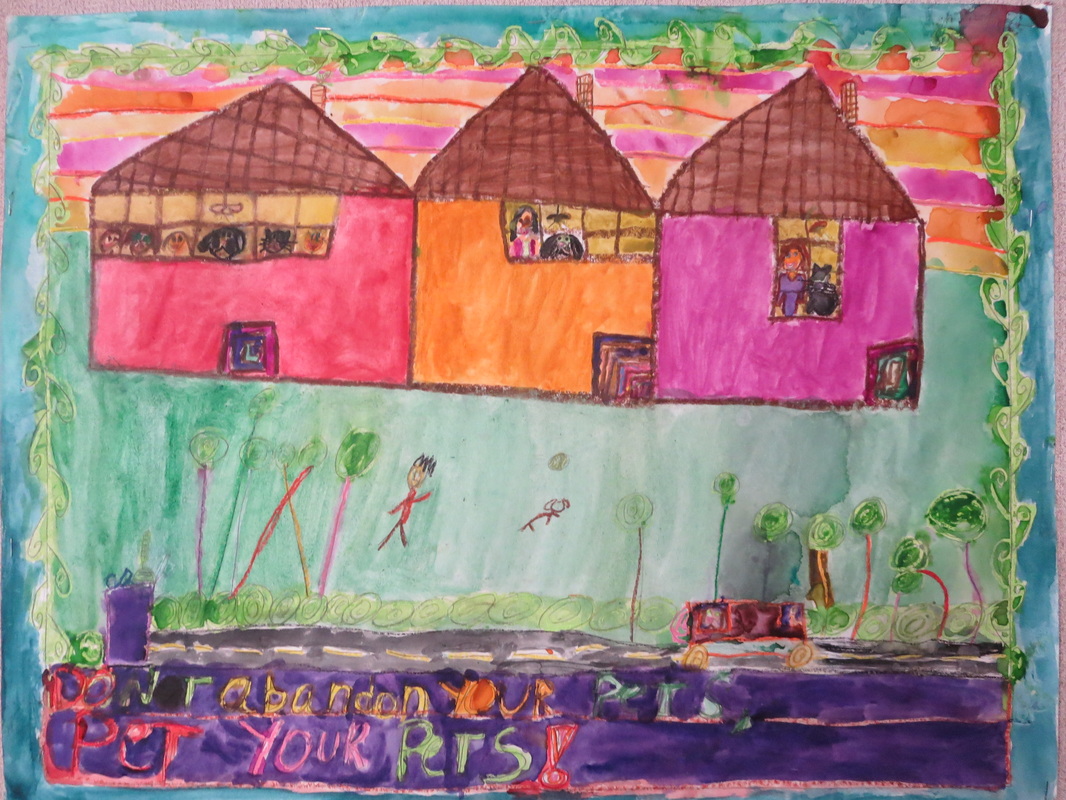
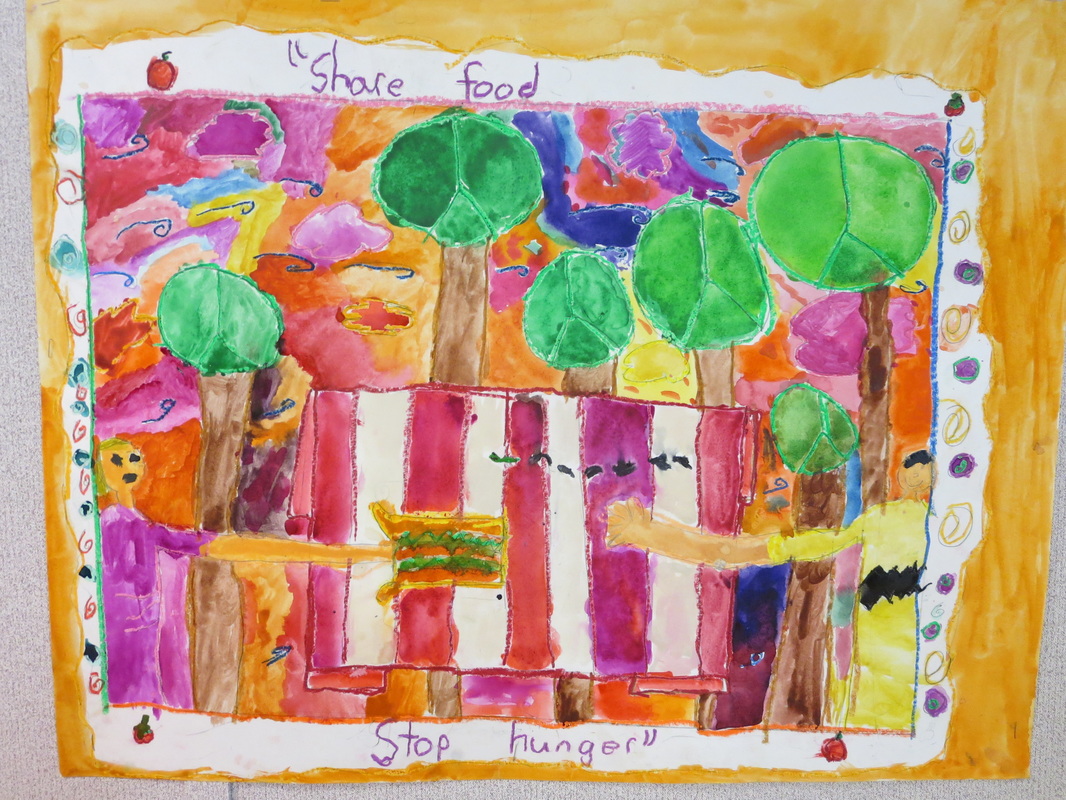
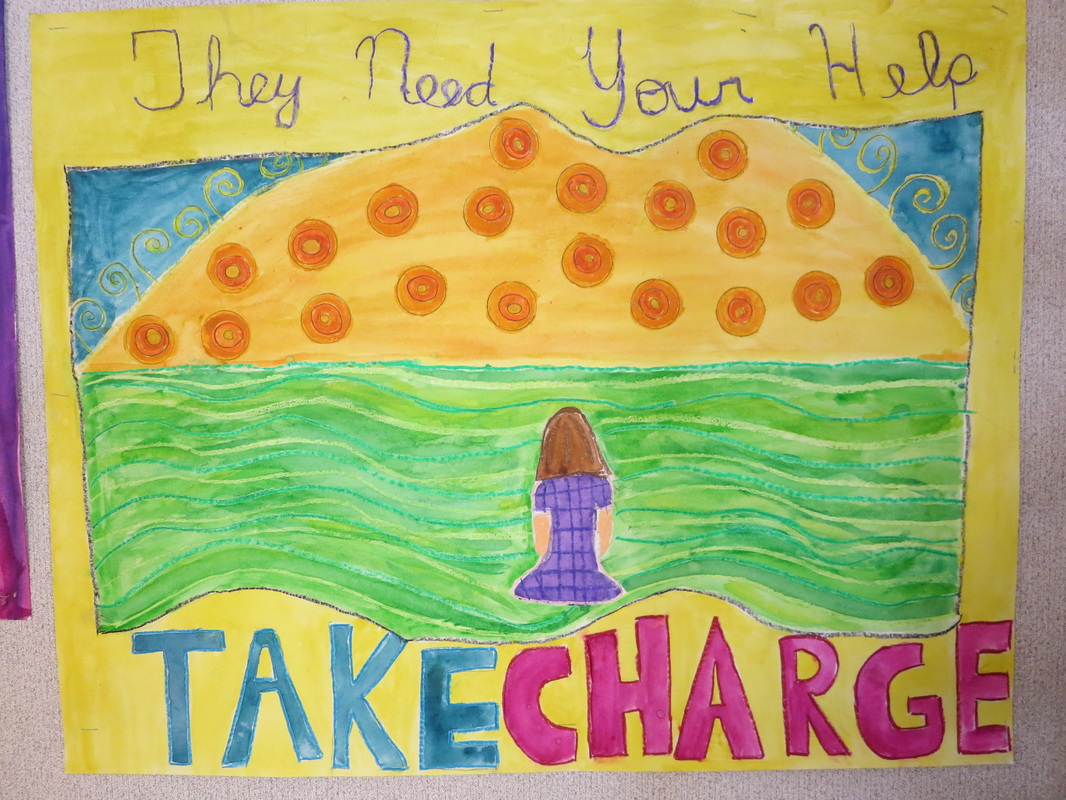
 For this project, 4th Grade students learned about bilateral symmetry by doing oil pastel drawings of beetles. To begin this project, each student got to select an image of a beetle that they liked. I had color printed images of about 20 different beetles for students to choose from. Once they selected their image, I showed them how to fold the paper on the line of symmetry down their beetle so that once folded, the image was mirrored on each side of the paper. Next they folded the image in half long ways. One 4th grade class used black paper for the project and the other gray. We used 12"x18" construction paper. After folding the photograph image, students folded their construction paper in the same manner. In half long ways, then short ways to create four quadrants. To begin the drawing, students kept the beetle image folded so that they were looking at the top right quadrant and I demonstrated how to fill the space on the same quadrant of the construction paper using this grid drawing technique to make the image much larger. First, 4th graders drew their image with pencil. They did both right hand quadrants then opened the paper up and drew the rest of the beetle. 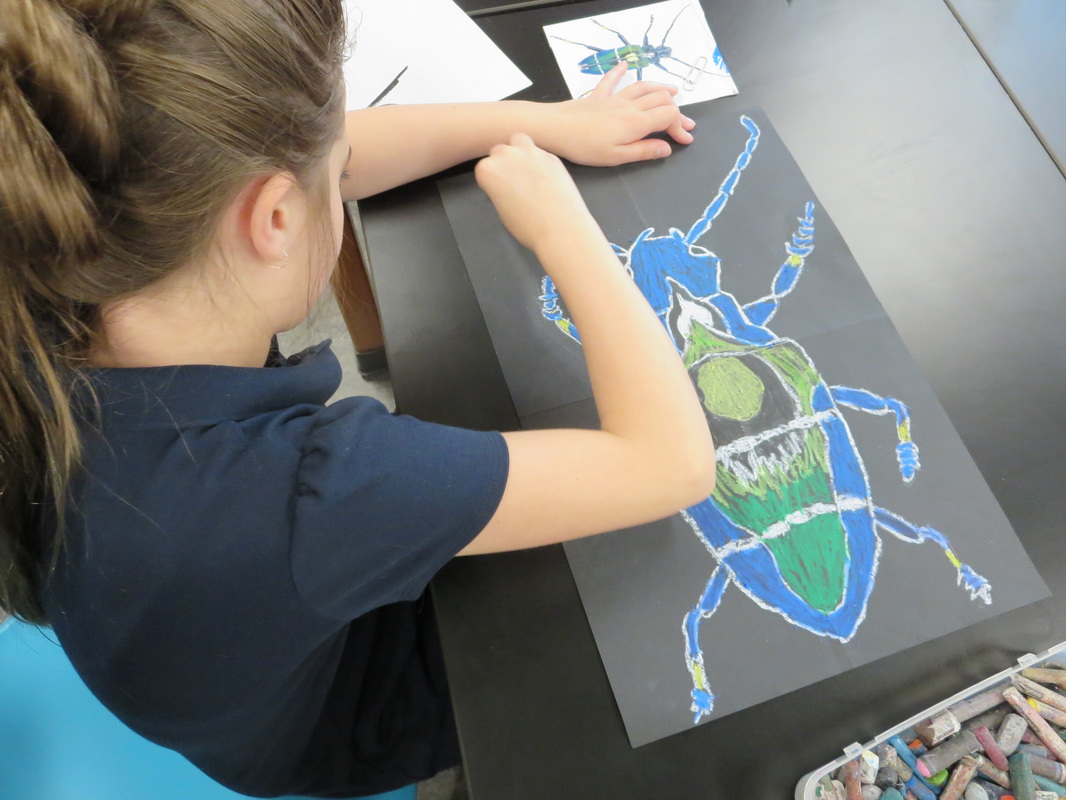  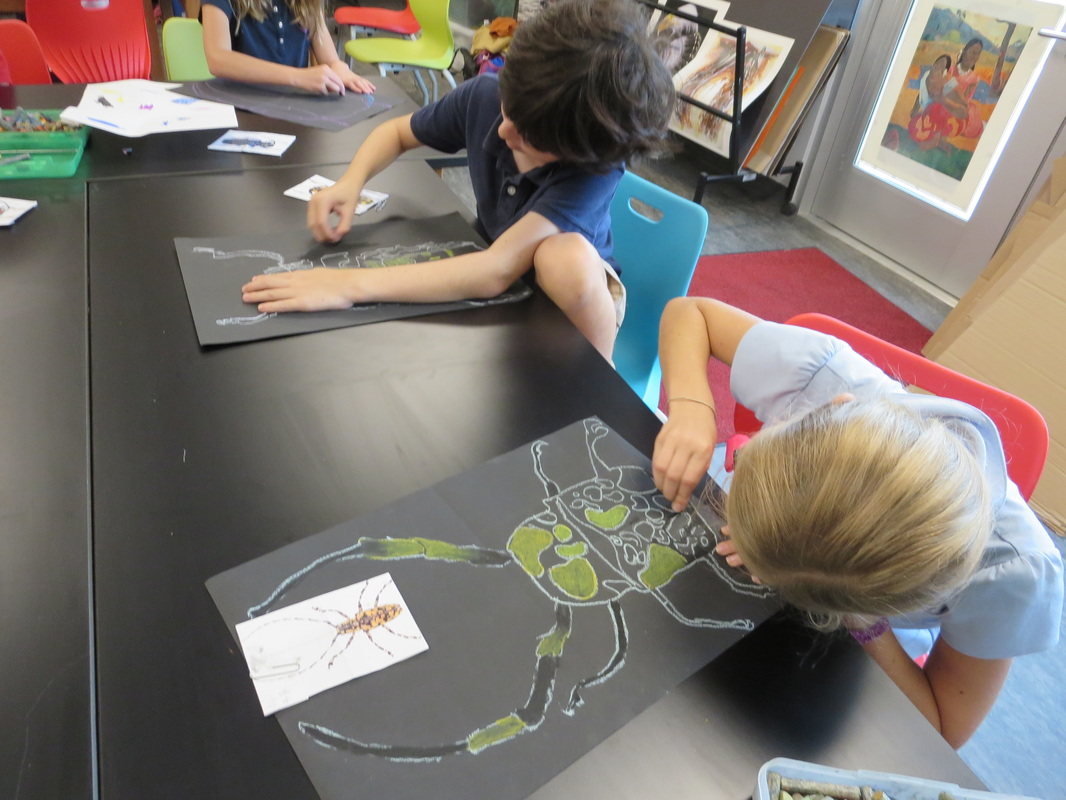 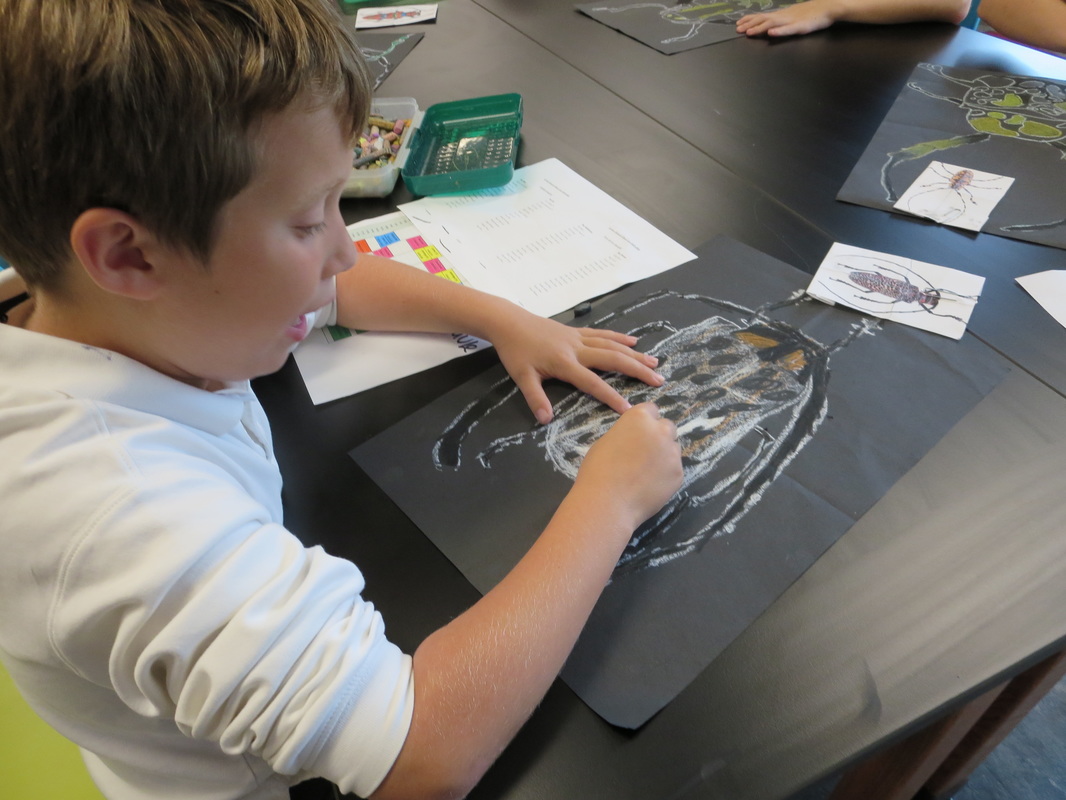 After completing the pencil drawings, students used oil pastels to create these colorful beetle beauties. The first step with oil pastels was to pick a color that would show up well on the construction paper and outline the beetle. Next, I really emphasized that the students be observational artists and try to mimic the colors that they saw in the photographs. This meant that students had really think about WHERE they were using WHAT colors. This also meant that students had to layer colors and blend colors. The last step of this project was to create a fun colorful border. Not every one had a chance to do this because they took longer on their beetle drawing, but most had time. We used 18"x24" construction paper to make the borders. Students used oil pastel to make colorful repeating patterns to go around their beetle drawings. I love how they turned out with the beetles. I was super proud of the 4th graders on this project! The beetles turned out great and it was really neat watching the students really focus on replicating detail that they saw in the photographs! Fun project! 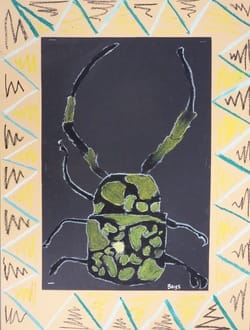 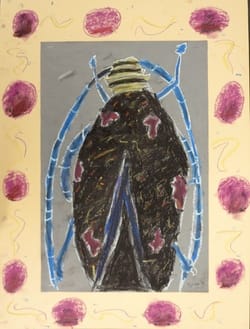 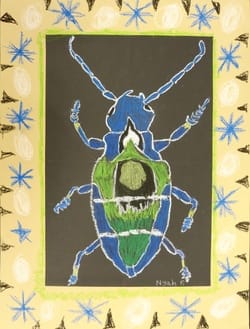 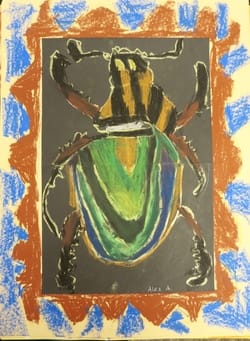 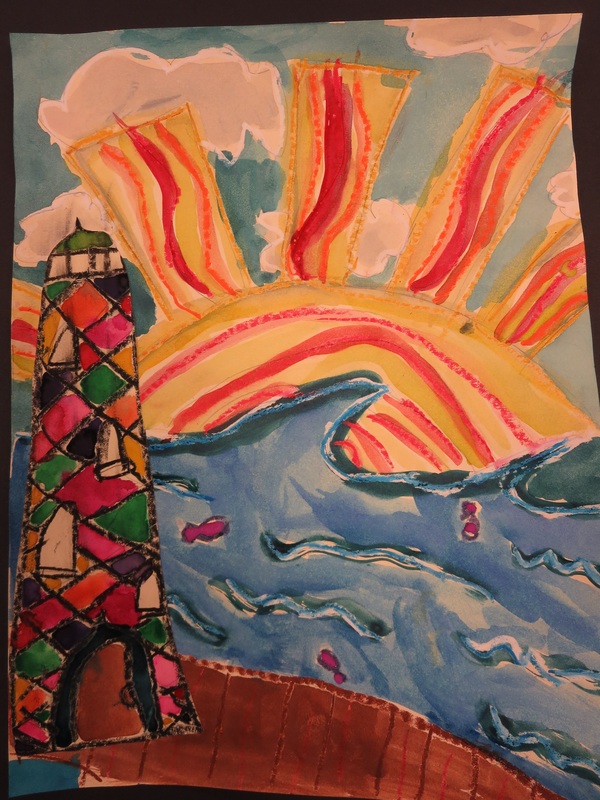 I LOVE THIS PROJECT!!! This has definitely been my favorite project that I've taught so far this year. I am just so proud of the 2nd graders and the beautiful artwork that they created for this project. Because we live in Western NC, we are, as a community, always seeing and exploring and studying mountains and rivers. I thought it might be a nice change to discuss Eastern NC as well. We studied the east coast by designing and painting lighthouses! Students began this project by drawing a three layer composition with oil pastels. The far background (the top of the paper) is the sky. Some students chose to draw the sun and clouds, others moon and stars, others birds and bugs. The midground (the middle of the paper) is the ocean. Some students drew calm seas, some drew boats, others drew aquatic wildlife. The foreground (the bottom of the paper) is the ground. Some students drew the beach, others, a field, a city, a boardwalk. I love how each and every student's three layers turned out so differently! 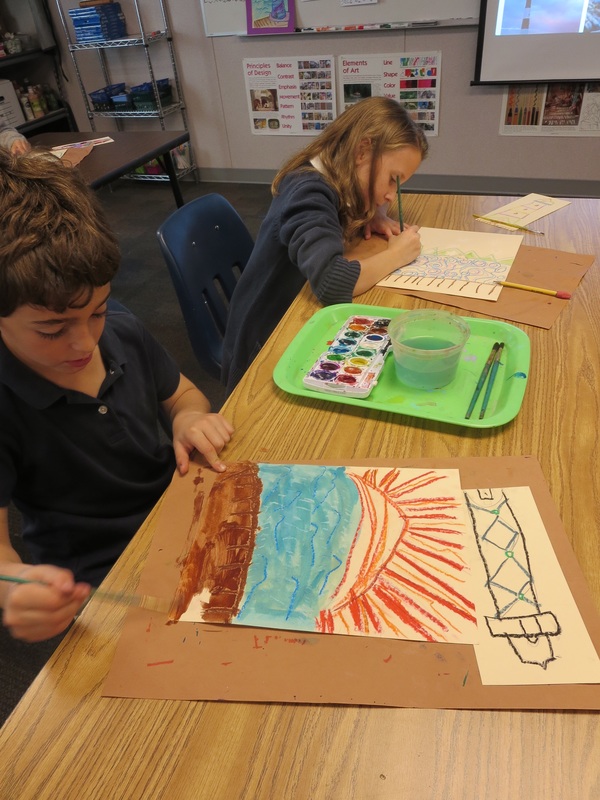 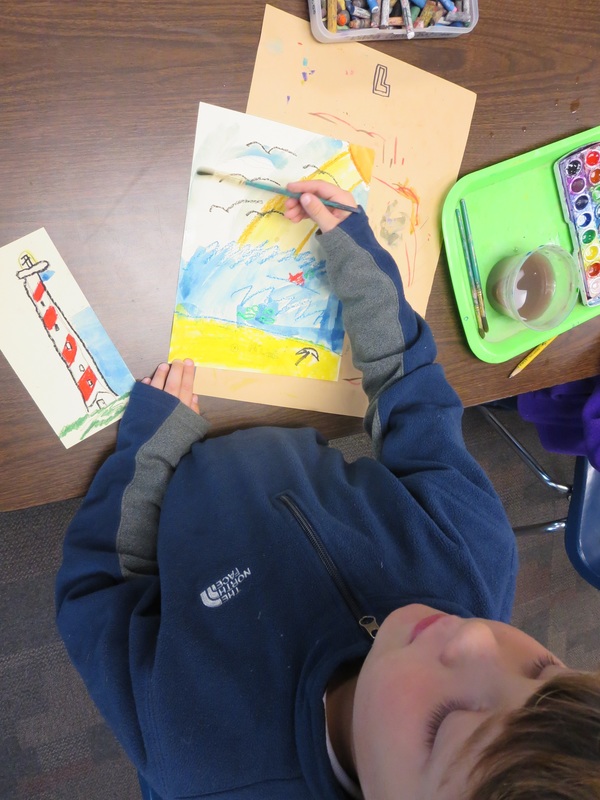 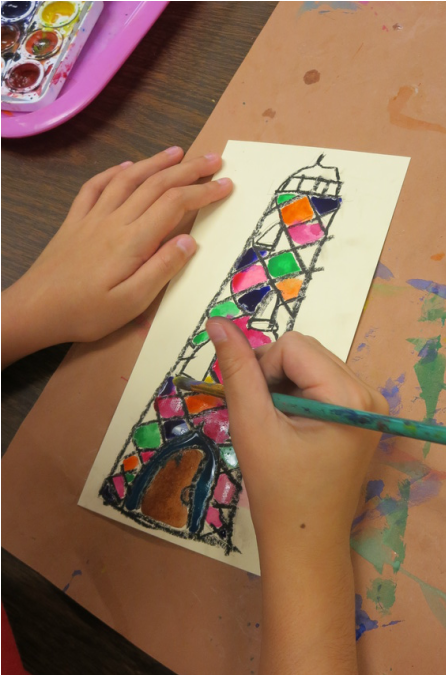 On a separate piece of paper, students also drew their own lighthouse. I showed the students a basic technique to draw them, but the students each made theirs very unique. To make our artwork bright and colorful, we did layers of watercolor paints on top of the oil pastel. Because oil and water resist, the oil pastels and create a high contrast, colorful work of art. To finish this project, students cut out and glued their lighthouse on their mid ground. These turned out sooooo awesome. I want to frame them and keep them forever... 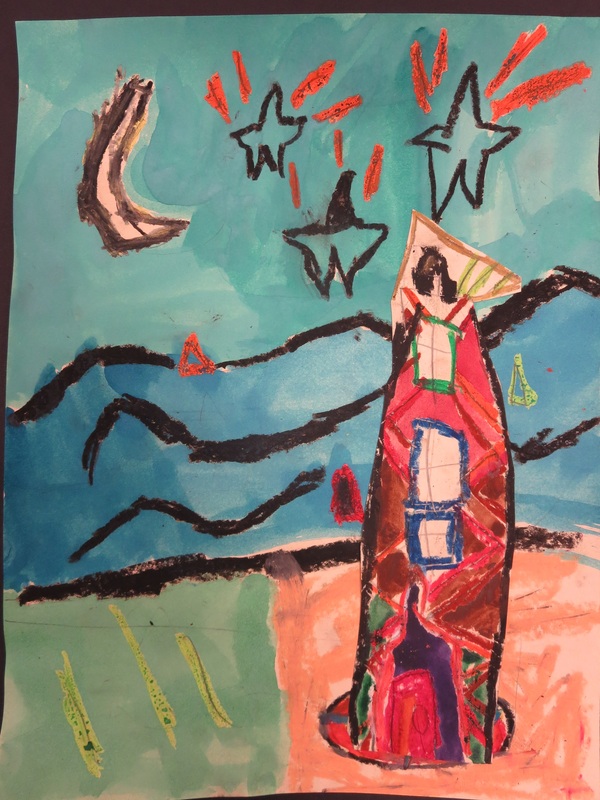 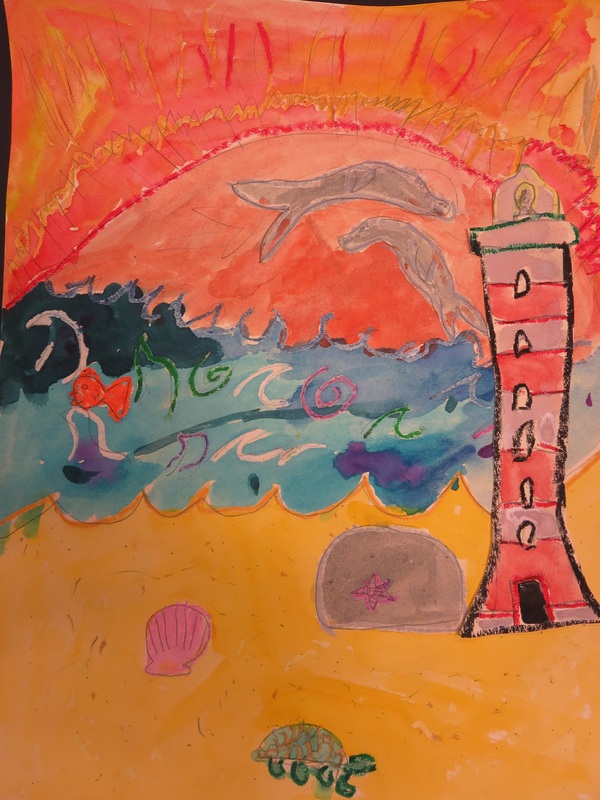 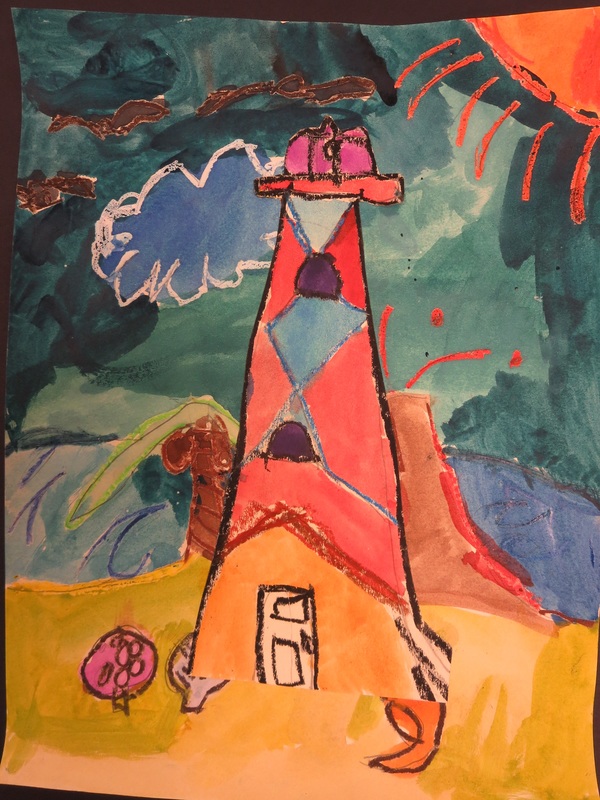 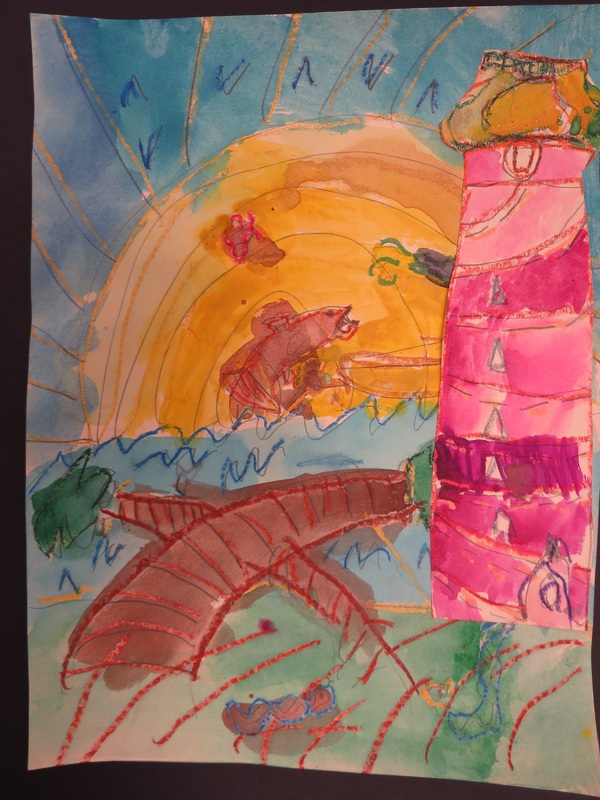 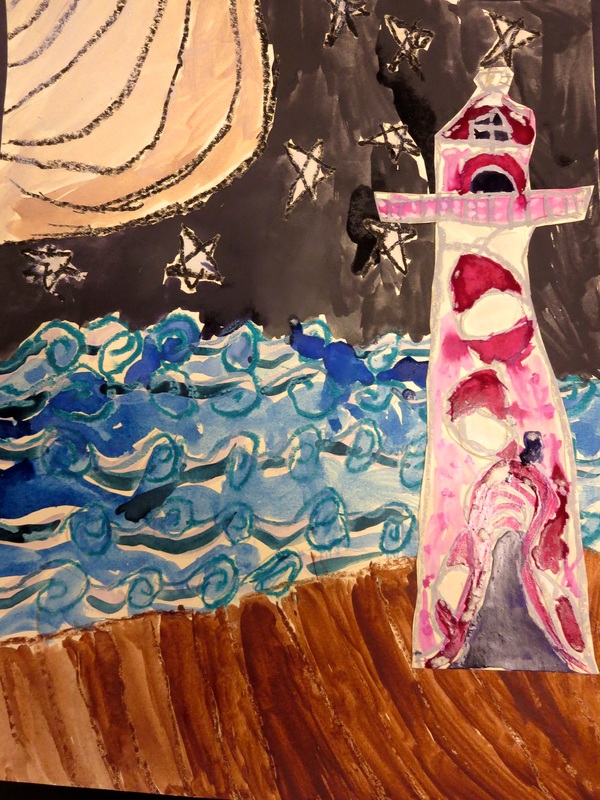 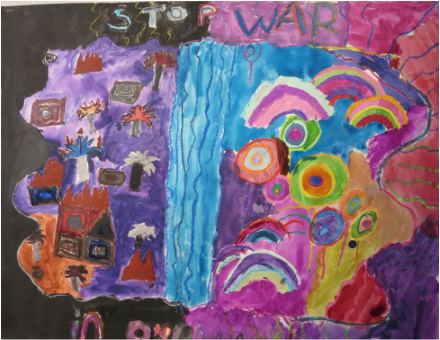 Do you know the amazing artist Friedensreich Hundertwasser? If the answer is 'no,' get on it! He is one of my absolutely favorite artists. An amazing man he was. His artwork is known for his use of bright colors, repetitive patterns, abstractions, lines, concentric shapes and impactful images. For this project, we focused on the art elements and principles that I just listed above. We looked at his posters that he created and as a class discussed the power that we have as artists to influence others. Here are a few images of posters that were painted by Hundertwasser: 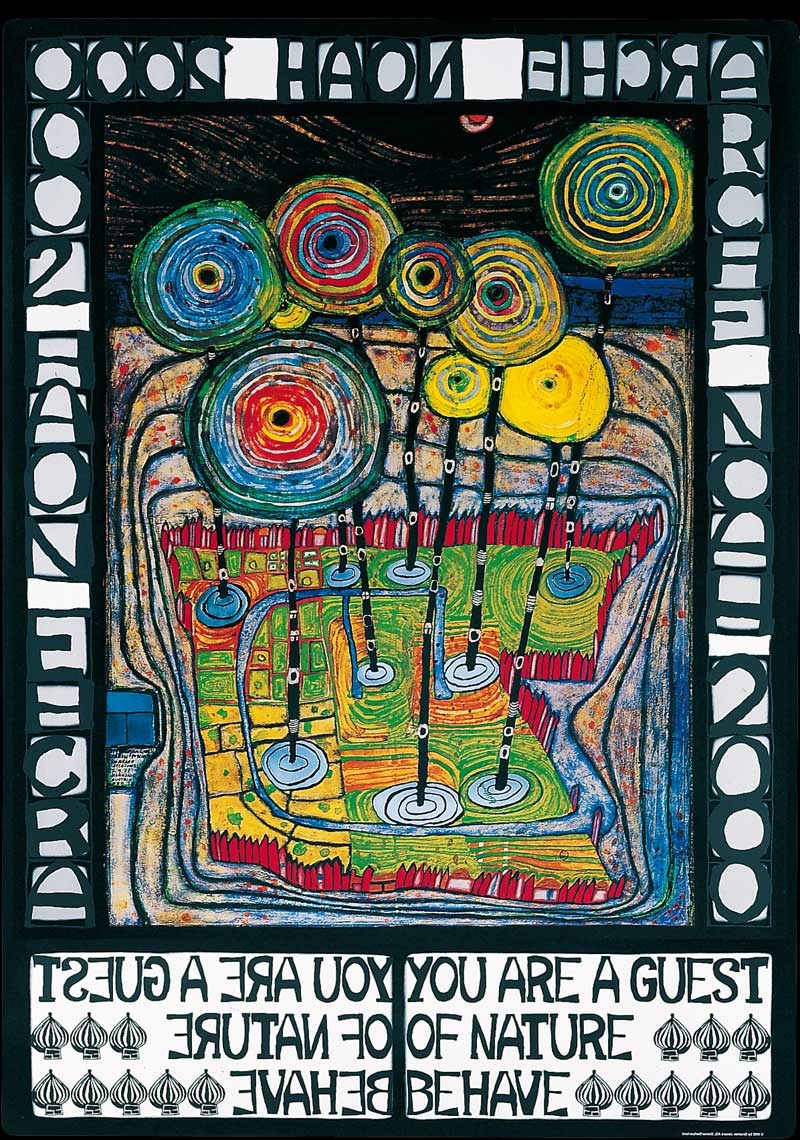 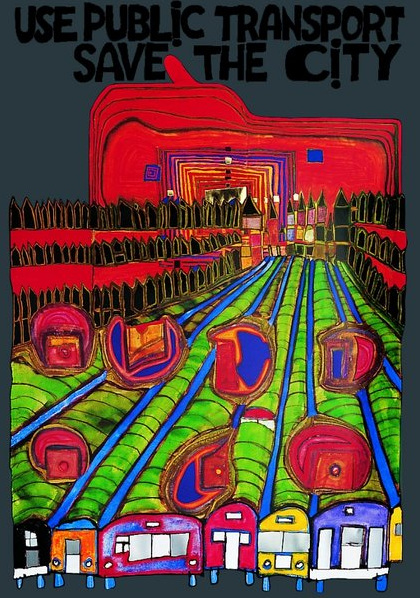 After looking at these posters (and much more of his artwork) the students were assigned partners to design a poster with. They began by conversing and coming to agreement of a theme. After they chose a theme, they began brainstorming different slogans they could use on their posters and drawing sketches. I really pushed them to collaborate and work together on this project. Once the students agreed on theme and drawing, they drew their images with pencil on a large poster board. They worked as a team using oil pastels to outline their drawings and filled in with watercolor paints. 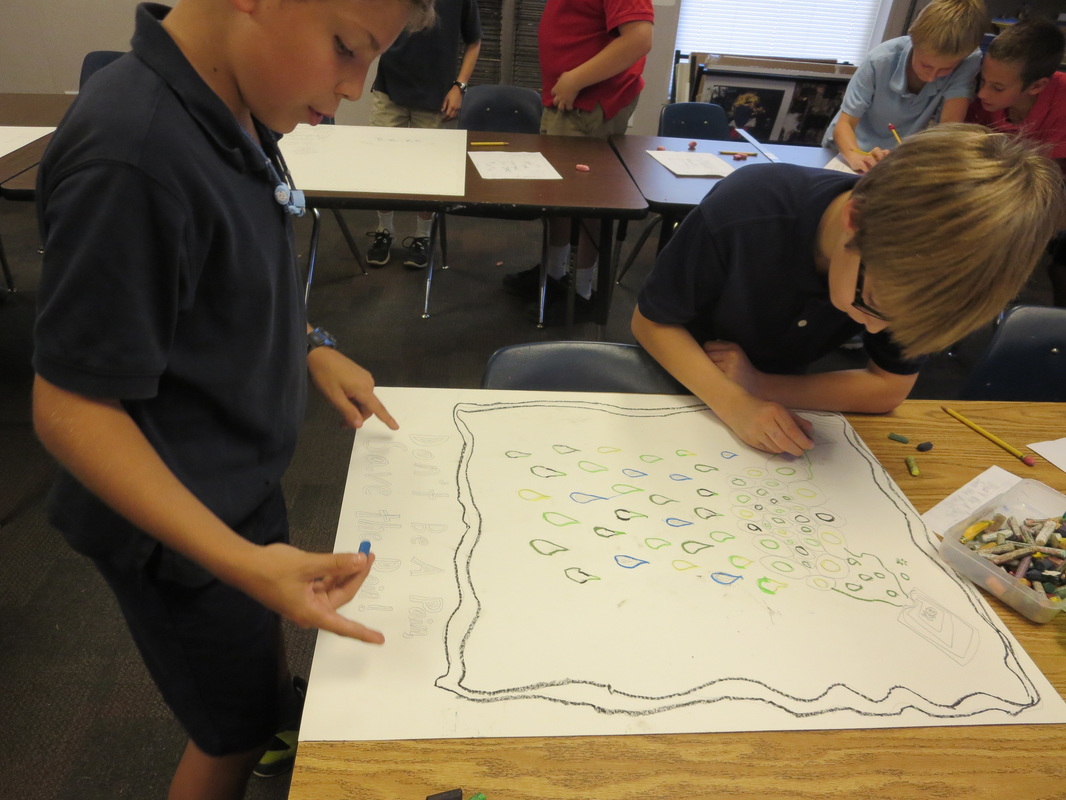 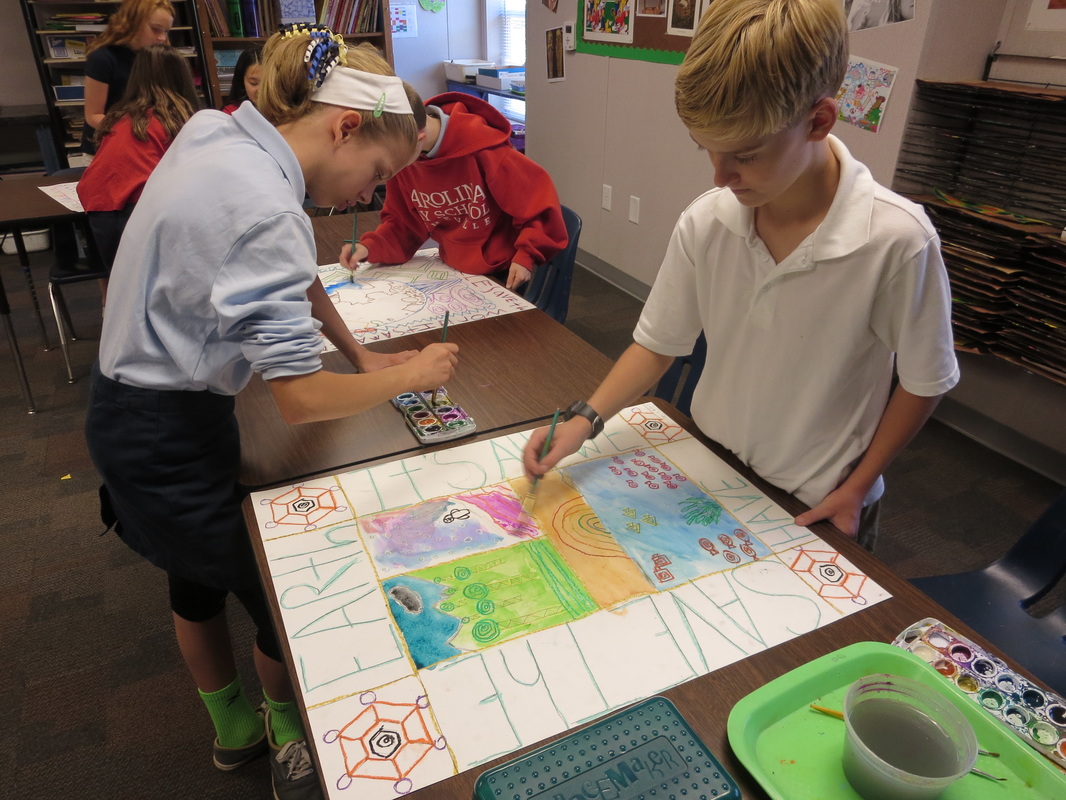 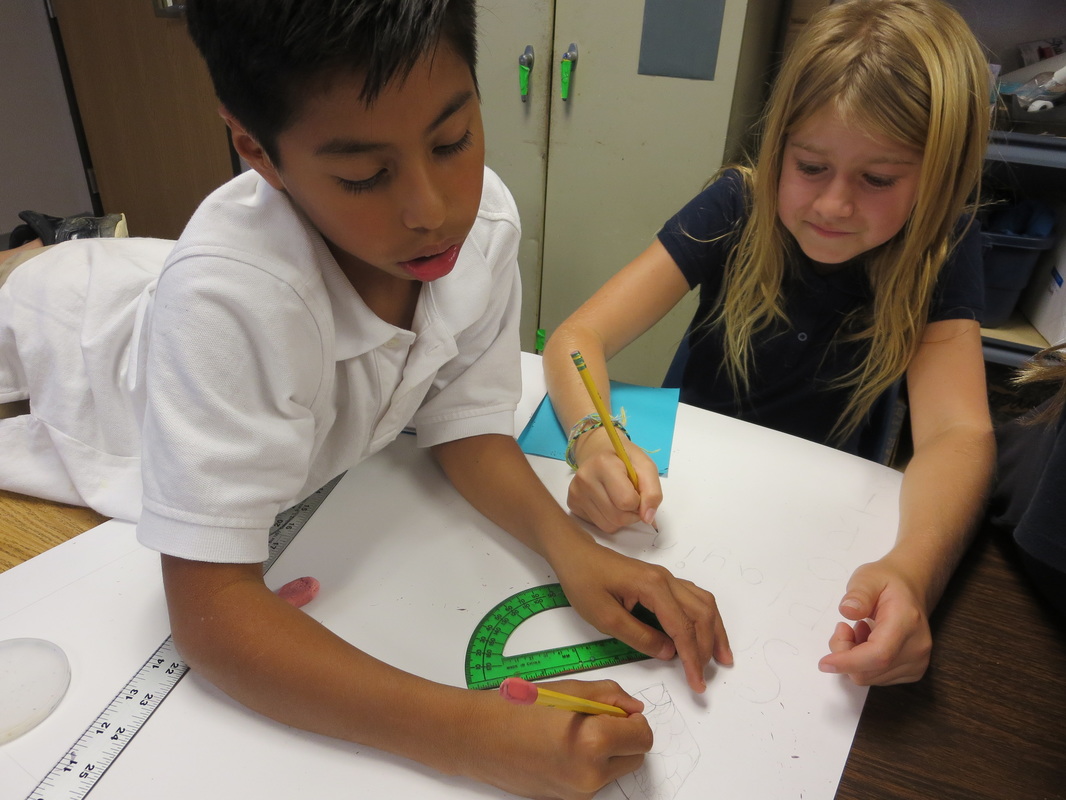 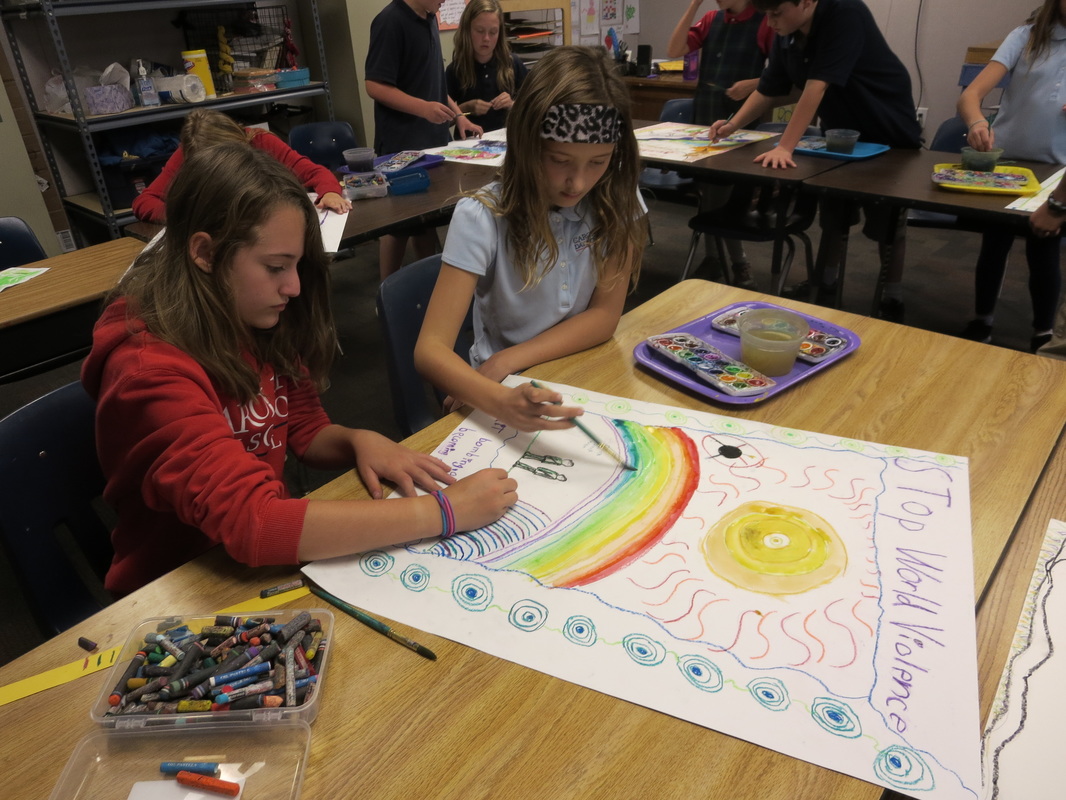 I really urged the students to challenge themselves to create art in the style of Hundertwasser rather than trying to create art that they think of as 'pretty' or 'nice' or how they usually create art. It really challenges students and helps them grow as artists when they try new styles and ideas. Again, the focus of this project was: bright colors concentric shapes repeating patterns abstract art lines images that influence the viewer 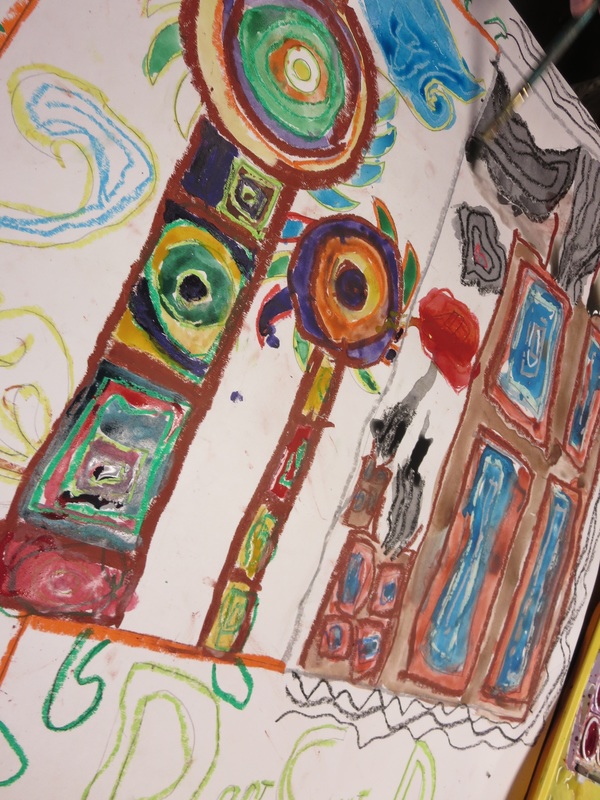 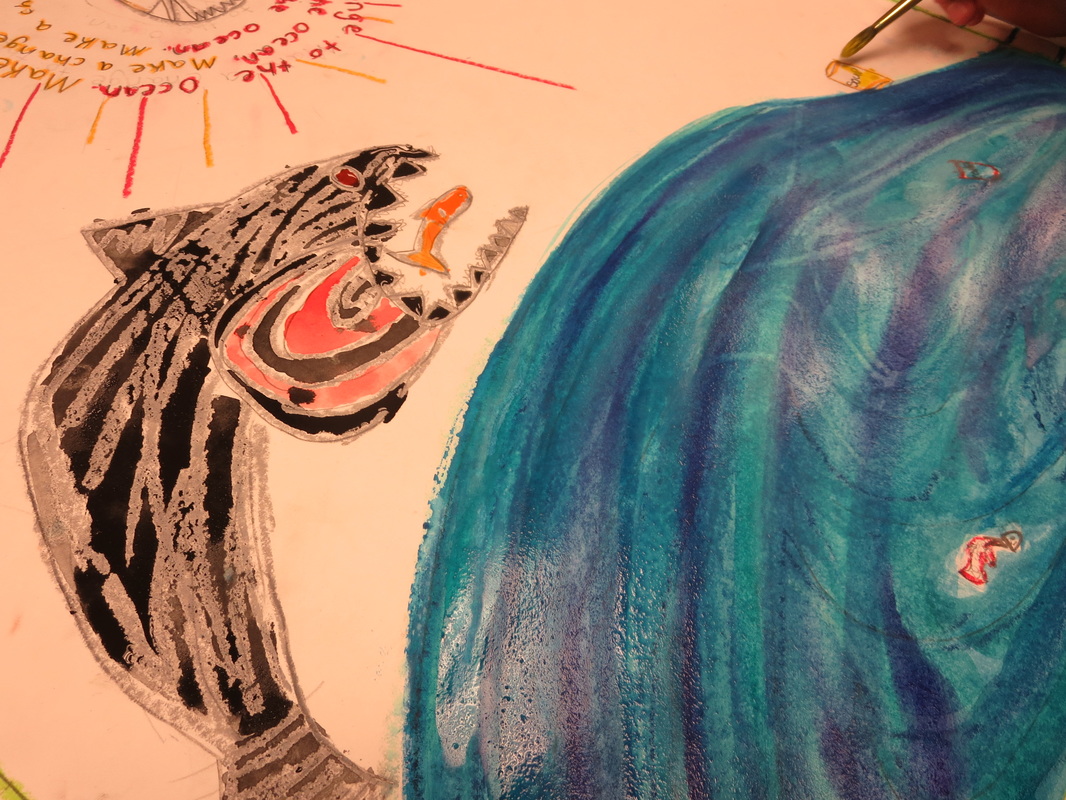 The end results are truly amazing. I am so proud of the 5th graders. It was a joy to watch the students start with brainstorming themes, create slogans, draw sketches, draw their image with pencil, and finish up their colorful masterpieces. Click the thumbnails below to see the finished posters! After the students were finished, I had them each fill out a worksheet with questions asking:
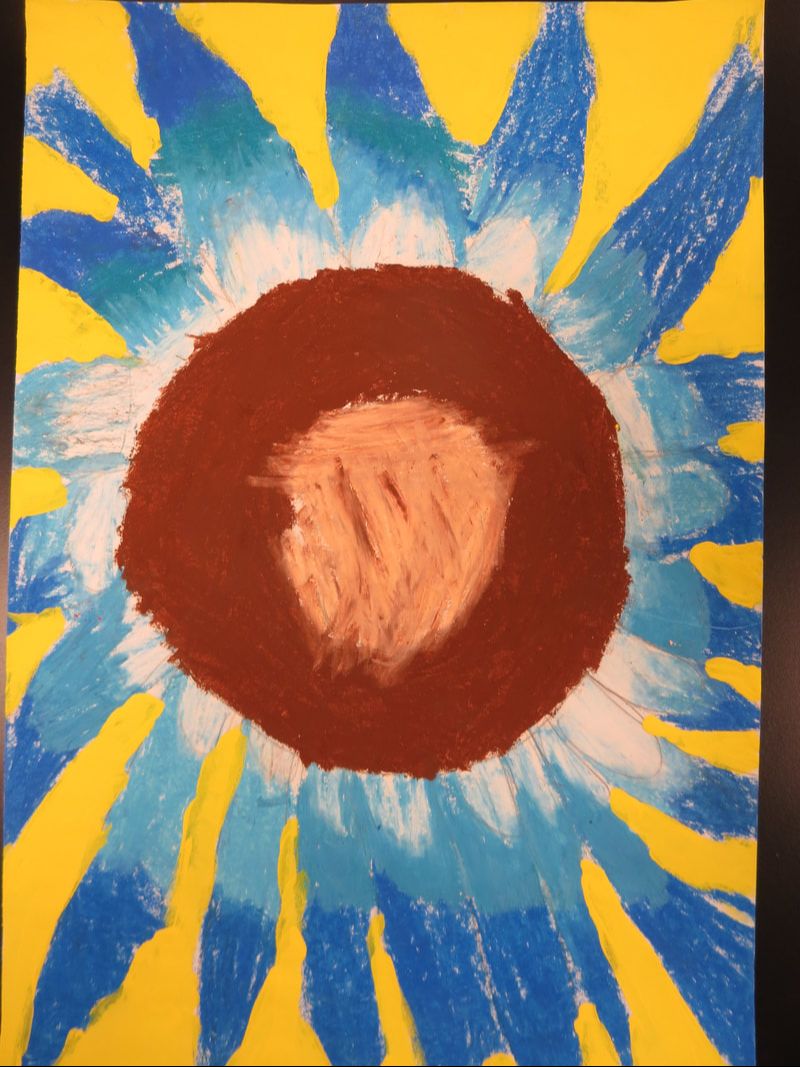
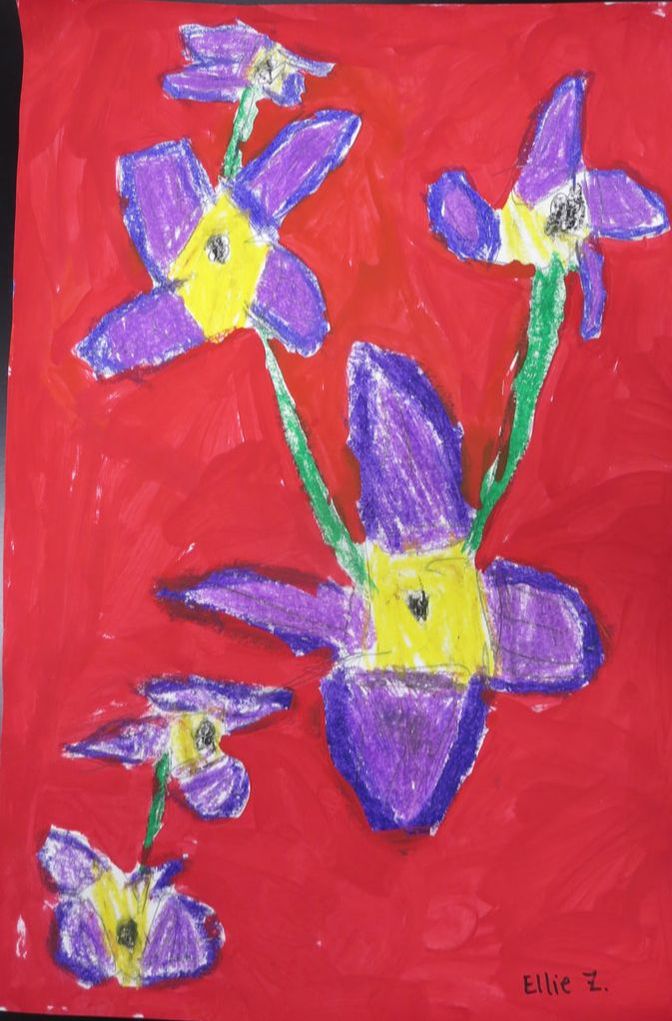
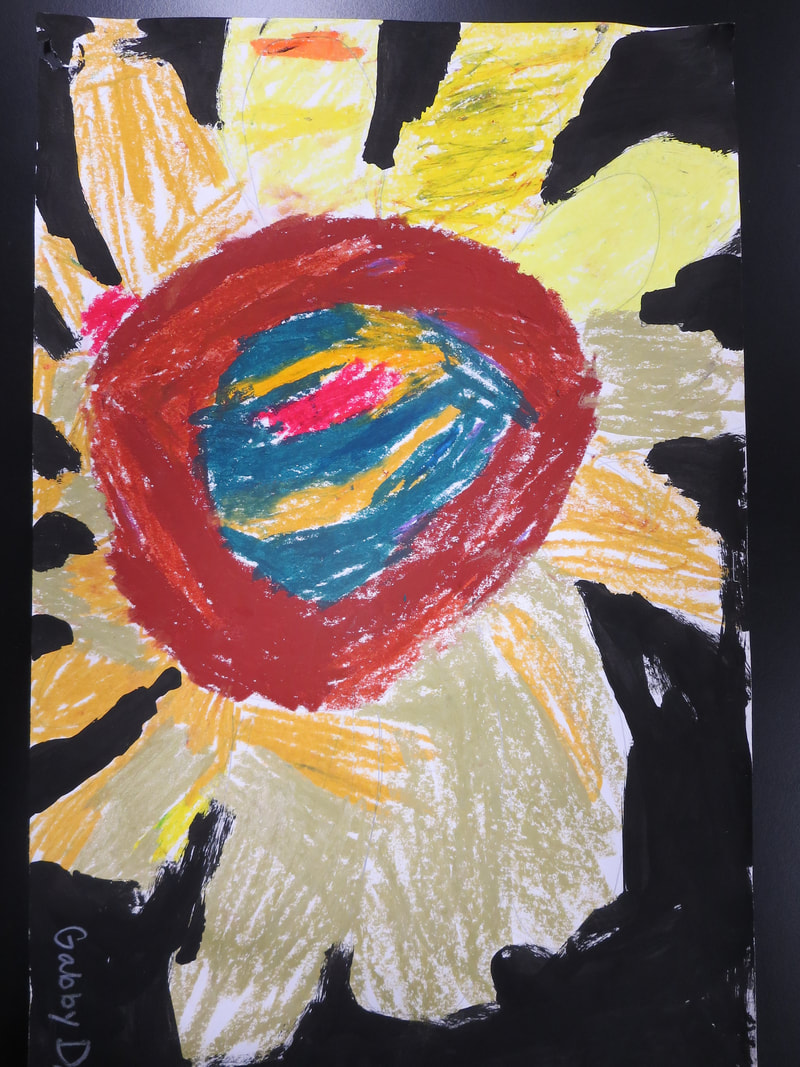
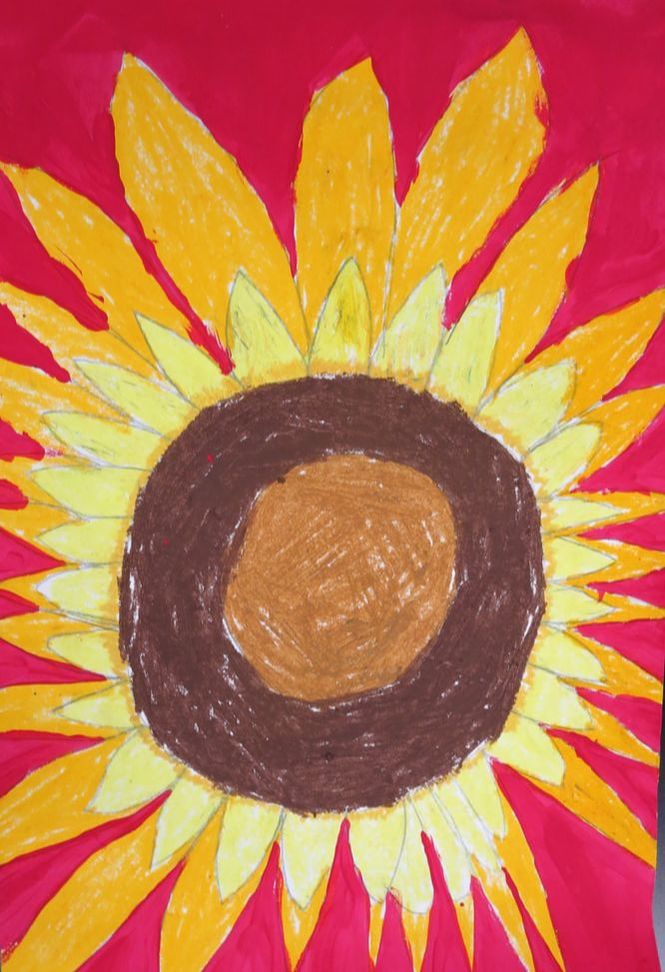
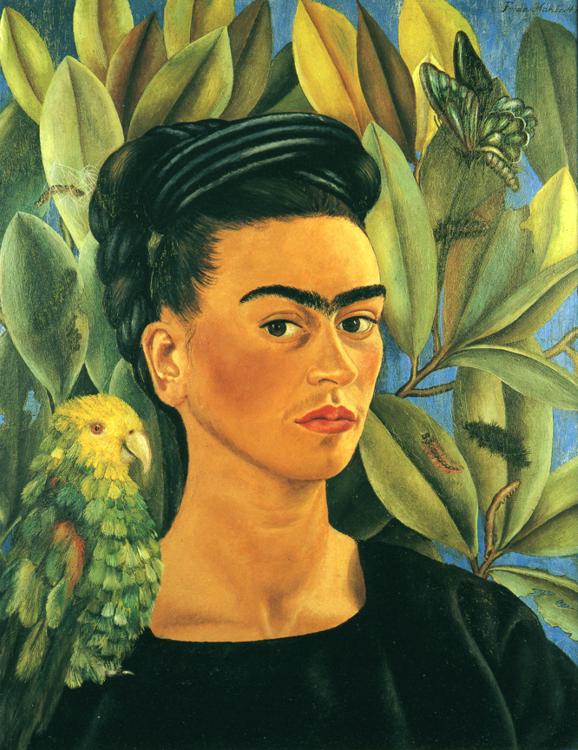
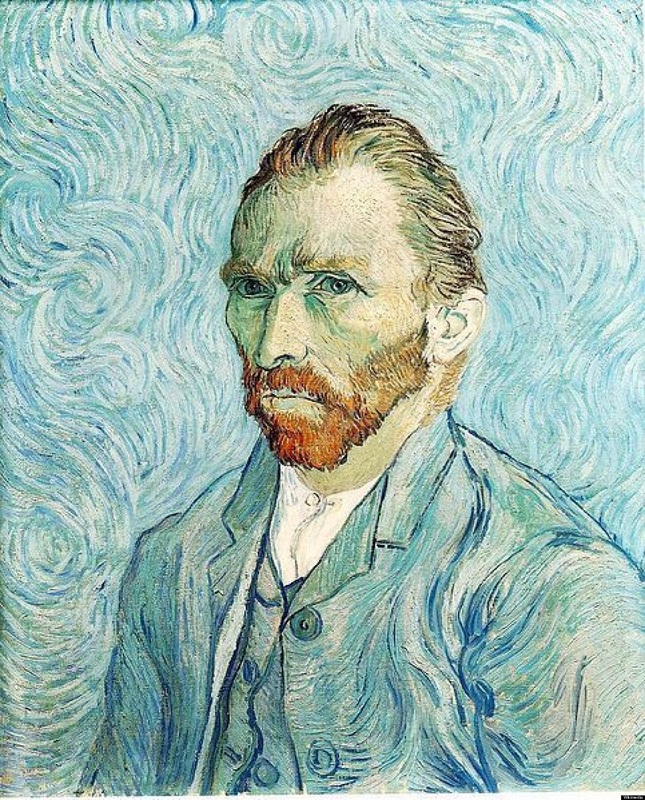
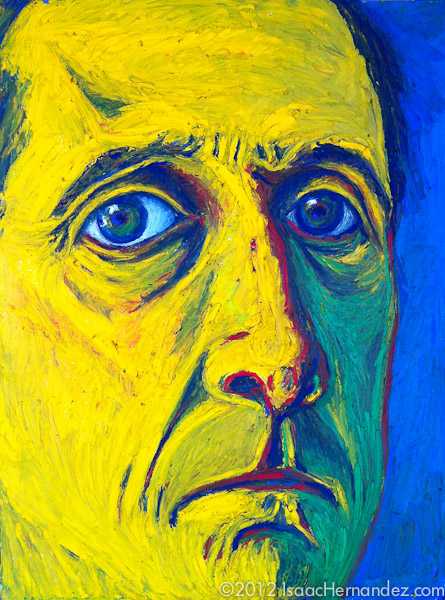
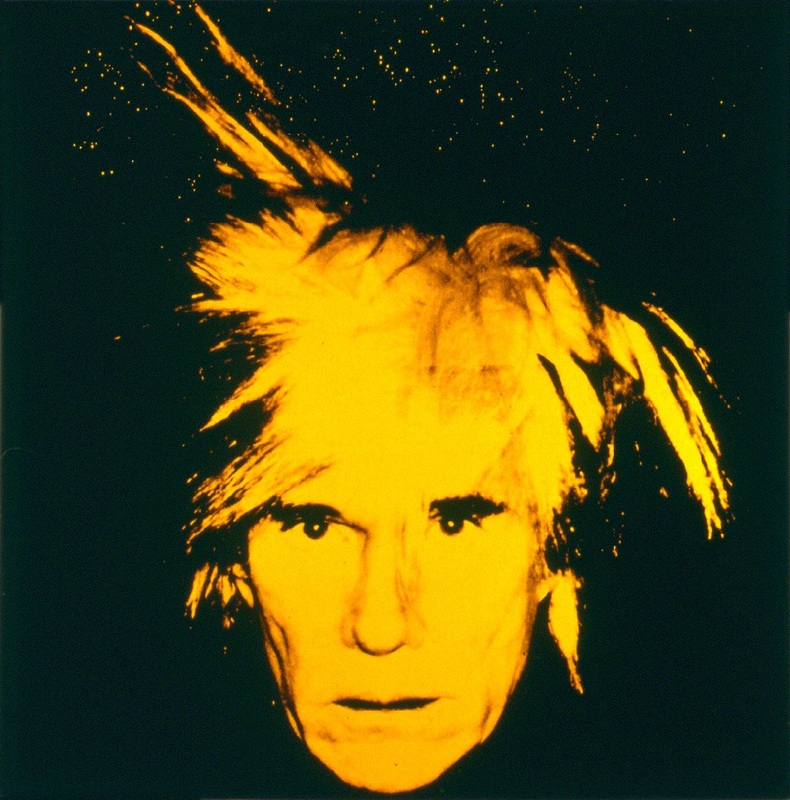
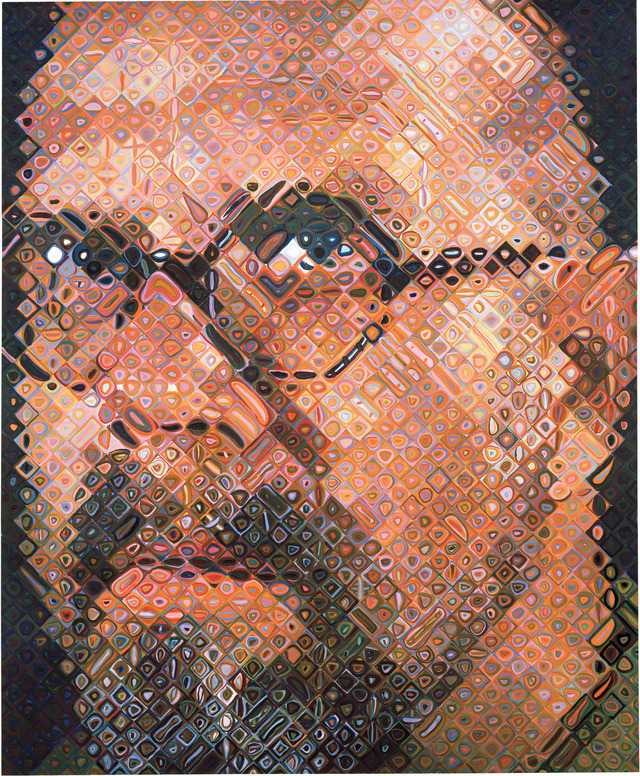
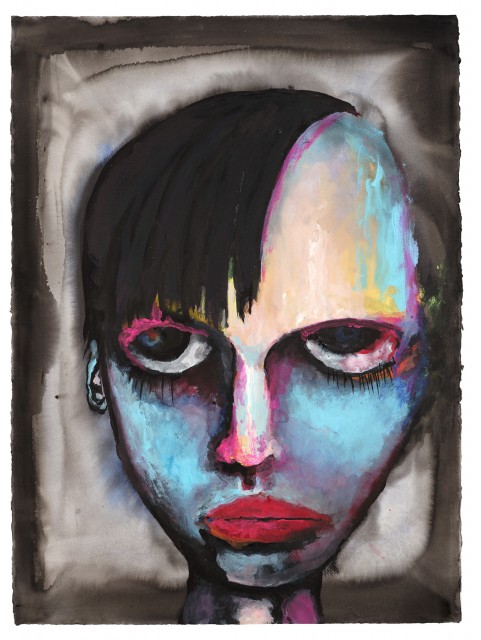
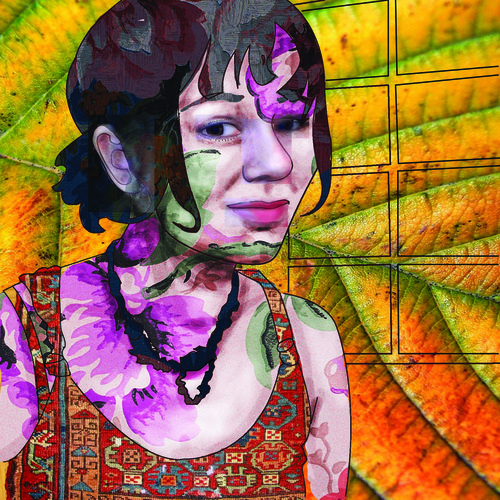
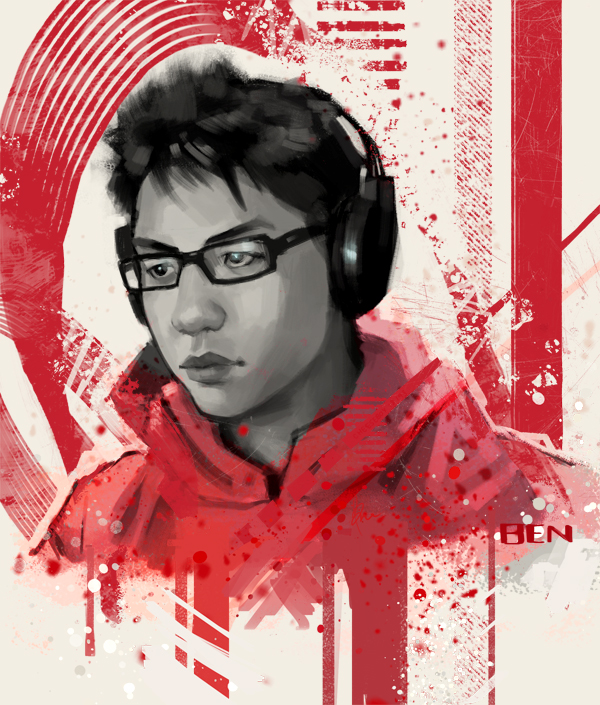
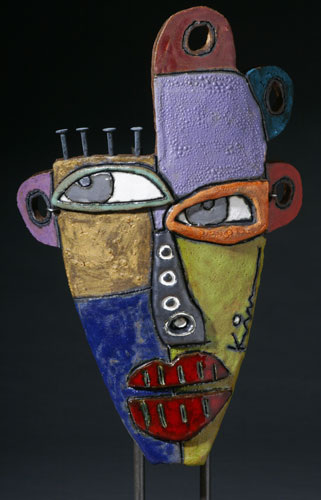
1. What is the theme of your art? 2. Why is this topic important to you? 3. What did you learn while doing this project? 4. What was your favorite part of this and why? 5. What was the most difficult part? Why? What did you do to resolve this difficulty? The answers were quite insightful. Many of the students favorite part was using oil pastels. Many loved working with a partner and getting to know someone that they would not have chosen to work with otherwise. Some enjoyed learning about Hundertwasser's art. As for the most difficult part, a large majority of the students thought it was working with a partner to create art. Some felt that it was hard to be accepting of other's ideas or to not be in control or to just physically share a space. Most worked through this by being more open-minded and getting to know the person better. It made me very proud to read how students chose to work through their challenges. 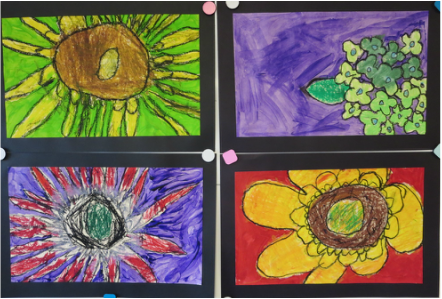 To create these beautiful Georgia O'keeffe-inspired drawings, students began by observing (artificial) flowers and doing large pencil drawings on 12" x 18" paper so that the image filled the whole page. Before beginning, we looked at images of O'keeffe's amazing artwork and reflected on her quote "I found I could say things with color and shapes that I couldn't say any other way - things I had no words for." The next step was to use acrylic paint to paint the background space of the work. This was inspired by O'keefe's style of painting her backgrounds very simply and often just one color. Students used oil pastels to color the flowers and outlined with black. This project took just two class periods and was very successful. A great end-of-year project! 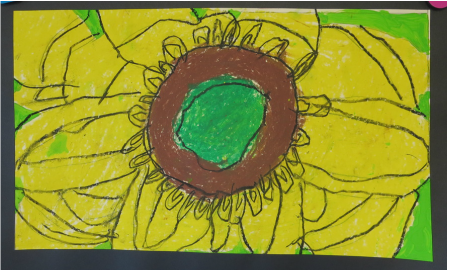 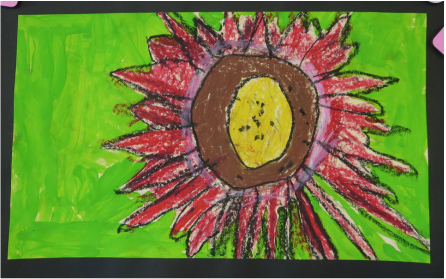 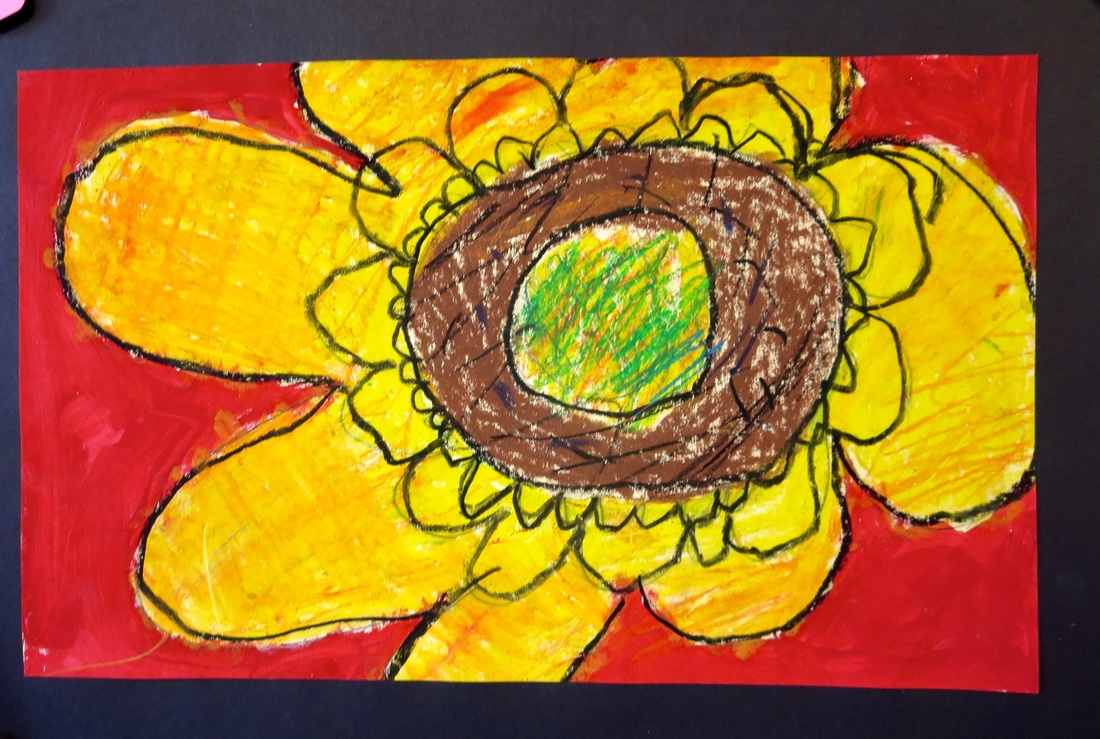 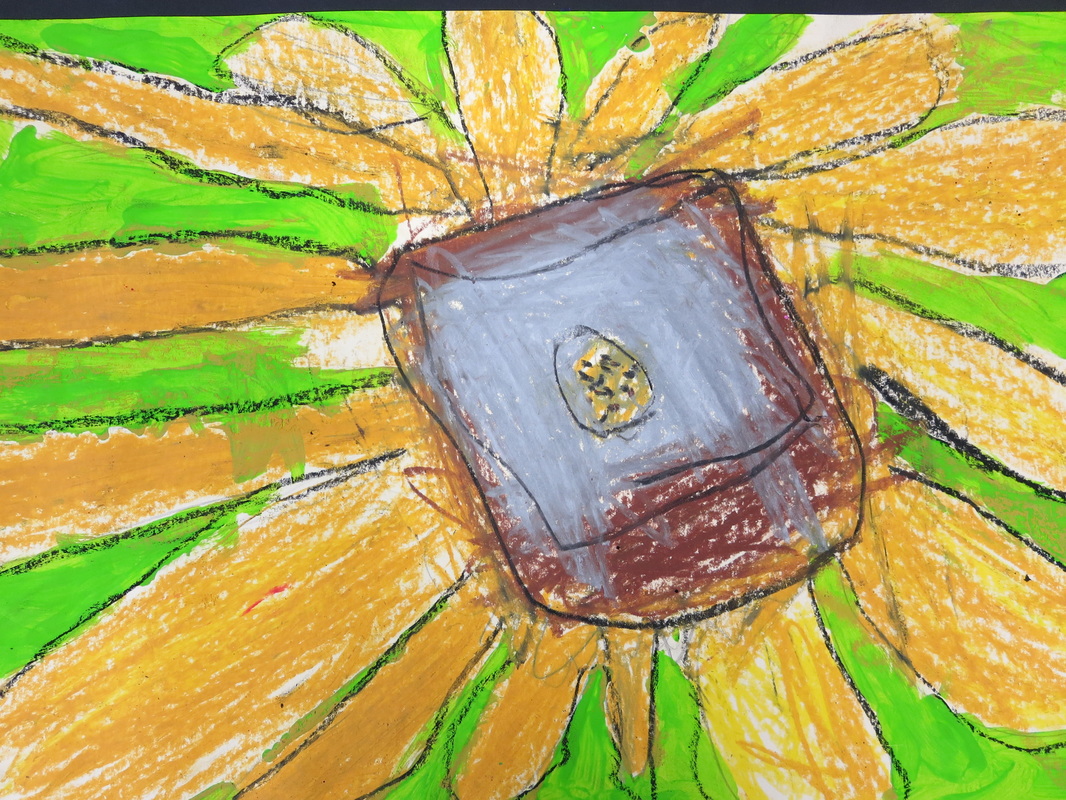 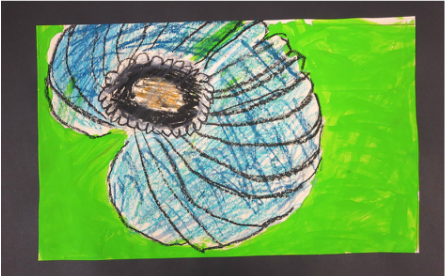 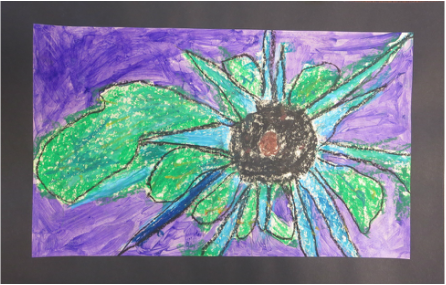 WHO AM I??? 5th grade students looked at and discussed many images of self-portraits by other artists. As we went through the images, I really pushed students to think about how this represents WHO the artist is. I asked them to try to look past the obvious such as hair color and gender, but rather to question what the different elements of the portrait might symbolize. 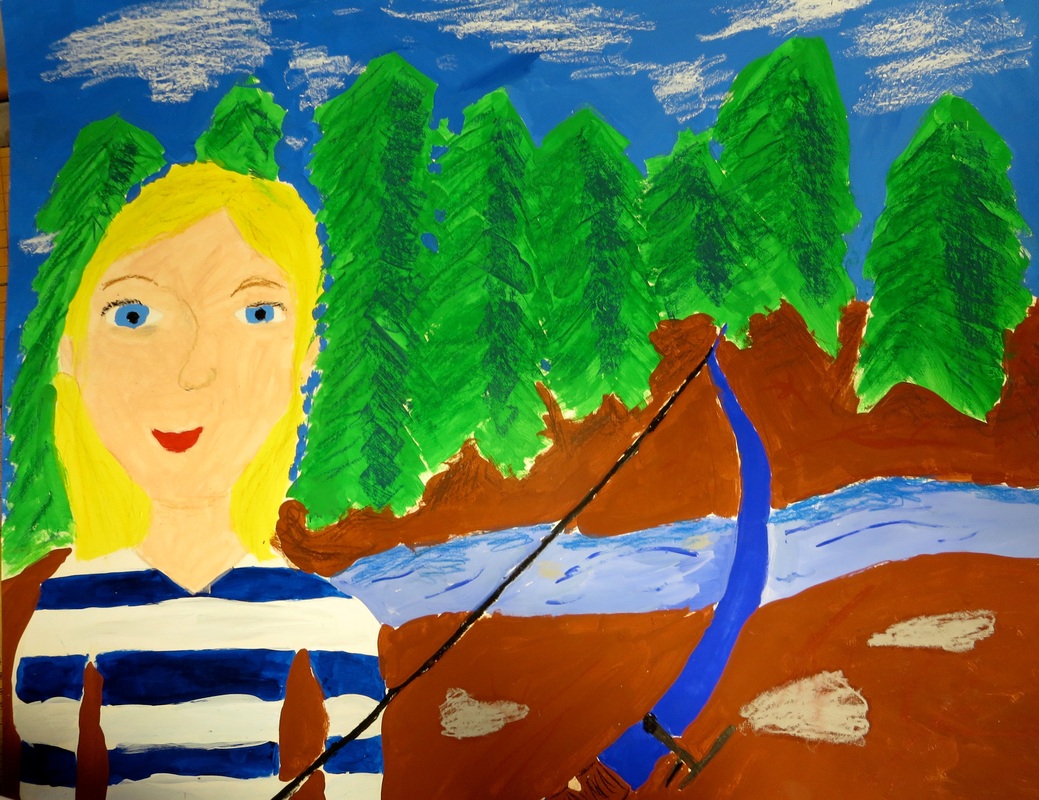 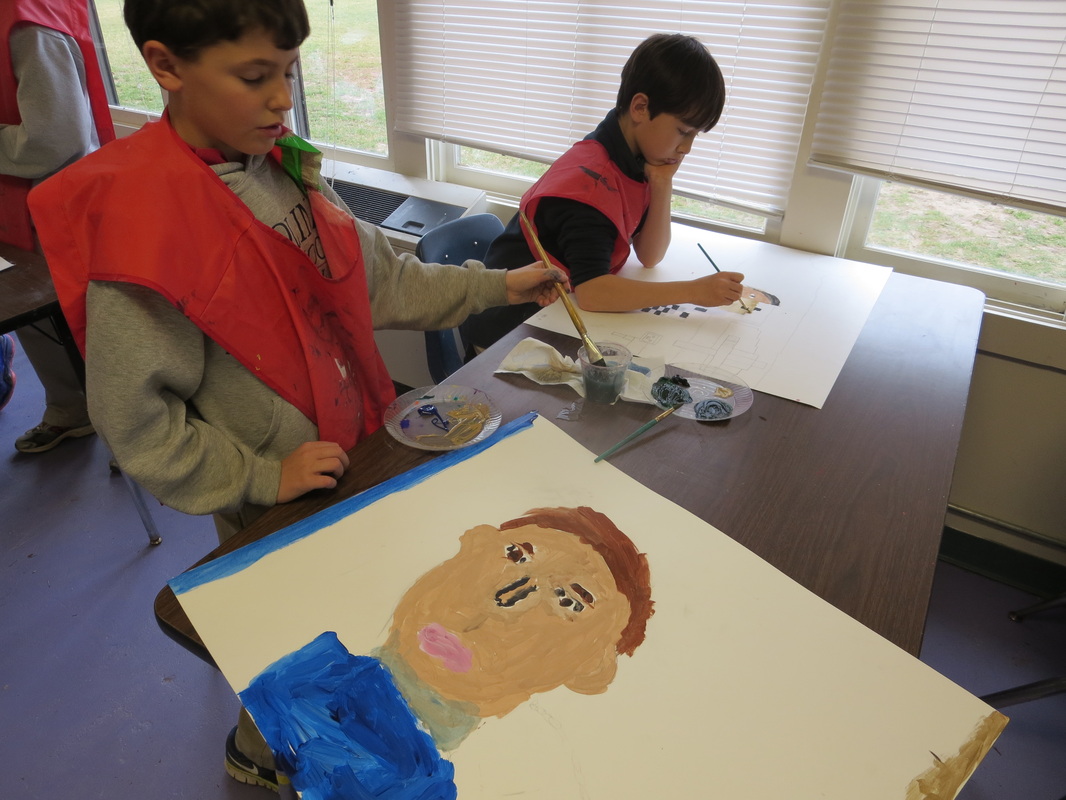 Students talked about colors used, background, symbolism of jewelry, painting style, facial expression and more. Their ideas were insightful and complex. This discussion about self-portraits made me very proud of the 5th grade students. After this discussion, students made lists about themselves to prepare for creation of their own self-portrait. They wrote things like favorite colors, meaningful places or experiences, hobbies, and such. Using this list for inspiration, students did at least three thumbnail sketches (small sketches) to come up with multiple ideas. Next students had to create their final self-portrait showing WHO they are. They did this on large poster board paper beginning with a pencil drawing, moving onto acrylic paint and then finally adding details with oil pastels. The results are super fun, very creative and expressive! 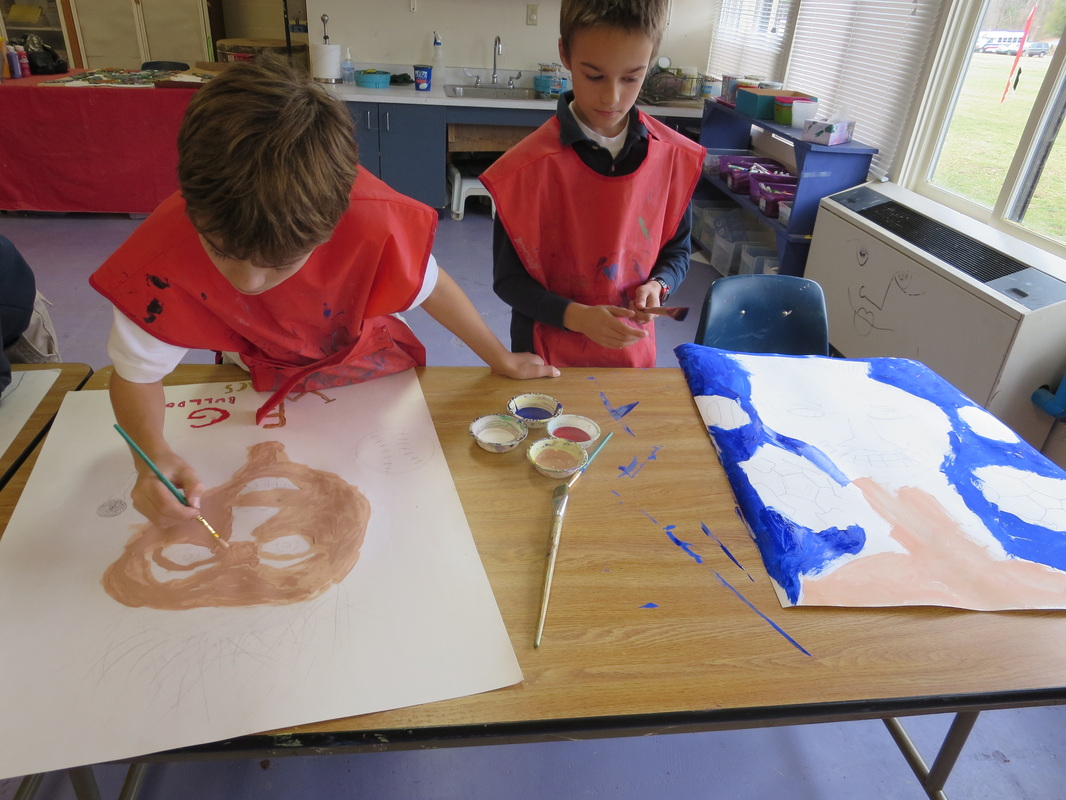 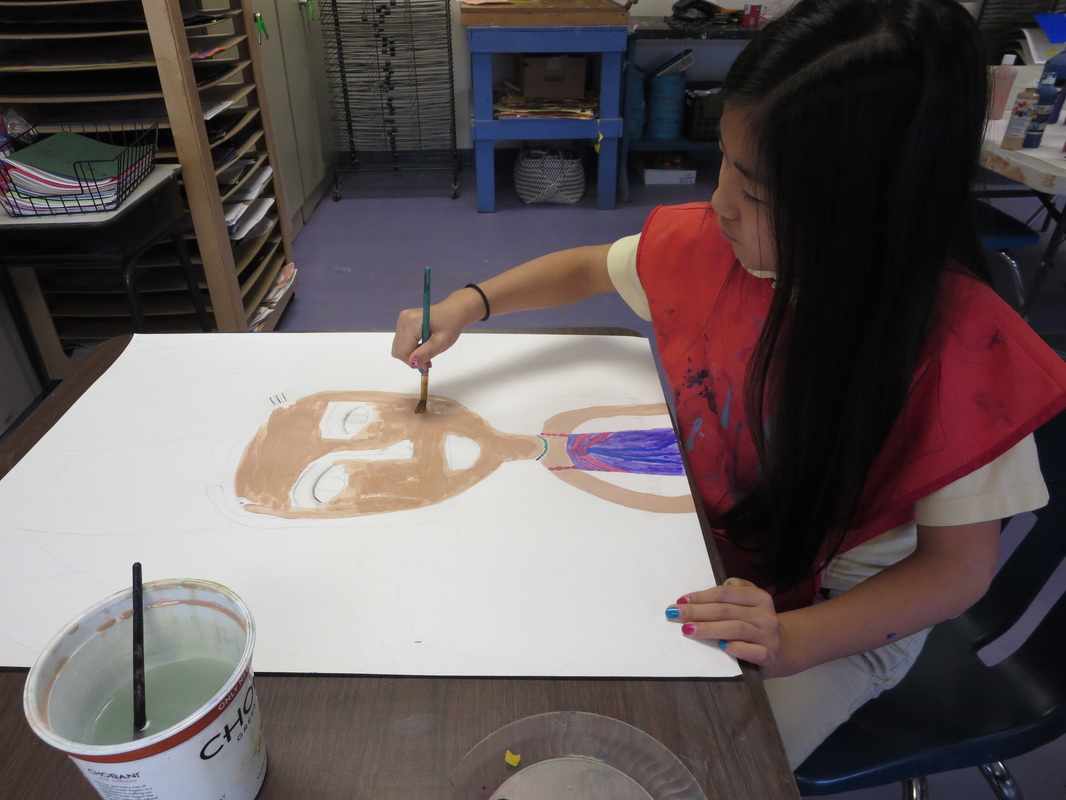 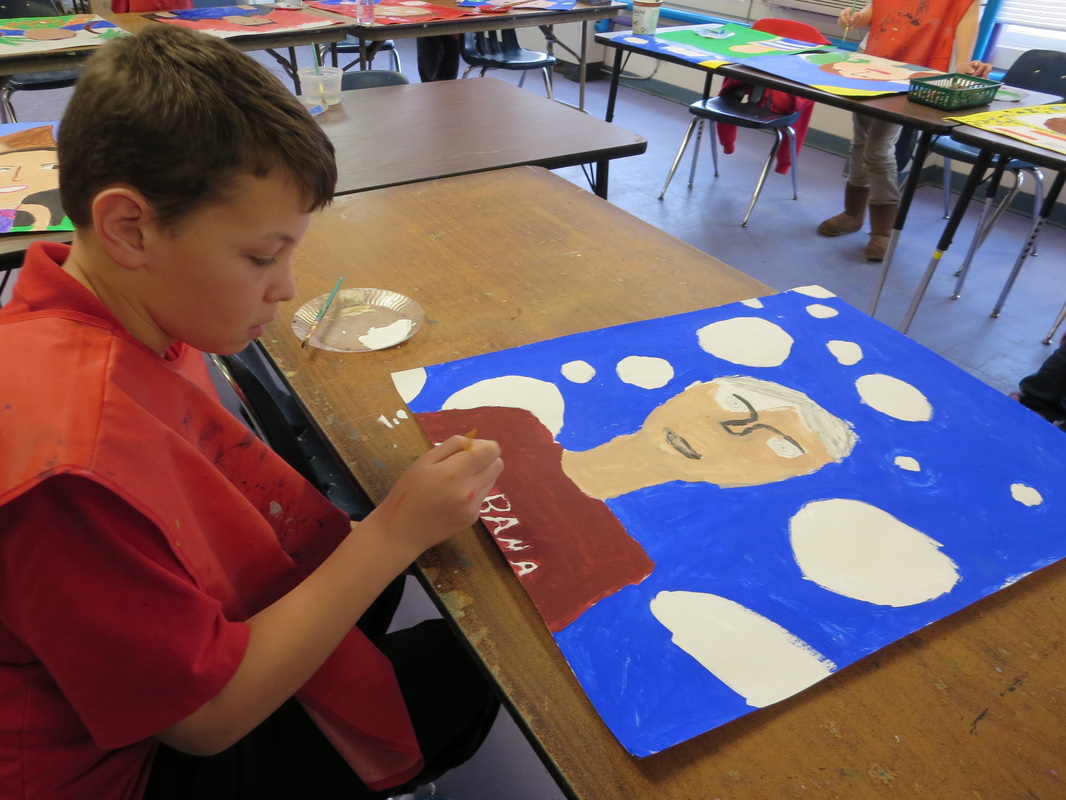 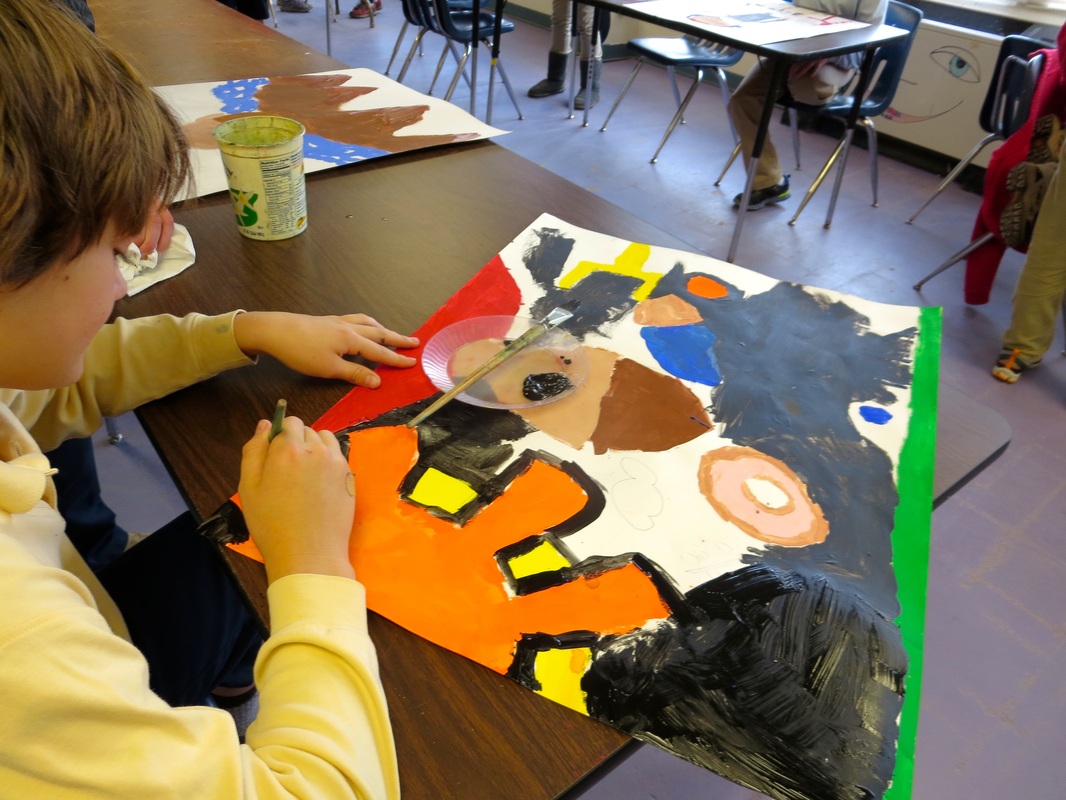 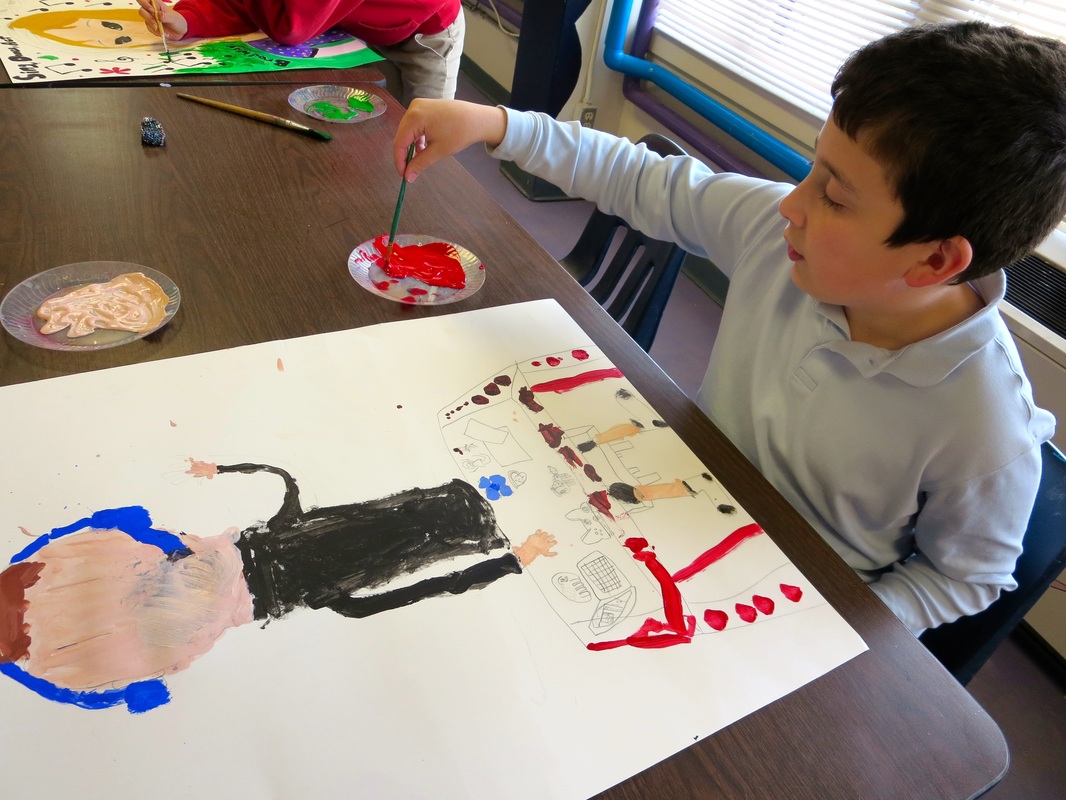 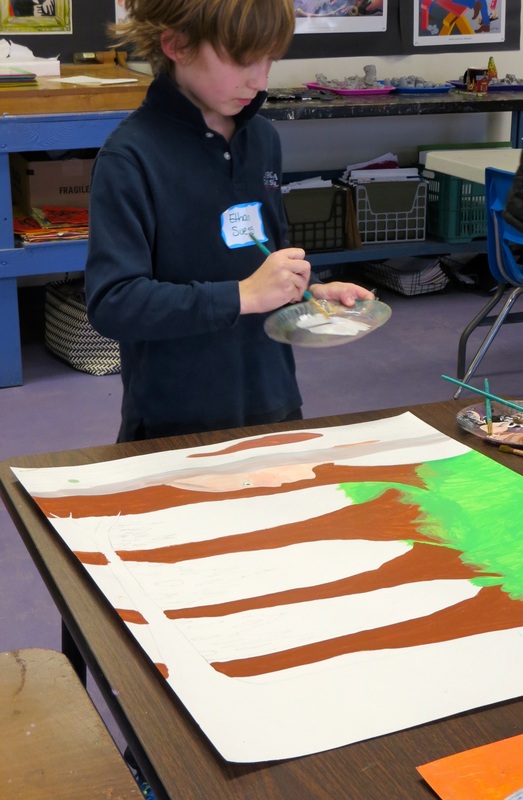 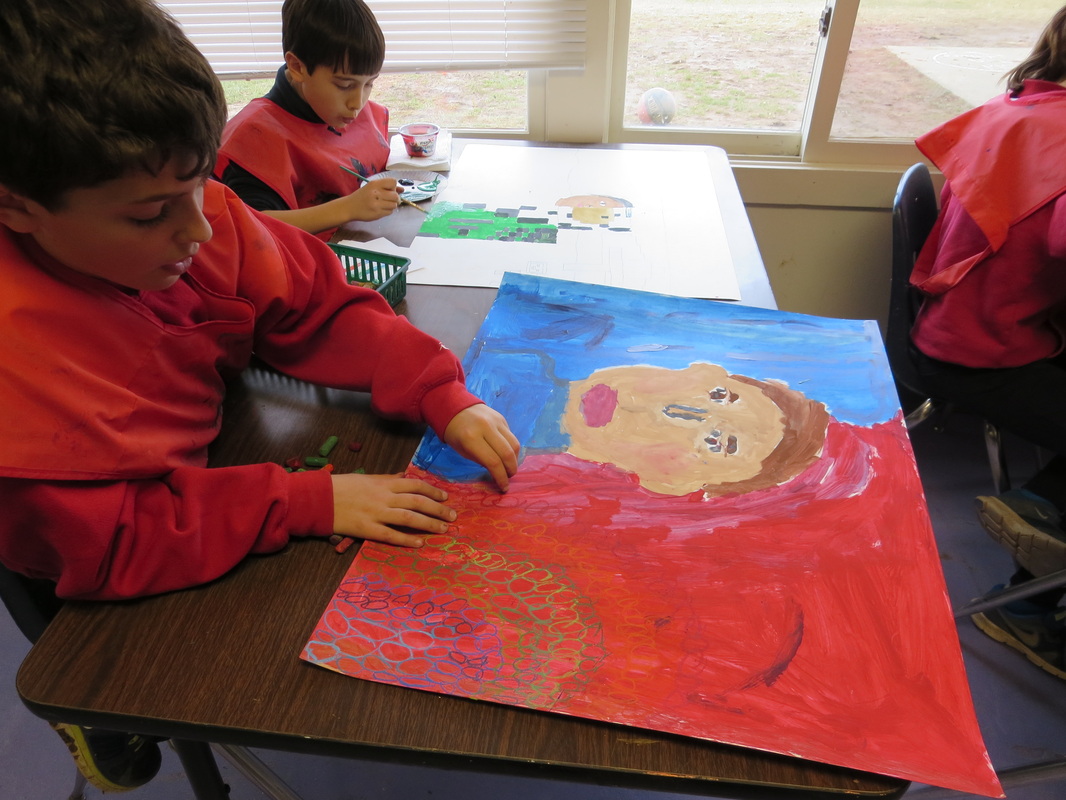 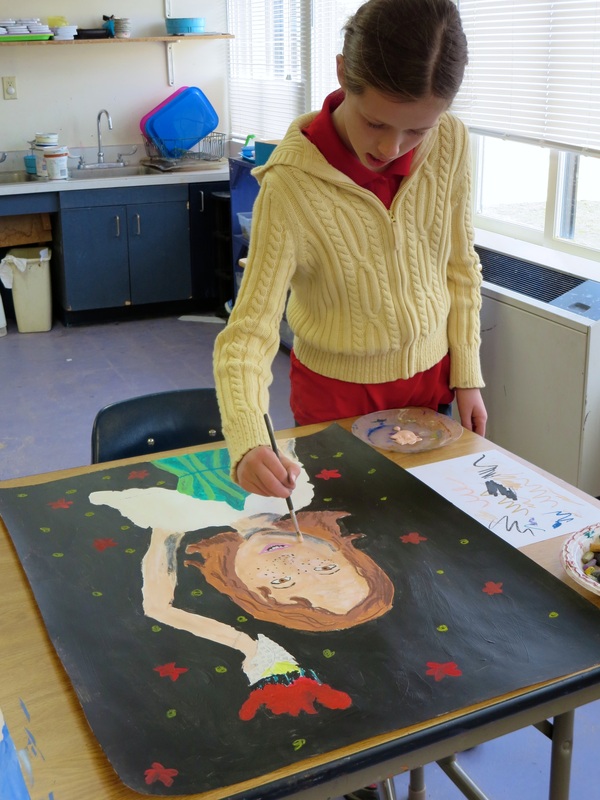 Some of the finished products: 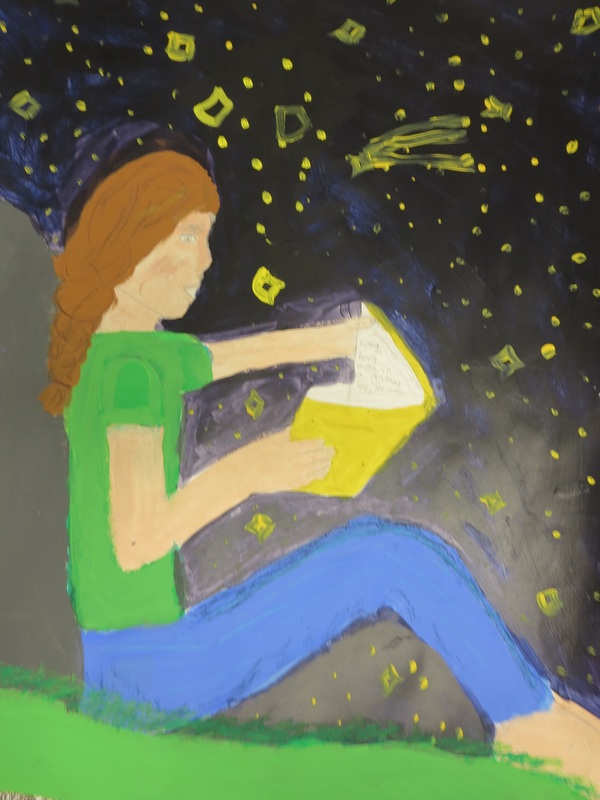 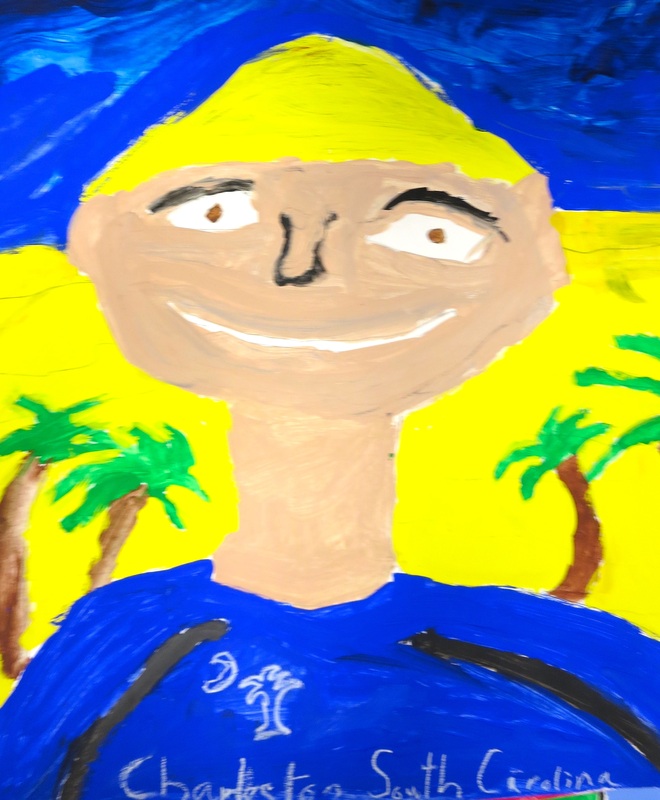 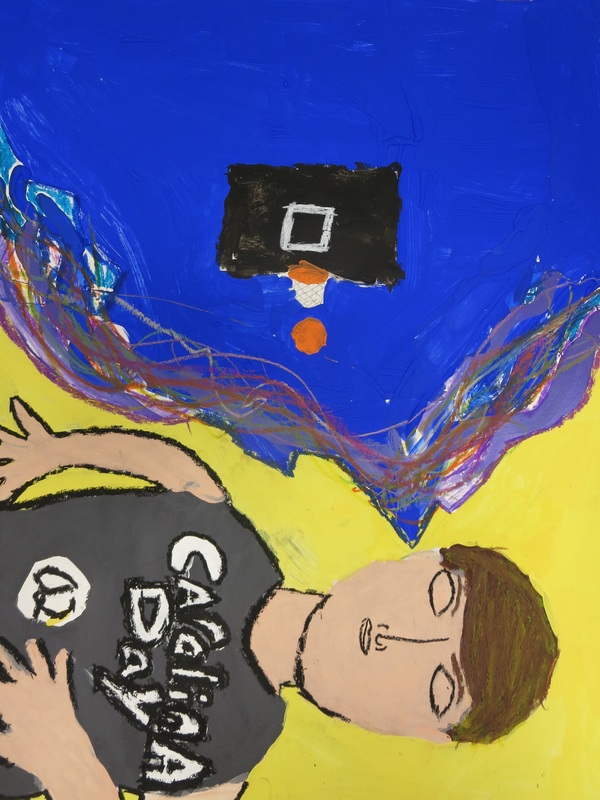 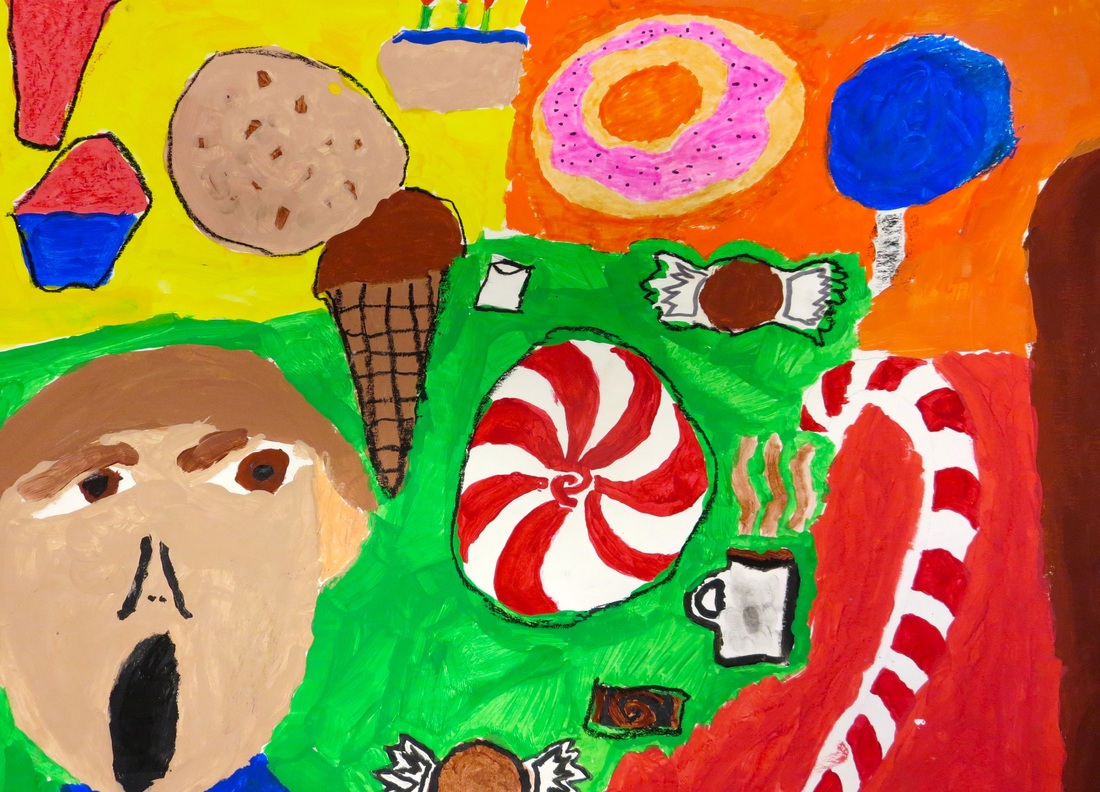 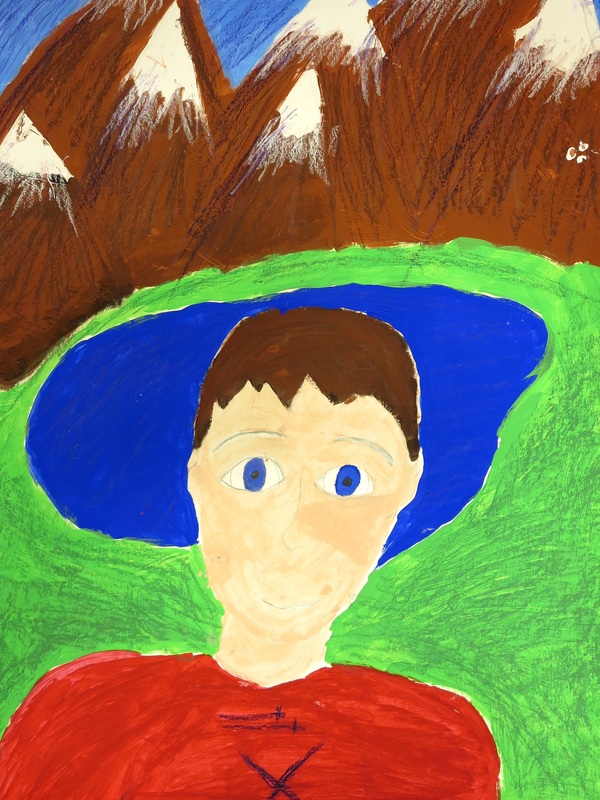 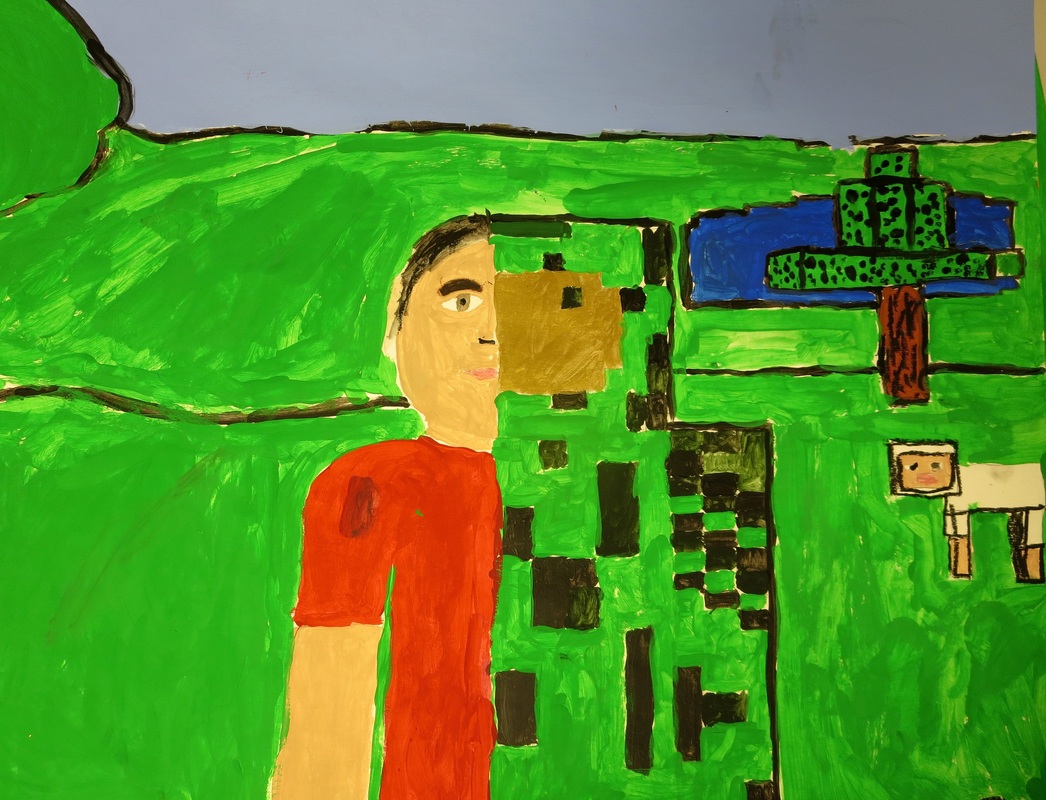 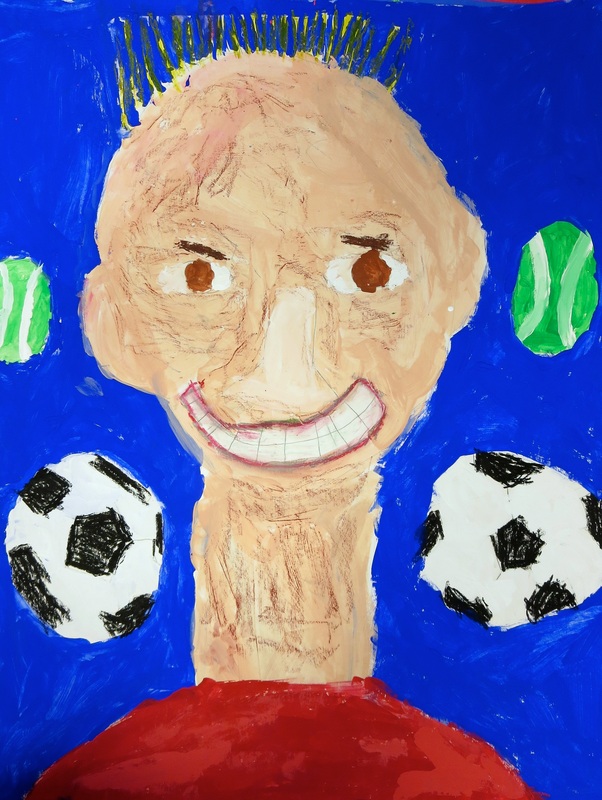   3rd grade students did two fish projects using totally different materials. The first were clay slab fish. To make these, each student started with a slab of clay and they had to cut the clay into different shapes and layer to make a fish. Adding texture using different materials and techniques was the focus during this process. Students used texture plates, knives, forks, stamps, marker tops, etc to do this. After the fish were fired in the kiln, we used an oil pastel resist method to add color to the fish. They started by using oil pastels to cover the fish in bright colors. After the fish was nice and colorful, we used watered down acrylic paint to completely cover the fish. When rinsed under water, the oil pastels show through and the paint covers the areas that were not colored. These turned out AMAZING. 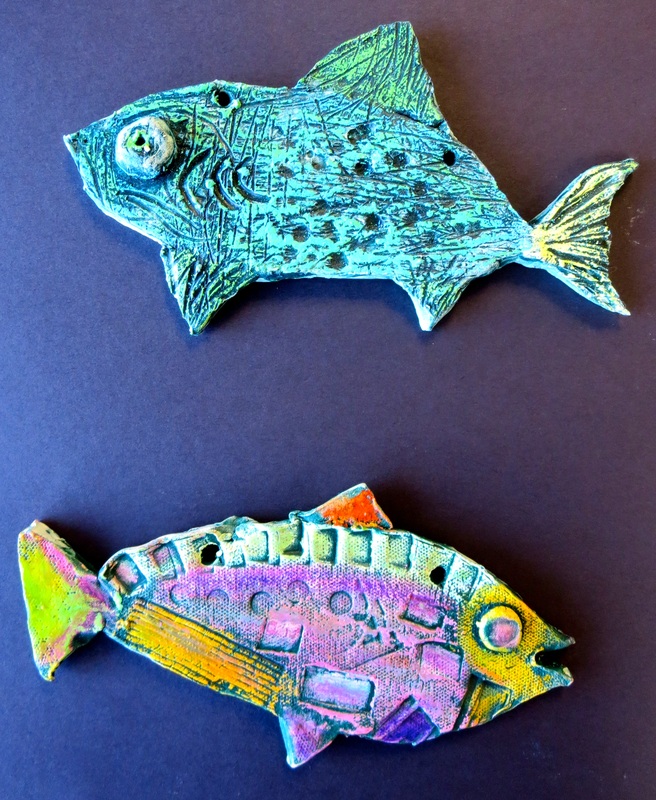  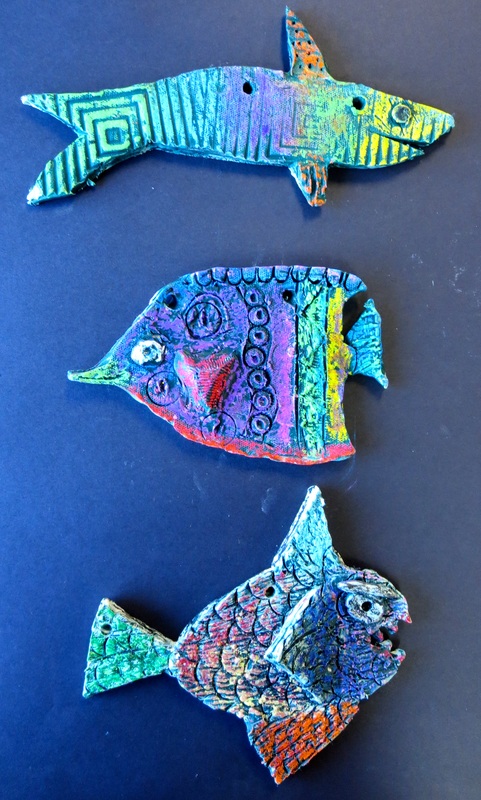 For the second fish project, 3rd graders selected a photo of a fish that they liked. They tried their best to use observation skills and create a life-like fish drawing. They began by drawing the outline with pencil and moved on to use oil pastels. Rather than covering the whole fish with the pastels like they did on the clay, they just drew the outlines and textures such as scales, stripes, etc. After the oil pastel, students used watercolor paints-plain and neon-the create the most realistic fish possible. Students had to focus on showing highlights and shadows seen in their fish image and tried to really capture the different colors seen in the photograph. After these were all done, I spent time cutting them all out and hanging them in the hallway to create a fun underwater scene. These turned out really amazing as well. Definitely a project that I will continue in future years. 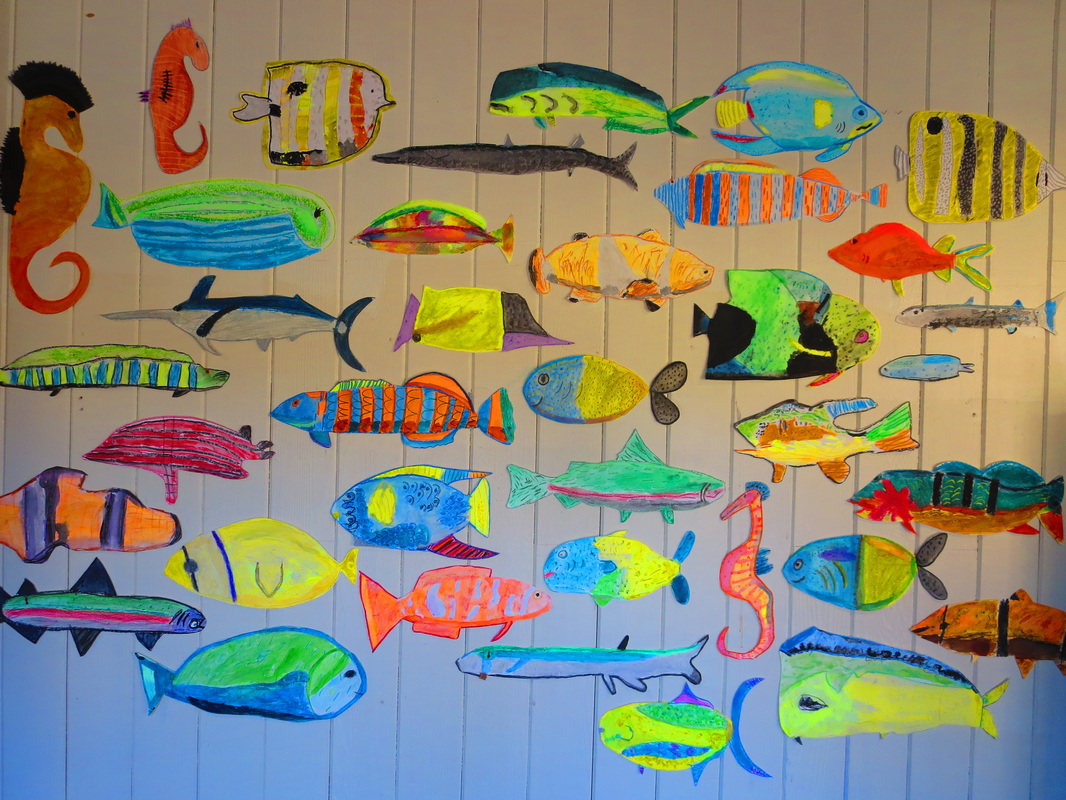 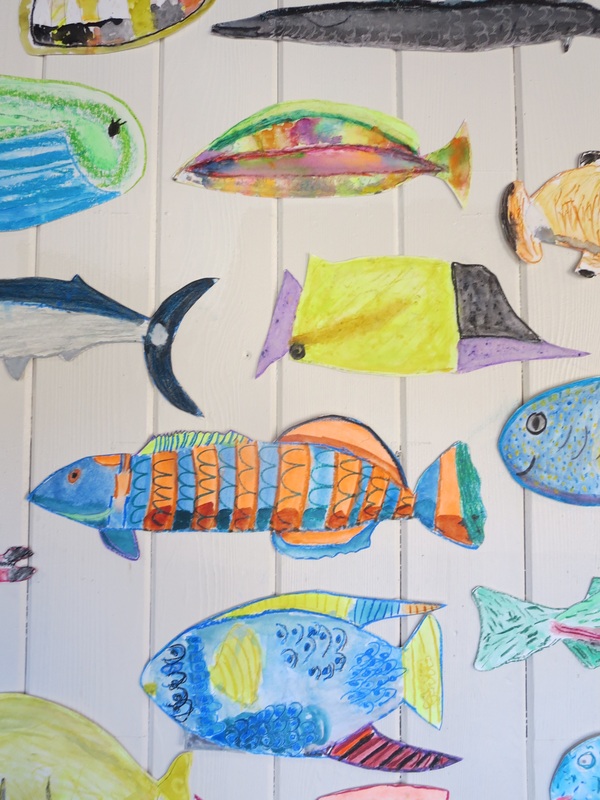 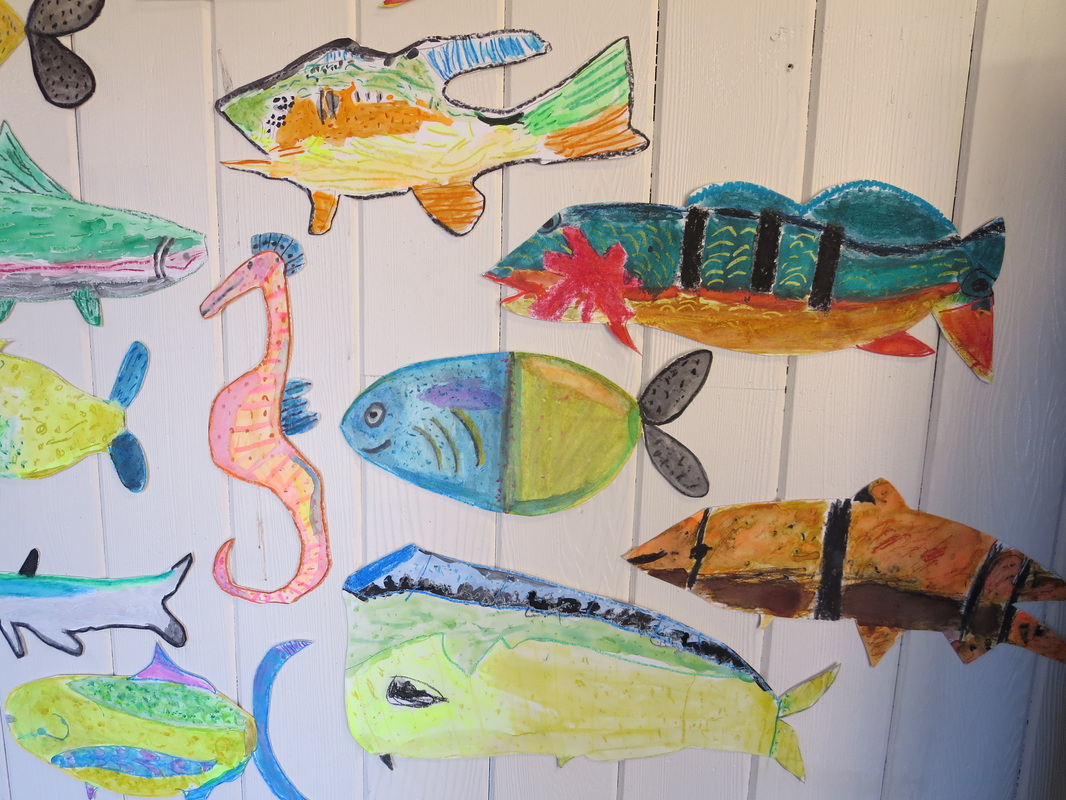 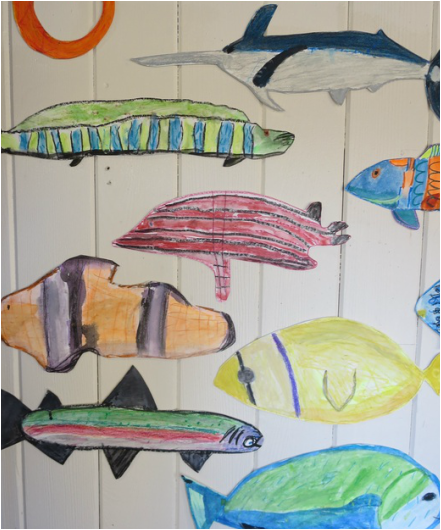 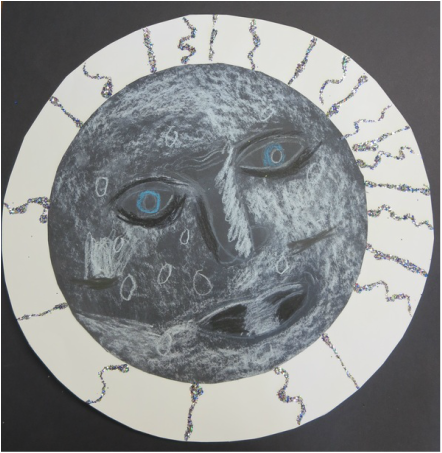 This is a lesson from my amazing friend Mary Ann whom I student taught with at Evergreen Community Charter School. I observed her teaching this to her third graders last year and fell in love with the project. As my 3rd grade students this year were learning about astronomy, I decided that there would be no better time to teach this super fun project. I love this project because the end result is amazing. Also, there is glitter. And I love glitter. Step 1. Students cut out large black circle. Step 2. Students look at images of the six basic human emotions, moonscapes, and fun moon face art found online. Step 3. Students use white oil and chalk pastels, black oil and chalk pastels and a few extra colors thrown in for the mix (browns, blues, etc) to draw a large face on their moon. They must select on the the six emotions to try to capture. Step 4. We talk about highlights and shadows. They use the white and light colors to create highlights, dark for shadows. A few students understood this concept right away, other really struggled to understand. Step 5. Add moon characteristics such as craters and clouds. Using the long side of chalk pastel to rub over surface creates nice shadows and clouds. Step 6. Cut out large white circle to glue behind moon face. ***Step 7. Write a poem about the moon beginning with the words "I am the moon" (this was my favorite part) Step 8. Copy poem on white circular paper. Step 9. Use glue to add glitter to white circle or around moon eyes. Step 10. Be super excited about how adorable or funny moon is! 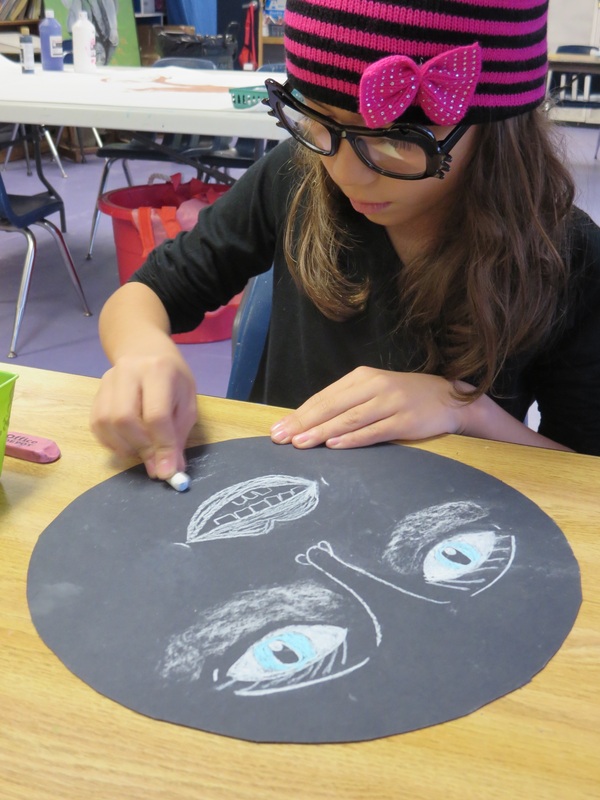 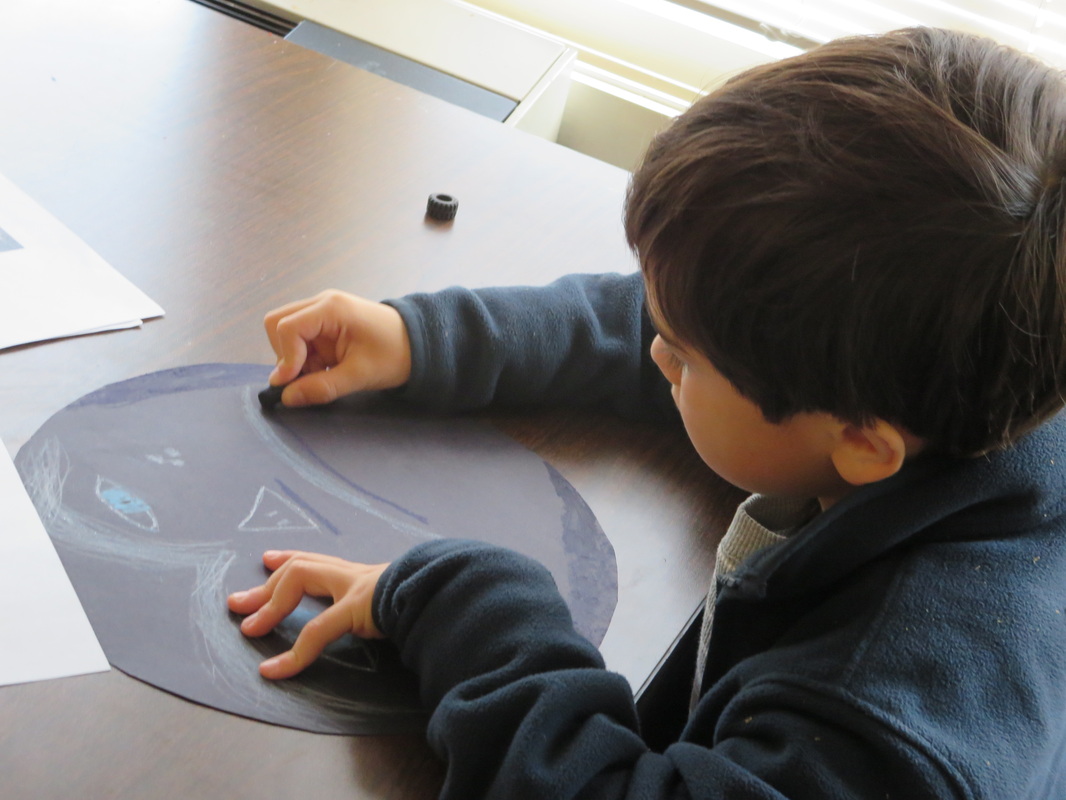 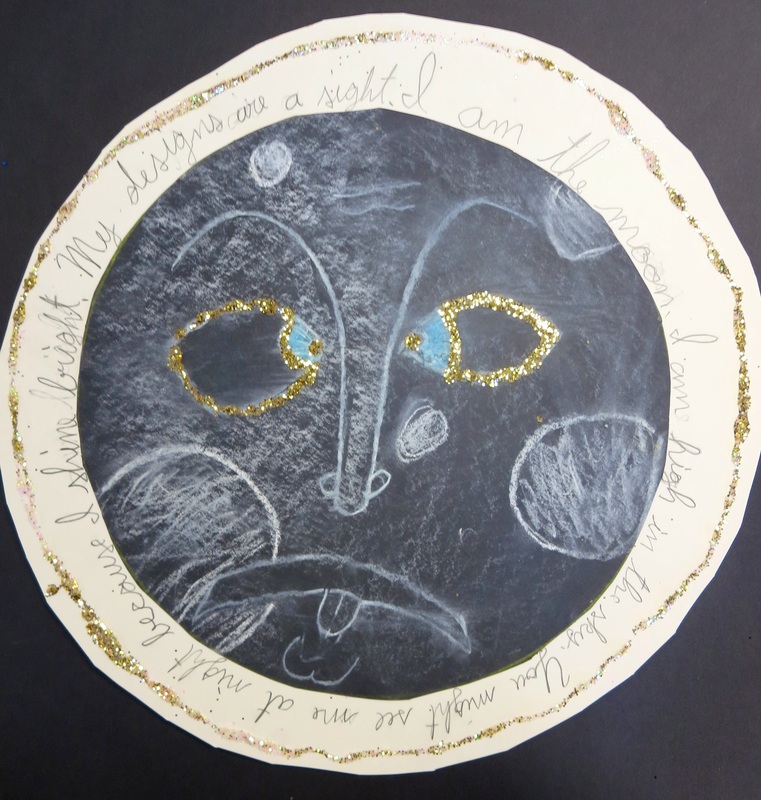 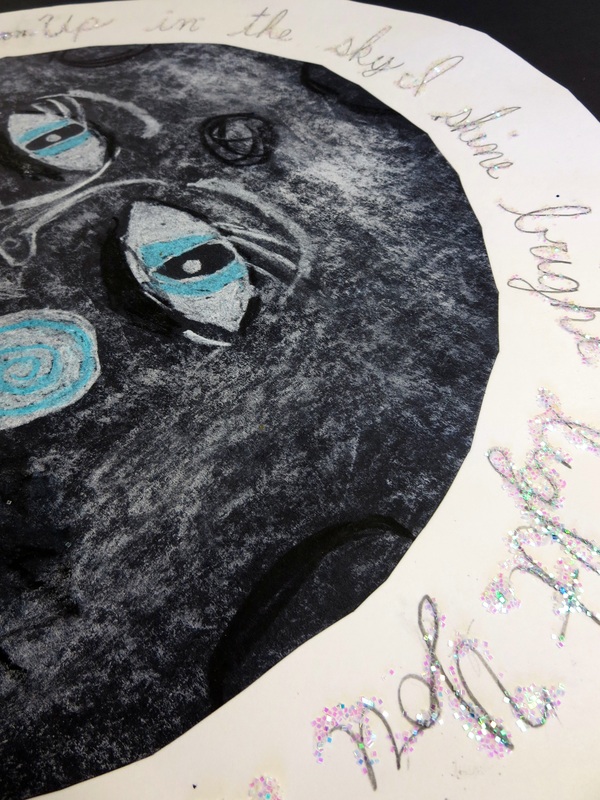 "I am the moon. I am high in the sky. You might see me at night because I shine bright. My designs are a sight." 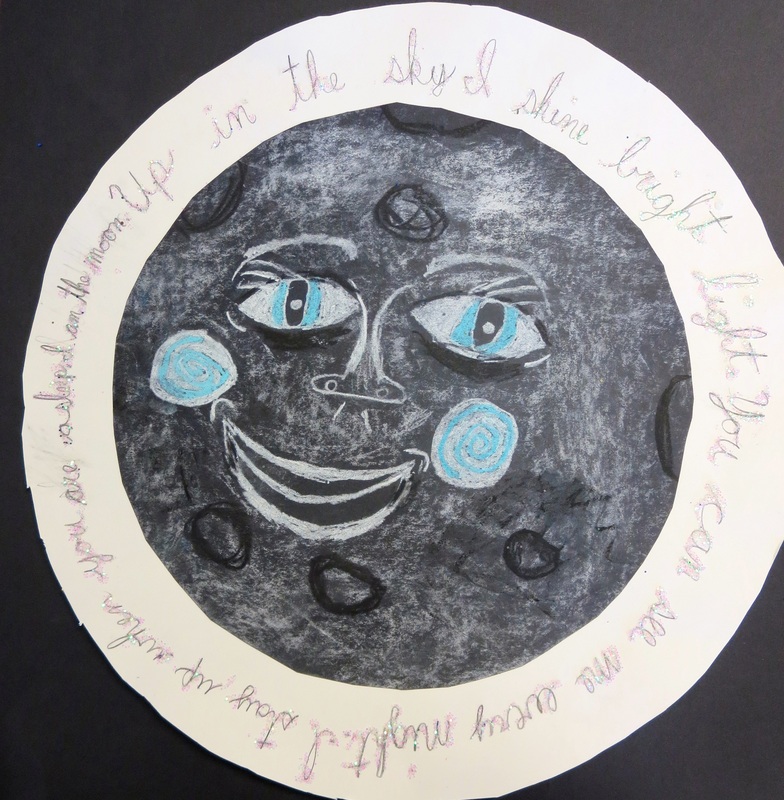 "I am the moon up in the sky I shine bright light. You can see me every night. I stay up when you are asleep." 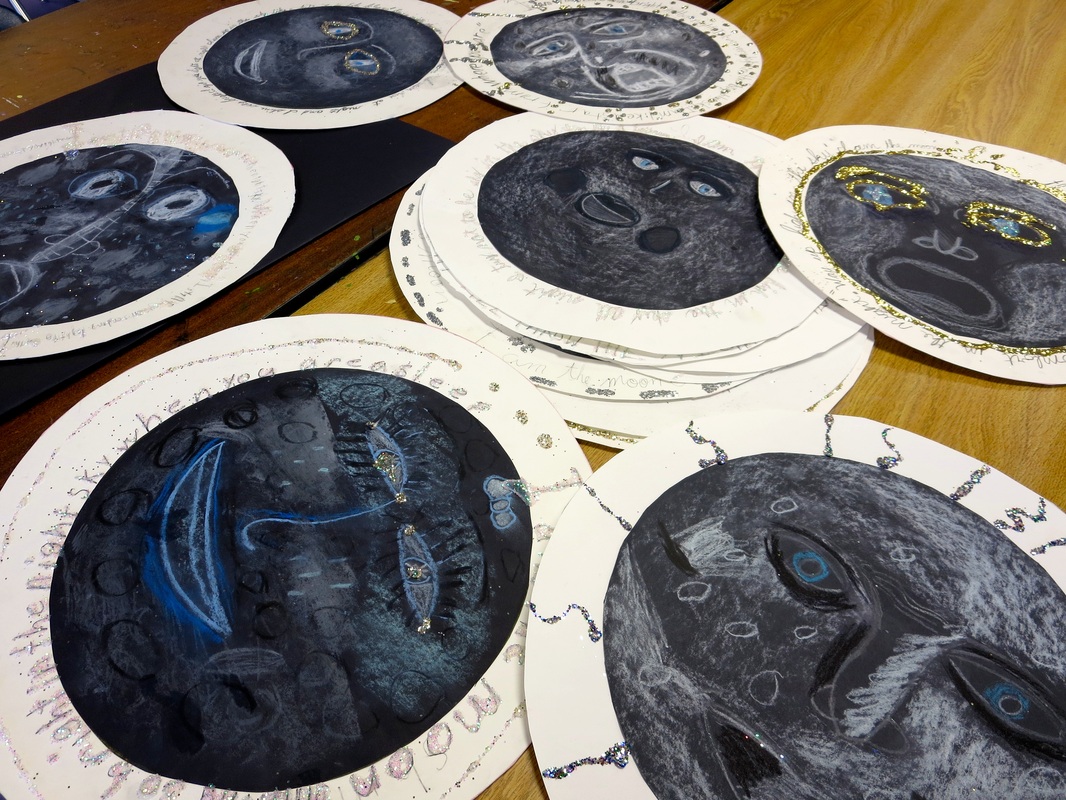 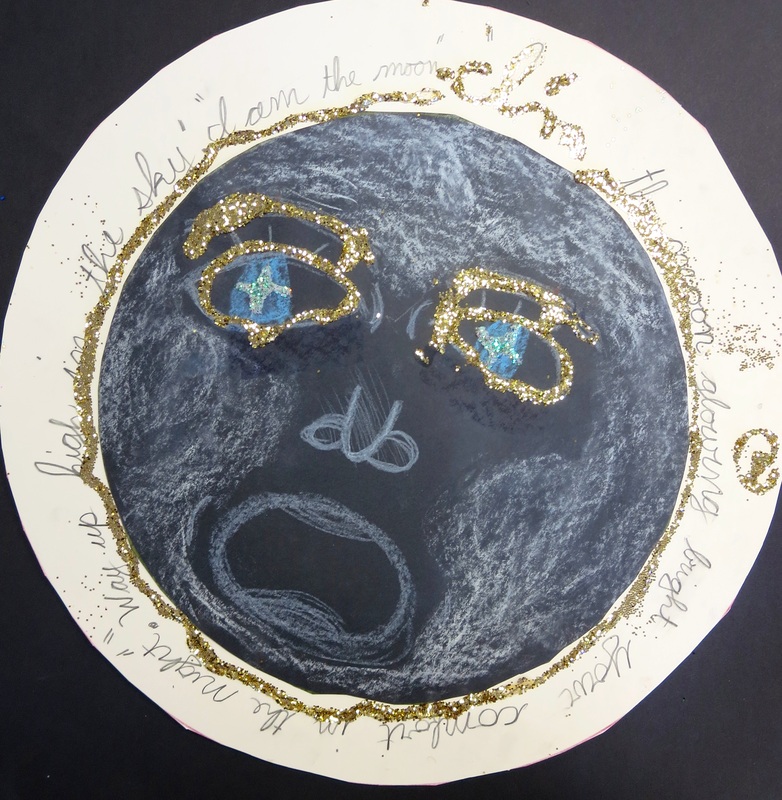 "I am the moon glowing bright, your comfort in the night. Way up high in the sky, I am the moon." 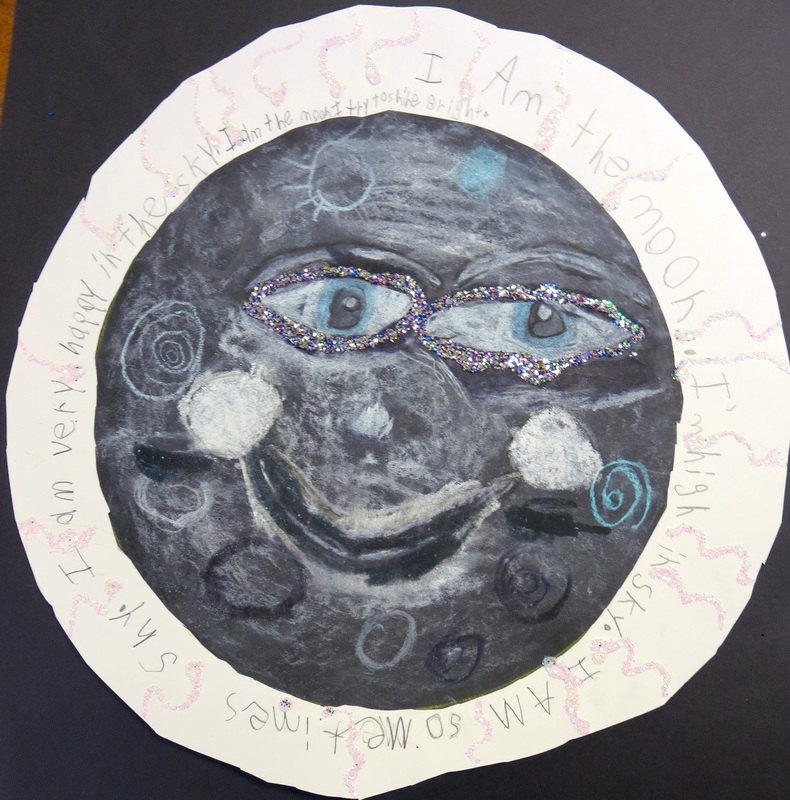 "I am the moon I'm high in the sky, I am sometimes shy. I am very happy in the sky, I am the night, I shine bright." 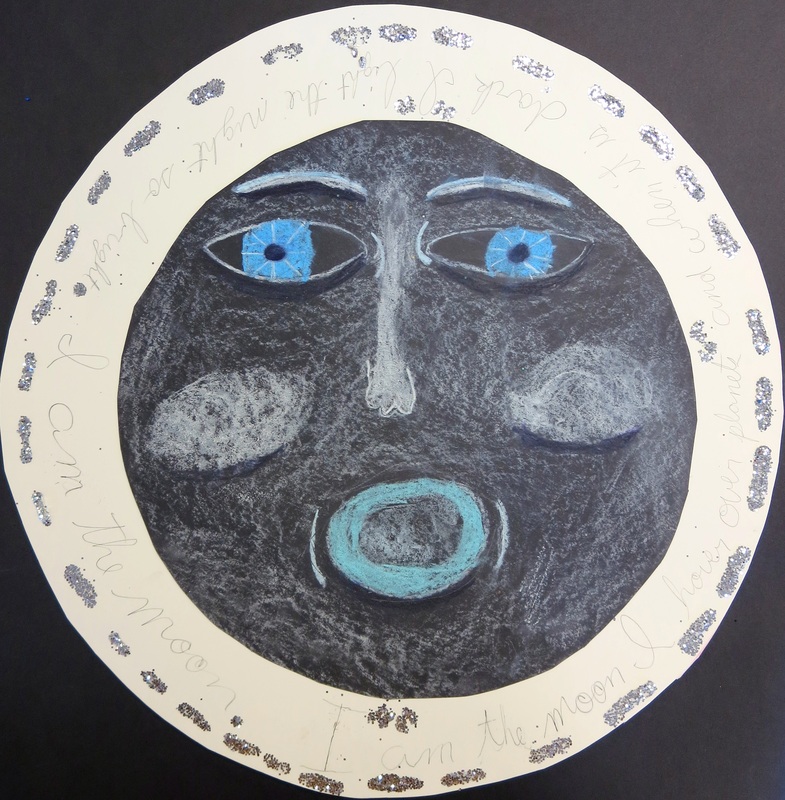 "I am the moon I hover over planets and when it is dark I light the night so bright. I am the moon" ::EDIT:: When I taught this lesson again, I switched it up a bit. The students each did both a moon and a sun! Each had a different facial expression/emotion. They posted the faces onto a background paper and each student wrote a poem to go along with the moon and sun. Some of these finished pieces were selected to be on display at 67 Biltmore Cafe in downtown Asheville. 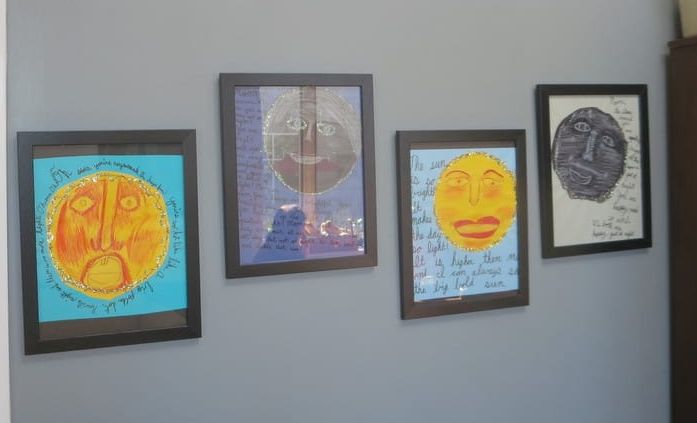 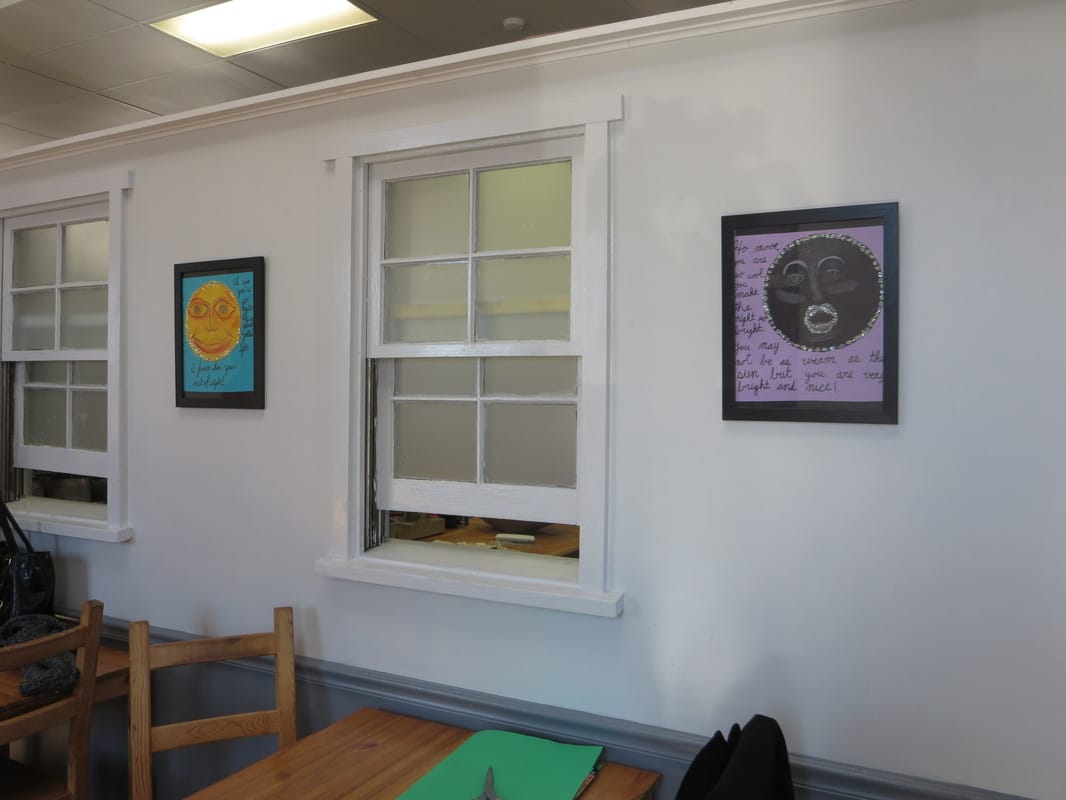 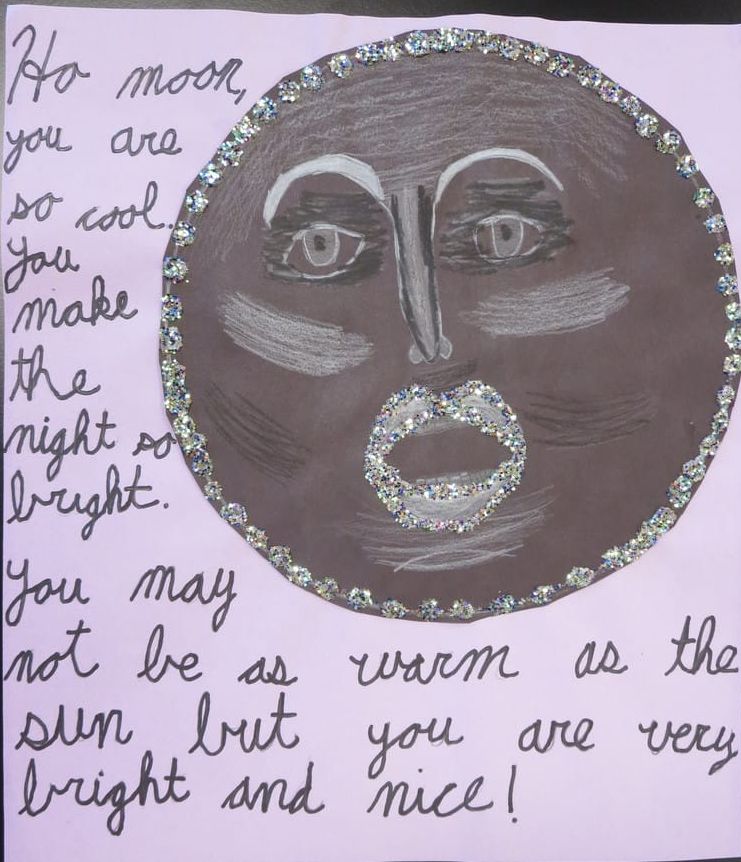 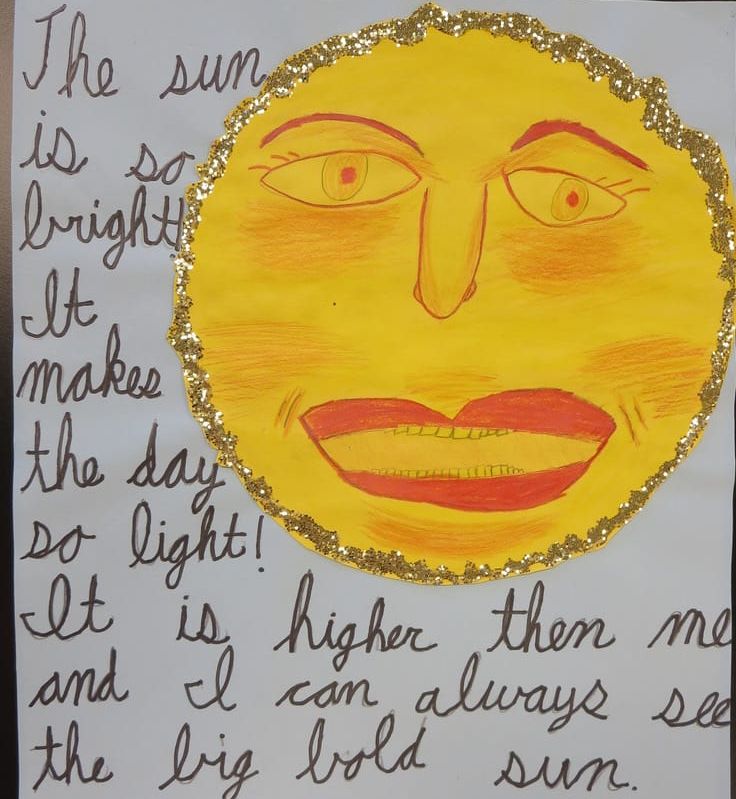 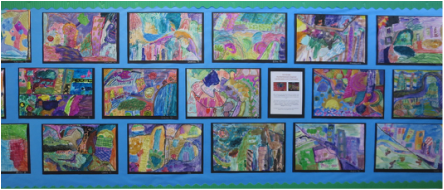 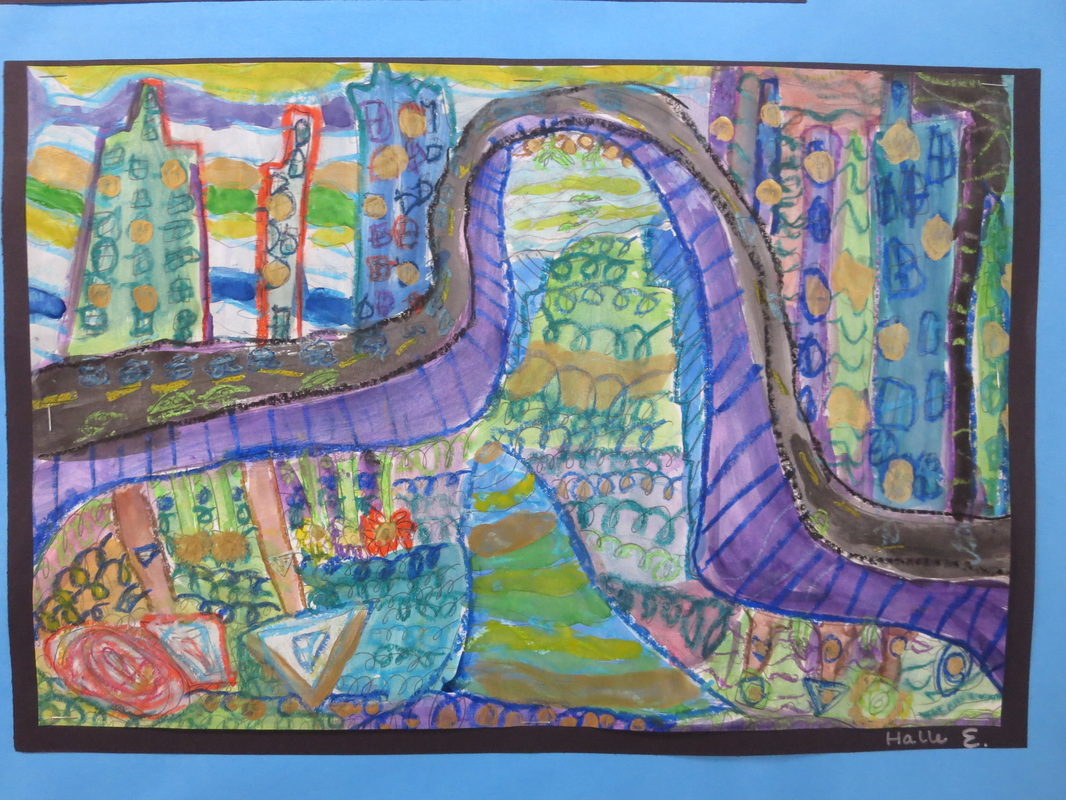 The third grade class spent about 30 minutes looking at and discussing the artwork of Friedrich Hundertwasser. The reactions were quite amusing, the students seemed surprised by the intensity of color and pattern created by the Austrian artist. Hundertwasser is one of my top ten favorite painters so I love talking with my students about his work. We began this project by separating the paper into two sections and in one, used oil pastels to draw a landscape. In the other, a cityscape. The drawing focus was on using concentric circles and shapes, repetitive patterning, background patterns and bright colors. After the space was very filled with oil pastel drawings, the students used watercolor paints to finish the artwork. I love how colorful and vibrant these turned out. The students worked very hard for 5-6 class periods to finish, I am so proud! 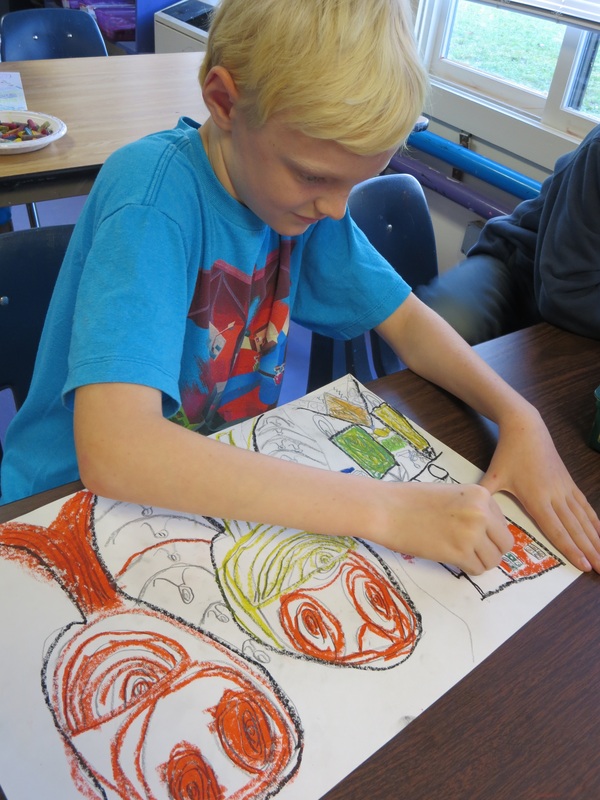 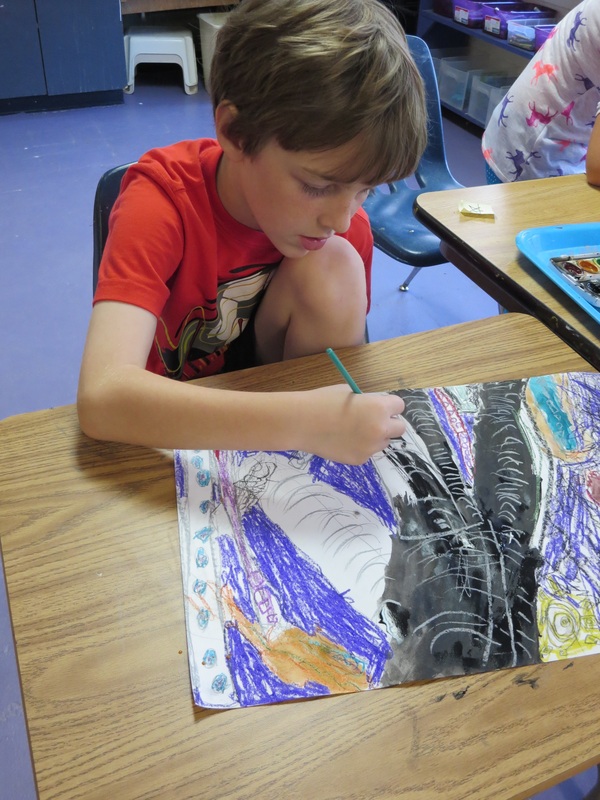 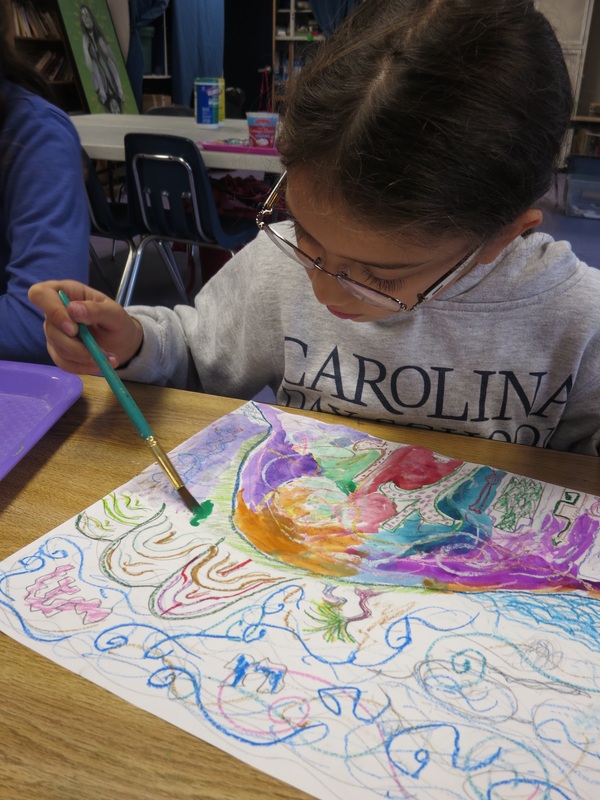 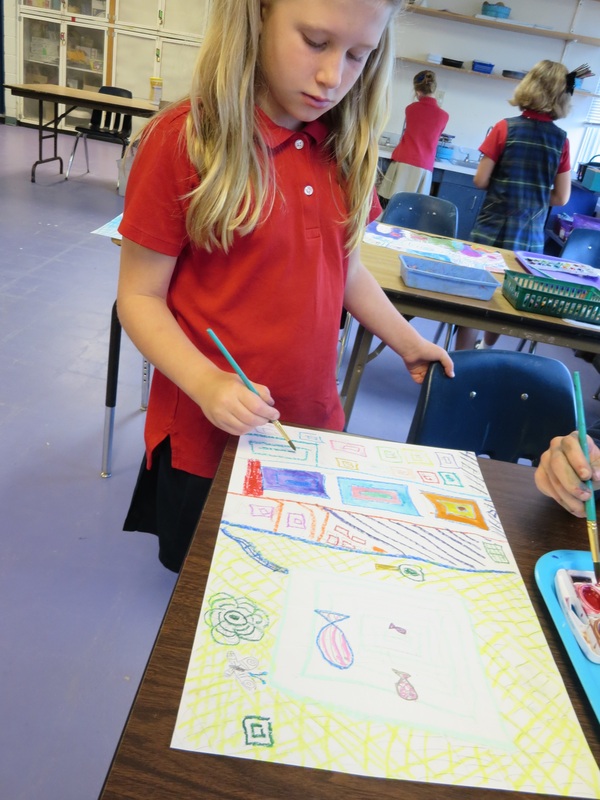 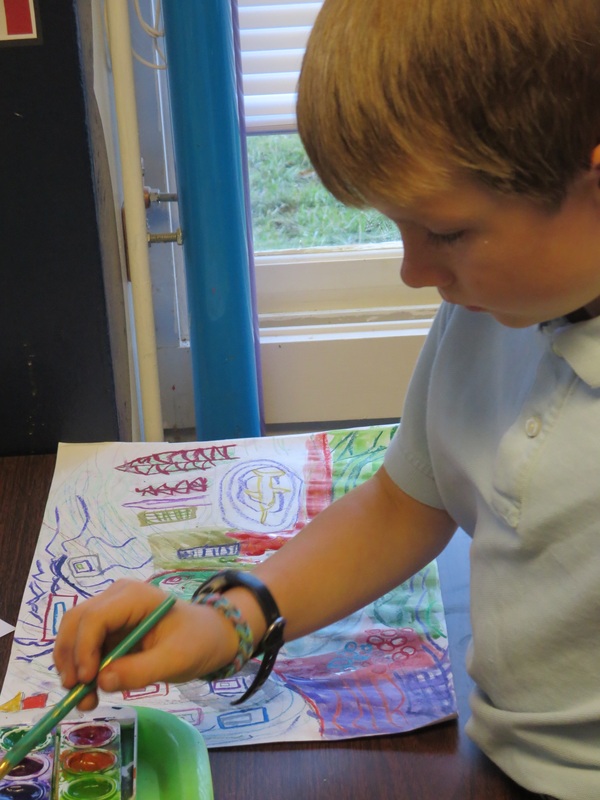 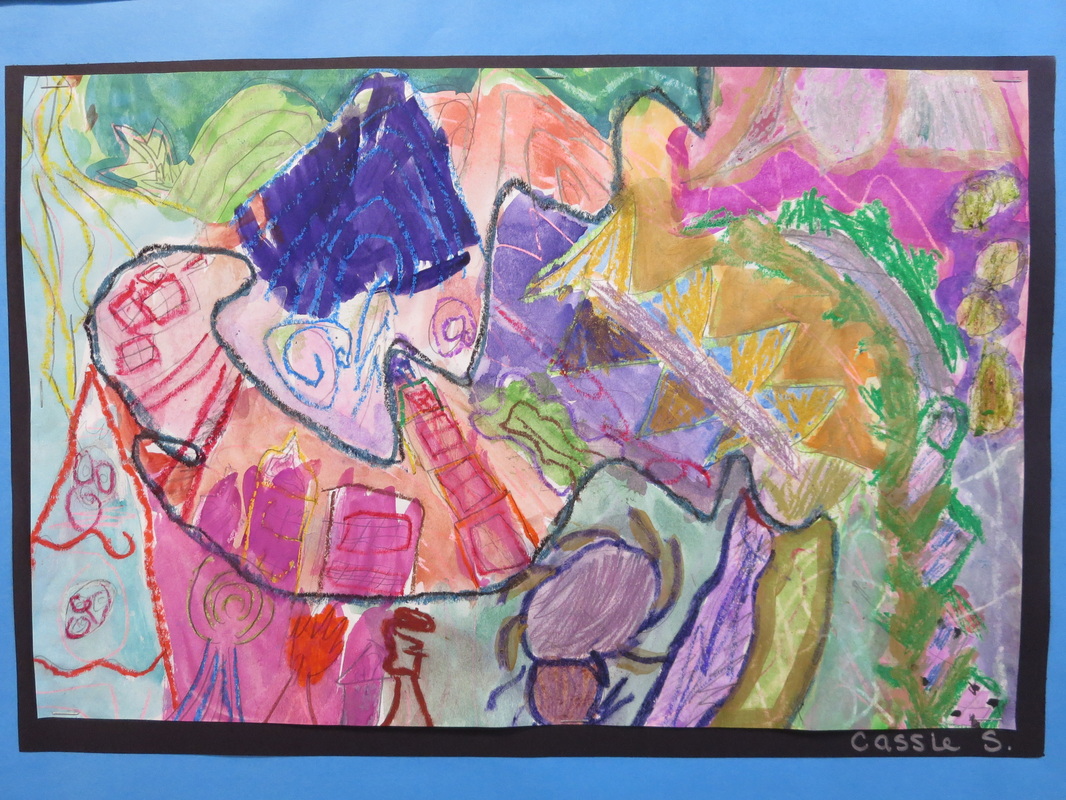 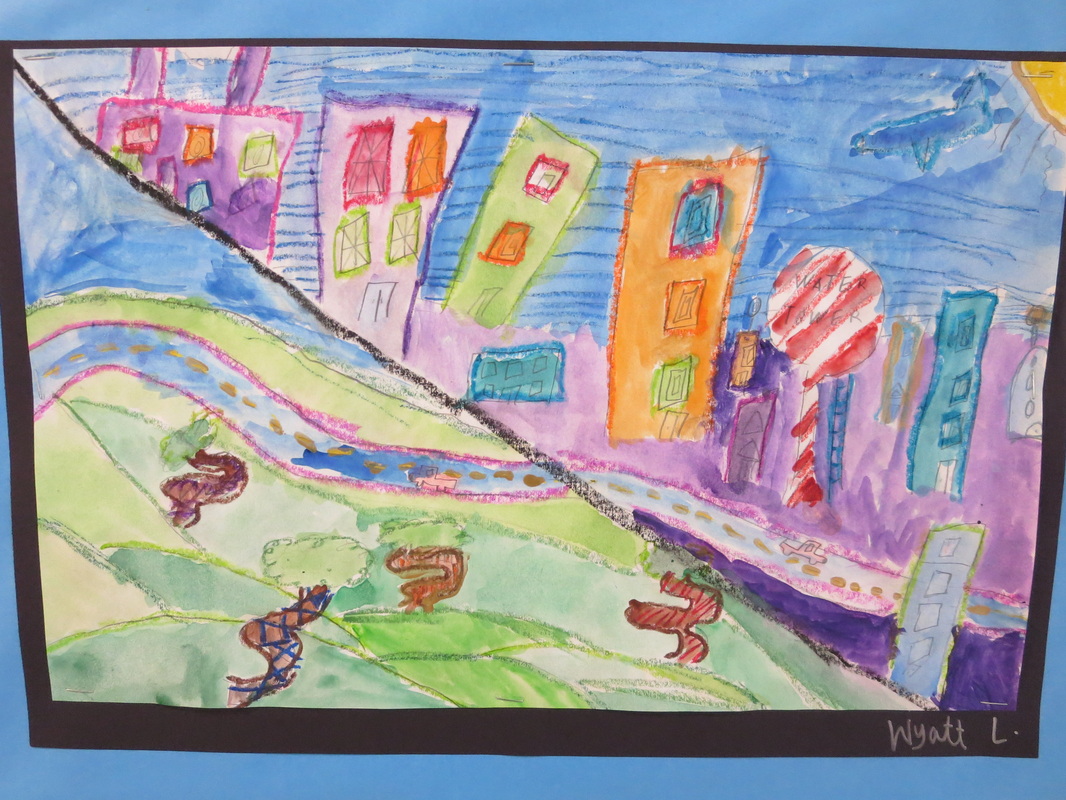  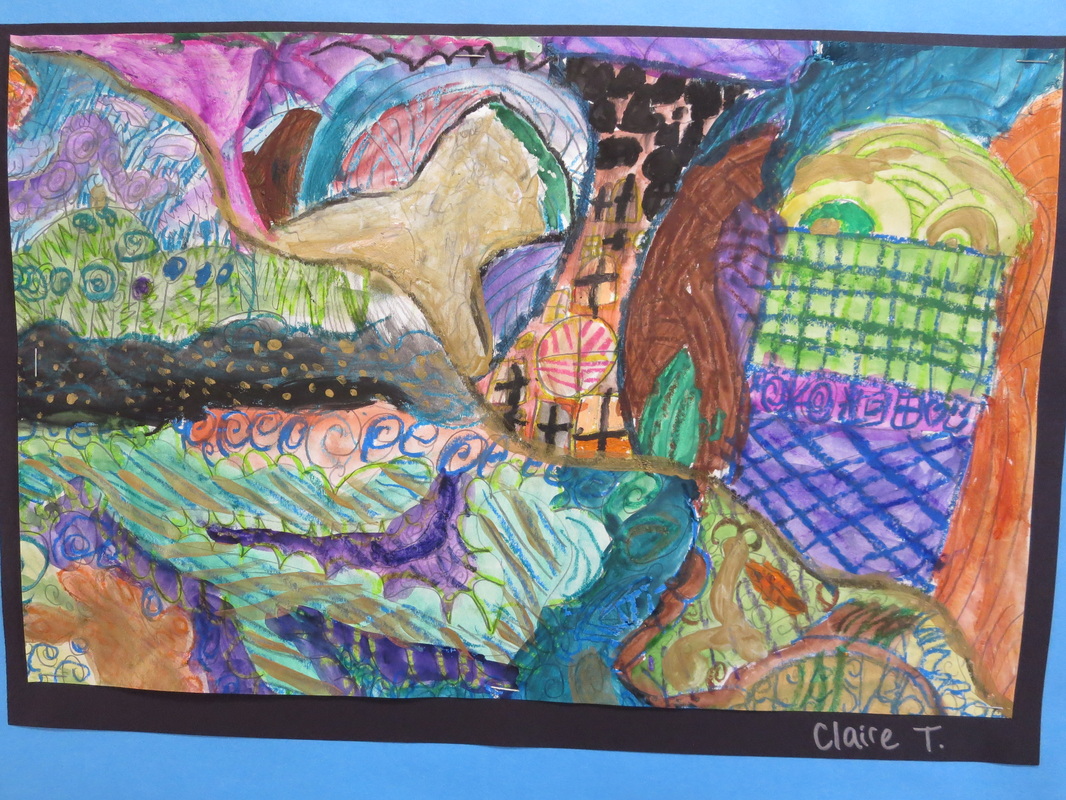 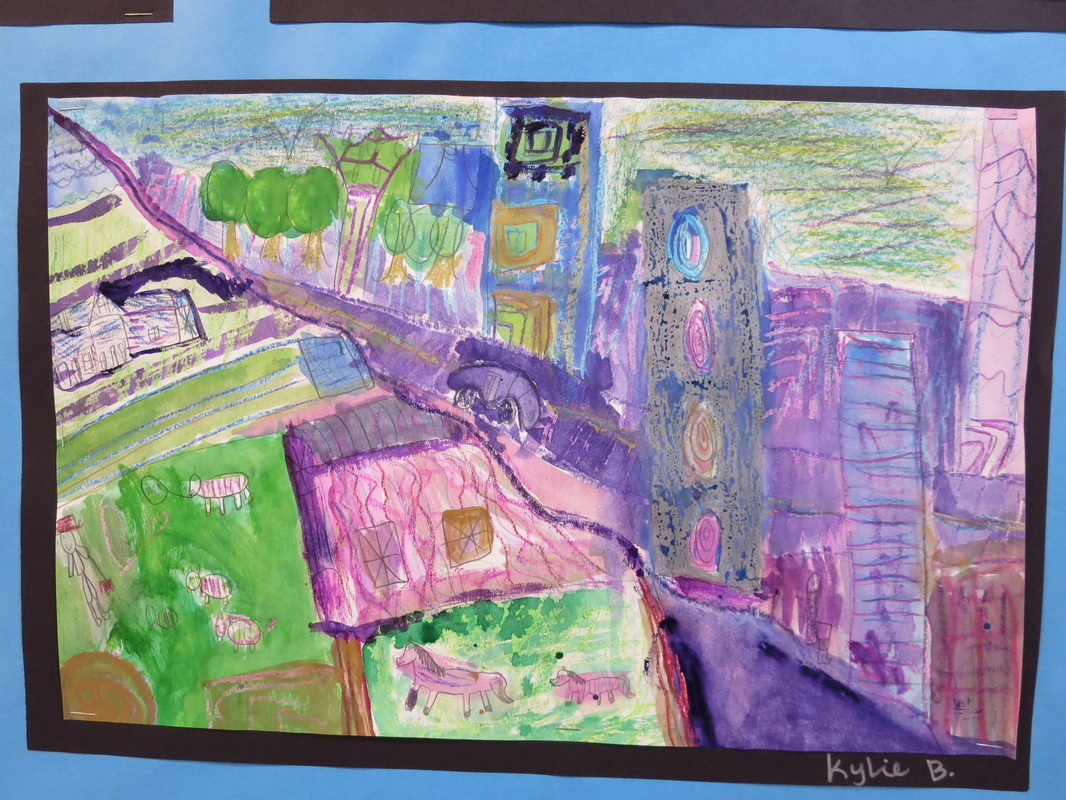 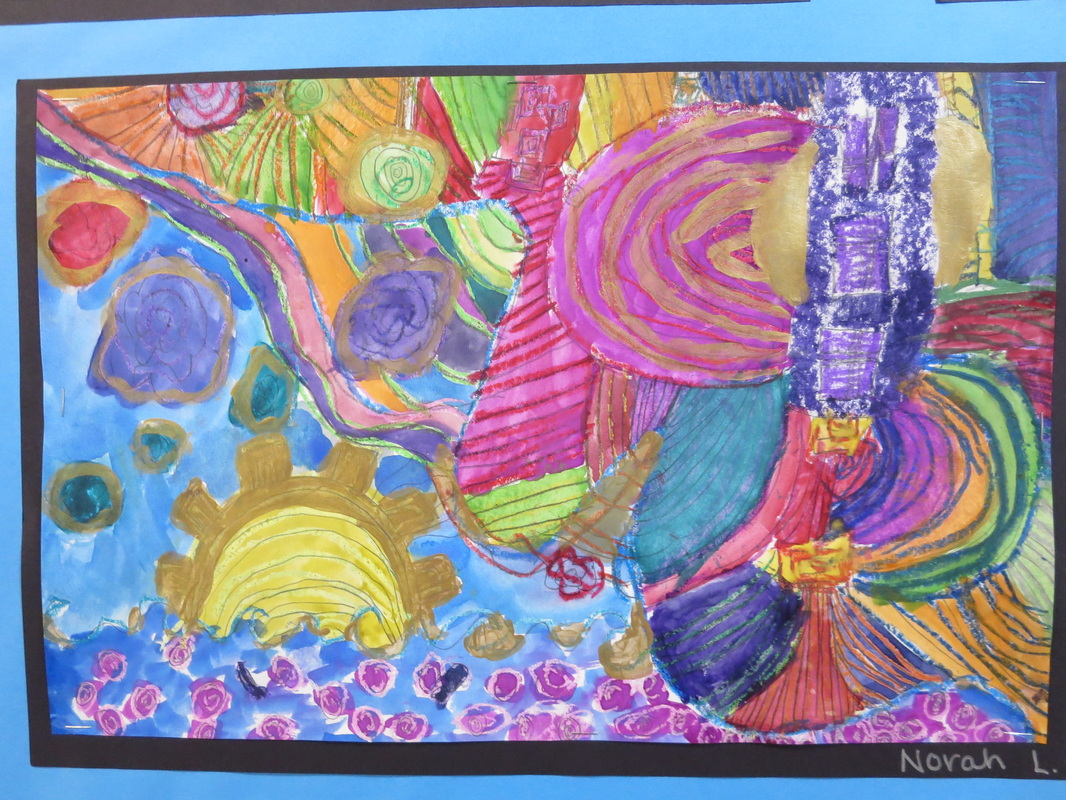 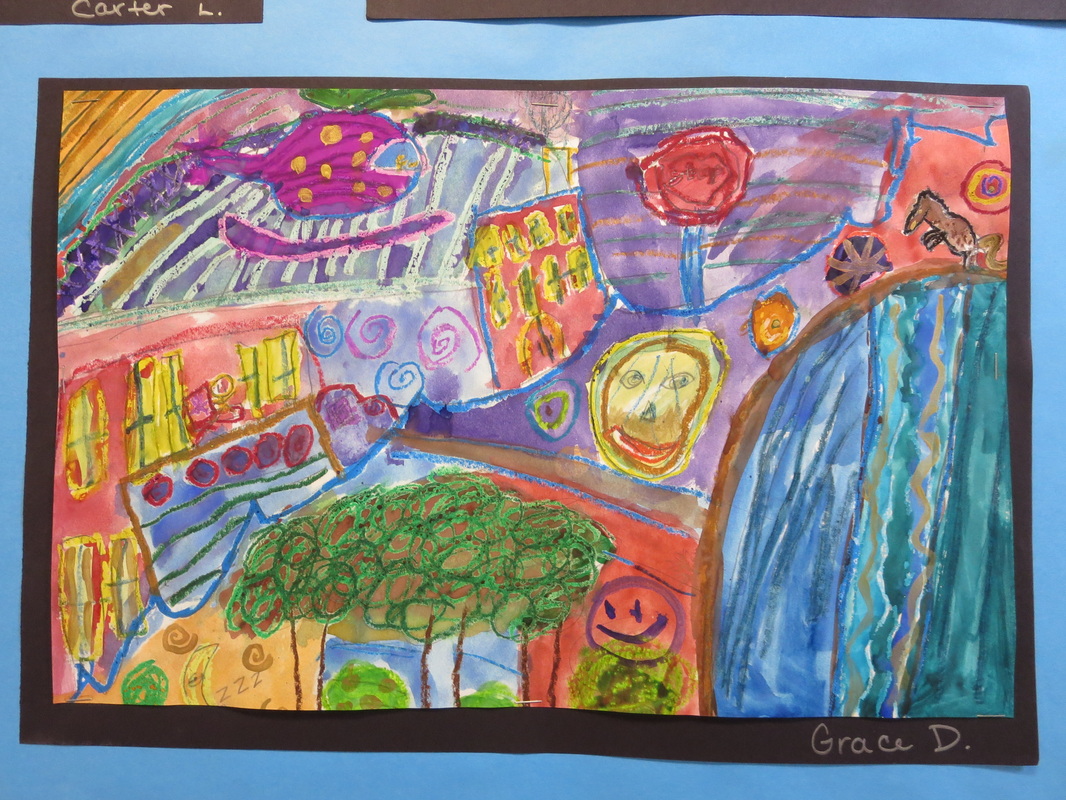 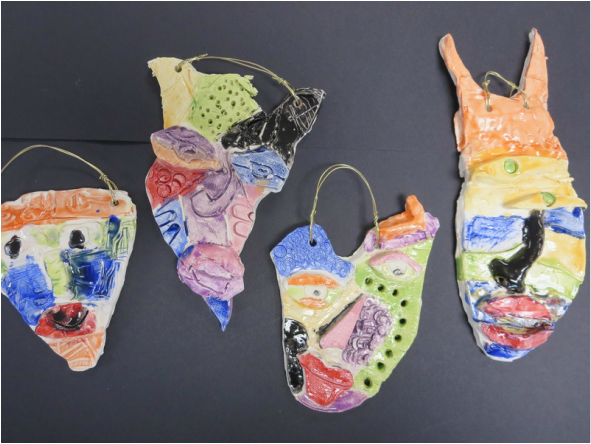 The students began this Kimmy Cantrell lesson by looking at images of his ceramics, then creating their own by using clay slabs and making textured, layered masks. The focus was on asymmetry.
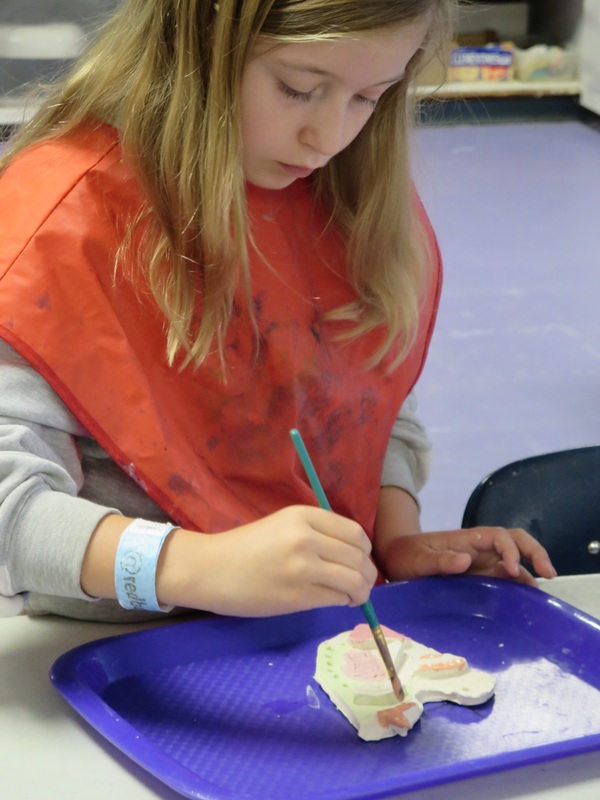 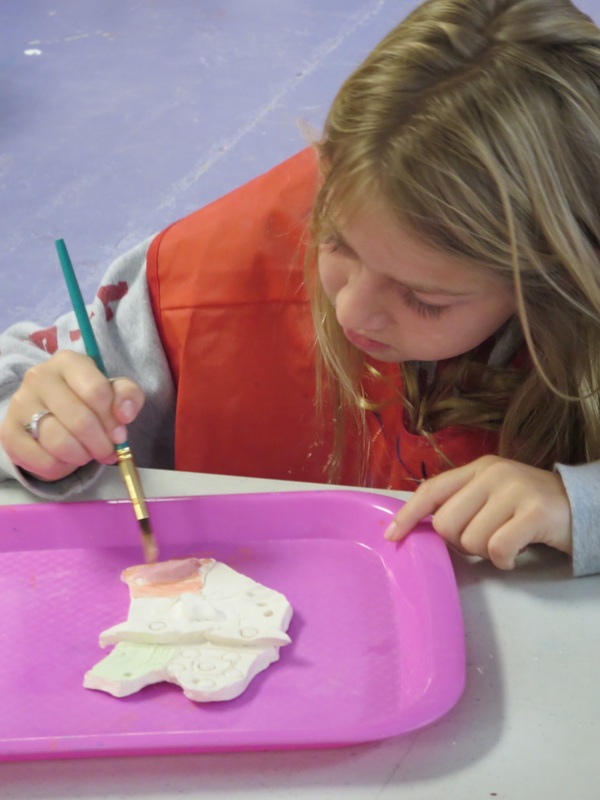  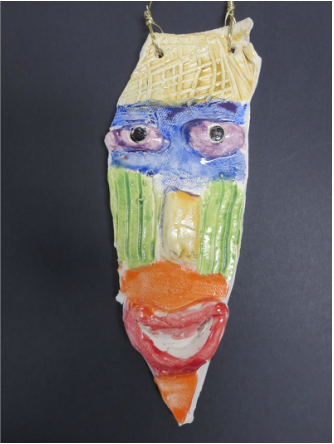 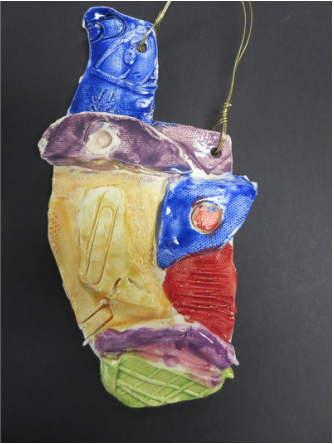 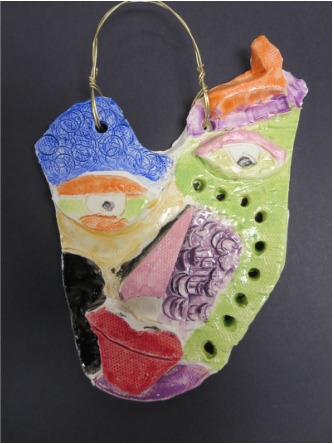 After the ceramics project, the students used Kimmy Cantrell's artwork for inspiration to draw large oil pastel masks.  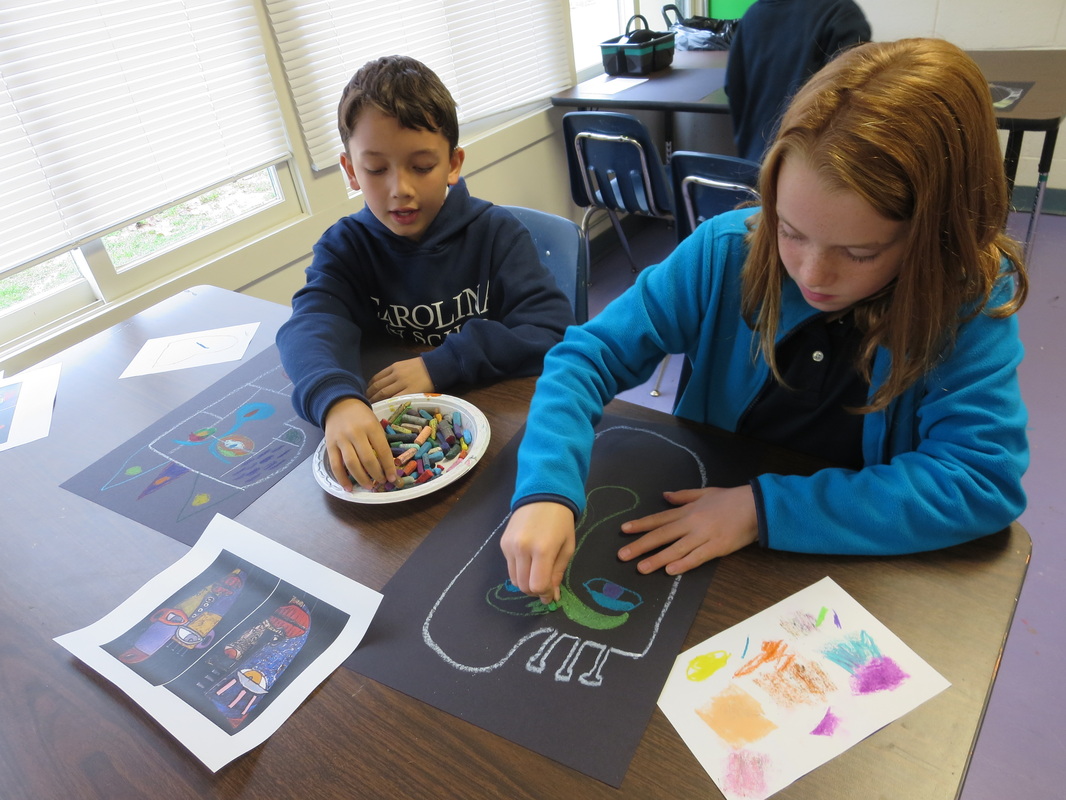 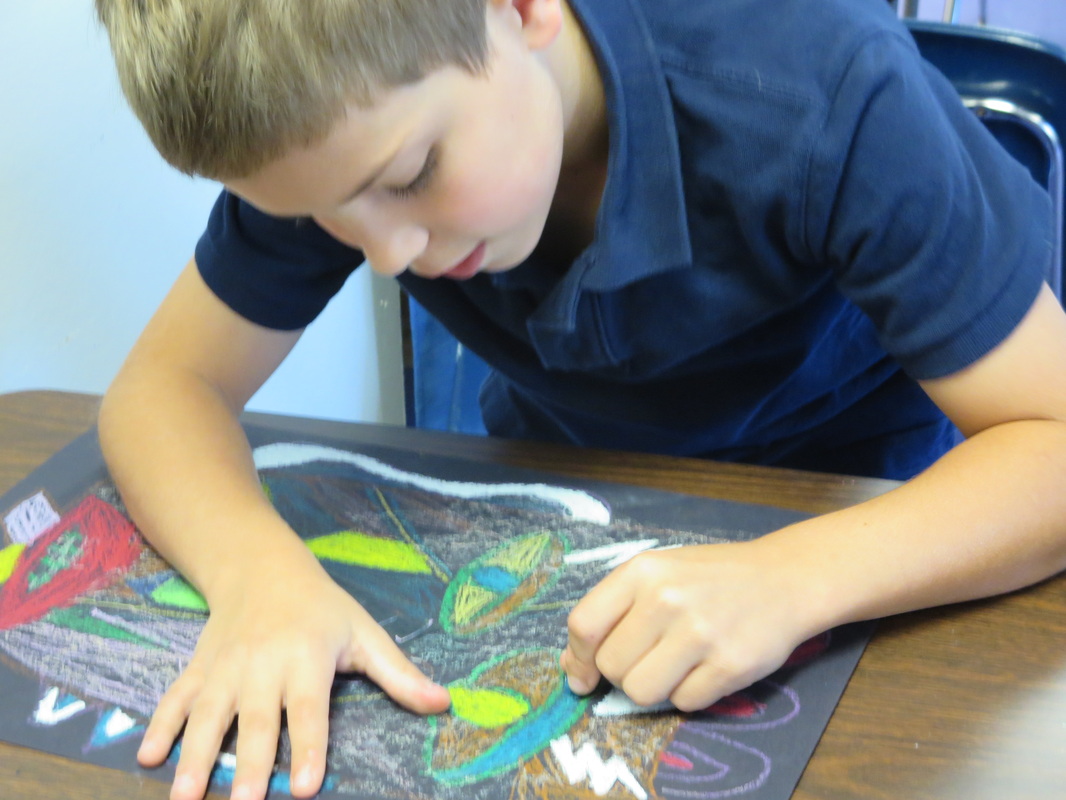  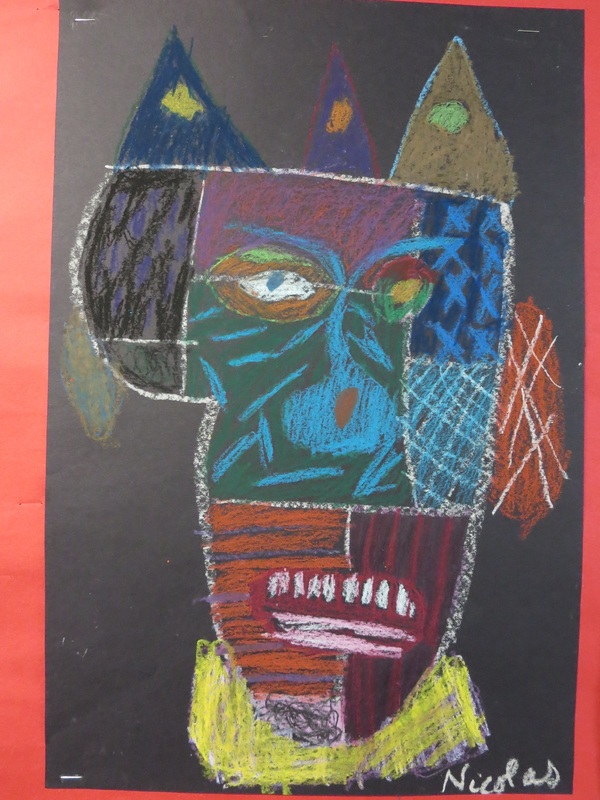 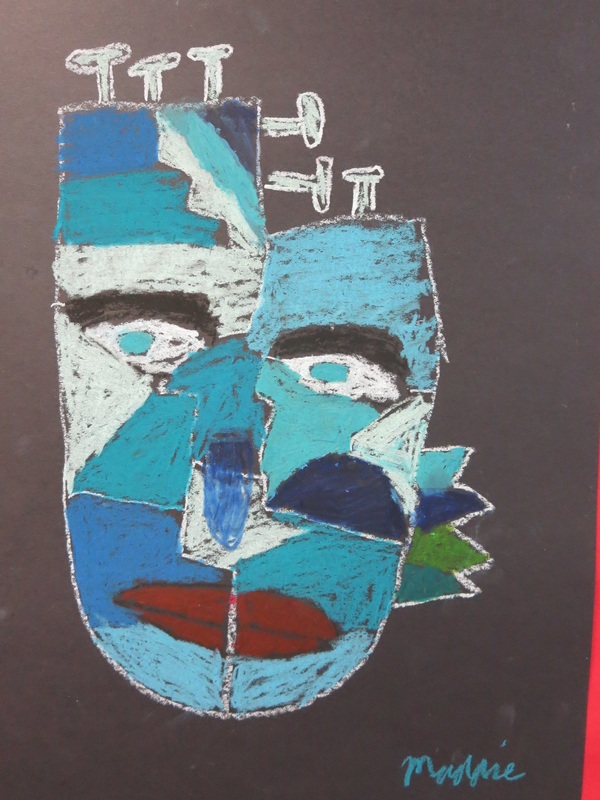 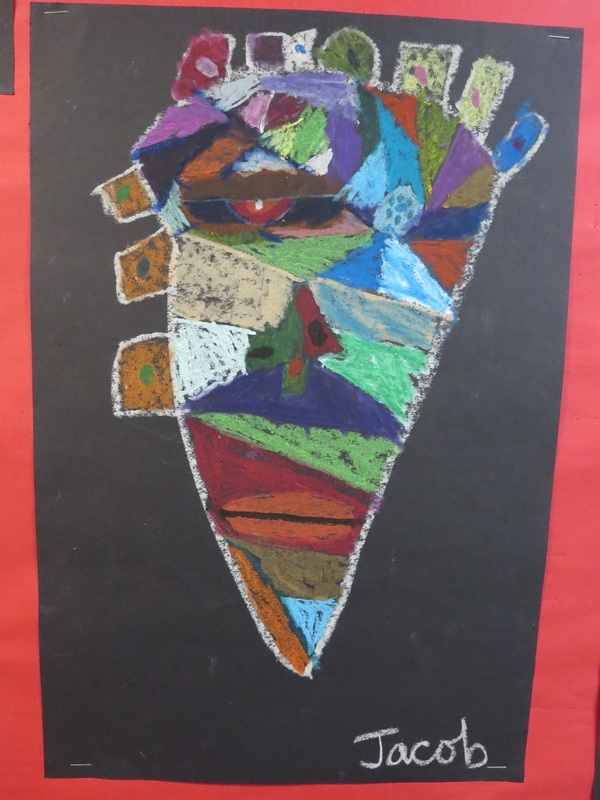 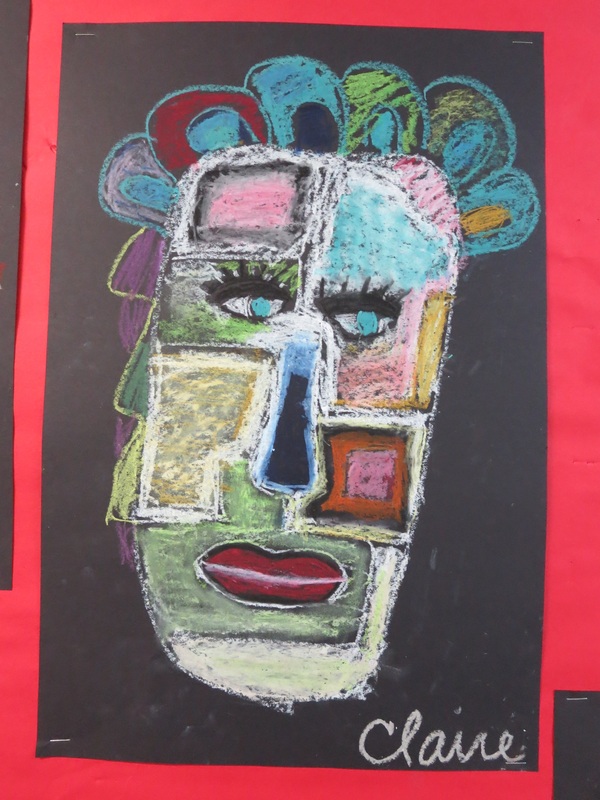 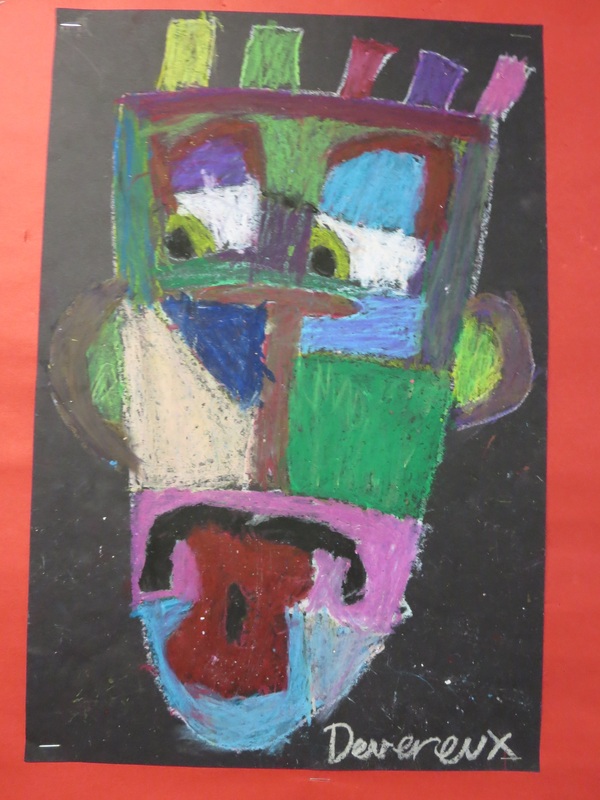 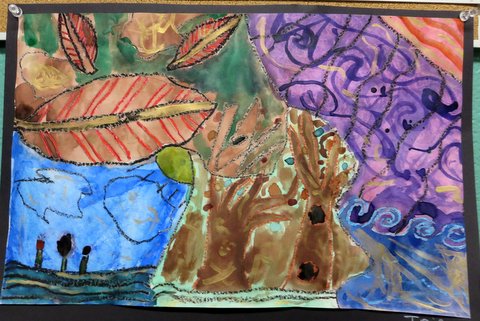 Overview: 2nd Grade 4-5 days Students will look at images by Hundertwasser and explore characteristics of his work. Using these visual characteristics, students will use oil pastel and watercolor to draw/paint the four seasons by use of colors, shapes, and lines. Learning Outcomes:
2.V.1.1 Use appropriate art vocabulary when discussing media, processes, or images in art. 2.V.1.4 Understand characteristics of the Elements of Art, including lines, shapes, colors, textures, form, space, and value. 2.V.1.5 Understand characteristics of the Principles of Design, including repetition, movement, emphasis, contrast, balance, and proportion. 2.V.2.1 Understand that artistic problems have multiple solutions. 2.V.2.3 Create art from real and imaginary sources of inspiration. 2.CX.1.3 Understand various movements in art and the artists that represent them. 2.CX.2.2 Understand relationships between art and concepts from other disciplines, such as math, science, language arts, social studies, and other arts. Materials:
Day One: Have images by Hundertwasser ready for reference, books available, Prepare prompts for students such as “What season of the year might this represent and why?”, have example pieces poasted, have paper ready and cut to size, oil pastels available Day two: Hundertwasser images on display, examples on display, oil pastels ready Day three: reference images on display, oil pastels and watercolors ready Day four: reference images on display, oil pastels and watercolors ready Interdisciplinary Concepts: Weather, characteristics of seasons, math patterning 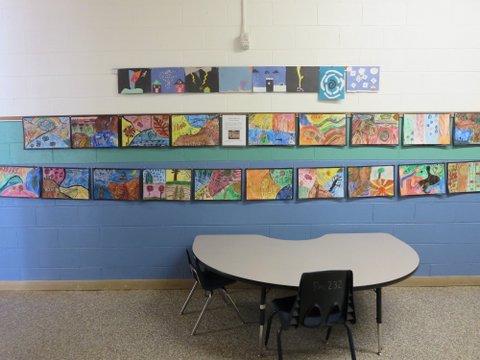 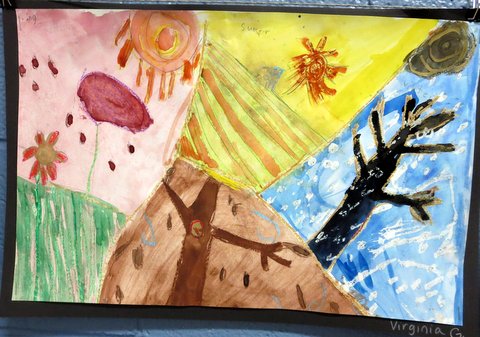 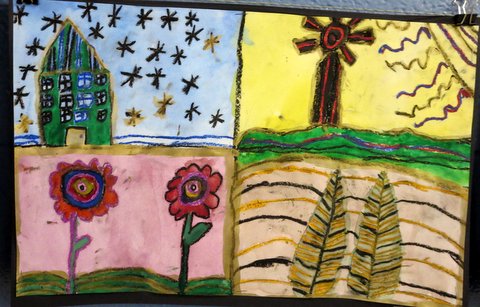 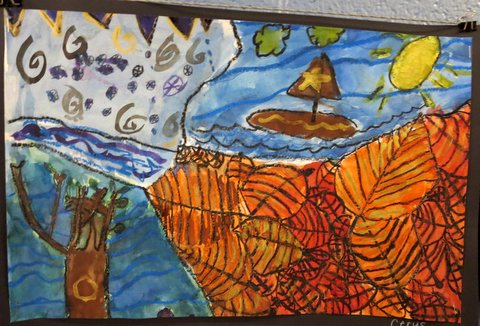 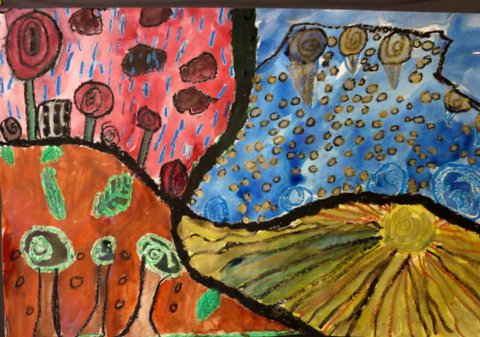 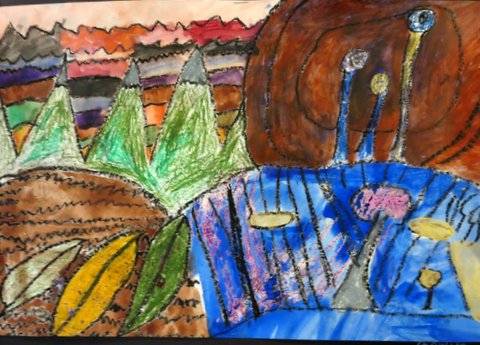 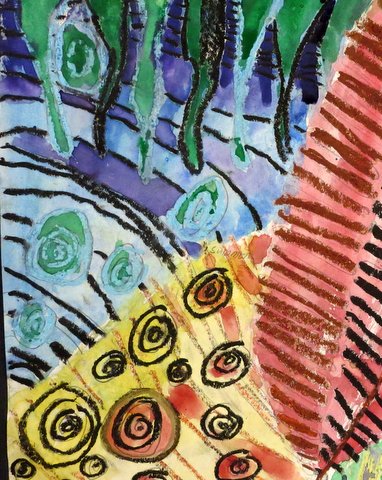 A Hundertwasser original: 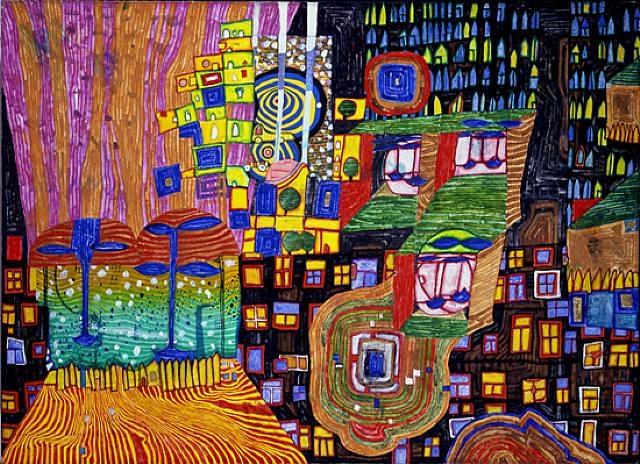 Here's just a little sneak peak at the 1st grade mobiles project we are doing. These are some of the clay medallions that the students made. They were made by making clay textured medallions then firing. After coming out of the kiln, rather than glazing, the student colored on them with oil pastels, then painted over the piece with watered-down Tempera paint and then rinsed them in water. This is the effect. I love, love, love them. Plus, the students had a blast. The 1st graders at Evergreen are amazing! 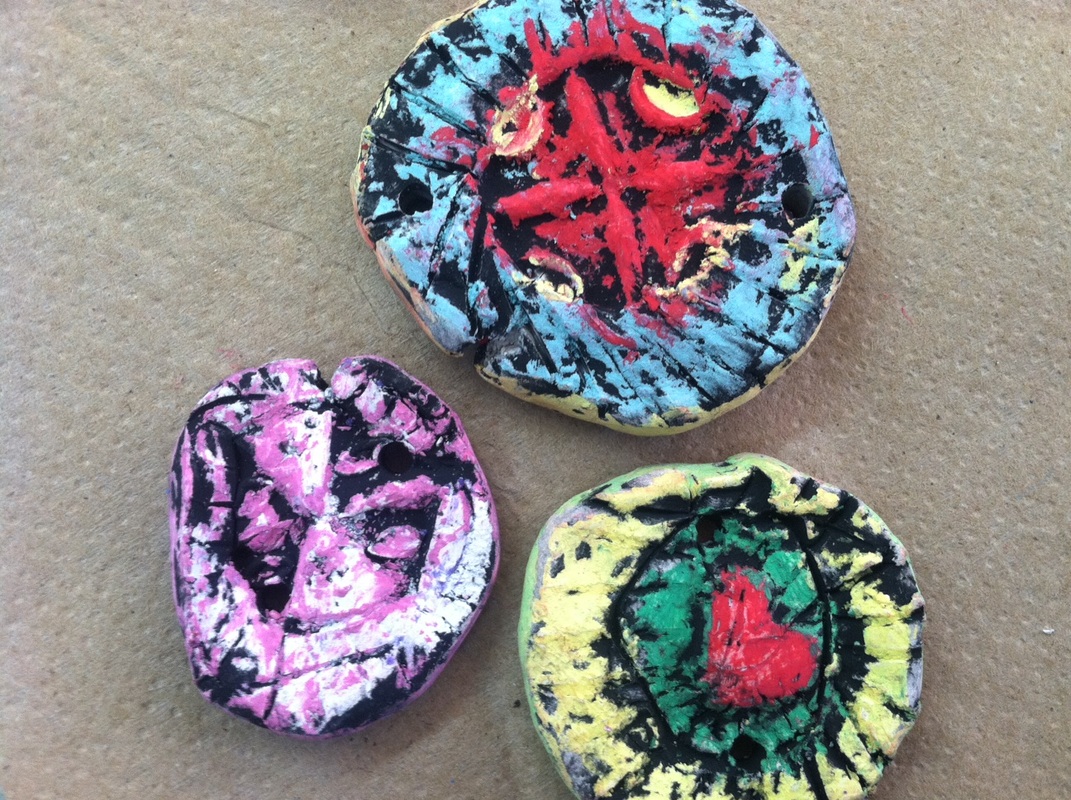 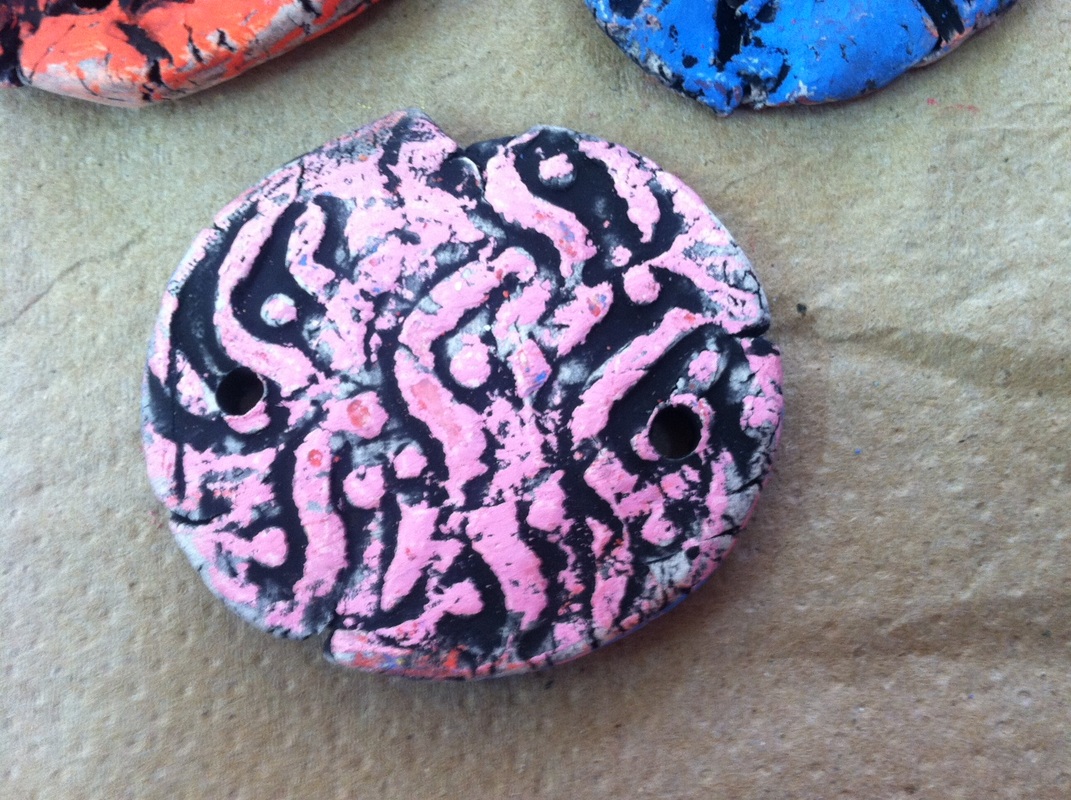 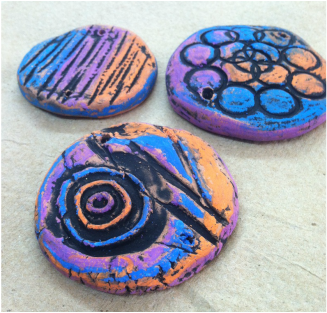 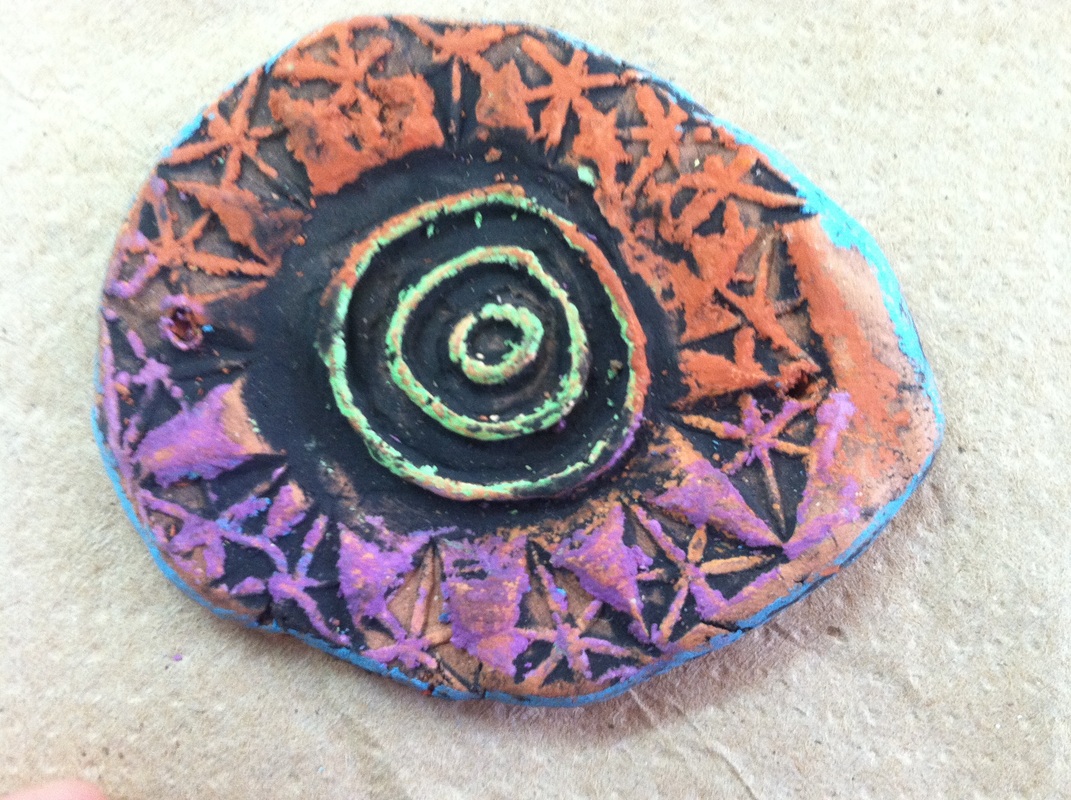 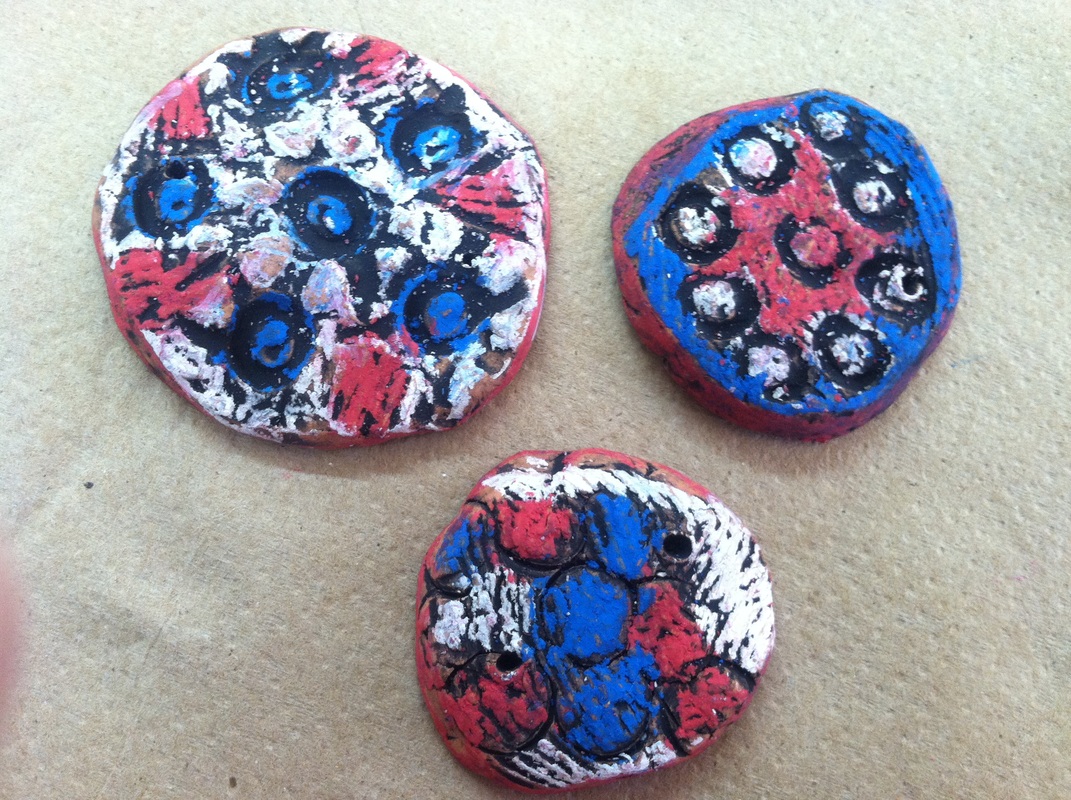 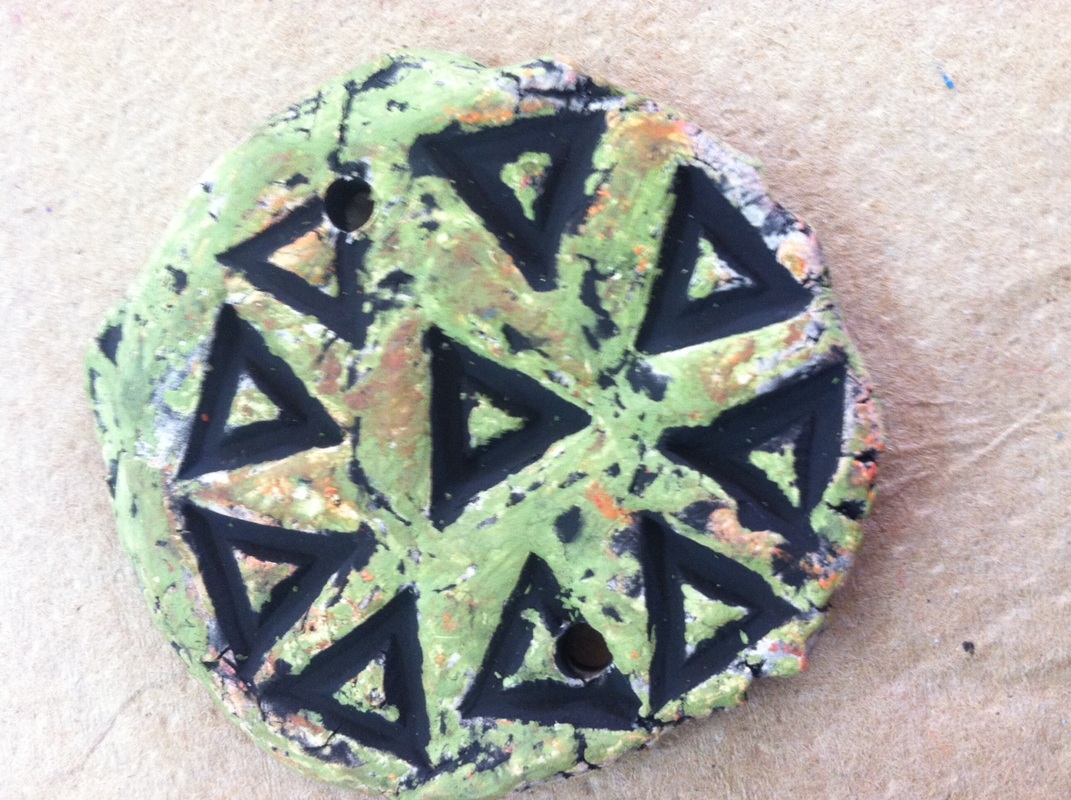 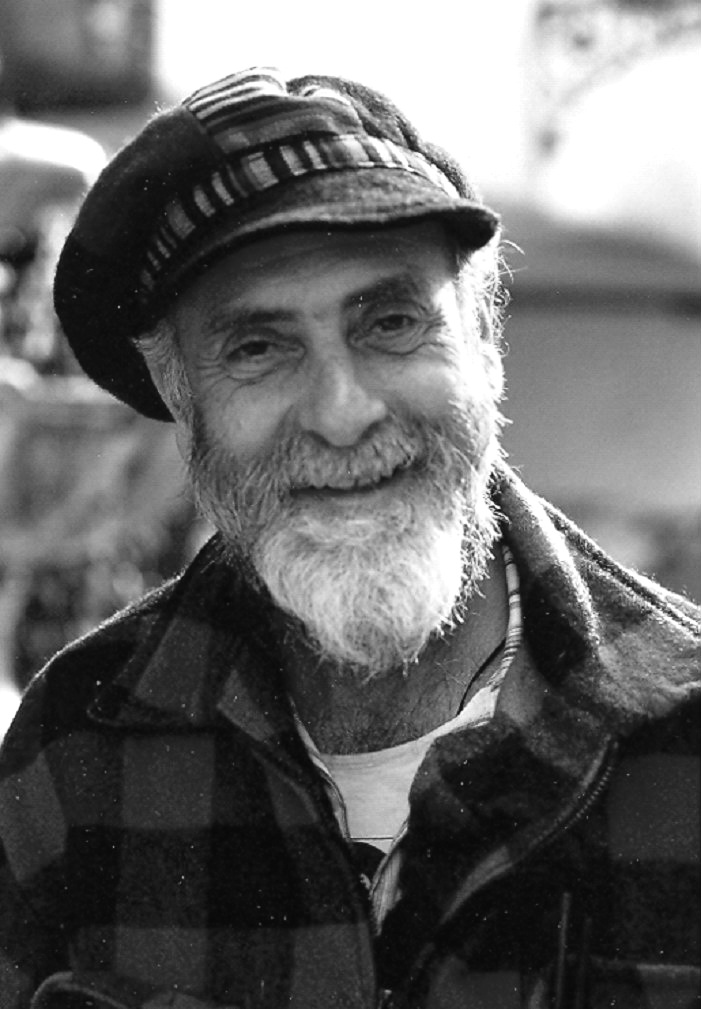 Portrait of Friedensreich Hundertwasser http://www.dungan-nequette.com/blog/wp-content/uploads/2011/12/Hundertwasser_Friedensreich.jpg Today I started teaching a project inspired by the artwork of Austrian artist Hundertwasser. He is one of my favorite artists, so I was especially excited to show his work to the 2nd graders! I began by showing some paintings and prompting the students with questions such as "What season does this remind you of and why?" It was really interesting because some paintings, I immediately thought 'fall' and nothing else, but the students might think 'spring' or 'summer' and be able to explain why. It really reminded me how we are all such unique thinkers which is such a wonderful thing in the context of an art room. After the prompts, I explained the project. Basically, they will be using pencil and paper today. Using characteristics of Hundertwasser's work such as parallel lines, concentric circles, and repetitive patterning, they will separate their paper into four sections and use those characteristics and characteristics of the different seasons to make artwork based on such. In the next few classes, they will use oil pastel and watercolor to create colorful Hundertwasser-inspired seasons! 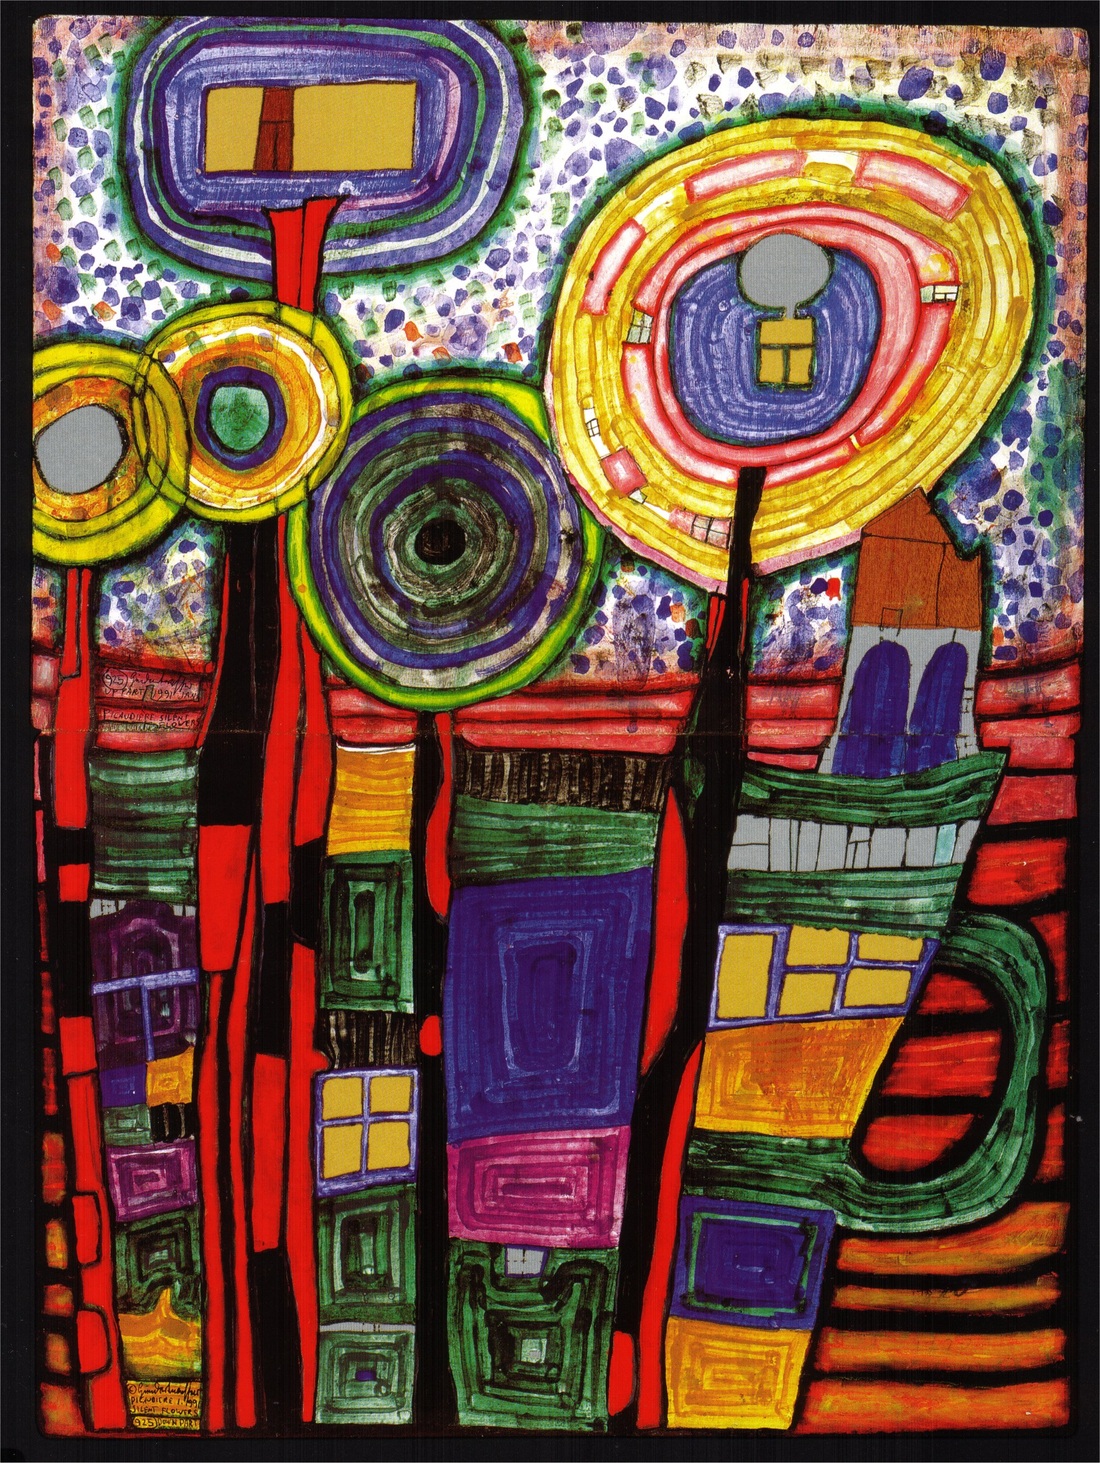 Painting by Hundertwasser http://www.artwallpaper.eu/Paintings/wp-content/uploads/2012/12/07/30/Friedensreich-Hundertwasser-Paintings-1991-silent-flowers.jpg As the students get more work done, I will post pictures of the work that they have done. As for now, here are a few examples of the project that a friend and I did: 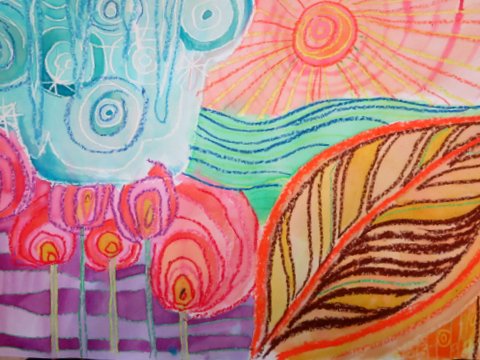 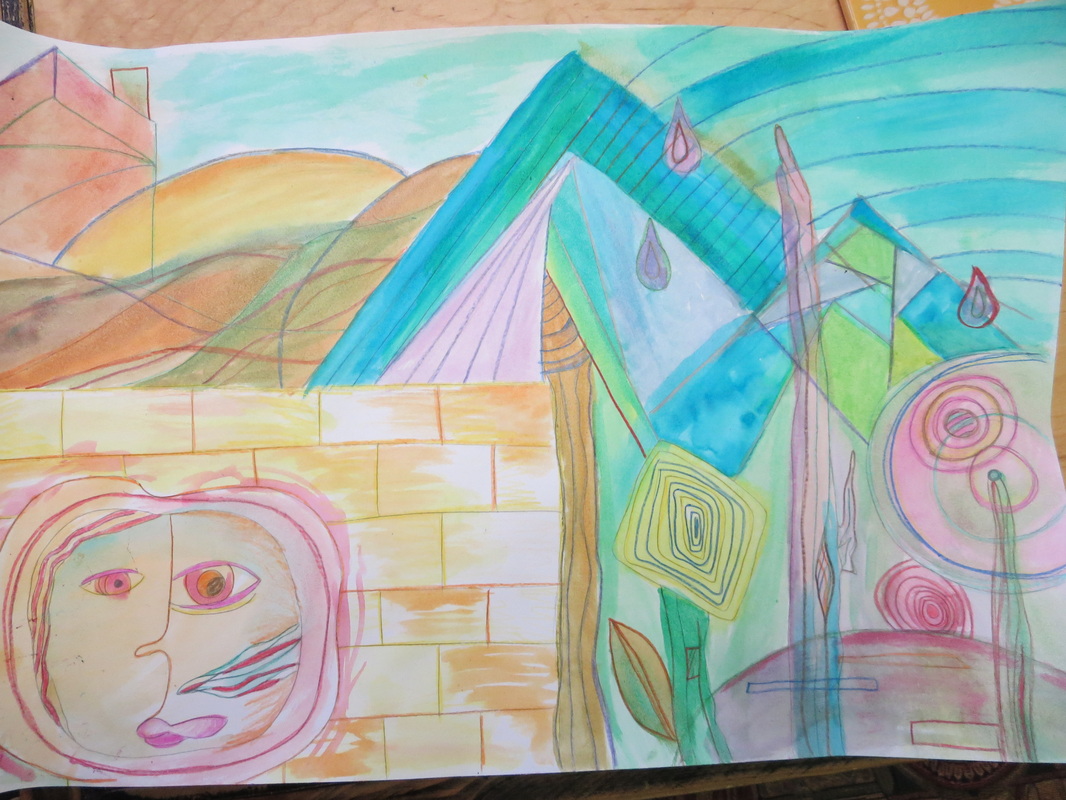 Overview:
2nd Grade 4-5 days Students will look at images by Hundertwasser and explore characteristics of his work. Using these visual characteristics, students will use oil pastel and watercolor to draw/paint the four seasons by use of colors, shapes, and lines. Learning Outcomes:
2.V.1.1 Use appropriate art vocabulary when discussing media, processes, or images in art. 2.V.1.4 Understand characteristics of the Elements of Art, including lines, shapes, colors, textures, form, space, and value. 2.V.1.5 Understand characteristics of the Principles of Design, including repetition, movement, emphasis, contrast, balance, and proportion. 2.V.2.1 Understand that artistic problems have multiple solutions. 2.V.2.3 Create art from real and imaginary sources of inspiration. 2.CX.1.3 Understand various movements in art and the artists that represent them. 2.CX.2.2 Understand relationships between art and concepts from other disciplines, such as math, science, language arts, social studies, and other arts. Materials:
Day One: Have images by Hundertwasser ready for reference, books available, Prepare prompts for students such as “What season of the year might this represent and why?”, have example pieces poasted, have paper ready and cut to size, oil pastels available Day two: Hundertwasser images on display, examples on display, oil pastels ready Day three: reference images on display, oil pastels and watercolors ready Day four: reference images on display, oil pastels and watercolors ready Interdisciplinary Concepts: Weather, characteristics of seasons, math patterning |
AuthorAnnie Monaghan. Categories
All
|


 RSS Feed
