Annie Monaghan's Art Room
  • Home
  • Elementary Art
  • Middle School Art
  • Camp projects
  • Lesson Plans
  • About Me
  • My Artwork
  • Art is everywhere!
  • Contact me
  • Professional

4th grade clay succulents

12/1/2017

0 Comments

 
Picture

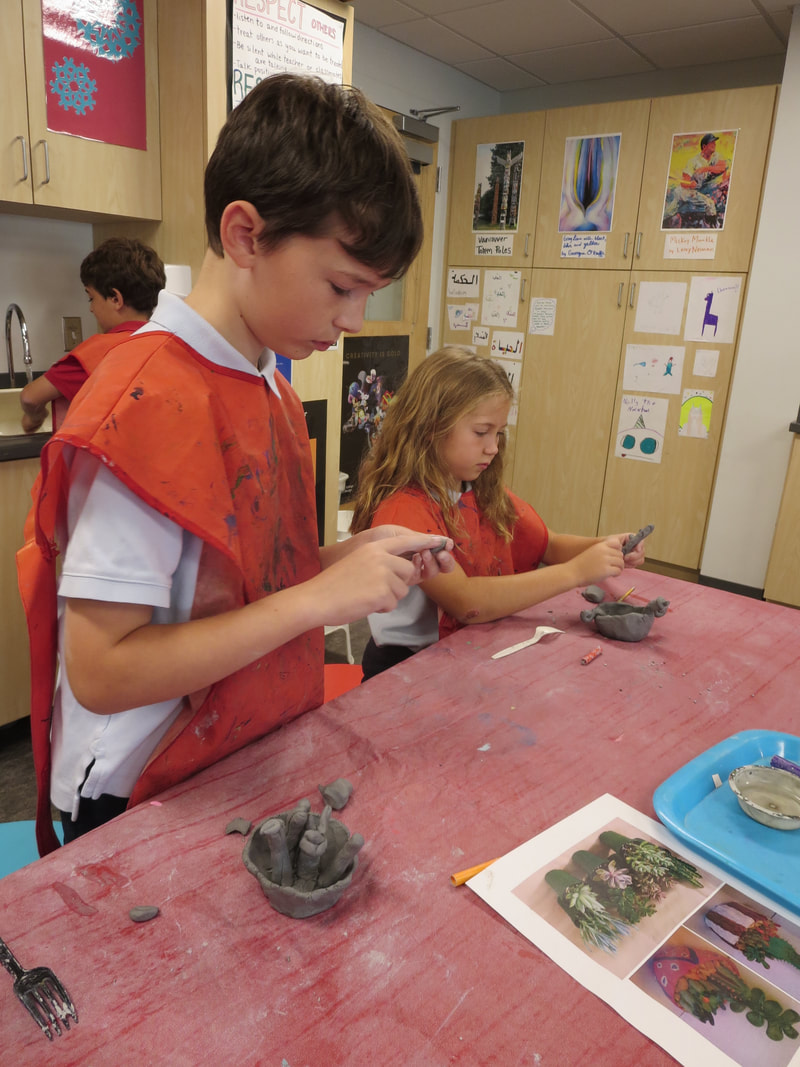
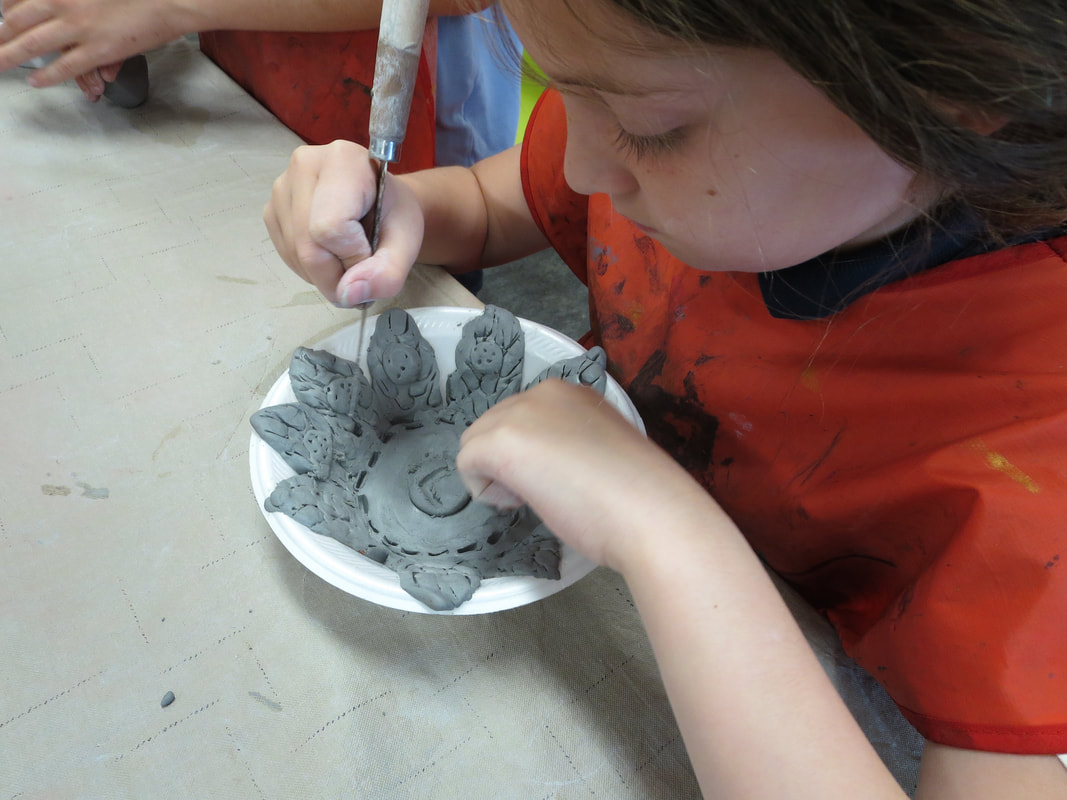
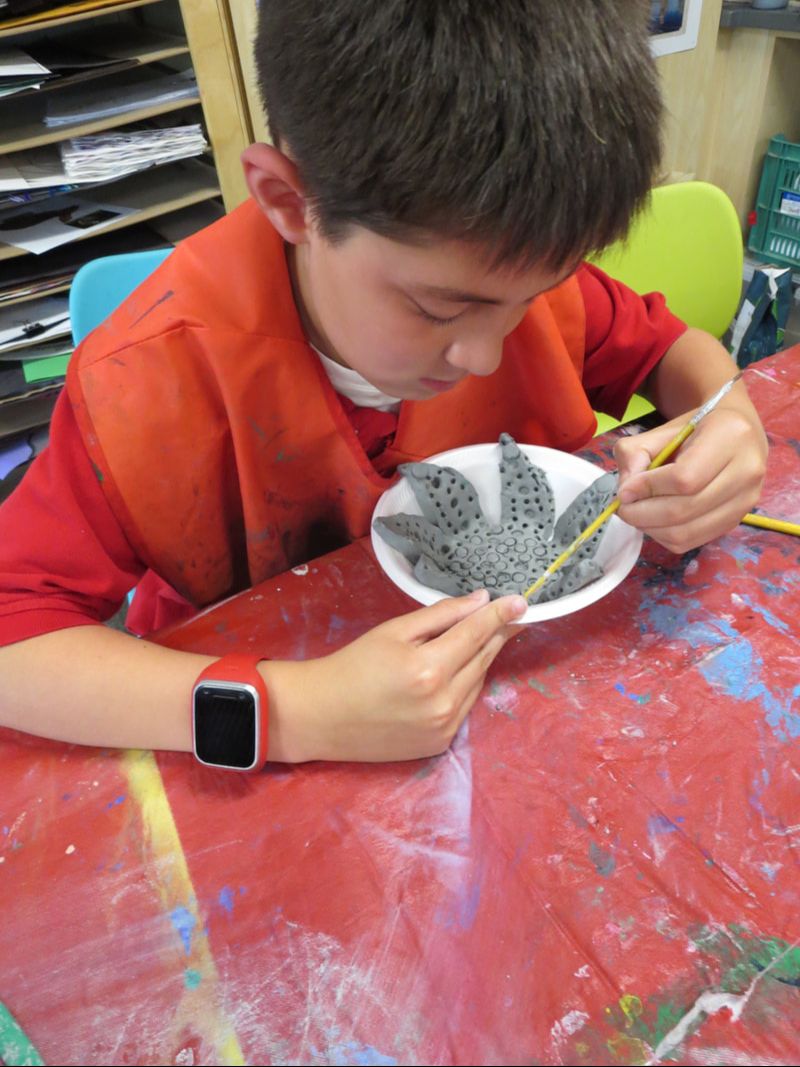
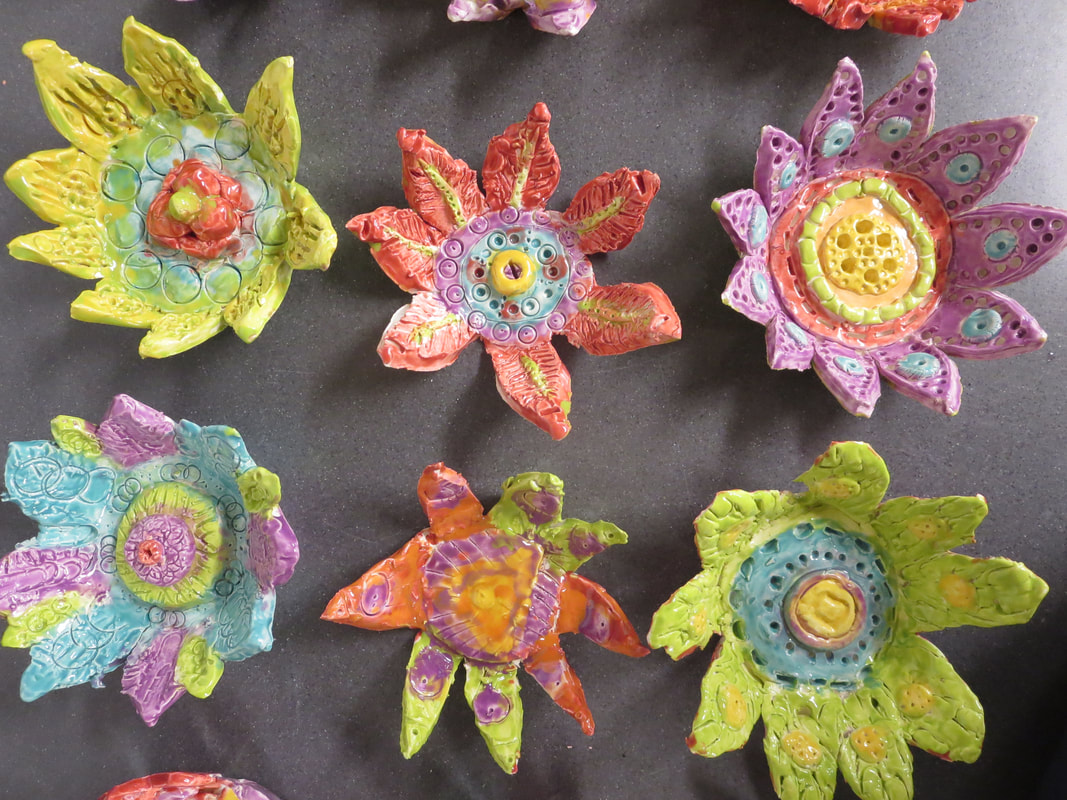
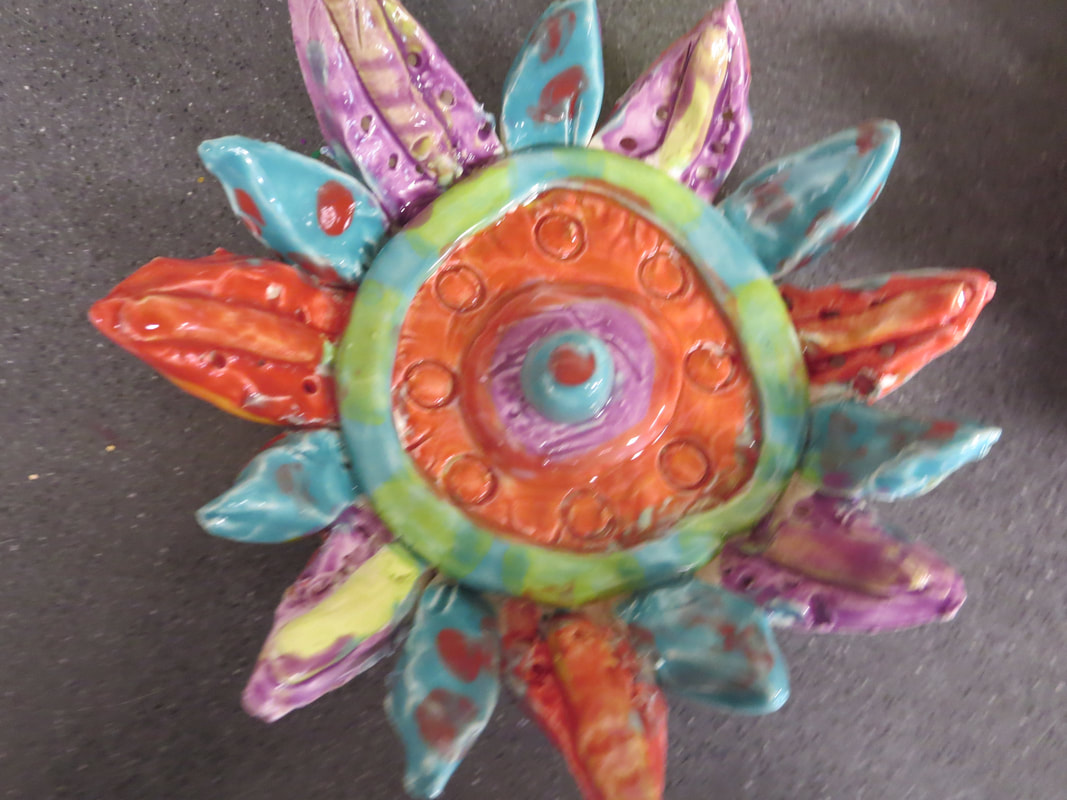
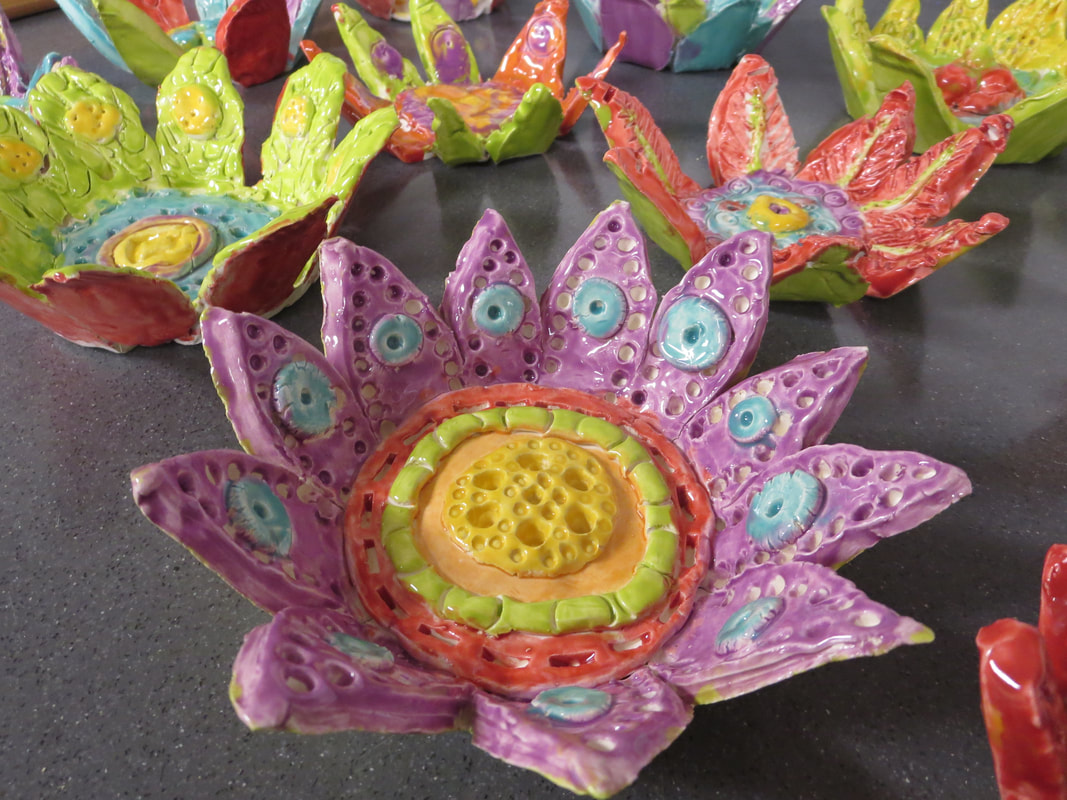
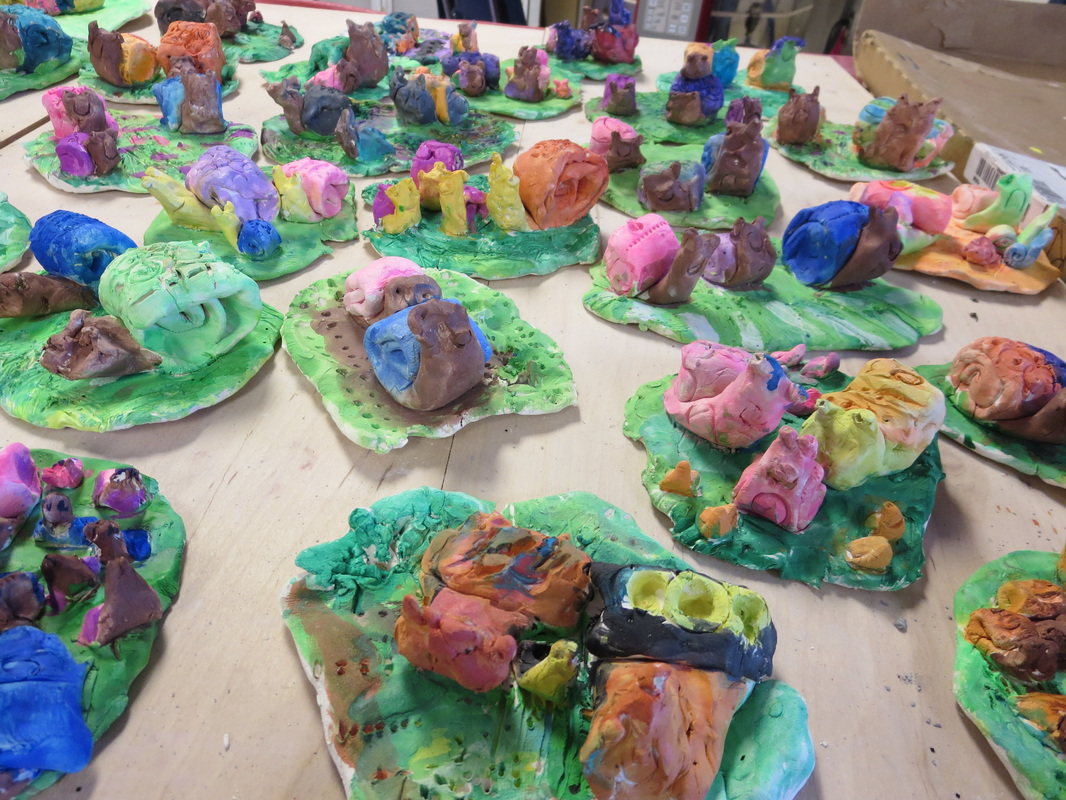
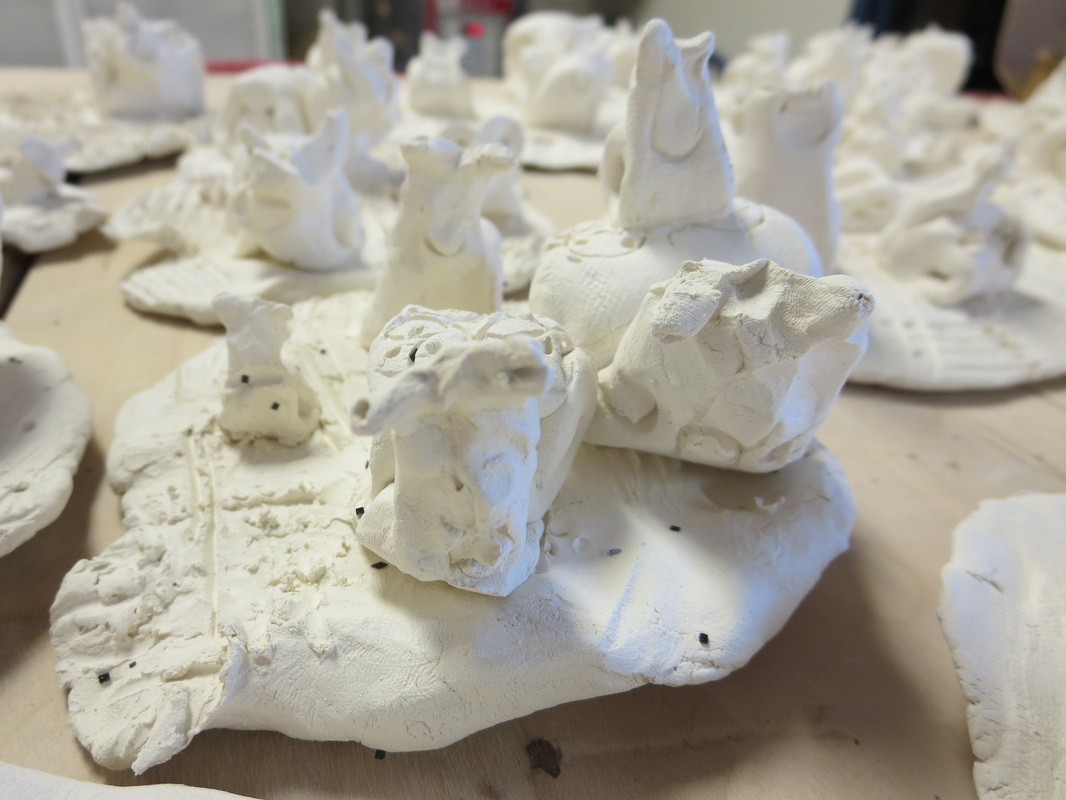
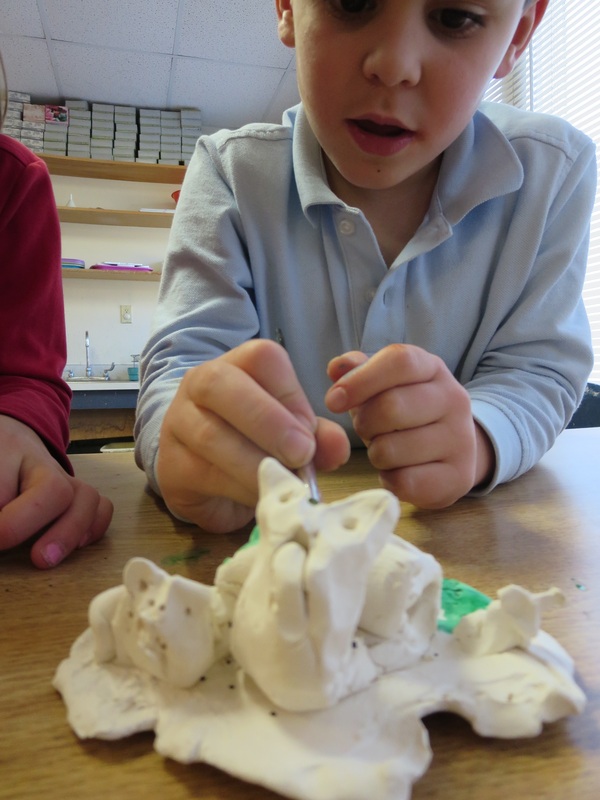
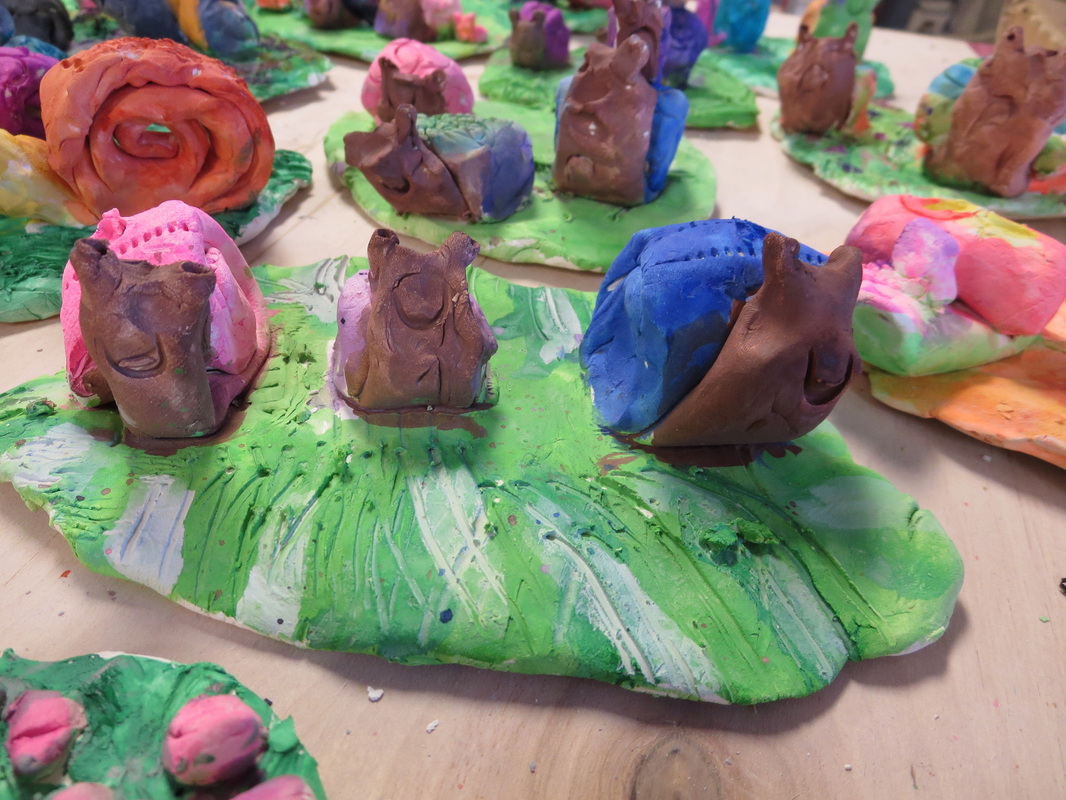
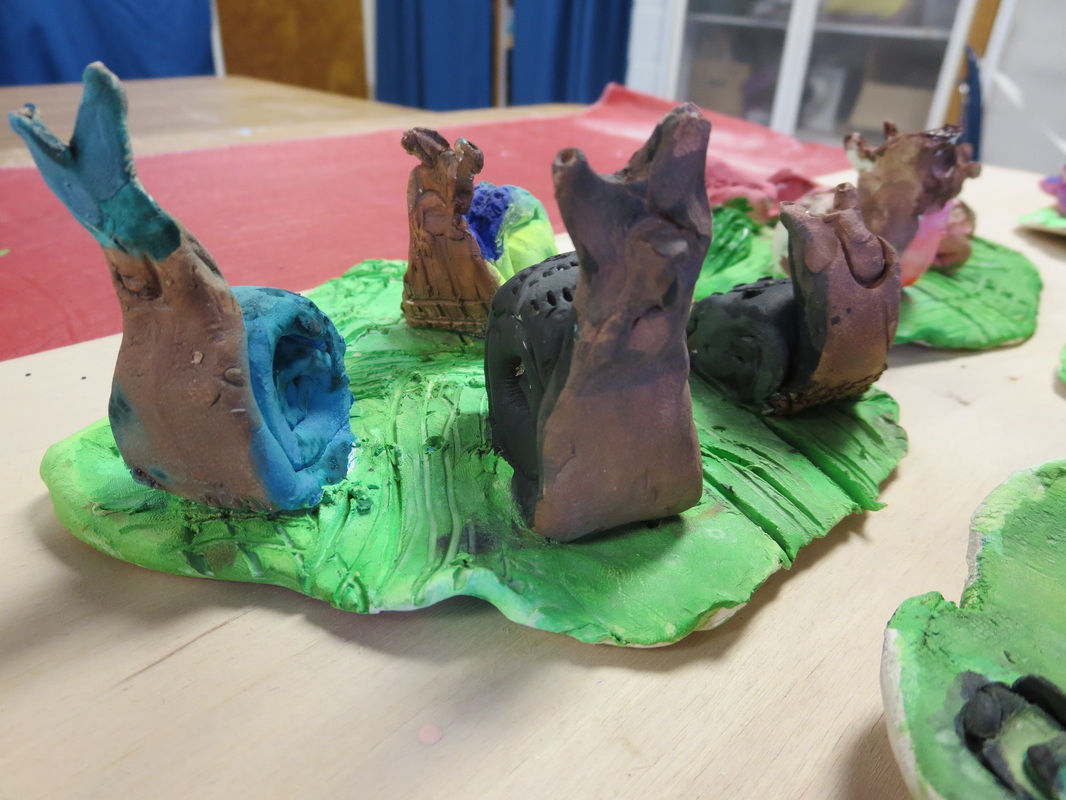
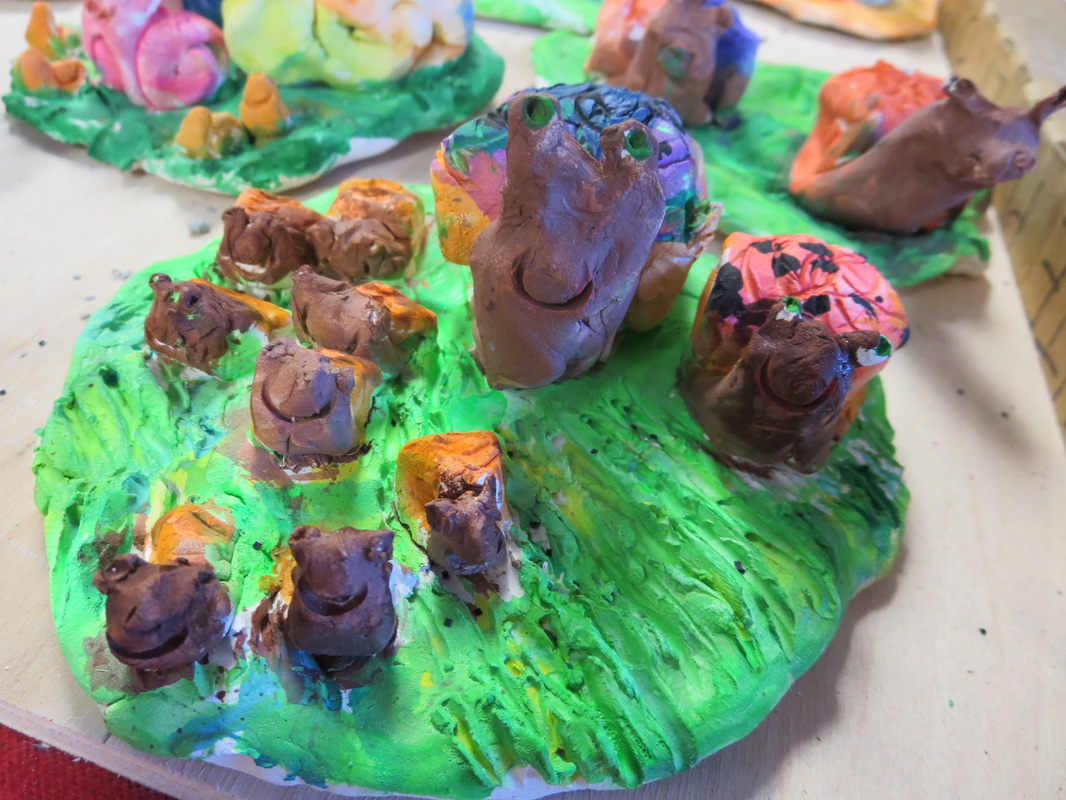
4th graders first clay project this year was inspired by this blog post I found a couple of years ago (​room9art.blogspot.com/2011/06/plants-on-parade.html).

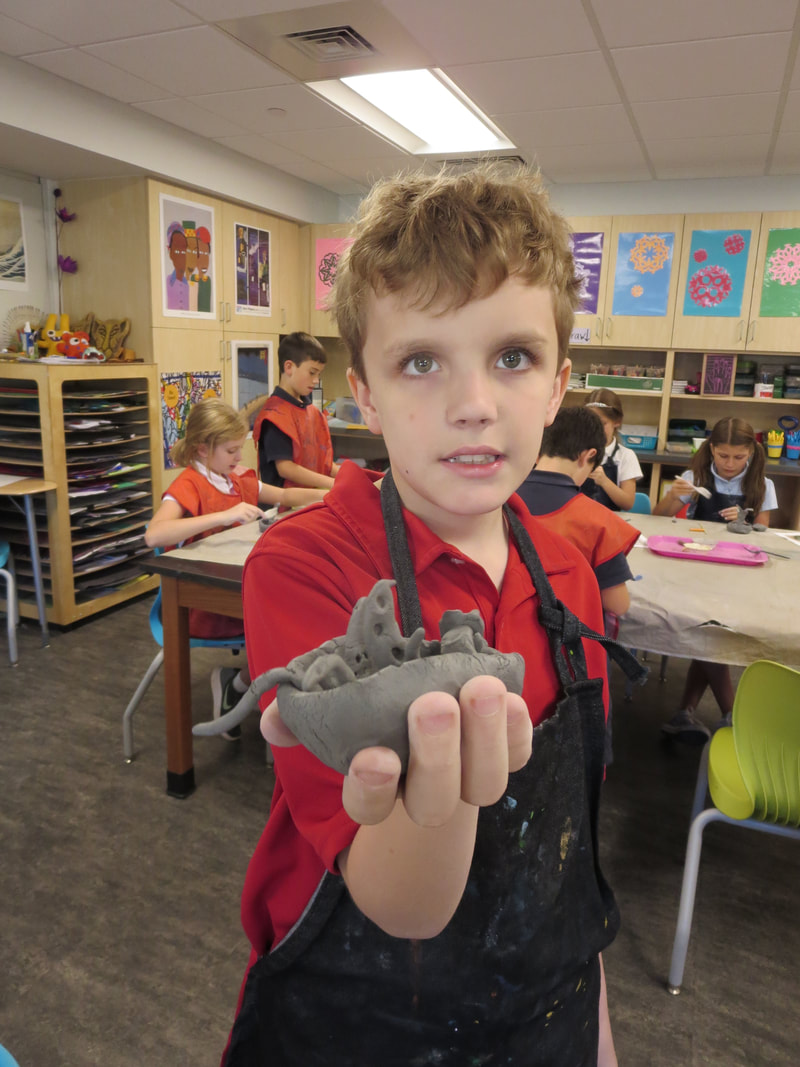
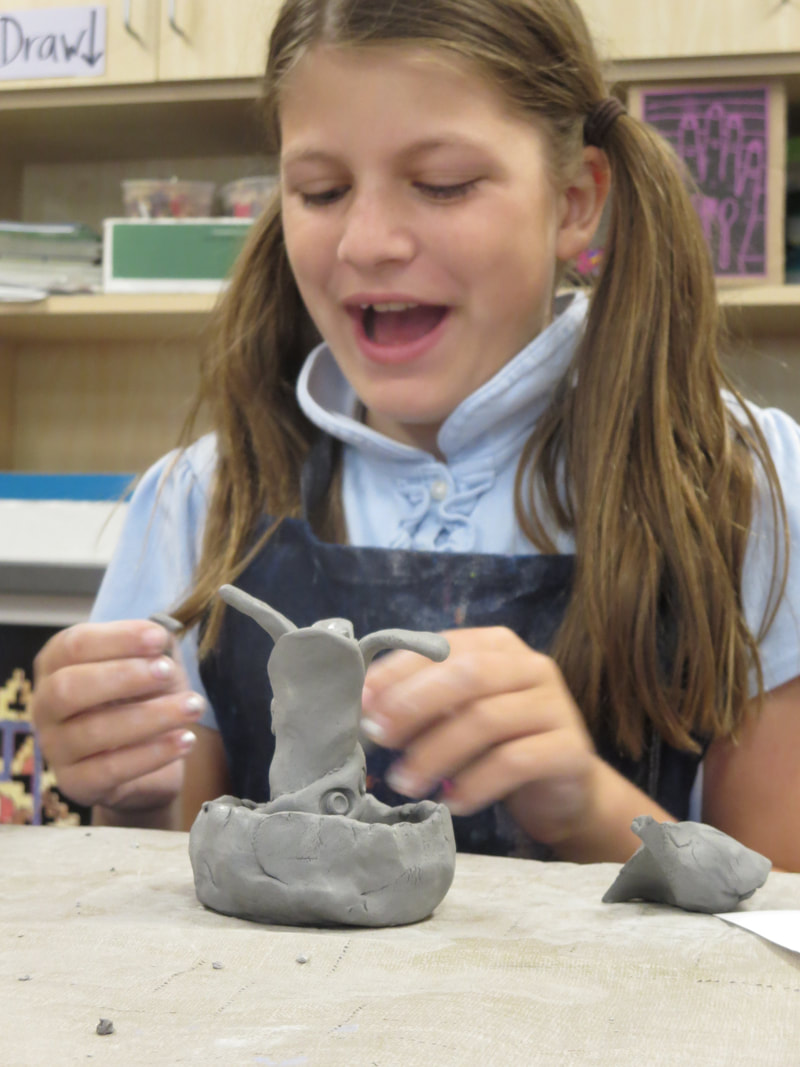
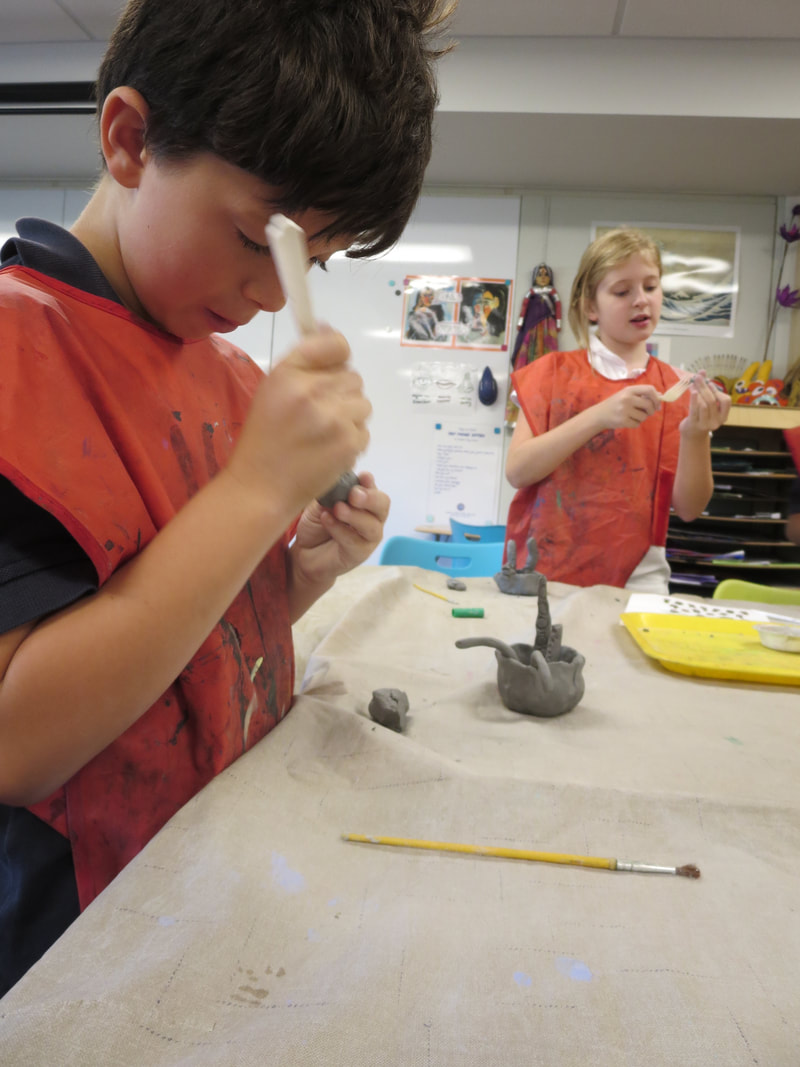
After we all circled around a table and I demonstrated for the students, they began the project by ripping their clay in half and making a pinch pot with one half of clay and using the other half to make different sized and shaped coils.  They attached the coils to the pinch pot and formed them to look like different succulent plants.  The goal was to have at least 3 plants in their pots.  Some students only had three and some probably had closer to ten.  

Picture

Picture
Picture
Picture
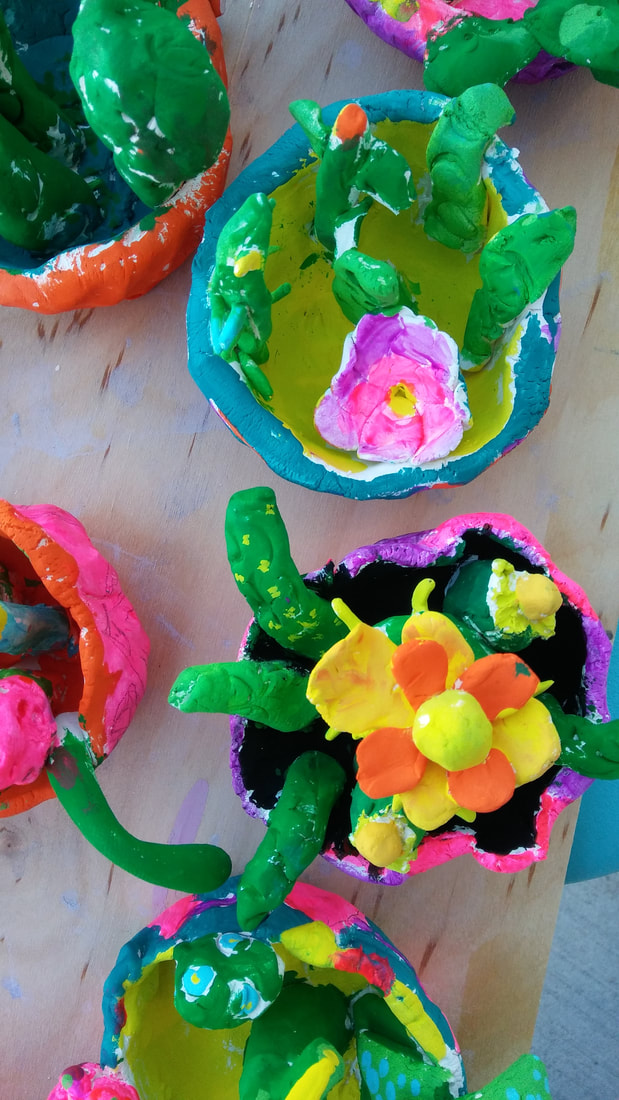
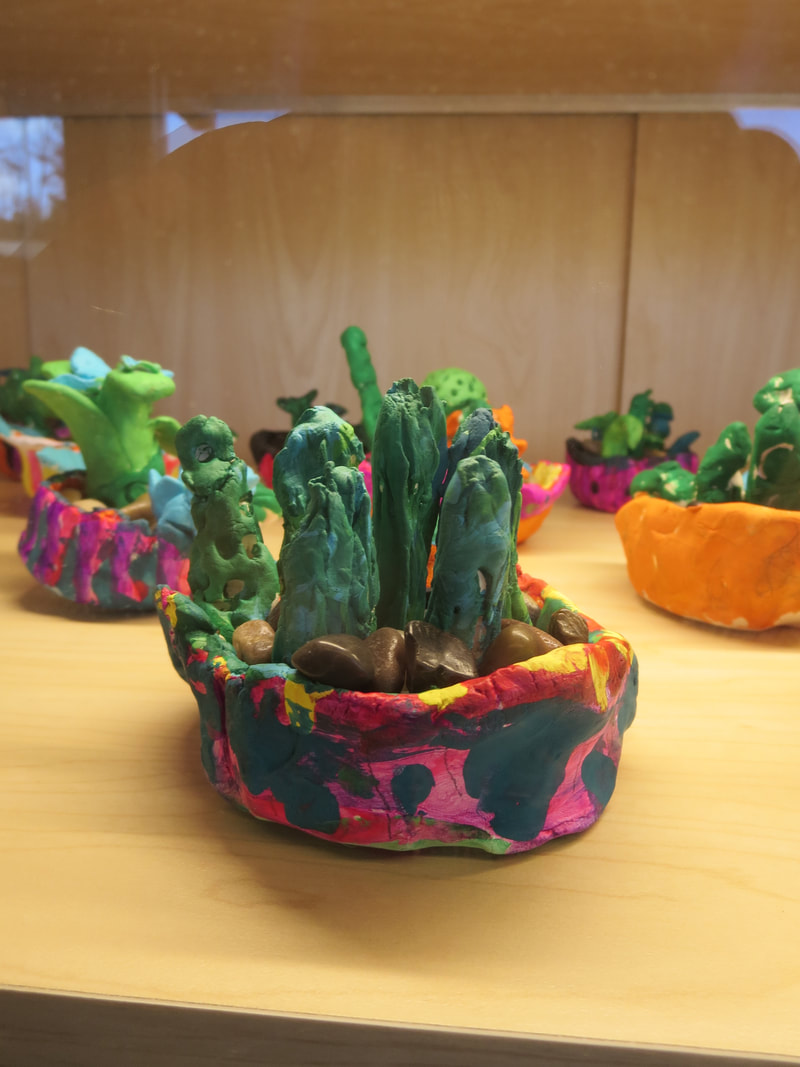
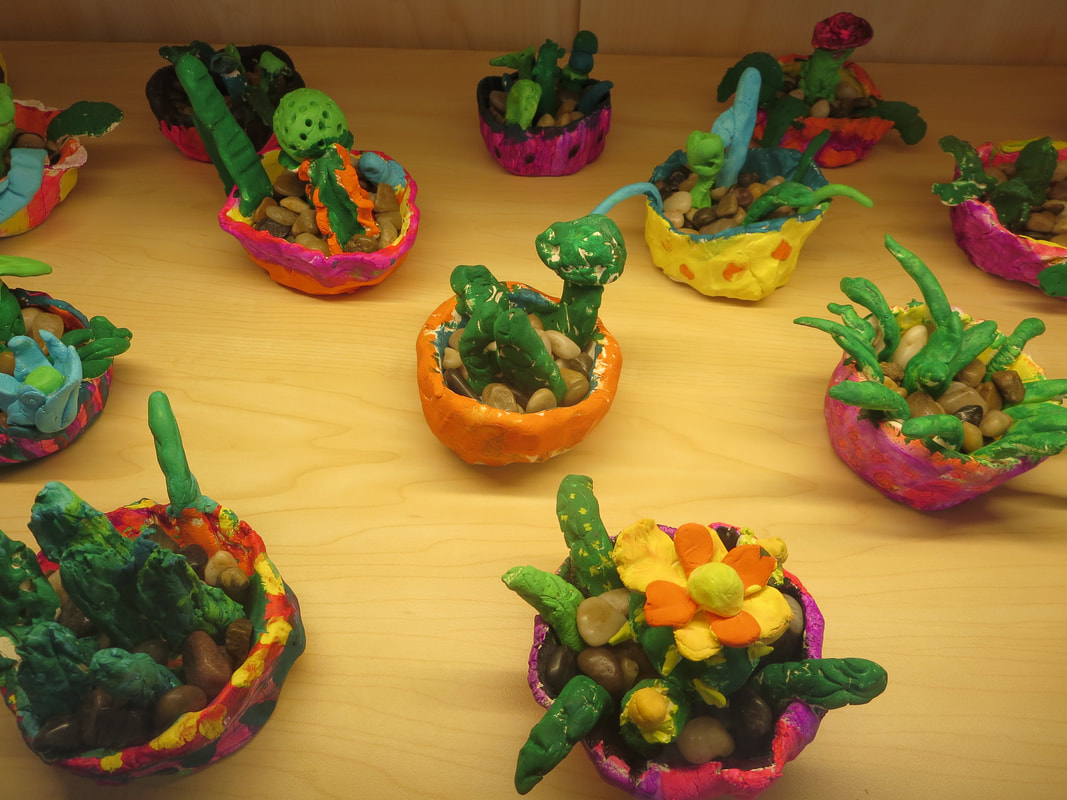
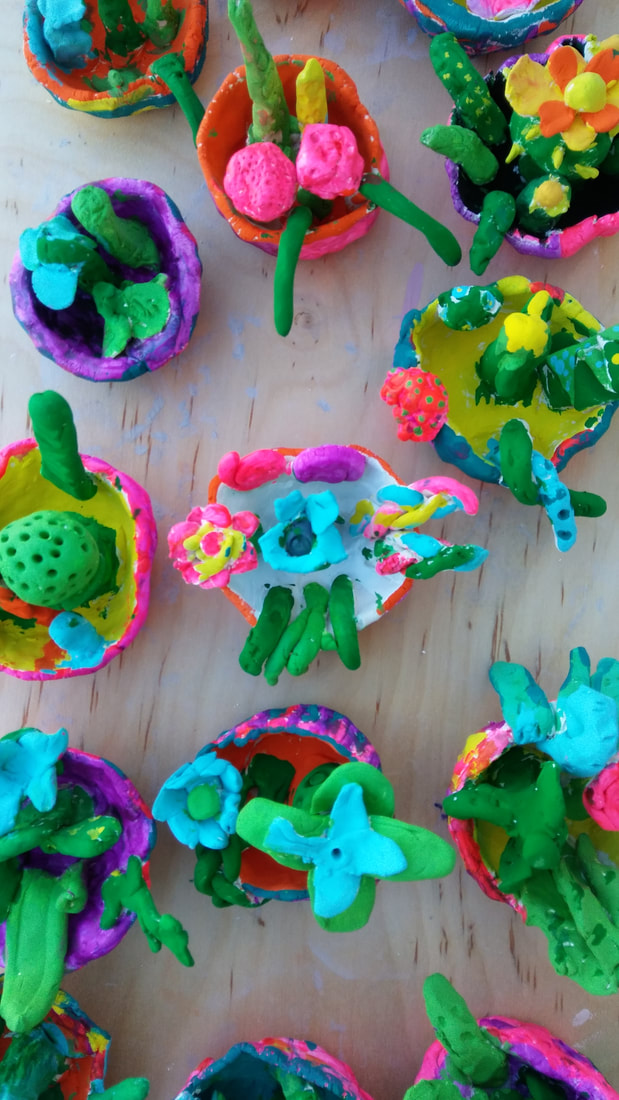
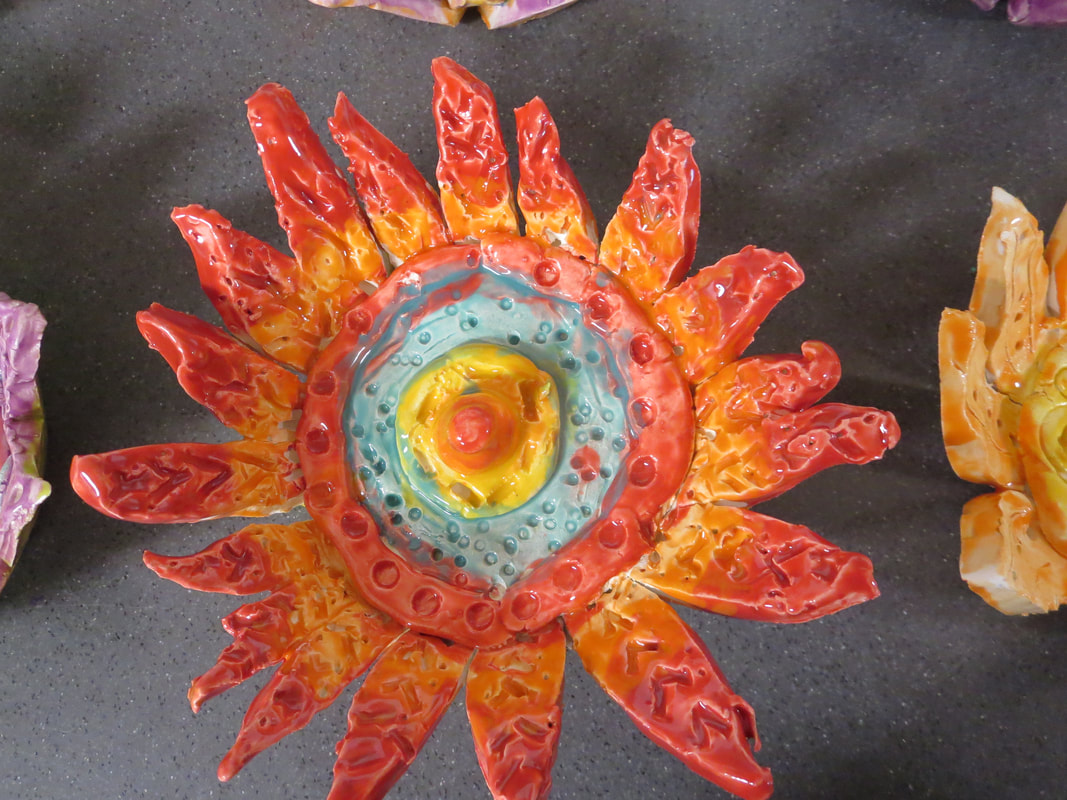
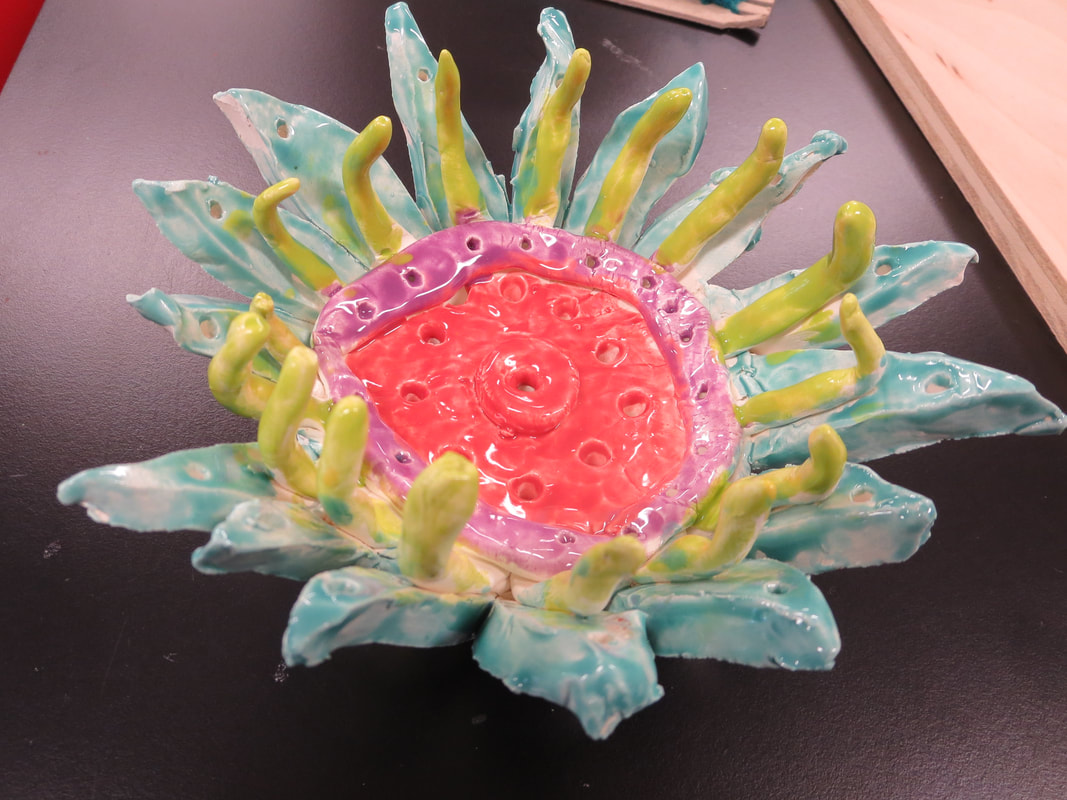
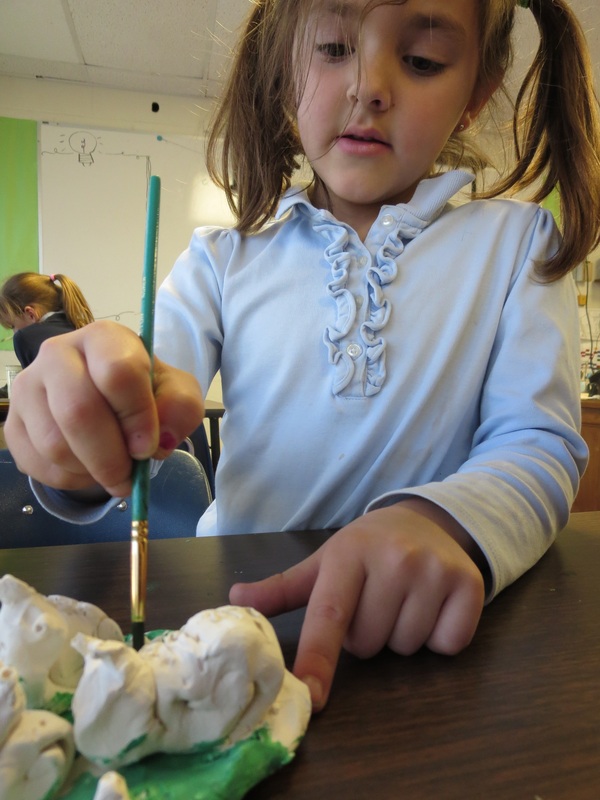
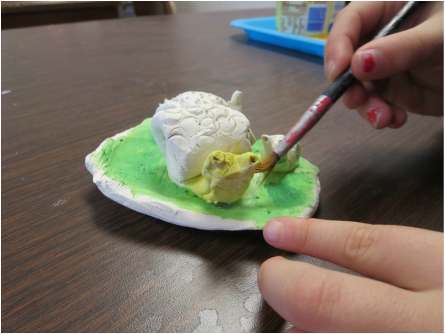
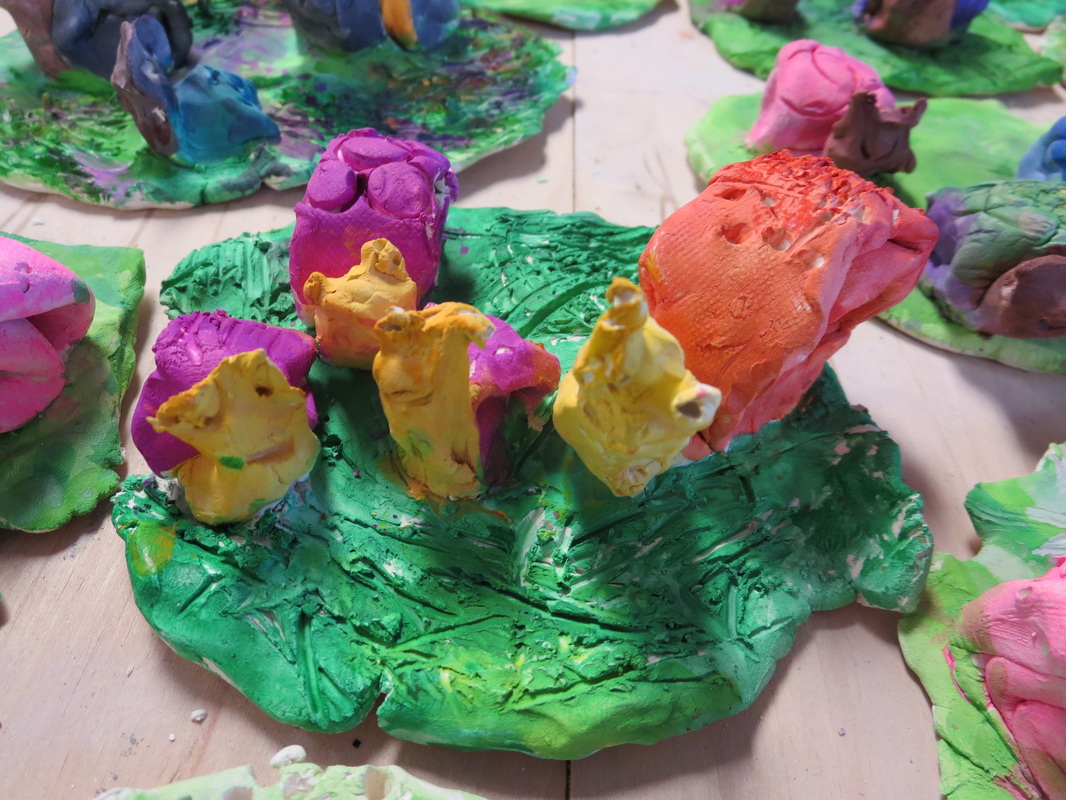
Once the clay sculptures were dried and fired in the kiln, students used bright colored acrylic paints to paint the succulents and the pots.  Once dried, I filled them with small stones as well.  This made them look more finished and realistic.
Picture
Picture
Picture
Picture
0 Comments

4th grade Clay flower Bowls

6/21/2017

2 Comments

 
Picture
An oldie but goodie.  There is an obvious reason why this is such a popular art project in the elementary art world.  It is one of those projects that is always really successful and the end product is vibrant and stunning.  I wish I could take credit for coming up with this project, but regardless, I'm proud of my students and their hard work they put into it.

This project takes 3-4 class periods and is very engaging for all students.  Even my students who "don't like art" got really involved in this clay project.

Each student begins with a styrofoam bowl.  Make sure to write the students name on the bottom with Sharpie before beginning.  This will save you a lot of hassle, I promise.  

I did the clay sculpting with the students in two 40 minute class periods but you could do it in one if you're rushed for time

The first day was spent creating the flower petals.  They each started with a slab of clay and cut out 10-15 diamond (or oval or almond) shapes.  They put a chunk of clay in the middle to create a base and "scratch and attached" the petals to that base.  Next they used tools to create texture and some students cut out other shapes to add more dimension to the petals.

The next class we added details to our center.   They began by rolling out a ball of clay, squashing it with their palm and "scratching and attaching" it to the middle to start with a smooth area.  Then they added texture and detail to this area as well.  Between the two classes we kept the clay wrapped up in plastic bags so that it would stay good and moist.

When the clay sculptures are dry, you can easily remove them from the styrofoam bowls and scratch the students name onto the bottom of the flower bowl. 
Picture
Picture
Picture
After the pieces are fired in the kiln, students used colorful Amaco teachers palette glazes to paint their sculptures.  This is my favorite brand of glaze for the classroom.  With just two coats of glaze, the result is bright and vivid!
Picture
Picture
Picture
Picture
Picture
2 Comments

5th grade bobble heads

1/23/2017

0 Comments

 
Picture
Picture
Picture
Picture
0 Comments

5th grade ceramic/weaving

3/16/2015

5 Comments

 
Picture
Unfortunately I did not get any pictures of these in-process.  The good thing is that the reason I didn't get any pictures is because it was such an engaging, complicated project.  Students were fully engaged and challenged, and I was as well.

Each students began with a slab of clay.  They cut it into an interesting organic shape and cut out a hole in the middle.  The hole should be about as large as your fist.  Around the outside of the hole, there must be an ODD amount of small holes poked through to create the loom.  Texture was then added.

To glaze the clay, each student selected two colors and had to blend the two colors in an interesting way.  Some did a gradation from top to bottom, others did a circle of color around the big hole and blended the other color to the outside.

Once clay had been glazed and fired, we had to create the loom for the students to weave on. We found that there is a sort of equation of how to do this in order to work.  This took a lot of trial and error. 
Picture
In order for this to work, the students had to begin by flipping their ceramic piece over and using a sharpie to number their holes 1-whatever odd number.  Then students tied on a piece of embroidery string to hole #1 and double knotted it.  Next they had to go across to the next hole, which depending on how many holes they had, would be a different number.  So for instance (see above) if the ceramic piece has 15 holes, the string must go from hole 1, across the middle space, and through the top (glazed side of clay) into hole 8.  Next the string goes underneath (unglazed side of clay) to hole 9 and up and across to number 2.  Next it goes underneath, through hole 3 and across to hole 10. Continue to do this until there are no more holes left, then the end of the string will get tied to the center area, where all f the strings cross.  Doing this creates an odd number of strings going from center to edge for weaving. This was probably the most difficult part of the entire project.  But it was worth it to work through this with the students.

Next students selected yarn and tied that to the center of the strings and simply wove the yarn in and out and in and out of the strings to create a colorful radial pattern.  Some students used only one color, others used many.  I left that decision up to them.

When the projects were finished, I added wire to the pieces so that students can hang them on their walls. They turned out absolutely beautiful.  The project took a total of five 45 minute class periods. 
Picture
Picture
Picture
5 Comments

3rd grade double fish project

2/19/2015

7 Comments

 
Picture
3rd grade students did two fish projects using totally different materials. 

 The first were clay slab fish.  To make these, each student started with a slab of clay and they had to cut the clay into different shapes and layer to make a fish.  Adding texture using different materials and techniques was the focus during this process.  Students used texture plates, knives, forks, stamps, marker tops, etc to do this.  After the fish were fired in the kiln, we used an oil pastel resist method to add color to the fish.  They started by using oil pastels to cover the fish in bright colors.  After the fish was nice and colorful, we used watered down acrylic paint to completely cover the fish.  When rinsed under water, the oil pastels show through and the paint covers the areas that were not colored.  These turned out AMAZING.  
Picture
Picture
Picture
For the second fish project, 3rd graders selected a photo of a fish that they liked.  They tried their best to use observation skills and create a life-like fish drawing.  They began by drawing the outline with pencil and moved on to use oil pastels.  Rather than covering the whole fish with the pastels like they did on the clay, they just drew the outlines and textures such as scales, stripes, etc.  After the oil pastel, students used watercolor paints-plain and neon-the create the most realistic fish possible.  Students had to focus on showing highlights and shadows seen in their fish image and tried to really capture the different colors seen in the photograph.  After these were all done, I spent time cutting them all out and hanging them in the hallway to create a fun underwater scene. These turned out really amazing as well.  Definitely a project that I will continue in future years.
Picture
Picture
Picture
Picture
7 Comments

1st grade clay snails

12/29/2014

0 Comments

 
Picture
These pictures do not even begin to do this project justice.  I was totally overwhelmed with cuteness as the third graders did this adorable clay snail project.

We began with pounding out a chunk of clay into a flattish blob.  This was to be about the size of their hand and to be used as the ground under the snails..
To create the snails, the students made a fat clay coil, then flattened all but the end for the head.  Then they rolled up the coil to make a cute little snail.  For the head, they pinched out antennae and gave them eyes and mouths.  The funnest part was watching the 1st graders use paper clips to make either super happy snail mouths or super grumpy snail mouths depending on which way the paper clip was held.
The students had to make at least two snails.  Some made two, some made 12.  After the snails were made, they had to give their shells texture and then scratch and attach the snails to the ground.  

The students had SO MUCH FUN with this project.  They were singing songs about snails, making up goofy stories about their snail families and working hard to create these awesome little clay snails.

After the clay was fired, we used neon and regular watercolor sets to make these snails nice and colorful!  I really focused on filling the whole space with color "Do you see any white area?  If yes, keep painting..."
They did such a great job and when they were done, I sprayed them with an acrylic finishing spray.  They ended up glossy and super bright.  

I spent a lot of time laughing as the students created these and as they sat on the shelf before going home.
Picture
Picture
Picture
Picture
Picture
Picture
Picture
Picture
0 Comments

Student teaching at Evergreen                 2nd grade Paul Klee Ceramics

4/3/2014

0 Comments

 
Picture
The 2nd grade students made ceramic slab portraits based on the artwork of Paul Klee. I'll post more details later!
Picture
Picture
Picture
Picture
Picture
Picture
0 Comments

SNeak peak!

2/3/2014

0 Comments

 
Here's just a little sneak peak at the 1st grade mobiles project we are doing.
These are some of the clay medallions that the students made.  They were made by making clay textured medallions then firing.  After coming out of the kiln, rather than glazing, the student colored on them with oil pastels, then painted over the piece with watered-down Tempera paint and then rinsed them in water. This is the effect. I love, love, love them. Plus, the students had a blast.  The 1st graders at Evergreen are amazing!
Picture
Picture
Picture
Picture
Picture
Picture
0 Comments

    Author

    Annie Monaghan.
    Art lover.
    Art creator.
    Art teacher.

    RSS Feed

    Categories

    All
    1st Grade
    2nd Grade
    3rd Grade
    4th Grade
    5th Grade
    Abstract
    Art History
    Art Videos
    Auction
    Batik
    Cardboard
    Chalk Pastel
    Clay
    Collaboration
    Collage
    Colored Pencil
    Color Wheel
    Contour Lines
    Drawing
    Highlights And Shadows
    Kindergarten
    Landscape
    Mural
    Names
    Notan
    Observational Drawing
    Oil Pastel
    Online Art
    Origami
    Paint
    Painting
    Papier Mâché
    Patterns
    Portraits
    Pre K
    Printmaking
    Relief Sculpture
    Remote Art
    Remote Learning
    Sculpture
    Self Portrait
    Self-portrait
    Sewing
    Shapes
    Sharpies
    Still-life
    Symmetry
    Texture
    Tissue Paper
    Warm And Cool Colors
    Watercolor
    Weaving

Powered by Create your own unique website with customizable templates.