Unfortunately I did not get any pictures of these in-process. The good thing is that the reason I didn't get any pictures is because it was such an engaging, complicated project. Students were fully engaged and challenged, and I was as well.
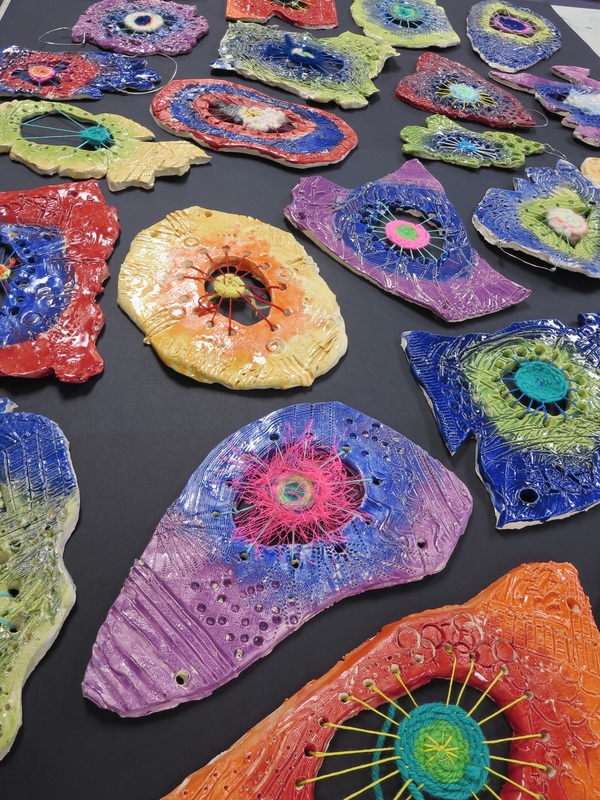
Each students began with a slab of clay. They cut it into an interesting organic shape and cut out a hole in the middle. The hole should be about as large as your fist. Around the outside of the hole, there must be an ODD amount of small holes poked through to create the loom. Texture was then added.
To glaze the clay, each student selected two colors and had to blend the two colors in an interesting way. Some did a gradation from top to bottom, others did a circle of color around the big hole and blended the other color to the outside.
Once clay had been glazed and fired, we had to create the loom for the students to weave on. We found that there is a sort of equation of how to do this in order to work. This took a lot of trial and error.
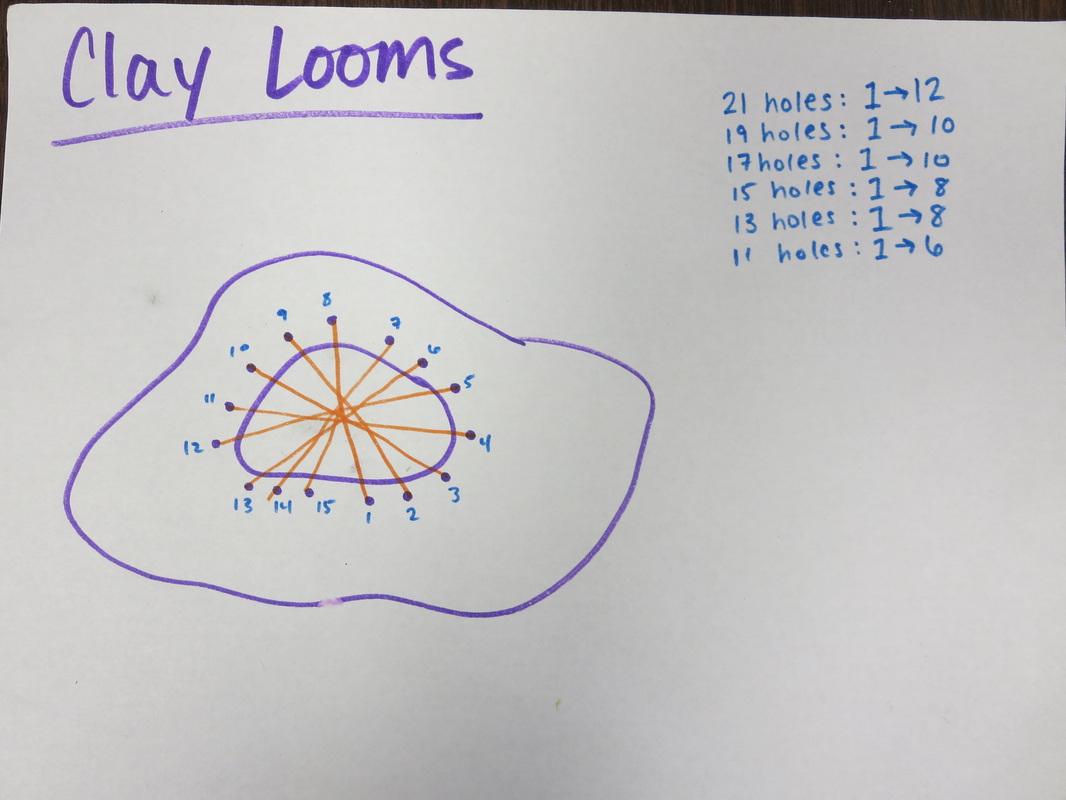
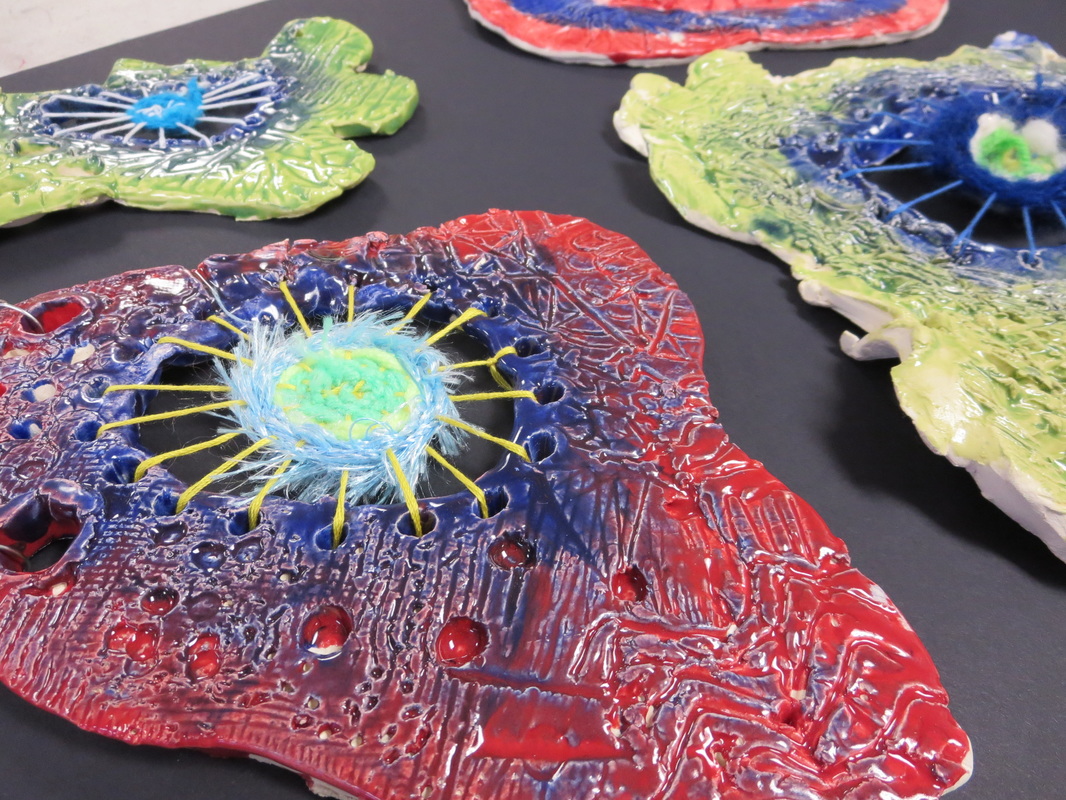
In order for this to work, the students had to begin by flipping their ceramic piece over and using a sharpie to number their holes 1-whatever odd number. Then students tied on a piece of embroidery string to hole #1 and double knotted it. Next they had to go across to the next hole, which depending on how many holes they had, would be a different number. So for instance (see above) if the ceramic piece has 15 holes, the string must go from hole 1, across the middle space, and through the top (glazed side of clay) into hole 8. Next the string goes underneath (unglazed side of clay) to hole 9 and up and across to number 2. Next it goes underneath, through hole 3 and across to hole 10. Continue to do this until there are no more holes left, then the end of the string will get tied to the center area, where all f the strings cross. Doing this creates an odd number of strings going from center to edge for weaving. This was probably the most difficult part of the entire project. But it was worth it to work through this with the students.
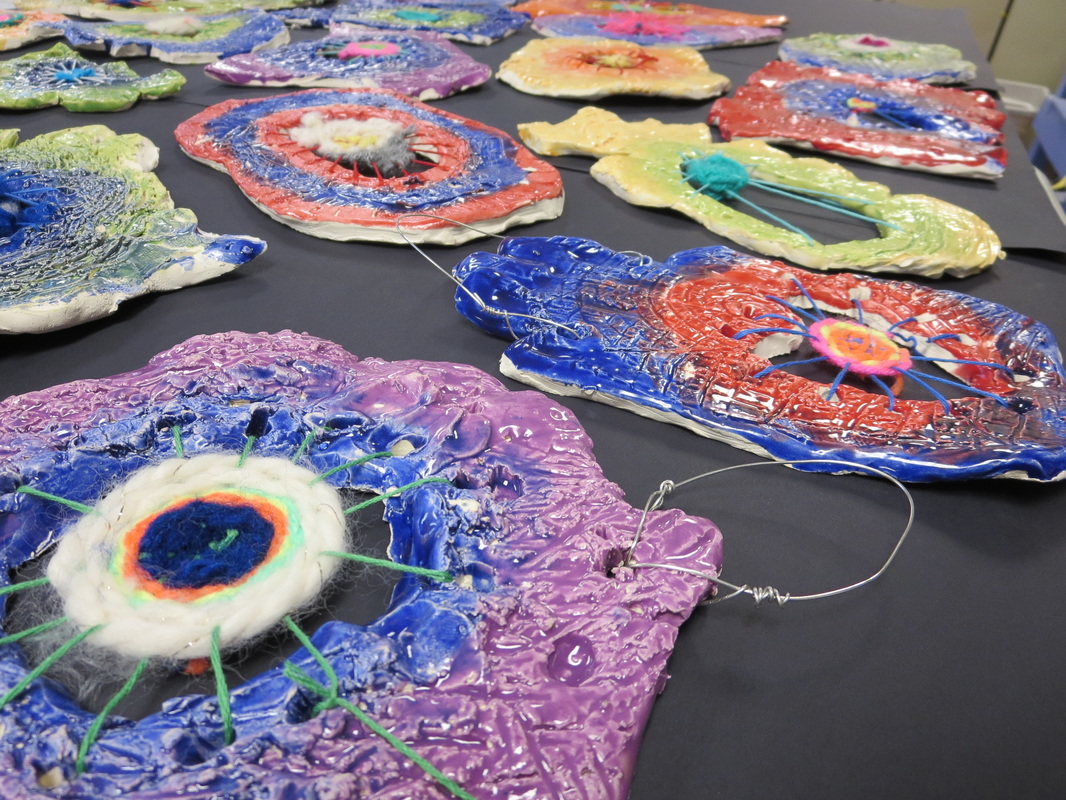
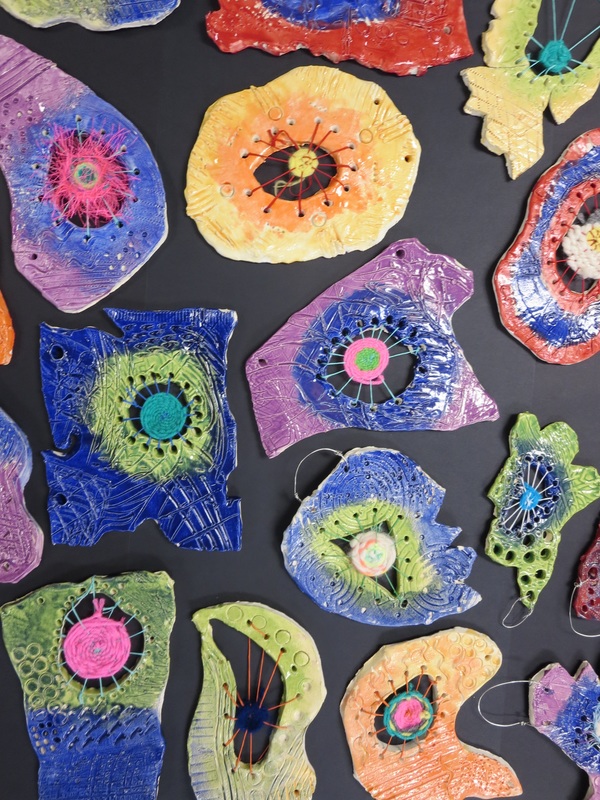
Next students selected yarn and tied that to the center of the strings and simply wove the yarn in and out and in and out of the strings to create a colorful radial pattern. Some students used only one color, others used many. I left that decision up to them.
When the projects were finished, I added wire to the pieces so that students can hang them on their walls. They turned out absolutely beautiful. The project took a total of five 45 minute class periods.
 RSS Feed
