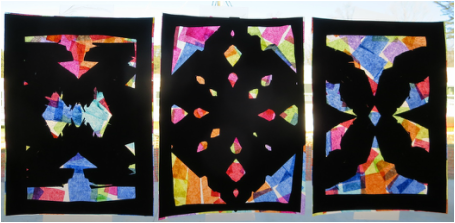
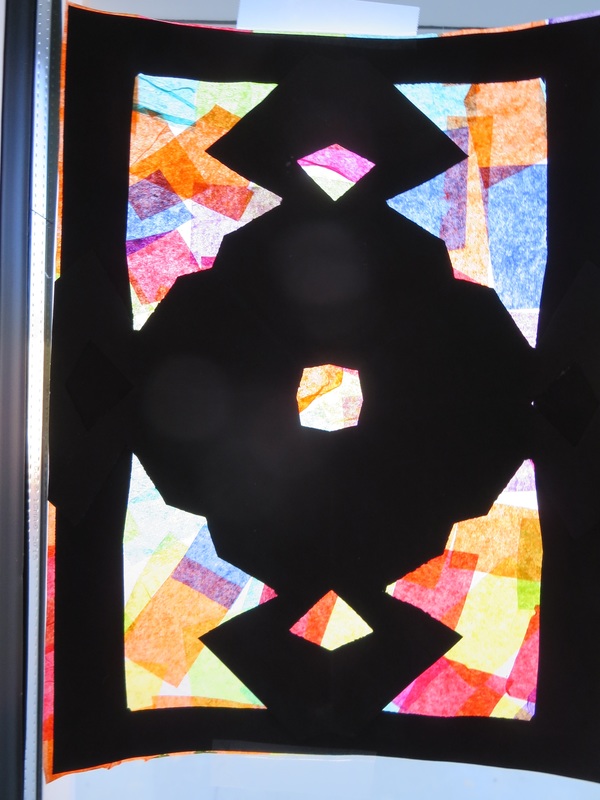
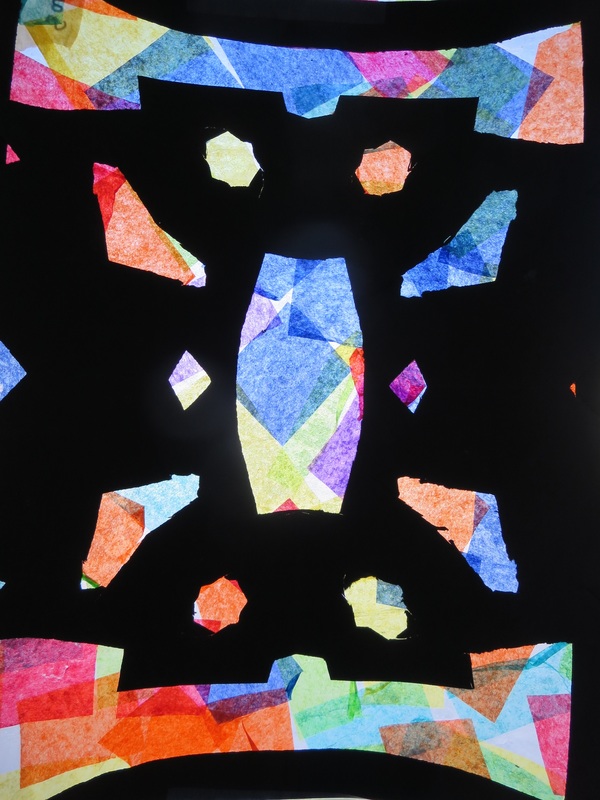
At CDS, Kindergarten students spend a lot of time studying different countries and cultures around the world. To accompany their study of Europe and castles, in art class we created these fun stained glass collages. We looked at pictures of a bunch of different stained glass in Europe. Most were in cathedrals and churches and others in castles. We talked about how the sunlight coming through the window is what makes it look so colorful and how stained glass windows were often used to tell stories.

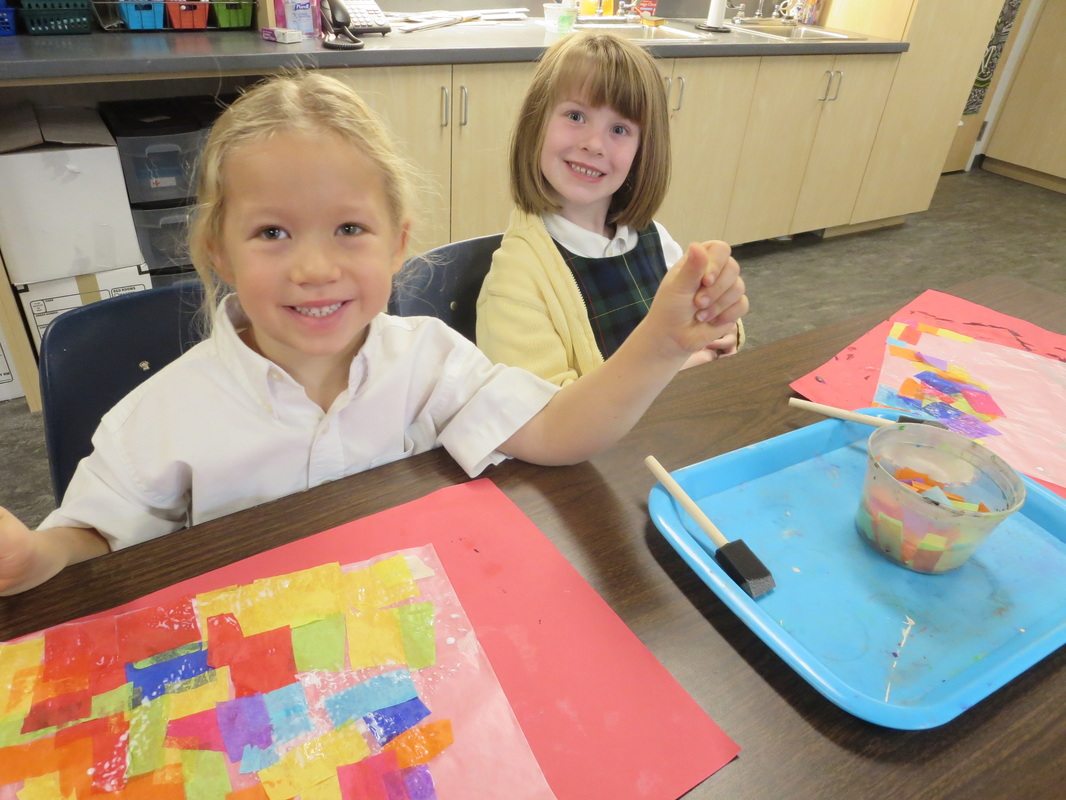
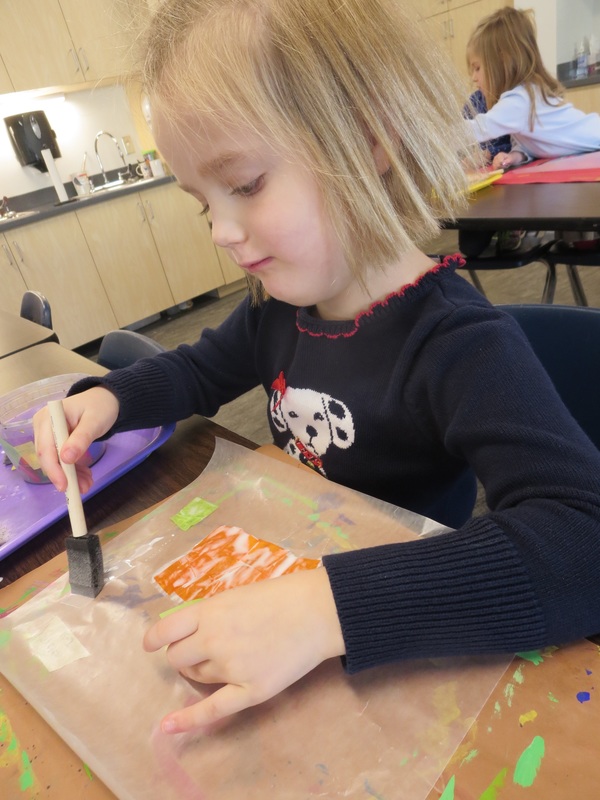
Students began this project by using watered down glue to collage colored tissue paper squares to a piece of wax paper. Students spent 2 1/2 class periods doing this. Some students used all of the colors available, while others used only two or three colors. This was a messy process and it was neat watching the different techniques that different students used.
I taught them to use their paintbrush to put glue on just a small area of the wax paper, apply tissue paper, then brush more glue overtop of the tissue paper. Some students did so and applied the tissue paper totally random while others created patterns with the pieces.
I taught them to use their paintbrush to put glue on just a small area of the wax paper, apply tissue paper, then brush more glue overtop of the tissue paper. Some students did so and applied the tissue paper totally random while others created patterns with the pieces.
For the next part of the project, students cut out a black frame with construction paper.
** I hit a very small bump with teaching this project when I realized that not only would it be quite difficult for the students to successfully glue the construction paper onto their finished tissue paper collages, but that the glue stick glue didn't stick very well. So, as any teacher would, I decided to have the students do all of the cutting, but I ended up glueing all of the construction paper cut outs down myself. I still used glue sticks, but I realized that once glued down, they needed to be weighted, so I stacked books on top until they were fully dry.**
We also spent one day practicing folding paper into 4's and cutting out shapes from the sides and corners. We practiced making 'snowflakes' as well. After practicing, I gave students the black construction paper and had them cut out a symmetrical, fun design. To be honest, students got a bit frazzled because the construction paper was hard to cut through but once they finished and opened up their 'snowflake,' they were full of joy!
I ended up having to glue all of these pieces on too which was fine.
The end result of this project is beautiful. Especially when hung in a window so that the sun can shine through.
I will definitely teach this project again next year but I have to figure out a few things to make it go a bit more smooth.

 RSS Feed
